
Frugal Mac
A practical guide to building a productive Mac without overspending.
NOTE: This guide is actively being expanded. Check back often for latest updates.
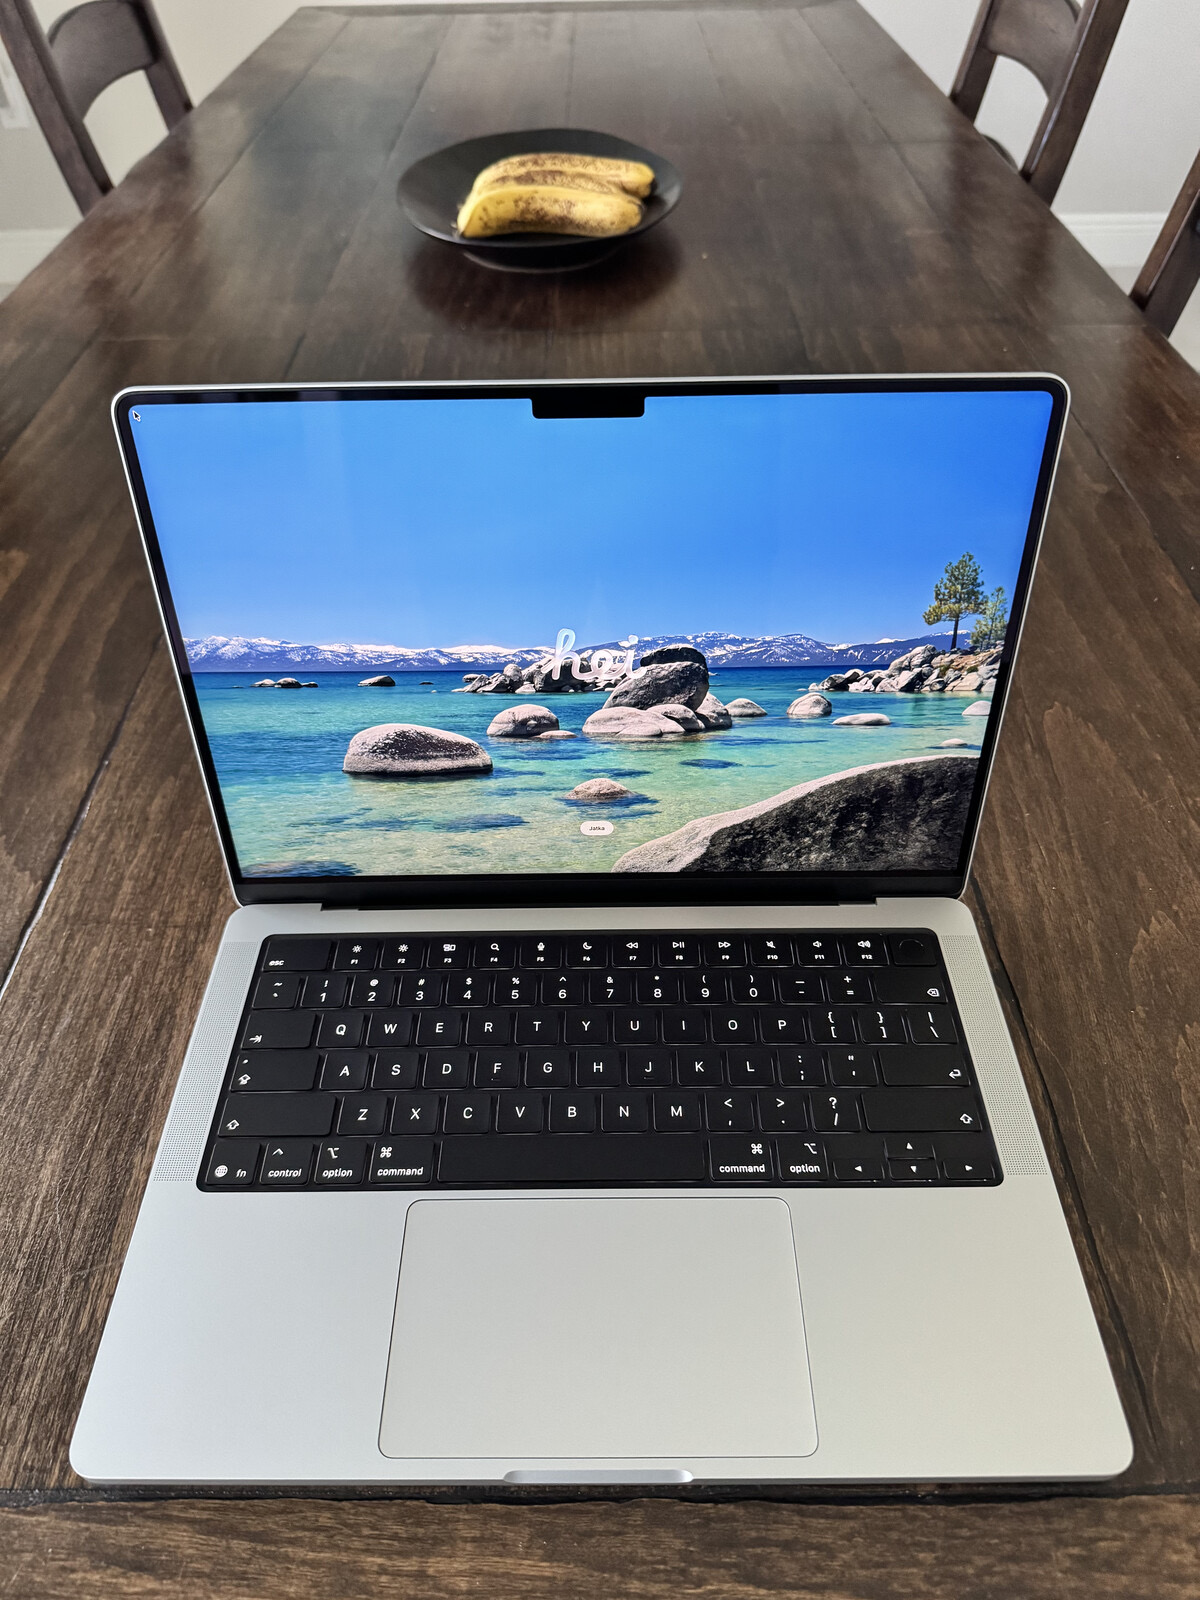
Welcome to my Frugal Mac series. These articles document the setup of my new MacBook Pro, the software I use, and the custom automations I’ve built to make macOS work the way I want.
The Core
- Computer: 14″ MacBook Pro (M5 Pro), 48GB RAM, 1TB SSD (binned cores)
- macOS 26 (aka Tahoe)
- purpose: teaching, blogging, creative work
- philosophy: By once. Keep it for years.
- Focus: Native Mac solutions
- Budget-conscious software
- Productivity through automation
The articles below are arranged in the recommended reading order.
Part 1: Building FrugalMac
A fresh start deserves a clean foundation. These articles document my rationale and needs for this new device.
Part 2: Customizing the Finder
Making the macOS Desktop work for my needs.
- Sorting the Sidebar
- Configuring the Dock and Desktop
- Fixing the Finder windows
- Customizing Appearances
- Clouds, Location Services, Trackpads and Notifications
- Default macOS Terminal Settings
AirDrop and File-Sharing
Part 3: Adding Third-Party Software
Filling in the gaps that Apple left out.
- Window management: Rectangle
- My core Productivity apps
- Alfred (launcher, clipboard manager, etc.)
- Ghostty (Terminal replacement)
- BBEdit (text editor)
- CleanShot X (screen capture and screen recording)
- 1password (password management)
- NetNewsWire (RSS)
- MarsEdit (blogging)
- HyperKey (Remapping the CapsLock key)
- Top three Terminal command line tools
- Screen sharing (Synergy)
- Setting up Apple Mail
- Calendars and Zoom
- Carbon Copy Cloner: Backups
- LibreOffice
- LocalSend
Part 4: Quality of Life Improvements
Software that removes friction
- EasyDMG – one click installs DMG files
- Bloom – Finder replacement on steroids
- Microsoft workarounds for Word and OneDrive
- Favorite Alfred Workflows
- Package Tracking and Keyboard Klacking
Part 5: Automation
- Automating Screenshot cleanup
- (Coming soon) Receipt OCR Workflow
Part 6: Media
- Apple Music (Why I rebuilt my music library from scratch – and why I don’t regret it.)