
This post will focus on how I configured the macOS Terminal from its default settings. Here’s how it looks, on first launch from a fresh macOS install. The type is unbelievably tiny (for me).
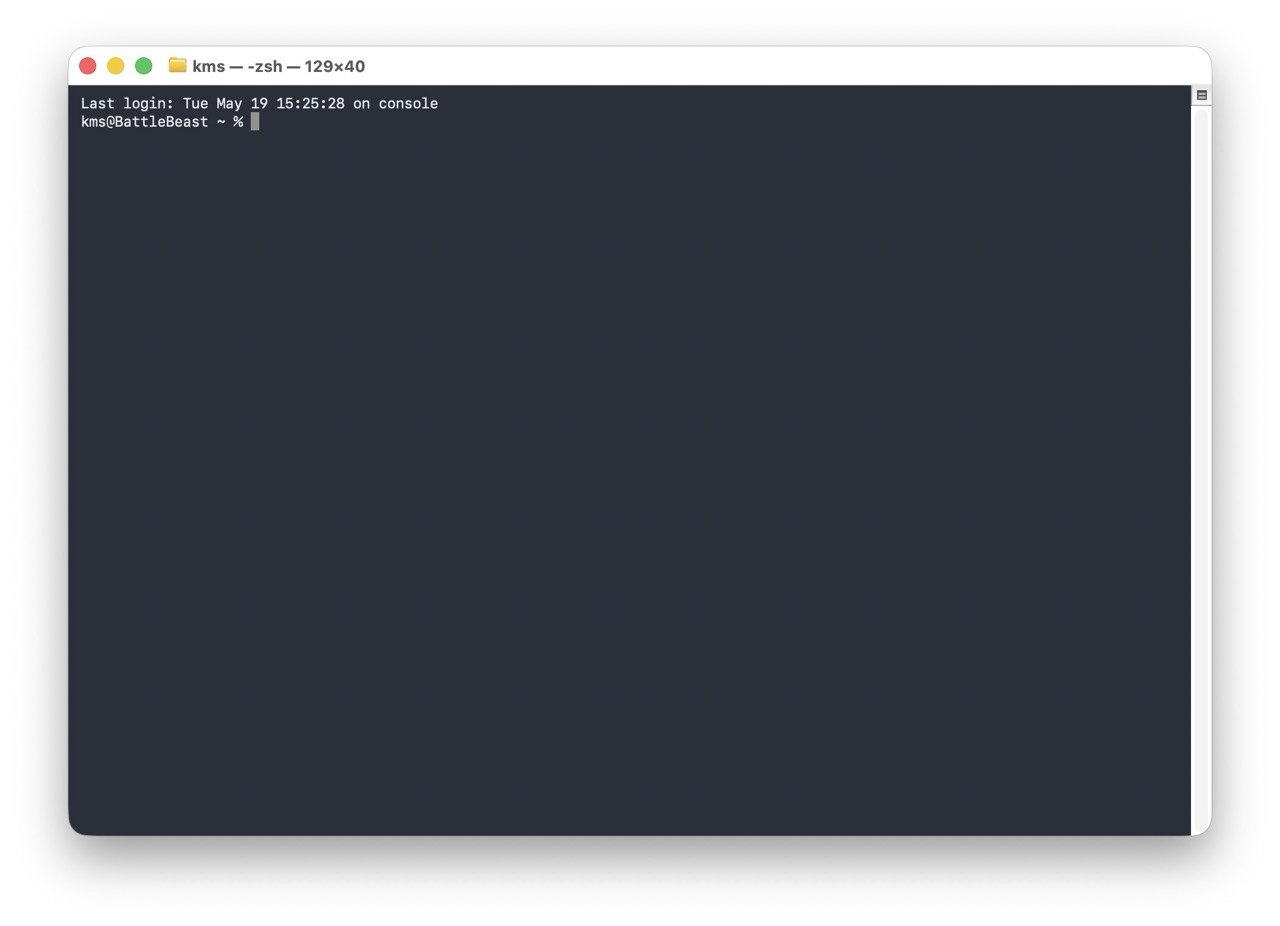
Let’s get started.
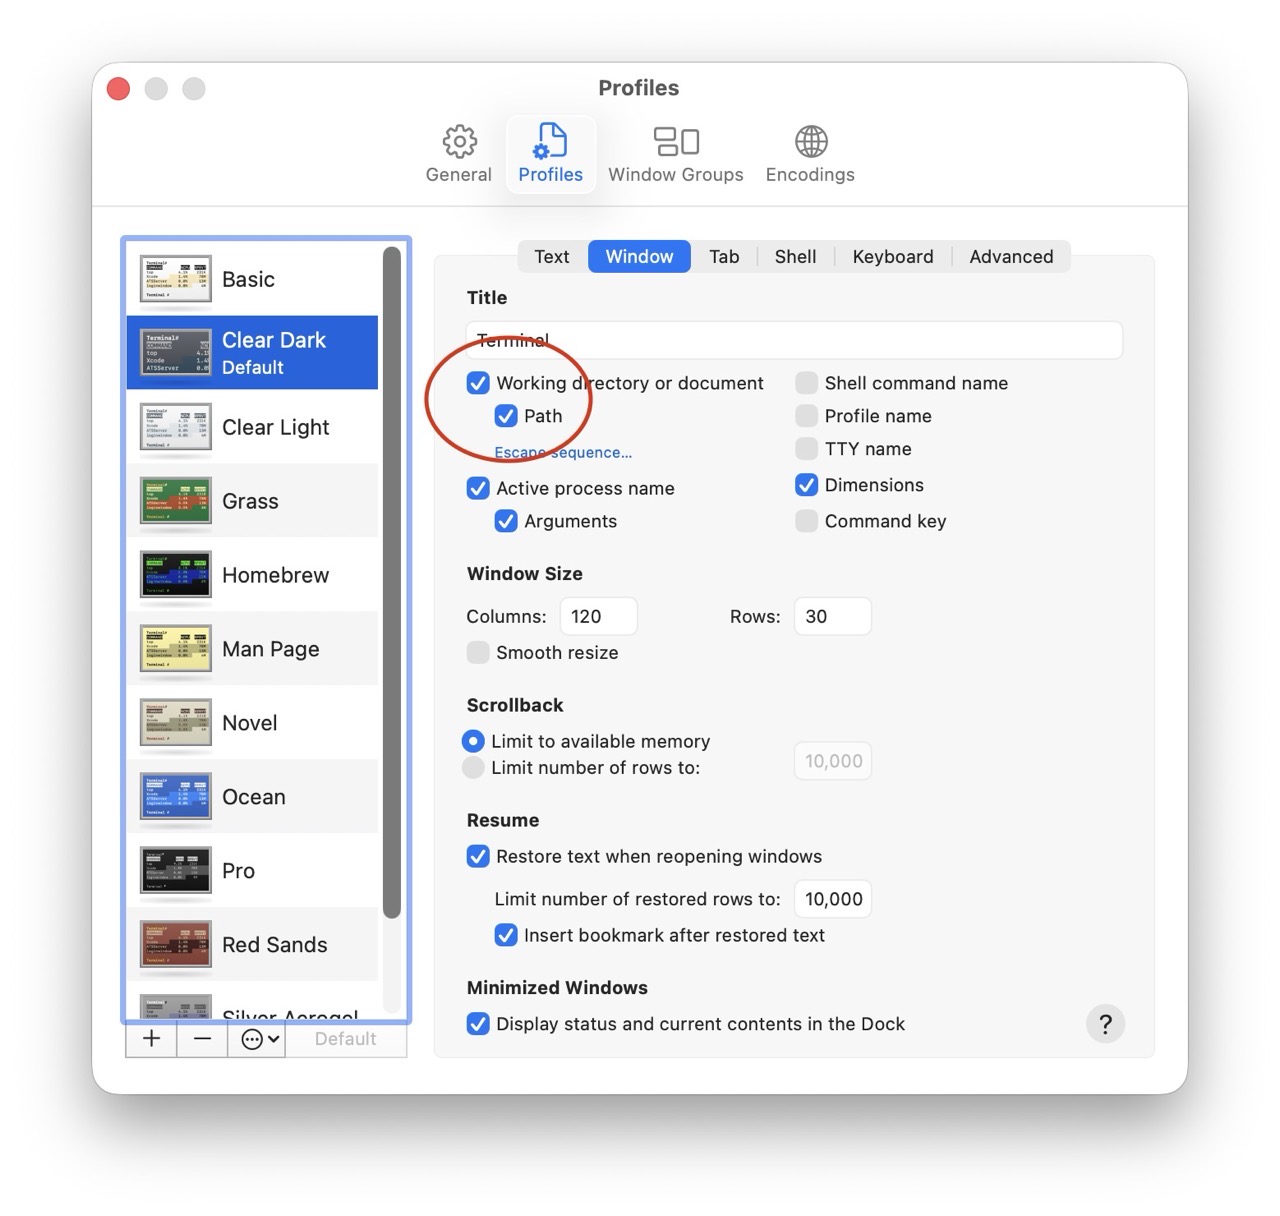
In Terminal’s Settings panel, I have checked “Working Directory” and “Path”. These parameters will show up on the Window title bar for a new Terminal session, making each Terminal window more descriptive.
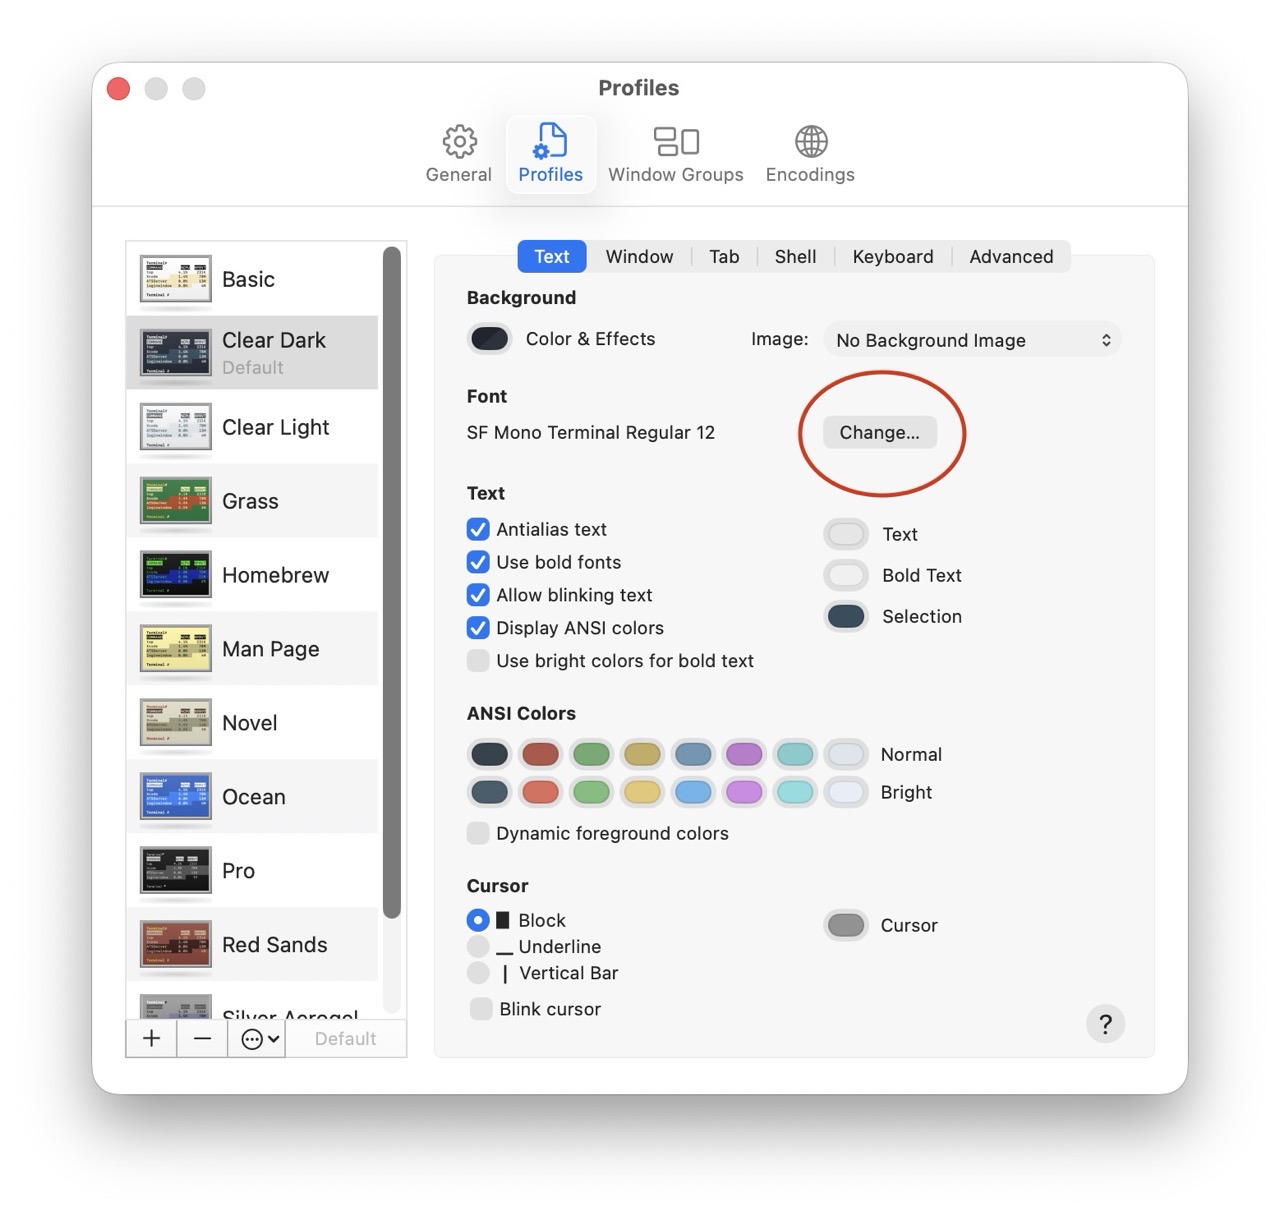
Next, let’s increase the size of the terminal font. (12 pt is too small, so I’ve bumped the size up to a respectable 18 pt.)

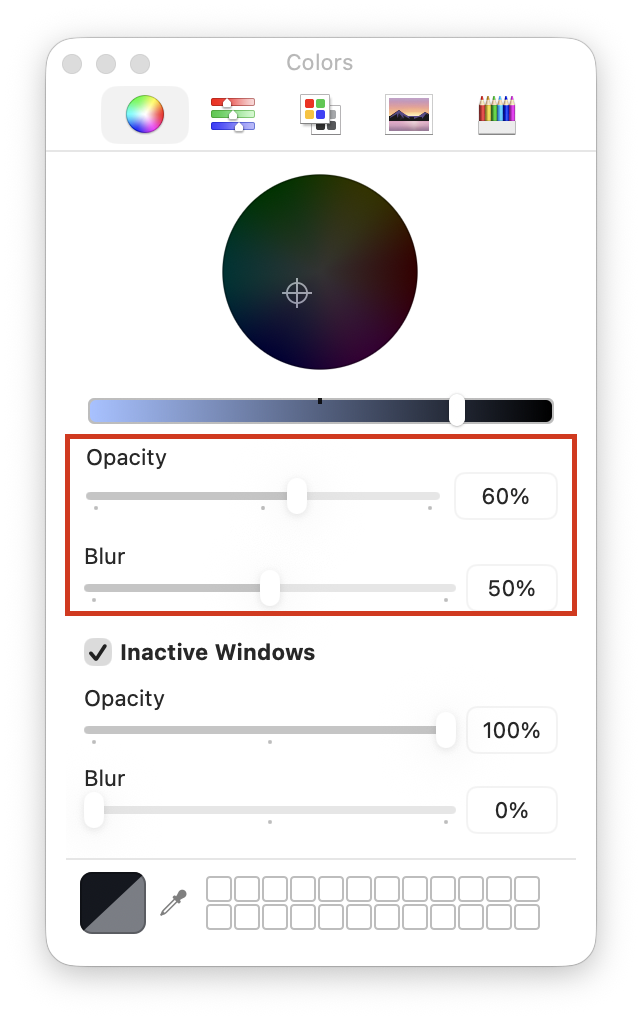
Next, I’ll tweak the appearance of the Terminal window itself, making it slightly more transparent (and less blurry).
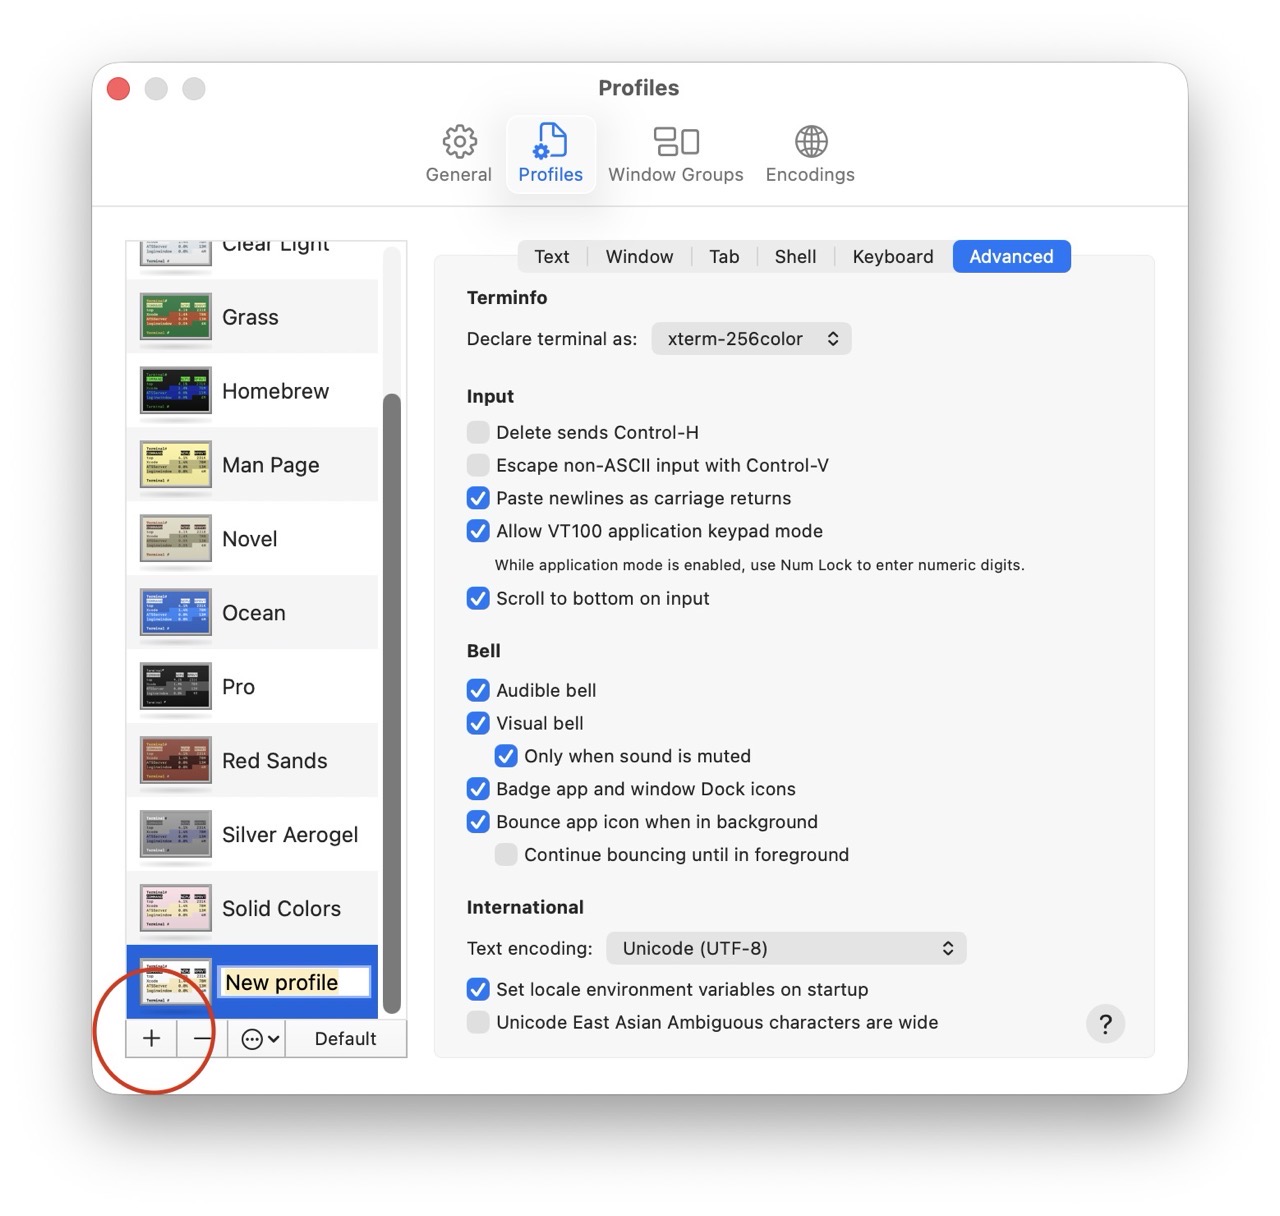
With the new Terminal appearance settings in place, they must be saved. (I recommend saving them into a new profile.)
More often than not, I want two Terminal windows open at the same time. macOS Terminal does offer this option, but it’s not super obvious.
Here’s how I set it up.
1) Open two terminal windows. Adjust the window size for both windows as needed. (I’ve stacked them vertically, one atop the other.)
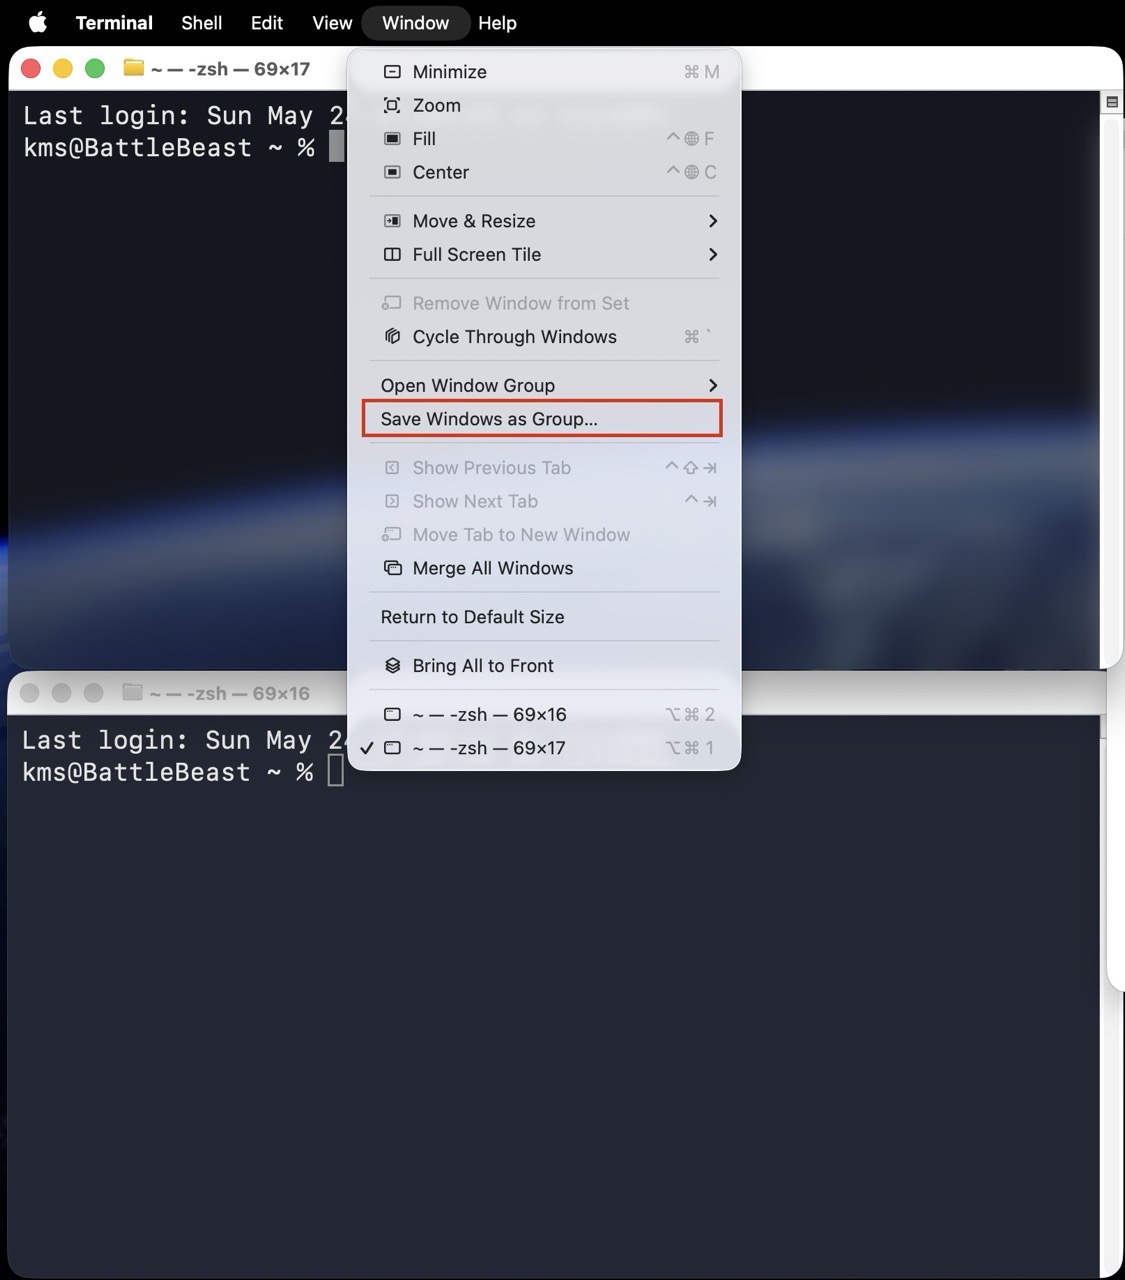
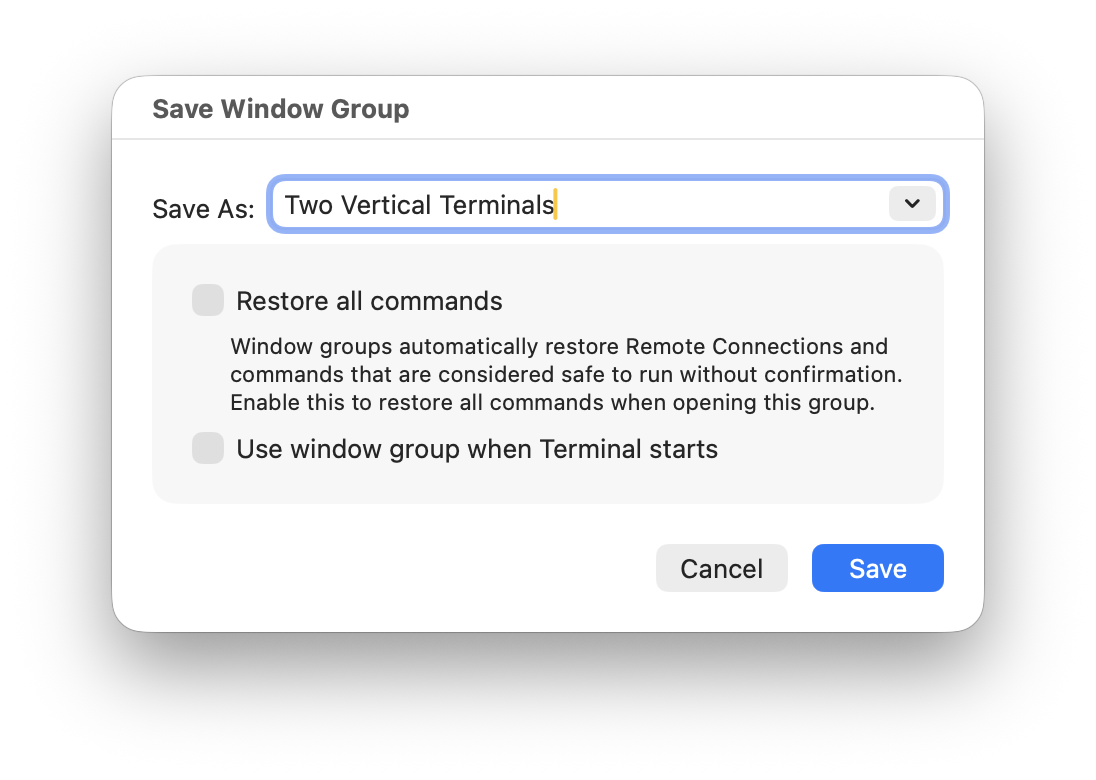
2) In the menubar, select Window > Save Windows as Group and provide a descriptive name.
3) Lastly, set this Window Group to automatically open on startup.
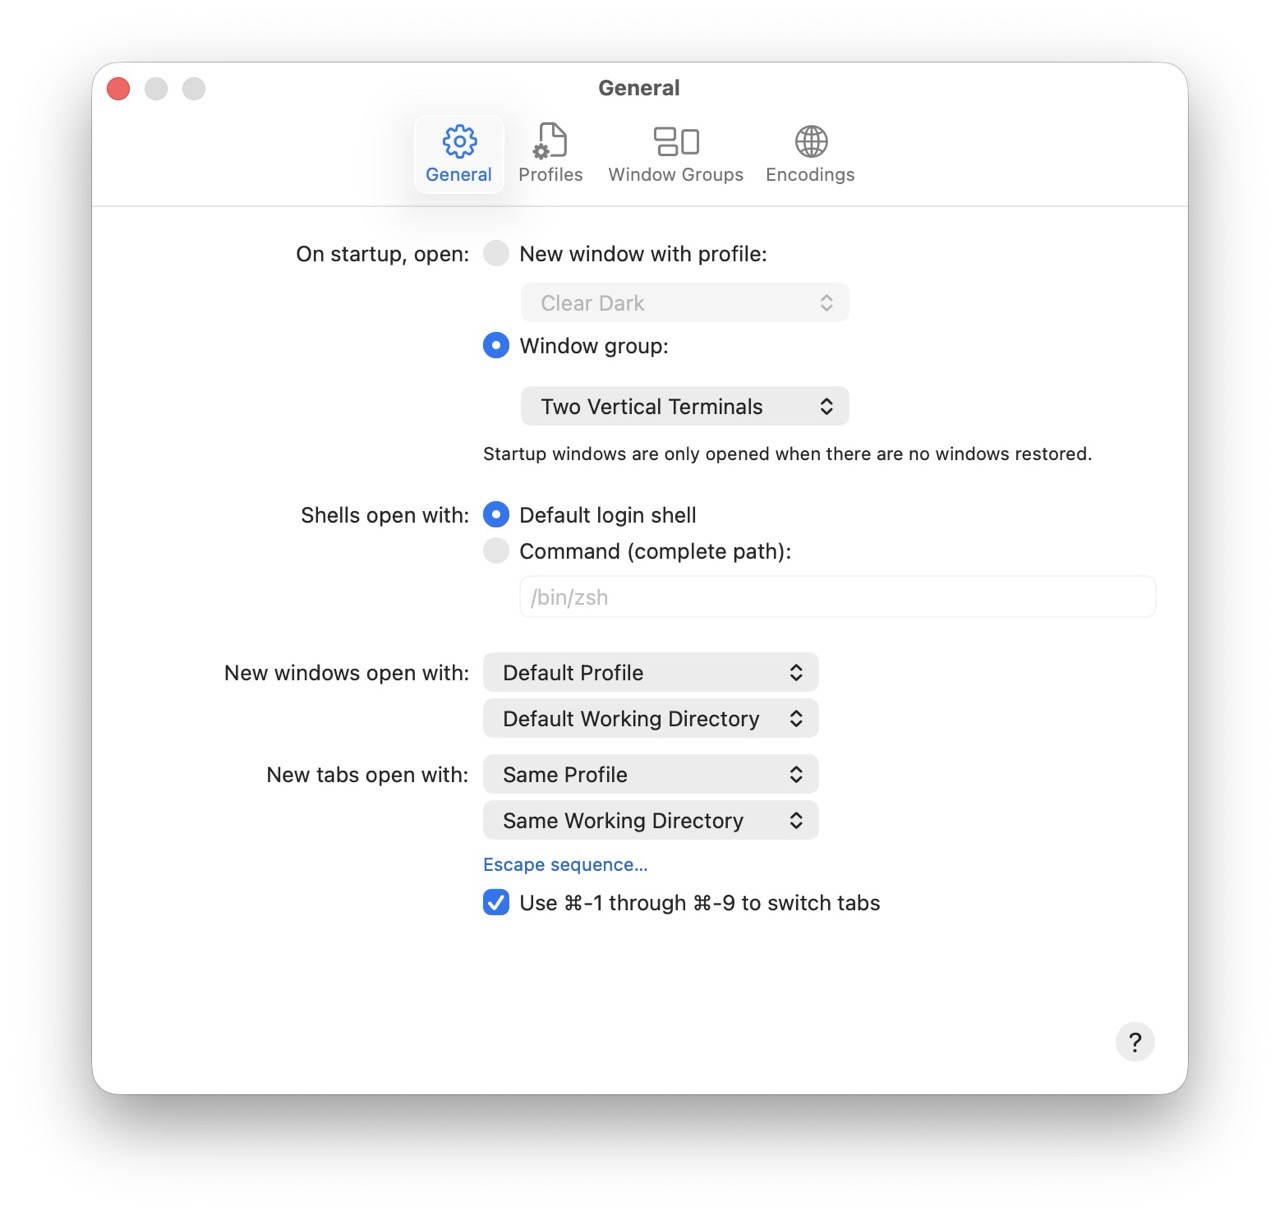
Each time I launch the Terminal, I’ll now see two vertically stacked Terminal windows. There’s plenty more configuration left to do within the Terminal itself, but I’ll save that for a future post.
-Krishna