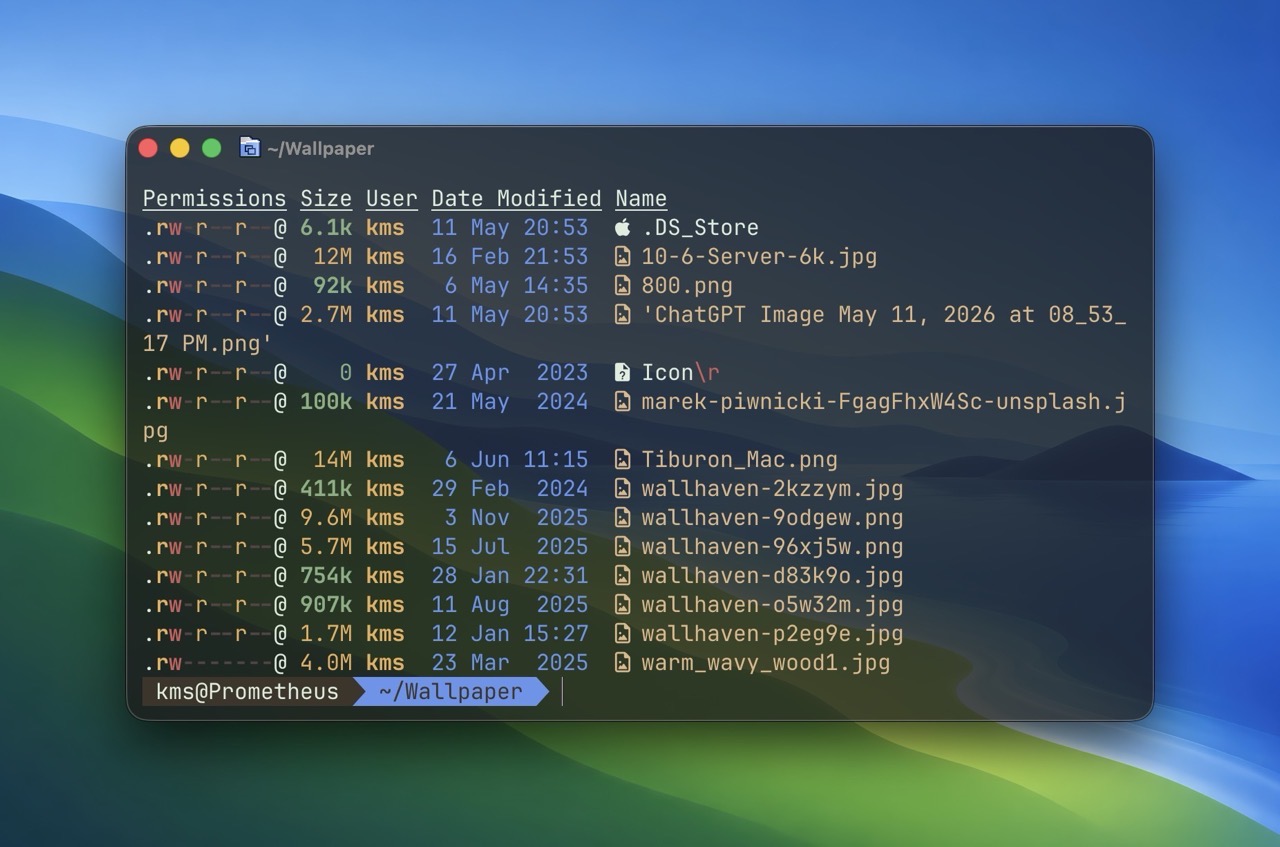
For those who are interested, my latest post for OWC Rocket Yard shares more detail about Ghostty, a modern terminal replacement for macOS. I have Ghostty installed on all three of my Macs, and working within its environment has been a delight. So much so that I can’t fathom the thought of using Apple’s staid Terminal app.
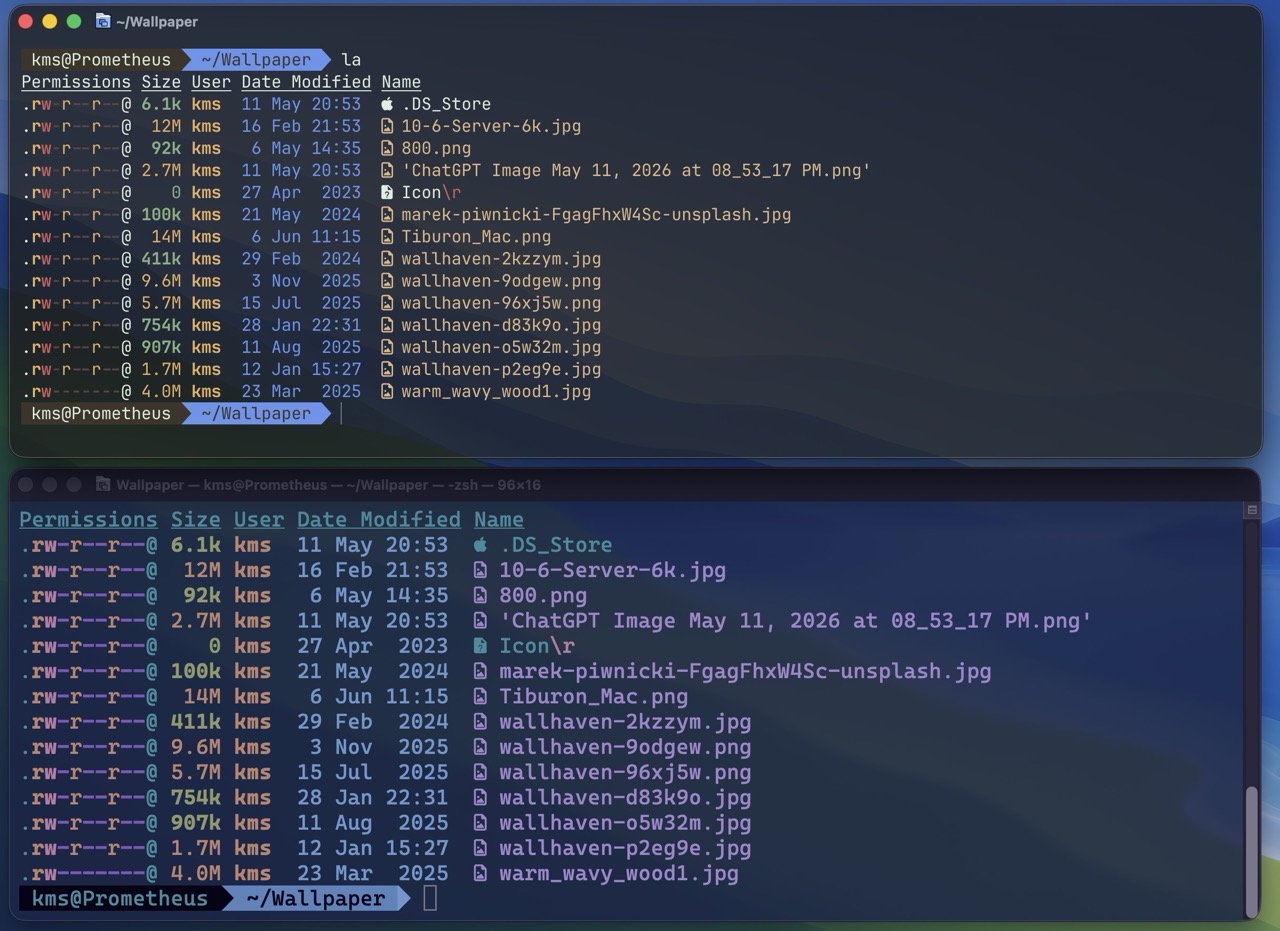
The image below shows a comparison between Ghostty (top) vs Apple’s Terminal (bottom). Notice how sharp and crisp the text appears in Ghostty, compared to Terminal. Unlike the Terminal, Ghostty does a great job of displaying content within smaller window sizes.
Using Ghostty has been a pleasant experience. It feels modern and clean, making the Terminal.app seem dated by comparison. Similarly, adding Homebrew has made the command line experience much more enjoyable. One big benefit with Homebrew is that I can quickly install and remove apps right from the shell.
Some of my favorite command line apps are:
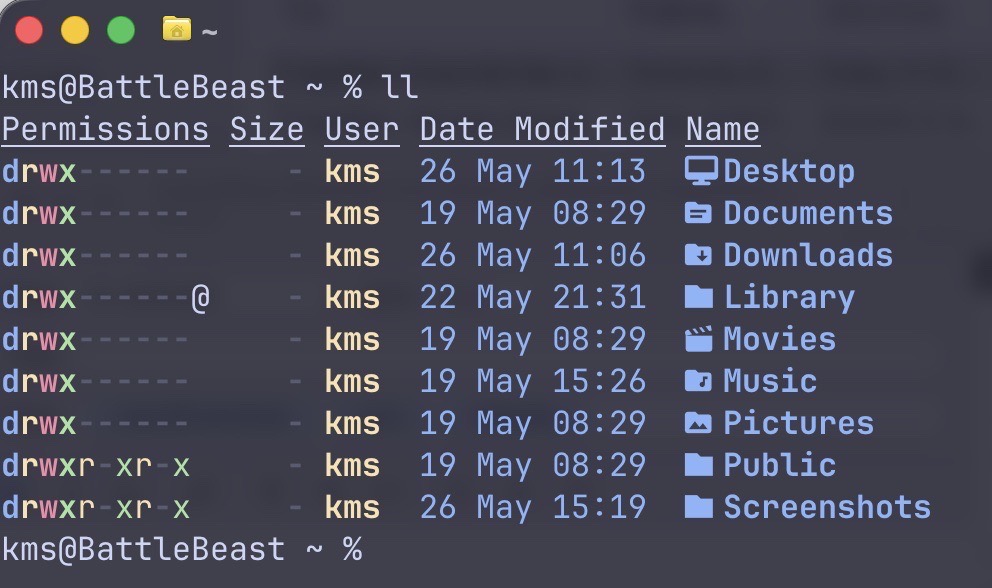
1) eza. (This command is a modern replacement for ls.) My favorite command is eza’s built-in tree command, which lets me view the structure of my folder hierarchy.
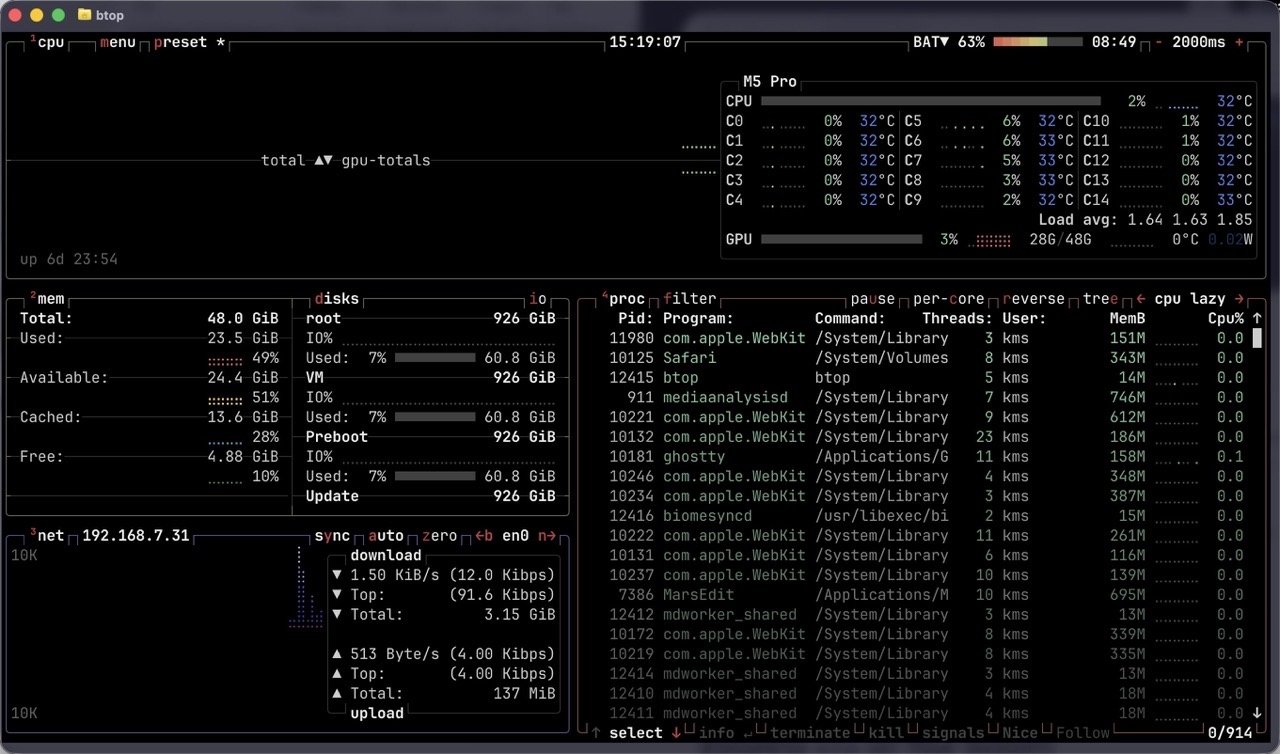
2) btop is a more modern and visually parsable implementation of the classic top command. Invoking btop lets me glance at Mac’s memory, CPU usage, battery charge level and more.
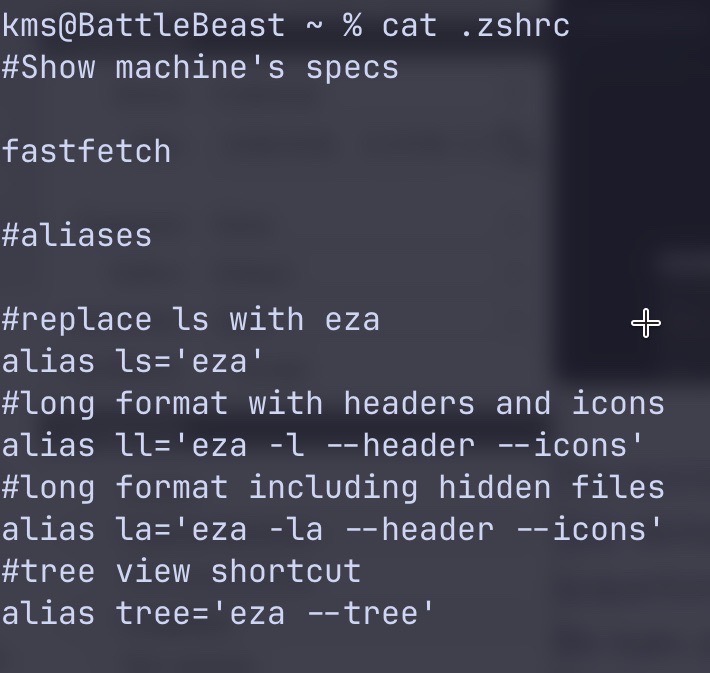
3) bat is a modern spin on the venerable cat command. I use bat for quickly viewing the contents of a text file from the command line. Below is the output when running cat.
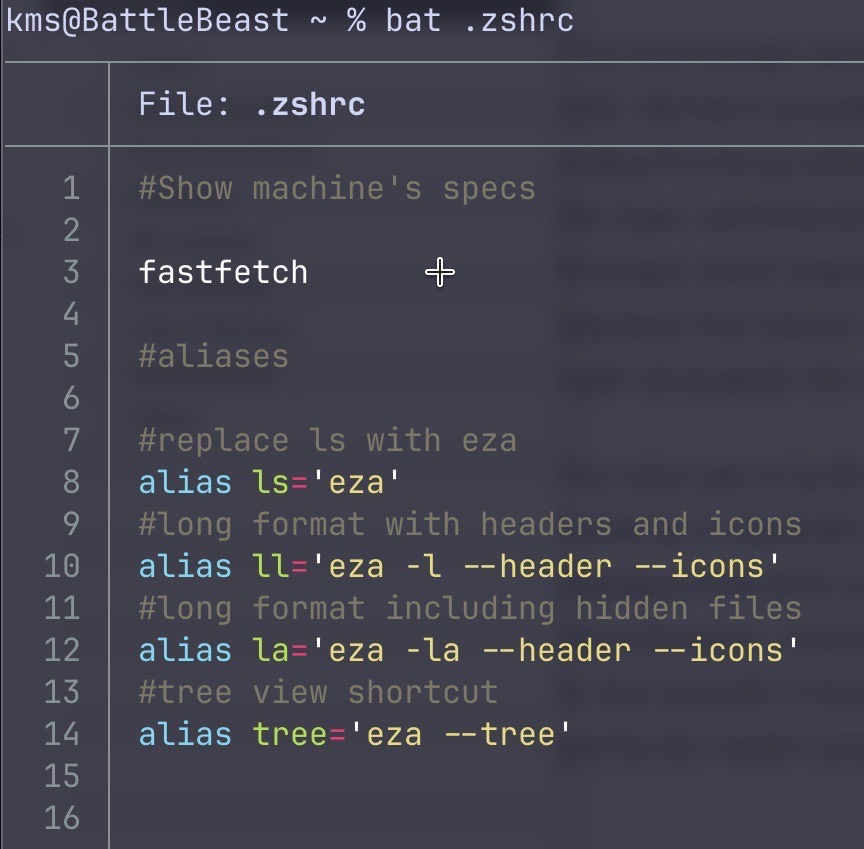
And now, the same result when running bat. The information appears in a much clearer format, complete with line numbers and color coding.
With Homebrew installed, these apps were all easily added by typing:
brew install <app>
This go around, I’m reallly focusing on keeping an organized, annotated and manageable.zshrc file.
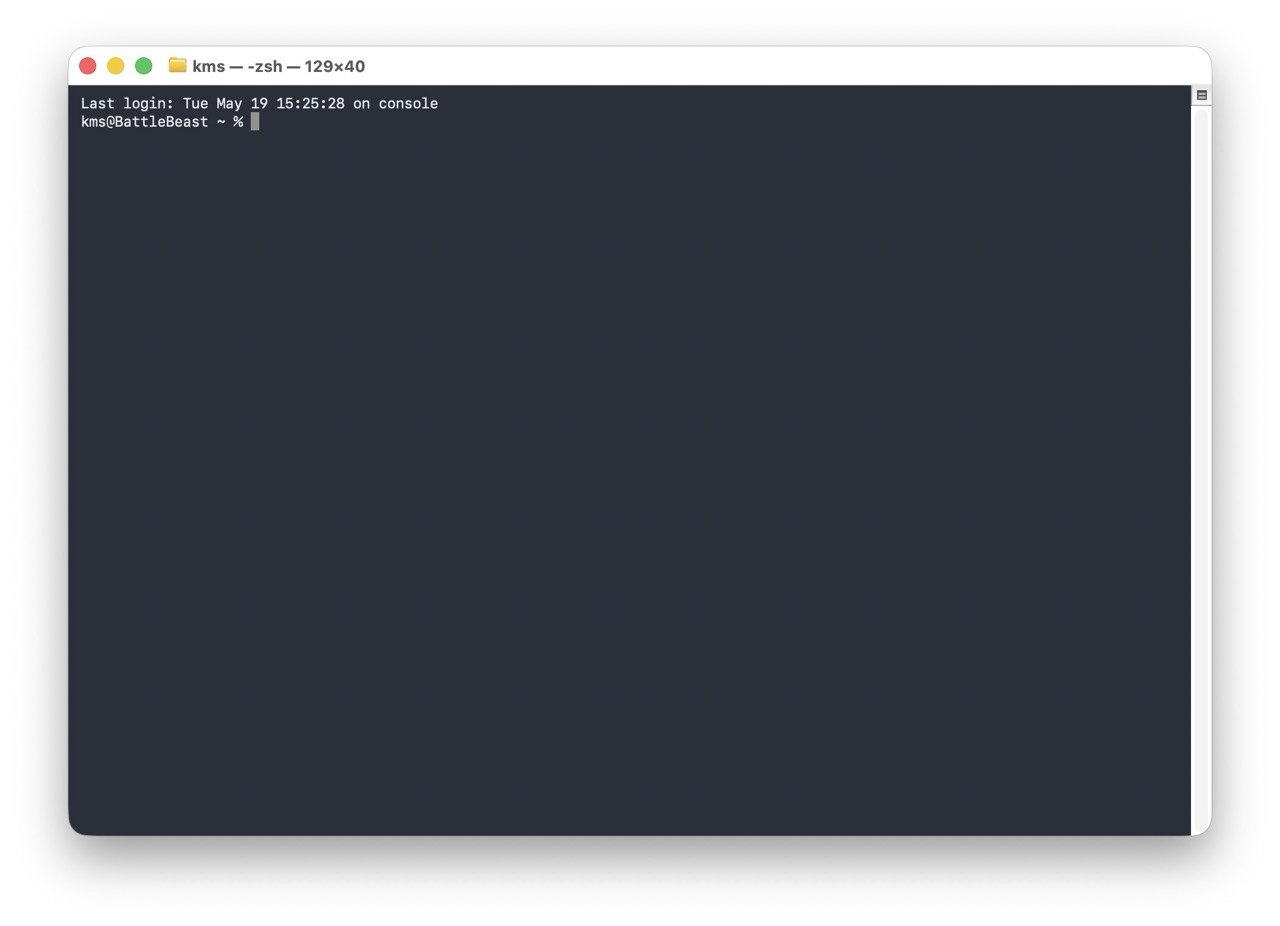
This post will focus on how I configured the macOS Terminal from its default settings. Here’s how it looks, on first launch from a fresh macOS install. The type is unbelievably tiny (for me).
Let’s get started.
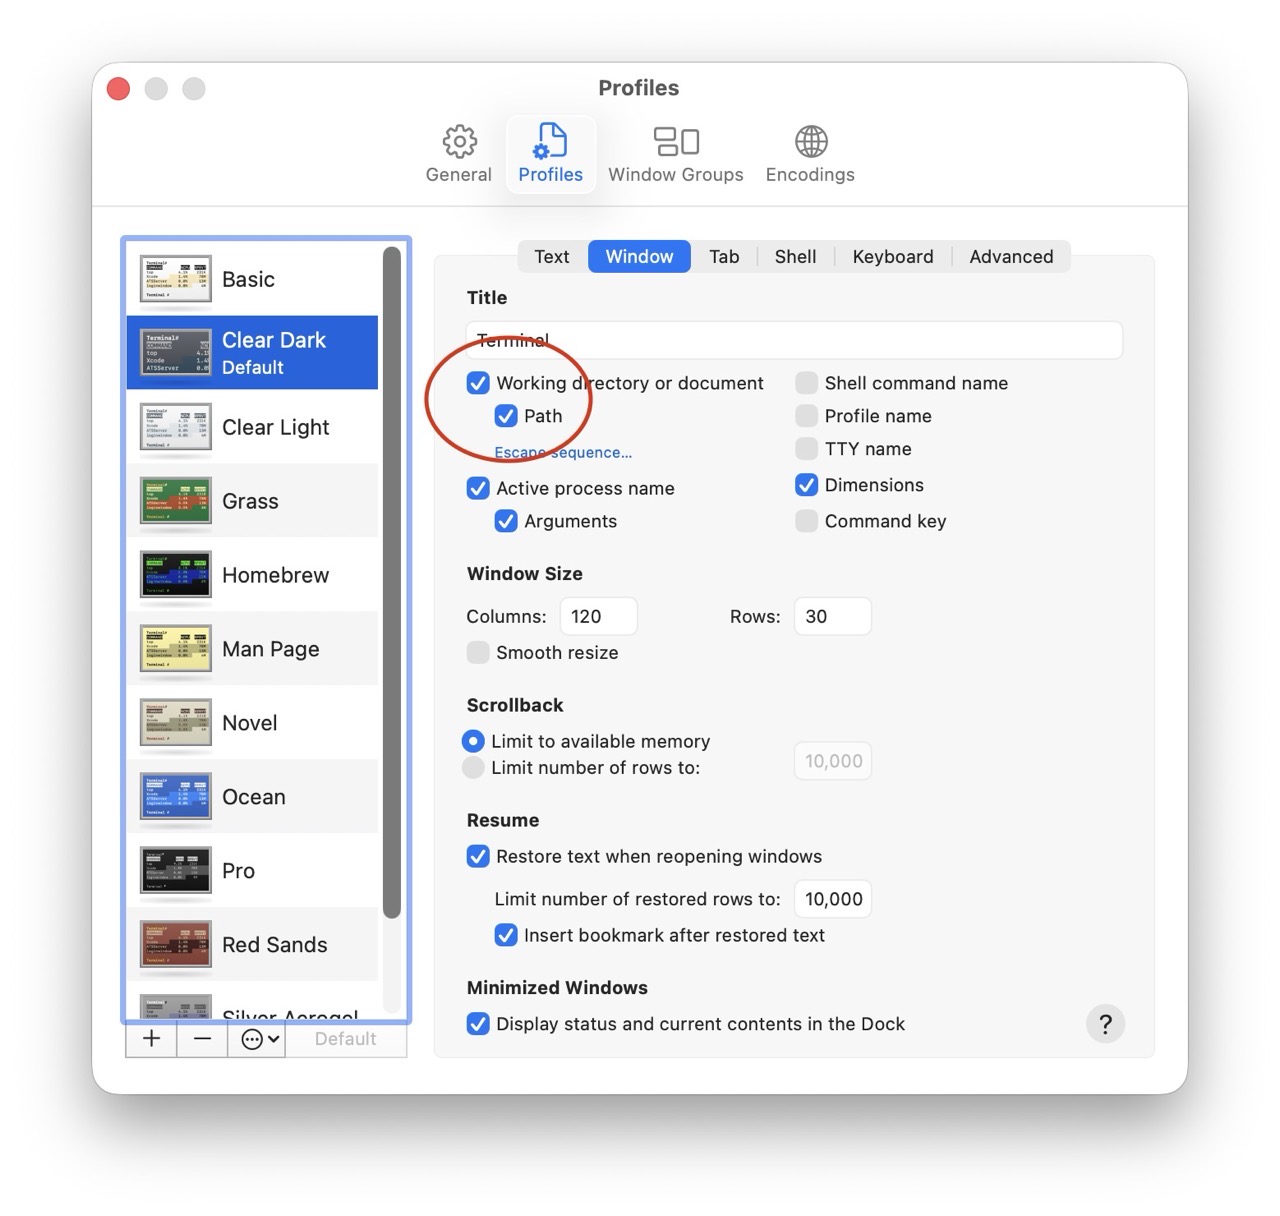
In Terminal’s Settings panel, I have checked “Working Directory” and “Path”. These parameters will show up on the Window title bar for a new Terminal session, making each Terminal window more descriptive.
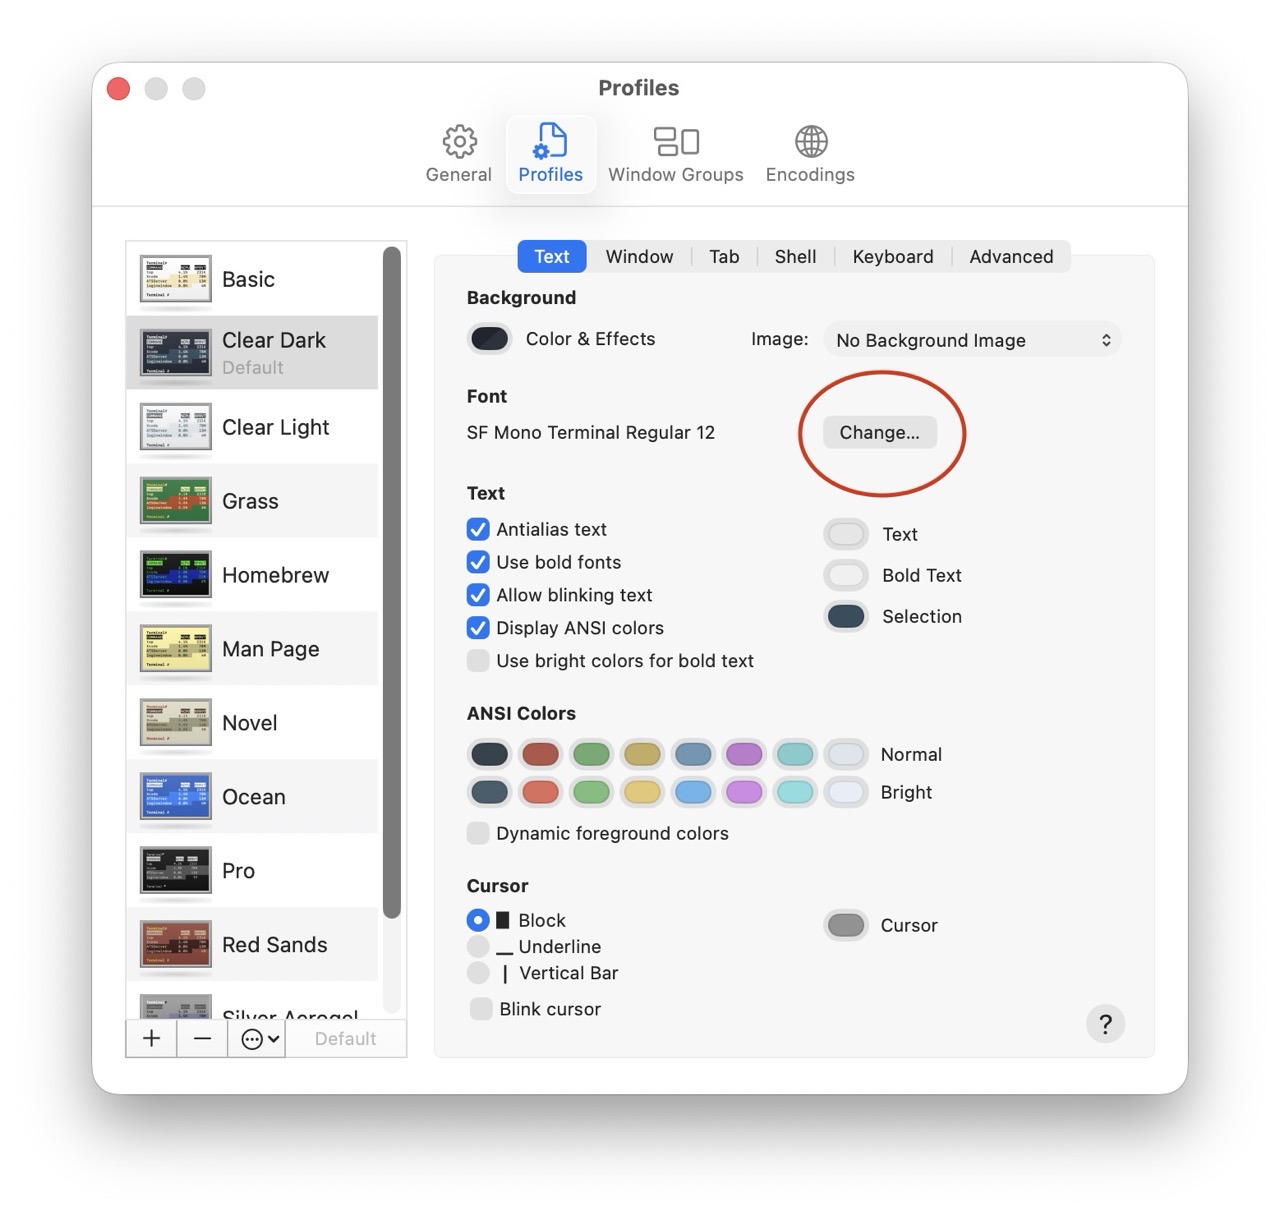
Next, let’s increase the size of the terminal font. (12 pt is too small, so I’ve bumped the size up to a respectable 18 pt.)
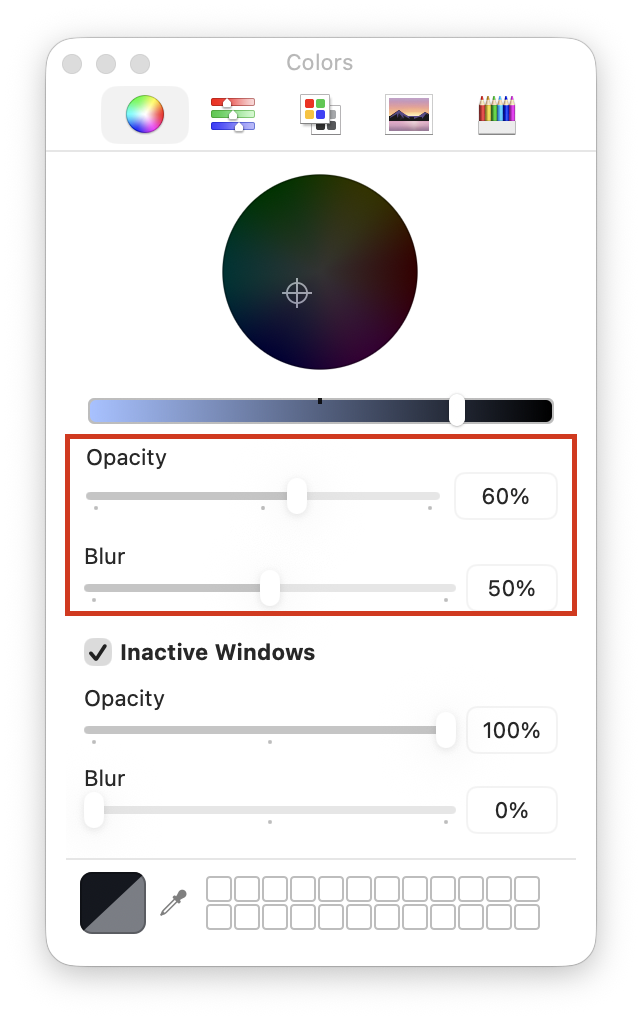
Next, I’ll tweak the appearance of the Terminal window itself, making it slightly more transparent (and less blurry).
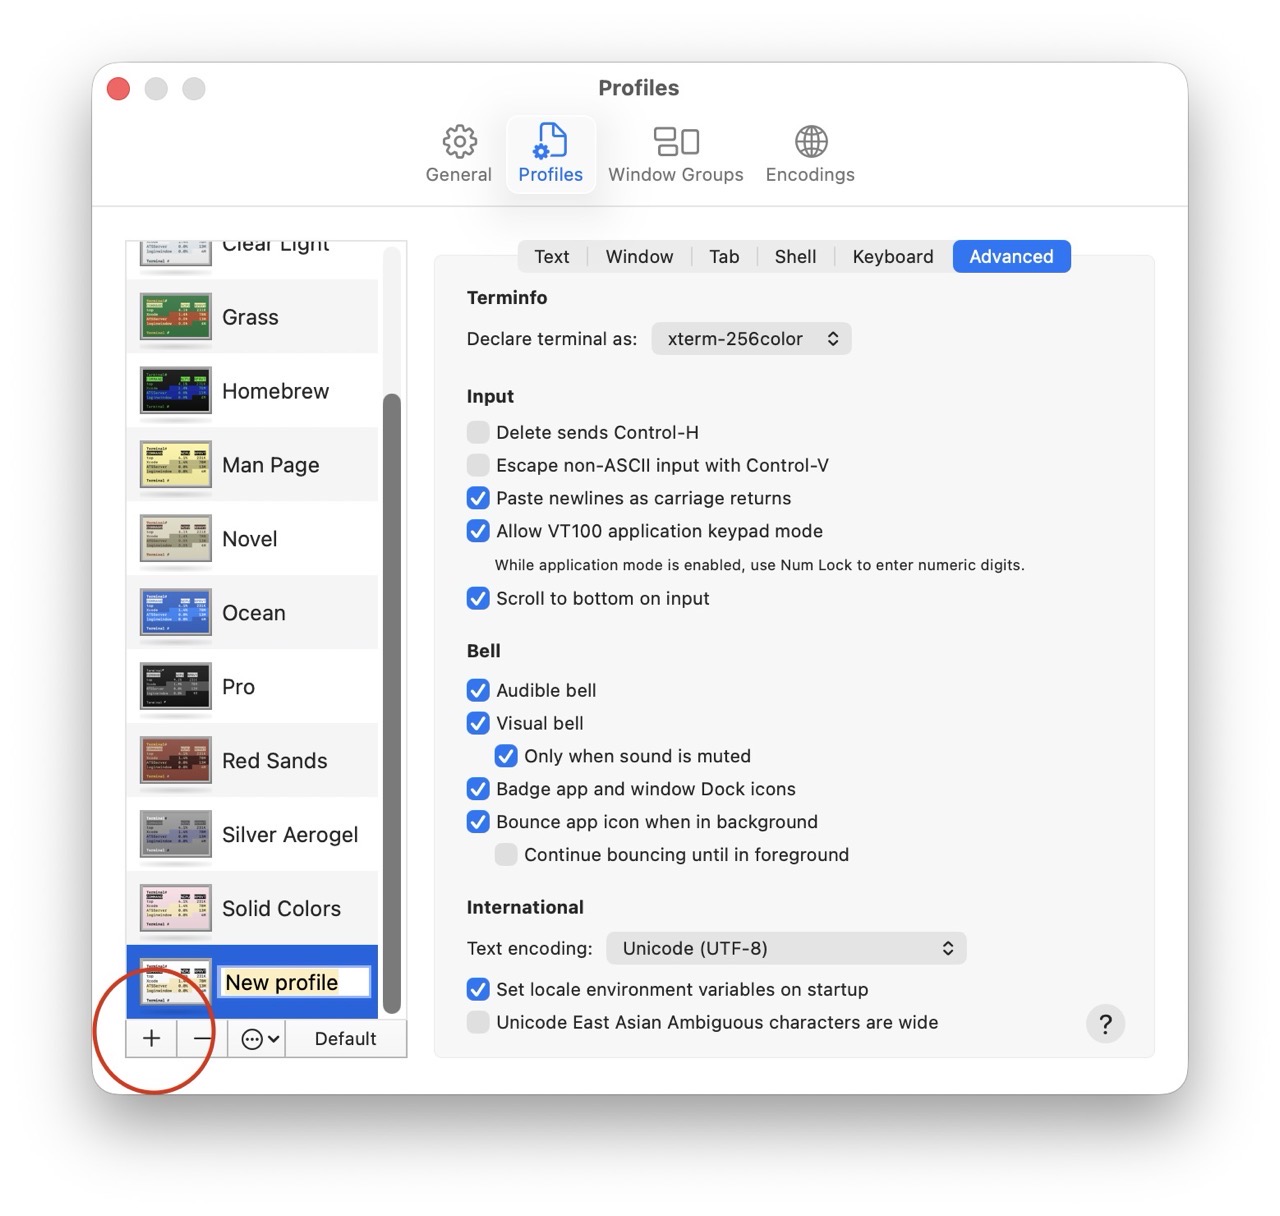
With the new Terminal appearance settings in place, they must be saved. (I recommend saving them into a new profile.)
More often than not, I want two Terminal windows open at the same time. macOS Terminal does offer this option, but it’s not super obvious.
Here’s how I set it up.
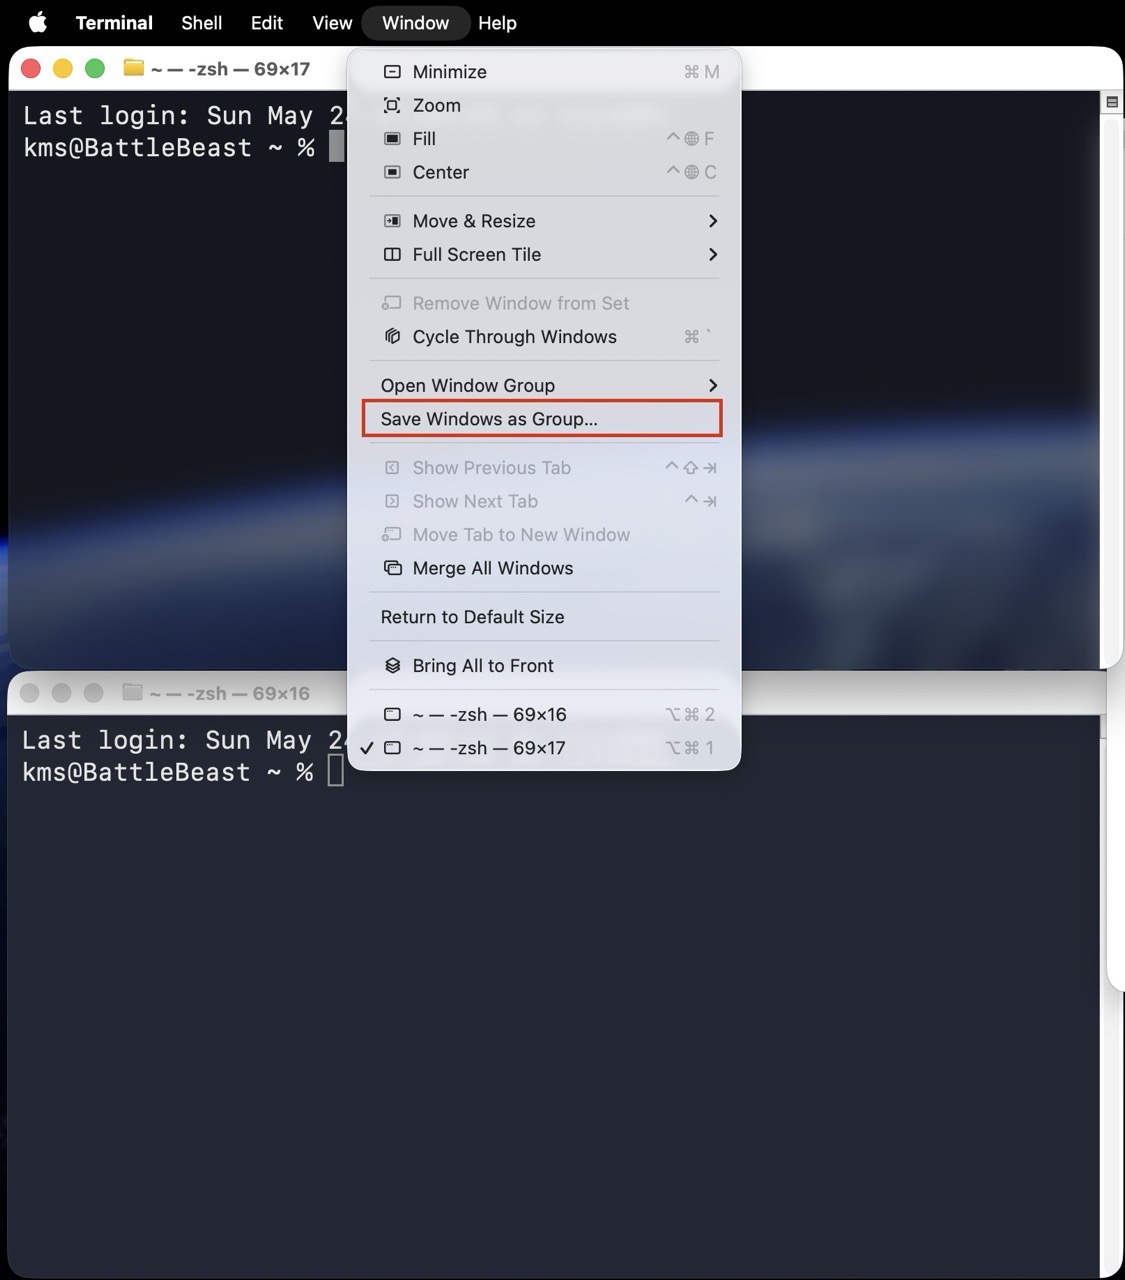
1) Open two terminal windows. Adjust the window size for both windows as needed. (I’ve stacked them vertically, one atop the other.)
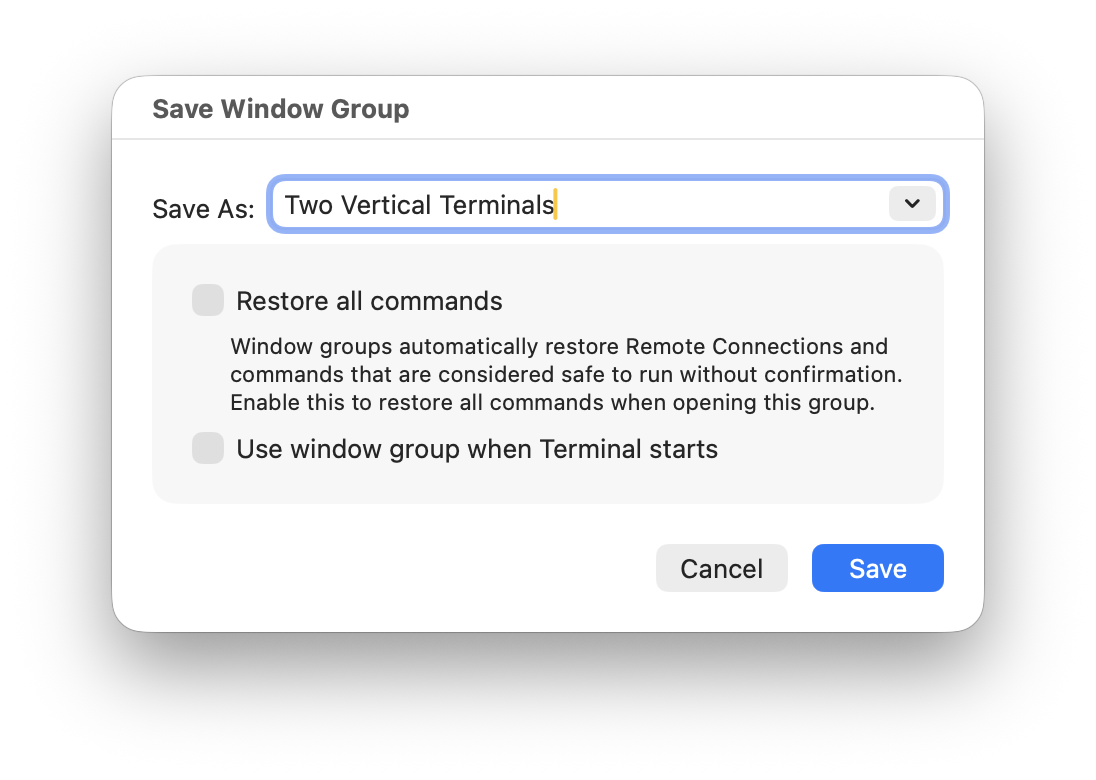
2) In the menubar, select Window > Save Windows as Group and provide a descriptive name.
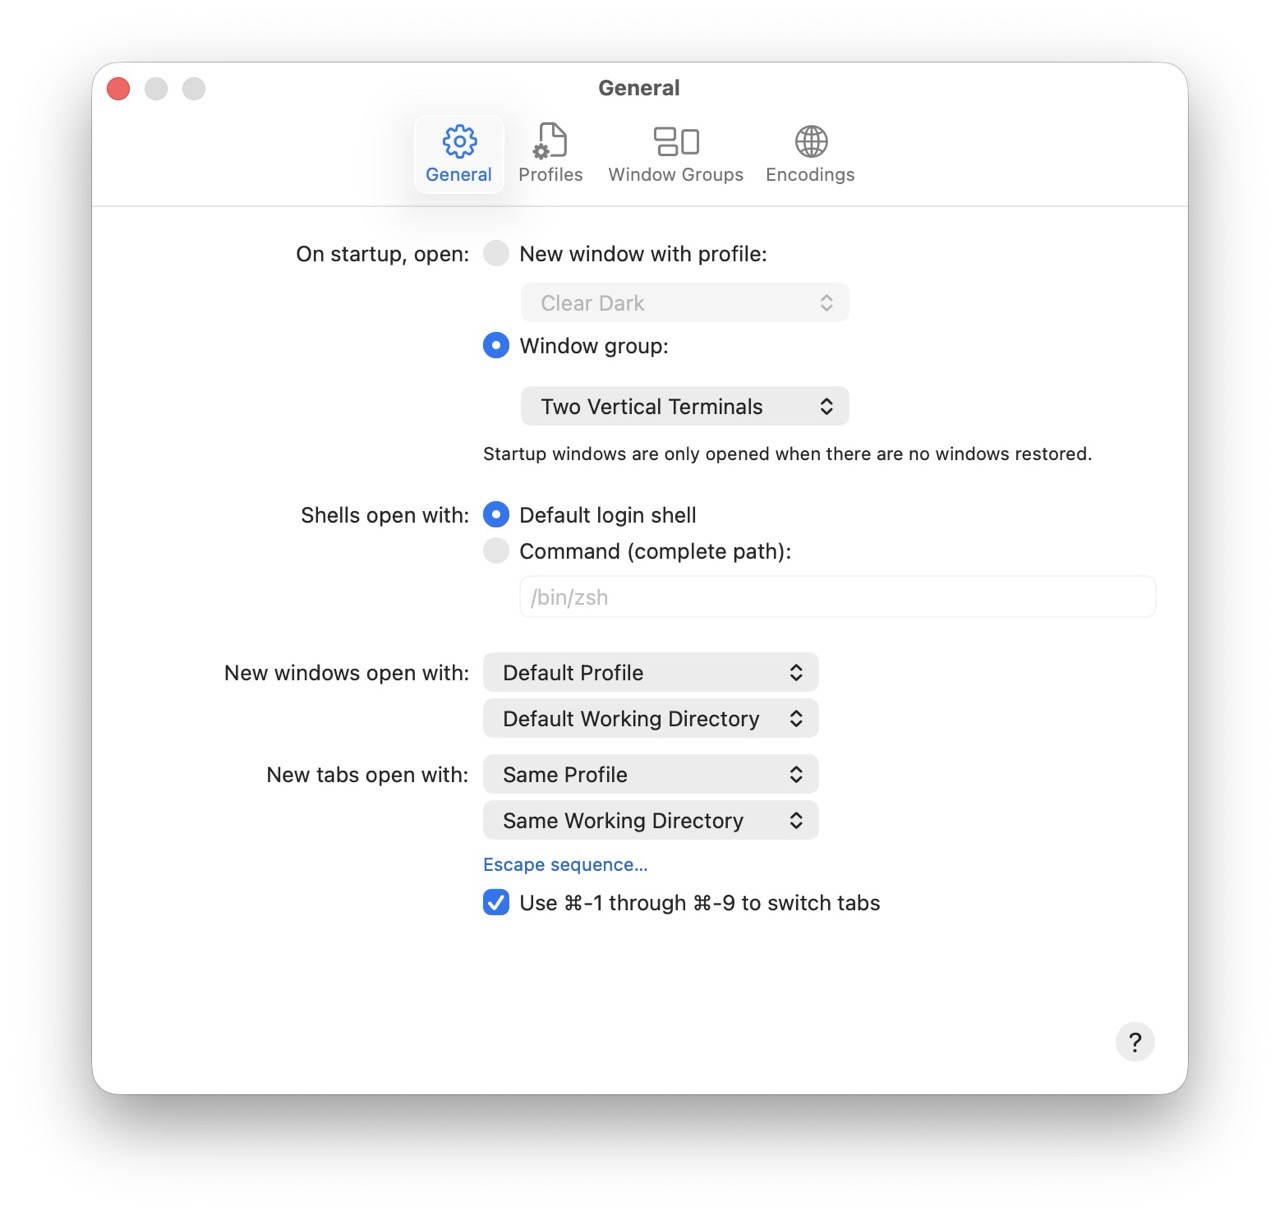
3) Lastly, set this Window Group to automatically open on startup.
Each time I launch the Terminal, I’ll now see two vertically stacked Terminal windows. There’s plenty more configuration left to do within the Terminal itself, but I’ll save that for a future post.