
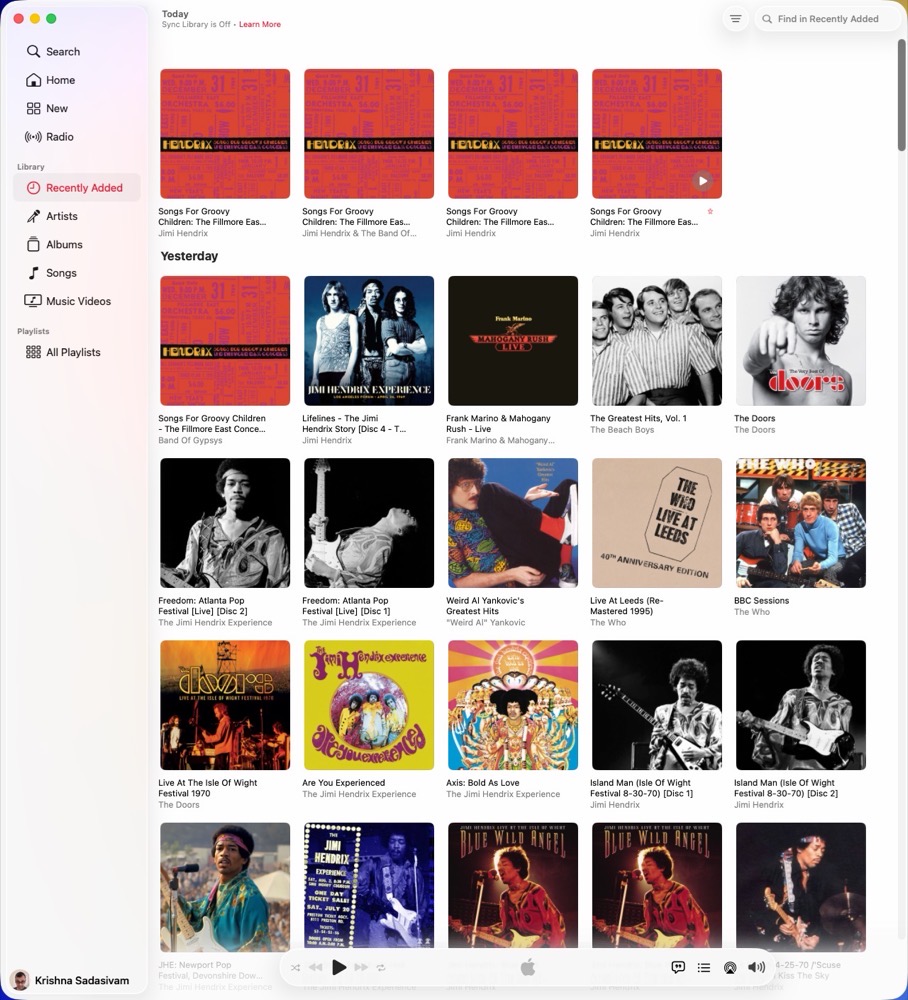
I haven’t enjoyed Apple Music in years. Its user interface is a mess. The Music app has become increasingly intertwined with Apple’s streaming service. As a result, my own music collection—albums I’ve purchased and CDs I’ve ripped—has become mixed together with music that belongs to Apple Music. Adding insult to injury, Apple Music’s menus and dialogs are confusing.
In short, I hate what Apple Music has become.
This week, I made the decision to divorce my music library from Apple Music’s streaming service. Henceforth, my Apple Music library will only contain music I have purchased or ripped from my sizeable CD collection. Since I can’t easily separate MY music from Apple’s, I’m starting from scratch with a new Music library. It will live on an external storage device.
To keep this project from overwhelming me, I’ve put three guidelines in place for myself:
1) I will only rip albums I really like.
2) I will rip no more then 10 albums per week.
3) If I can’t find suitable (or high quality) album art for an album, I will replace it with artwork that fits the album.
Part 1: Prepping the Landscape
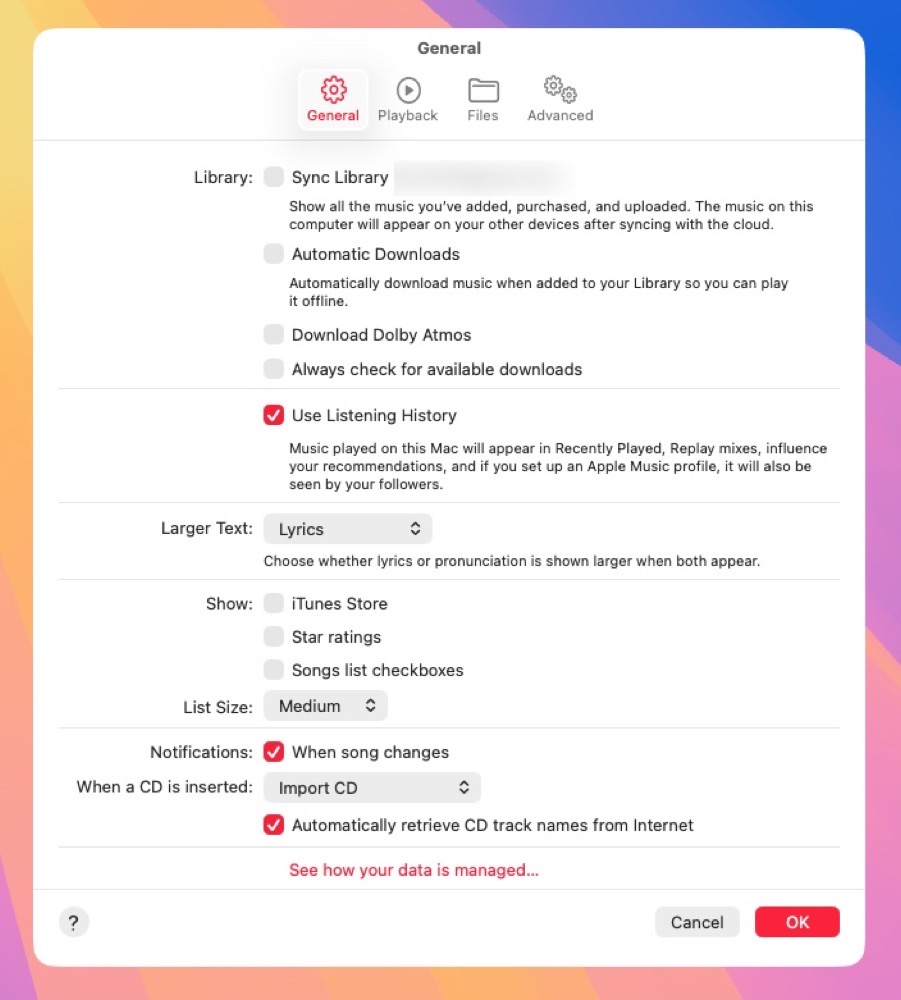
If you have Apple Music Sync checked in Apple Music > Settings > General, uncheck it. This prevents Apple Music from merging your local library with your streaming library. My General tab looks like this.
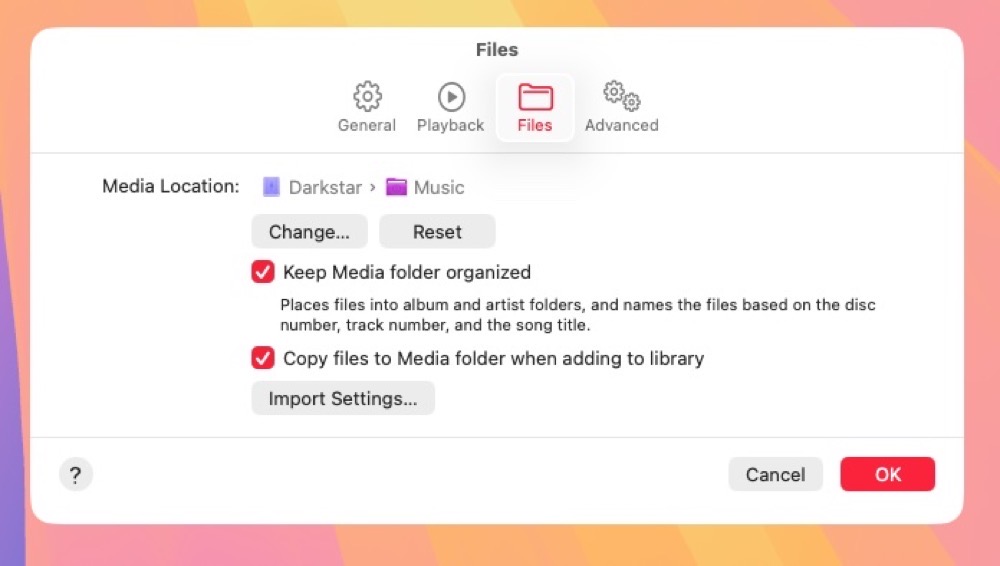
The location of your Apple Music library is found under Apple Music > Settings > Files. Note this down. Quit the Apple Music app if it’s already open. Next, find your existing Apple Music media folder and rename it. I’ve called mine Apple Music Archive. Apple Music has both a library database (Music Library) and the media folder.

Launch the Apple Music app, while holding down the Option key. Choose Create Library…
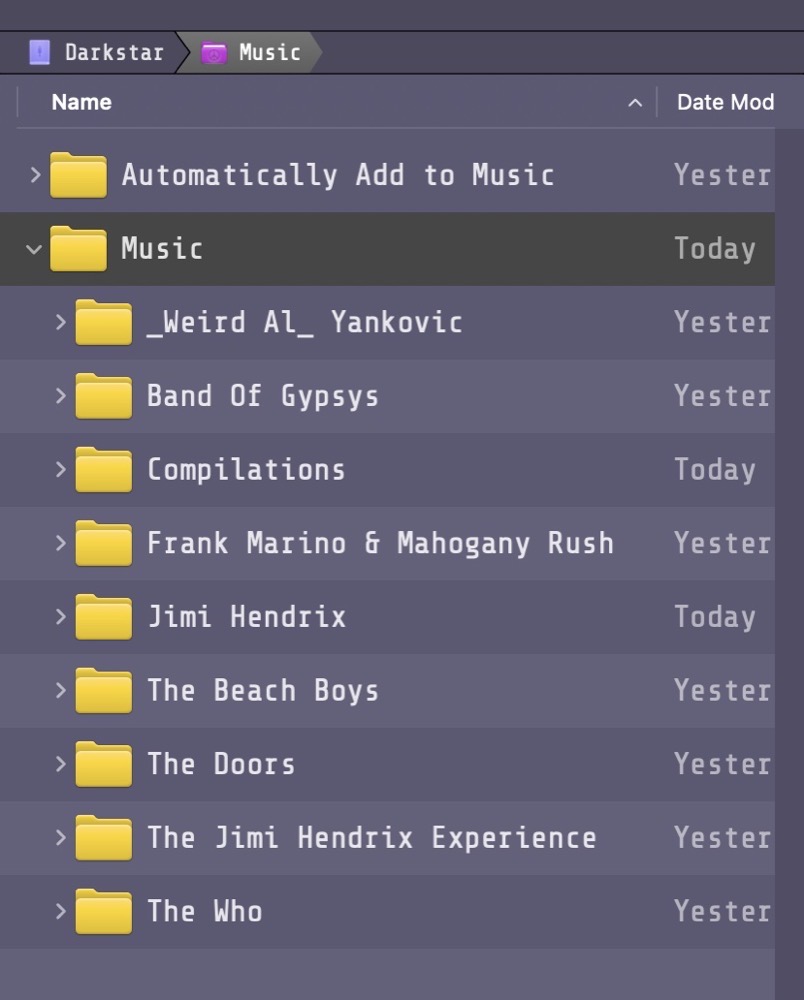
Next, make a new folder where you want your media folder to live. I recommend making this folder on the root level of an external drive. Open Apple Music > Settings > Files and change the media location to your new folder. Keep the other options as is.
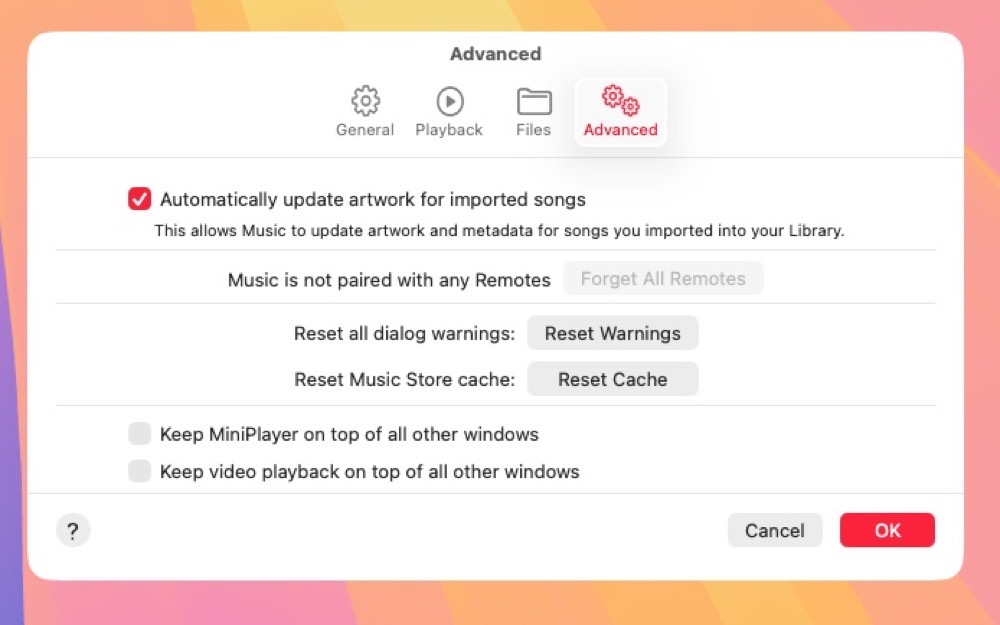
Under Apple Music > Settings > Advanced, I’ve elected to have Apple Music automatically update album art. Be prepared to replace it, especially if the album is niche (i.e. import, bootleg recording, etc.).
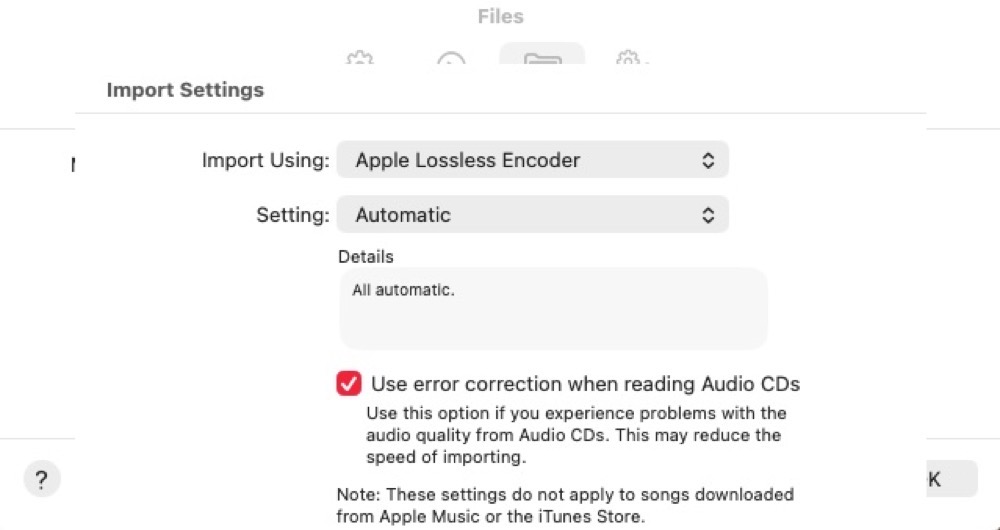
If you have purchased music from the iTunes Store, those purchases will automatically appear in your music library once you sign in with your Apple ID. (This is normal.) Before importing your CDs, make sure to choose Apple Lossless Encoder from Apple Music > Settings > Files > Import Settings. I also recommend checking Use Error Correction when reading Audio CDs.
Part 2: Rip your CDs
You’ll need a CD player with a USB interface connected to your Mac. Pop in an album. Apple Music will read the tracks from your disc. Import the entire album. (It’s faster, and you can always go back and remove tracks after the import if you need to.) Before importing, verify that the album title, artist name, and track names are correct. It’s much easier to fix metadata before importing than afterward.
Part 3: Organizing your Music Library
One of the unexpected benefits of starting over is that you can build a cleaner library than the one you had before. Remove duplicate albums, fix inconsistent artist names, update album artwork, and create playlists that reflect how you actually listen to music today.
Streaming is wonderful for discovering new music, but I’ve realized I don’t want my permanent music collection tied to a monthly subscription. Rebuilding my library will take time, but when it’s finished, every album in it will be mine. That’s worth the effort.
-Krishna