Author: Krishna

  • FrugalMac: Sorting out the Finder Sidebar and more

    FrugalMac: Sorting out the Finder Sidebar and more

    The first stop in changing the default Finder experience is Finder > Settings….

    Finder Settings.

    In the General tab, I have Hard disks, External Disks, and Connected Servers checked to be visible on the macOS Desktop. I also prefer having new windows open to show the Desktop.

    Next, let’s examine the standard Finder window sidebar. In its default configuration, it’s overwhelming.

    Default sidebar.

    I prefer to keep the sidebar as minimal as possible, only adding items that I absolutely need. Off to the Sidebar tab we go then.

    Finder Settings Sidebar.

    Everyone has their specific preferences, so adjust accordingly. Here’s what my Sidebar settings look like.

    Updated Finder Settings Sidebar.

    My Sidebar favorites only includes the Desktop as a visible option. I have several Locations checked, mostly to facilitate file access and file transfer between other machines on my local network.

    Here’s what my Sidebar looks like now:

    Updated sidebar.

    Incidentally, at this point, I’ve given my new laptop a name: BattleBeast. I think the name fits its intended purpose.

    -Krishna

  • What I Want from macOS in WWDC 2026

    What I Want from macOS in WWDC 2026

    A few days ago on the Rocket Yard blog, I pontificated on features and fixes I’d like Apple to include in macOS 27. My hopes are not high, particularly due to the rumors swirling around Apple’s intent to deeply embrace AI integration within their numerous operating systems. Nevertheless, my wish list may resonate with other Mac users. 

    At this moment in time, macOS 26.5 seems fine, in terms of its overall stability in my day-to-day use. I’ve tested it on both the Mac mini M4 and the M1 Pro MacBook Pro. If you’ve been avoiding Tahoe, now may be the time to give it a spin.

    With the M5 Pro MacBook Pro, I’m hoping to establish a clear Tahoe baseline. Some of the smaller annoyances I’m experiencing with macOS Tahoe on my M1 Pro model may stem from years of accumulated cruft.

    -Krishna

  • FrugalMac: Unboxing and Initial Setup of an M5 Pro MacBook Pro

    FrugalMac: Unboxing and Initial Setup of an M5 Pro MacBook Pro

    I’m typing this post within a few minutes of unboxing my new M5 Pro MacBook Pro. I’ll share a few obligatory photos, but I’ll skip past the usual commentary on the build quality and aesthetics.

    The mbp box.

    Mbp first look.

    Mbp out of the box.
    Mbp cable and charger.

    M5pro MBP first boot.

    The new machine is, in just about every instance, identical to my M1 Pro MacBook Pro. 

    A few bits of ephemera:

    • The unboxing experience is still absolutely a delight.
    • The MacBook Pro comes with a braided USB-C cable and charger.
    • macOS Tahoe 26.4 is installed.
    • Apple presents only two update options: Update Automatically or Only Download Automatically.
    • The machine will be configured as a new setup, using my existing Apple ID.
    • The battery charge out of the box is 85%.
    • I have kept Apple Intelligence / Siri on (for now).
    • In Settings, the Mac is already set for Optimized Battery Charging.

    The only observable difference between both two machines, when comparing them side by side, is the keyboard. On the M5 Pro model, Apple has omitted text on six key caps: tab, caps lock, left shift, right shift, delete, and return. While it does give the keyboard a cleaner look, I prefer the original layout. (Veteran Mac users will not have any issue, but new users, particularly those coming over from Windows, may encounter some friction.)

    In my next post, I’ll share my thoughts on the default macOS Desktop experience. Spoiler alert: I hate it.

    -Krishna

  • Using Vector Techniques with Raster in Digital Art

    Using Vector Techniques with Raster in Digital Art

    Time and space montage.

    Lately, I’m experimenting with the idea of incorporating vector elements within my raster-based digital art. I’ve been a serious Photoshop user for over 20 years; it’s a tool I’m very comfortable with.

    While I’ve used Adobe Illustrator before, I’ve always kept my vector work separate from my raster art. My latest instructional video goes over two techniques in Illustrator that I use to manipulate vector shapes. Once I’m happy with the result, I can bring the vector work into Photoshop as a Smart Object for further alteration.

    I plan to make a few more videos on this subject, and look forward to sharing my discoveries.

    -Krishna

  • FrugalMac: The Rationale

    FrugalMac: The Rationale

    Tasks and errands got the best of me for most of the day, which means I still haven’t opened the box containing my new M5 MacBook Pro. (It will happen tomorrow, I promise.) 

    (Incidentally, the featured image for this post is of my M1 Pro MacBook Pro, shortly after it was unboxed.)

    In my last post, I wrote about why and how I plan to use this new laptop. Today I wanted to share the rationale for the specific configuration I chose for my new Mac laptop. 

    1. Silver vs. Space Black

    I chose Silver over Space Black after much internal debate. The Space Black MacBook Pro model looks sleek and sophisticated. I seriously considered it, but two things held me back: fingerprints and scratches. I take great pride in keeping my Macs pristine. Reports from users on various Mac reddit groups suggest that although Space Black looks good, it takes more upkeep to maintain. I suppose I could deal with a fingerprint-laden case, but visible scratches (from rings, watches, and plugging peripherals in and out) made Space Black  a no-go for me.

    2. 14” vs. 16″

    I value portability over screen size. If I need to use a bigger screen, I can do so by plugging my laptop into an external display. Therefore, the 14” model was an easy pick. At work, I have access to a 16” M3 Max MacBook Pro. Despite it’s larger screen size, it’s far too big and bulky for me to tote around.

    3. 48GB RAM

    My M1 Pro MacBook Pro was outfitted with 32GB of RAM. I plan to use the M5 Pro MacBook Pro for at least five years or more, so I bumped RAM up to what I was comfortable with. Truthfully, for the work that I do, I could have probably settled for 24GB of RAM. But I didn’t feel like settling. Besides, I’ve never, ever regretted having more RAM in any one of my Macs. 

    4. 1TB storage

    I’m very selective when it comes to the applications and files that live on my MacBook Pro’s internal drive. I have never used more than 350GB of storage space for apps / files on the M1 Pro’s 1TB drive. (Most of my files live on external drives.)

    5. Binned vs. Non-Binned

    I opted for the Binned variant CPU/GPU, largely based on the test results conducted by several YouTubers. For the type of work I do, I’m fine with waiting a few extra seconds. The extra cost for the non-binned CPU didn’t seem worth springing for. The 15 CPU cores and 16 GPU cores in the M5 Pro will be a massive step up from the 8 core (6 Performance and 2 efficiency) setup I have in the M1 Pro.

    Extensive research and careful deliberation led me to this decision. Soon, I’ll be putting my new machine to the test. Now if you’ll excuse me, I’ve got a box to open…

    -Krishna

  • FrugalMac: The Right Mac, Bought Once

    FrugalMac: The Right Mac, Bought Once

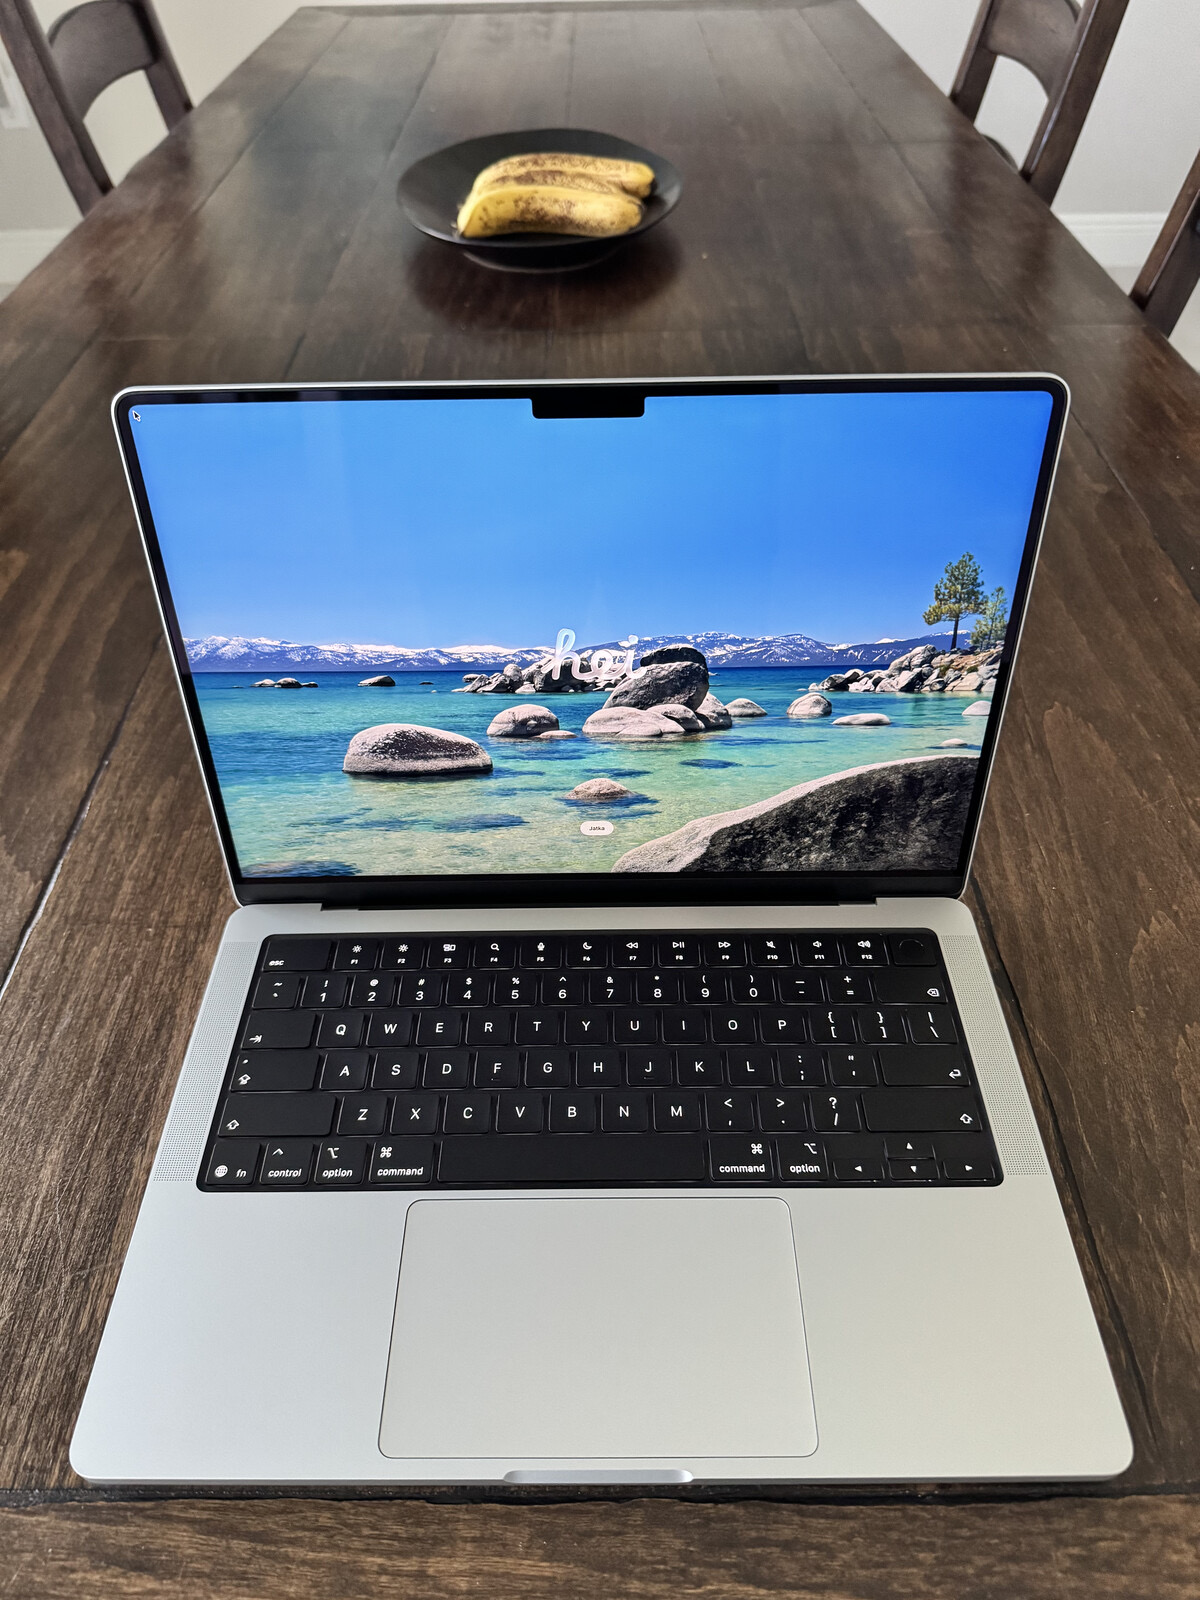
    In early May, I pulled the trigger on a custom-configured M5 Pro MacBook Pro.

    Its specifications are as follows:
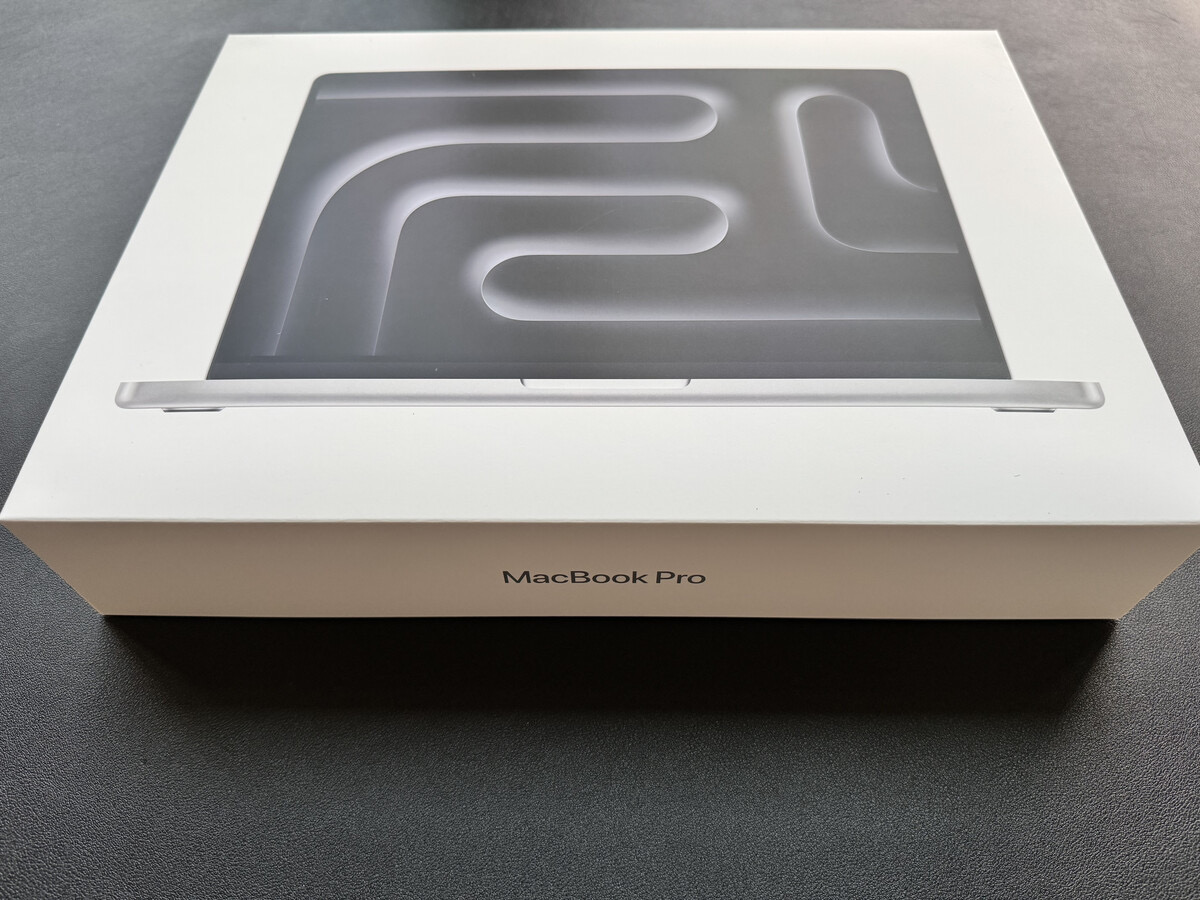
    • 14″ Silver
    • 48GB RAM
    • 1TB internal storage
    • 15-core CPU
    • 16-core GPU

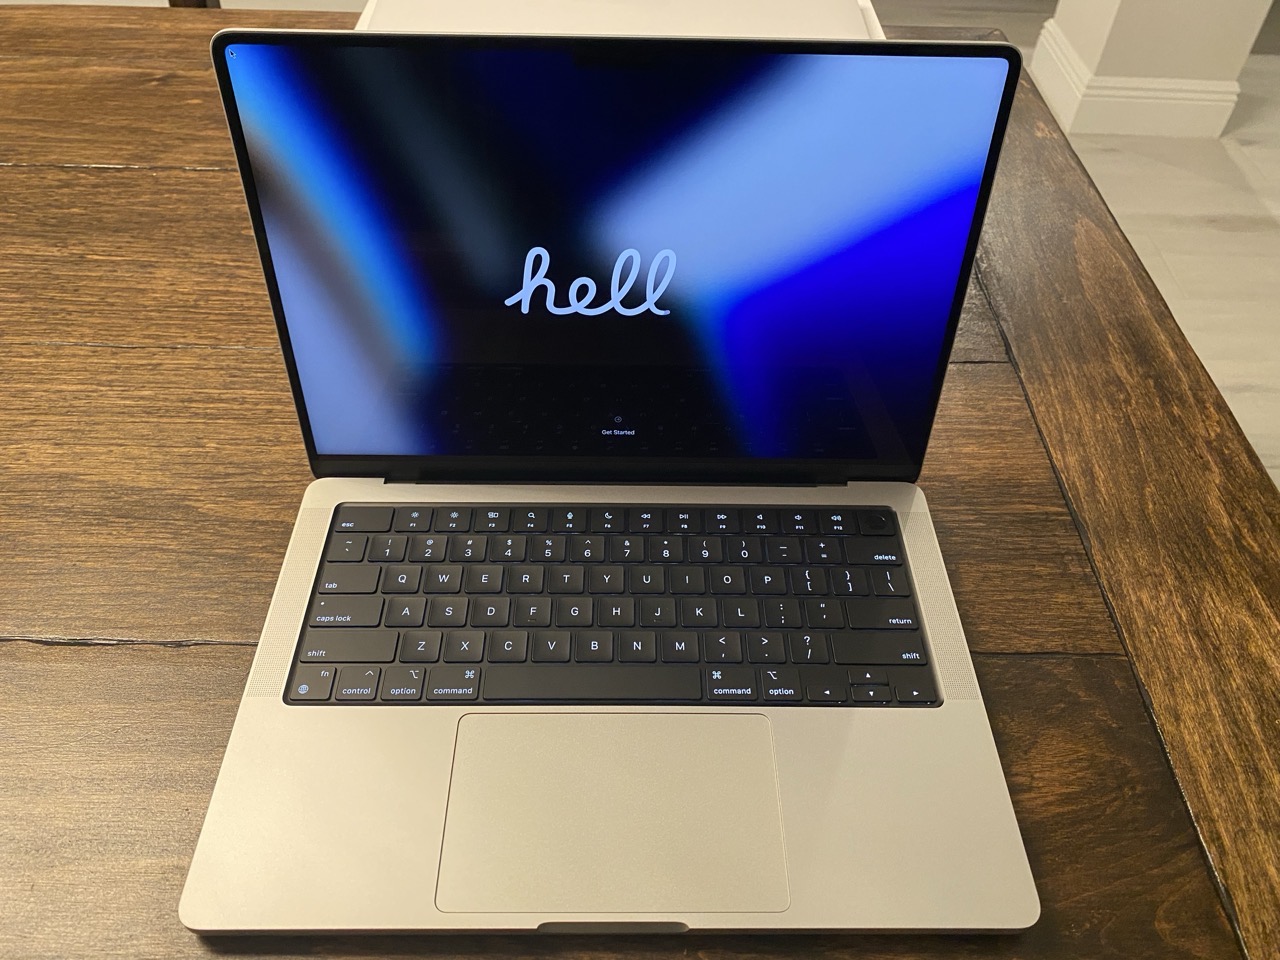
    It arrived this past Thursday. It’s Sunday as I write this, and much to both my wife and daughter’s surprise, I haven’t opened the box yet.

    I rarely purchase new computers, so I want to savor the experience of settling in with my new laptop. The plan is to open it tomorrow.

    My last MacBook Pro was purchased in late 2021, shortly before starting my current teaching post. At the time, I really needed a new portable machine. My 2014 MacBook Pro, with its measly 8GB RAM and 256GB SSD, was too anemic for regular use.

    I took possession of the late 2021 MacBook Pro a few weeks before the academic term started. It was put to full use as a curriculum-development machine before I could really set it up properly.

    Five years on, my M1 Pro MacBook Pro still runs well, but it does have a few minor hiccups here and there. It is also well overdue for a fresh install of macOS. I’m positive this approach will excise some of the detritus and cruft that still lingers within the machine. A clean install is something I have scheduled for this summer.

    For now, the M1 Pro will continue to handle my academic tasks. The new M5 Pro will be used as my daily driver for design-focused work. At some point in the near future, I’ll pass the M1 Pro laptop over to my wife and employ the M5 Pro as my main academic and design workhorse.

    But that’s only after I get everything set up properly from scratch.

    And if you’re following this blog, I’ll be documenting the entire configuration process along the way.

    With this new machine, my goal is to keep the quantity of third-party applications and add-ons to the absolute minimum. I will also be prioritizing free, open-source, and low-cost software options whenever I can. Along the way, I’ll share what I install, what I skip, what I replace with free or low-cost tools, and what is actually worth paying for.

    I’m dubbing this approach FrugalMac.

    FrugalMac doesn’t mean buying the cheapest Mac. It means buying the right Mac once, setting it up thoughtfully, and avoiding unnecessary bloat wherever possible.

    In my next post, I’ll explain the rationale for the specs I chose — and hopefully, by then, I’ll have the new machine out of the box.

    —Krishna

  • Reflections from Two Decades of Teaching

    Reflections from Two Decades of Teaching

    This month marks my 20th consecutive year of teaching design courses at the college level. I only started to reflect on my academic journey a few days ago, with the completion of our college’s Spring semester. 

    I fell into teaching backwards. It was never my goal. I started my career as an electrical engineer, working in the field of chip design. And even that was never my true ambition.

    From a young age, my biggest dream was to be an artist. My second love was computers. On paper, these two items seemed worlds apart. But over the years, technology and art have become very much intertwined. For me, digital media represents a perfect combination of technology and design; I get to play with computers and make art.

    Learning new things is fun, sharing what I’ve learned with others brings about true satisfaction. While I never took any formal courses in teaching, I had a good idea of how I wanted to position myself as an educator. 

    Here are a few tenets that have served me well:

    1) Be organized. Have a structure to each class. For each meeting, I have a clear, written agenda that I follow. Lesson plans are created in advance. Organization and competency go hand in hand.

    2) Be timely. Arrive and set up before class starts. I’m usually in the classroom at least 30 minutes before class starts. I check the classroom tech, have handouts at the ready and greet each student as they arrive. In my view, there’s nothing worse than entering a class full of waiting students. 

    3) Be impartial. This one’s tough, but I make it a point to let students know that I can’t bend the rules for them. Life happens, and I do have to make exceptions, but I insist on having the students provide me with written documentation should there be any mitigating issues that come up.

    4) Be available. I keep office hours on campus but I’m also available to my students via e-mail. Students often write with questions, and I make it a point to be timely with my responses. I also have set boundaries, when I don’t check my email. This gives me a healthy balance between work and home life.

    5) Be flexible. The best laid plans sometimes go out the window, whether it’s a classroom technology issue, a problem during a demo, or school closure during a hurricane event. I’ve learned the importance of how to pivot and adjust.

    6) Be authentic. I’m human. I make mistakes. Sometimes I’ll get tripped up during a demo. It’s OK. Nobody’s perfect. I think it’s important for students to know that their teachers can make mistakes. But what’s even more important is how the teacher can carefully think through the issue and get back on track. 

    These are just a few of the things I’ve learned in my 20 years of teaching. It’s been a struggle at times, but also been immensely satisfying. I’m glad I fell into teaching.

    -Krishna

  • How to Digitally Draw Sci-Fi Vehicles

    How to Digitally Draw Sci-Fi Vehicles

    New artists often struggle with drawing vehicles, and my latest instructional video attempts to provide some insight into an approach that can make the process less intimidating. The technique involves using Photoshop’s Shape tools in combination with the Transform > Perspective option.

    One can also use this technique for drawing totems and monolithic structures. You can see how I’ve incorporated this technique for the yellow structures in the following illustration.

    Sci fi astronaut montage.

    -Krishna

  • Videos Where Silence Speaks Volumes

    Videos Where Silence Speaks Volumes

    I’ve tried meditation many times, and – I’ll be honest – it’s never quite worked for me.

    But I’ve discovered something akin to meditation that doesn’t require me to close my eyes and sit cross-legged in the dark. This form of relaxation comes from the act of passively watching videos – specifically where an absence of any dialogue speaks volumes. It’s a fantastic way to relax and unwind, especially after a long day.

    Here are a few of my favorites, in no particular order:

    SimonFordman – Simon is a young man who has an uncanny aptitude when it comes to fixing things. While his channel focuses mostly on cars and trucks, he has also worked on motorcycles and boats. This channel is long form, where videos range anywhere from an hour to two hours. Watching Simon work quietly is a reward in its own right, but what also makes the videos worth the watch is the creative and careful framing. Each video feels cinematic, making the running time a feast for the eyes. Make some time for this one.

    Serkan Bilgin – these relaxing videos feature a young man from Turkey who camps, cooks, builds tents and shelters, all in the wilderness. He is often accompanied by his faithful dog. The videos are roughly 20 – 30 minutes long. Bring a blanket and a warm beverage.

    MrMattLee – each video features a silent, cinematic look at a new custom PC build. As a Mac user, I’m a little bit envious at many of the builds on this channel. Each video is around 20 minutes long, perfect to watch with a hot coffee.

    PaulRestorer – die cast car restorations are a thing, especially when it comes to models from Corgi, Matchbox, Dinky and more. This channel features a meticulous look at taking a derelict vehicle and transforming it into a pristine specimen, complete with authentic packaging. If you have fond memories of playing with die-cast cars from the 1960s and 1970s, you’ll love this channel. Each video is between 30 – 40 minutes.

    Pro tip: Turn on “closed-captioning” – many times, the host will share informative details of what is being shown.

    Watching these channels brings me to a calm, centered state. And best of all, I don’t need to sit cross-legged to make the most of it.

    -Krishna

  • How Custom Stickers Help Me Keep Tabs on My Tech

    How Custom Stickers Help Me Keep Tabs on My Tech

    Chargers labeled.

    How do you identify and label your tech accessories?

    For me, it’s through the use of custom designed sticker labels. I created my stickers in Photoshop and used a print-to-order company to print a spool of them. I use my custom sticker labels on just about every tech gadget I carry: smartphone cases, external storage devices (hard drives, SSDs, etc.) and portable accessories, such as USB chargers. 

    My sticker labels were designed intentionally. Each label measures approximately 2” wide by 3/4” tall. The labels are orange and red and include my last name, with blank lines reserved for Name and Capacity. For convenience, the stickers can be written on with a Sharpie marker. This makes it easy to annotate information, like a storage device’s volume name and storage capacity. 

    Since I travel back and forth between work and home, having labels on my devices allows me to quickly identify them. The stickers were designed to stand out visually, making it less likely that I’ll forget my devices when I pack up and go.

    I also use my sticker labels for any gadget that comes with a large power brick. I never have to guess which power brick goes with which device.

    -Krishna