There is no shortage of Mac launcher apps available. But in the end, after carefully weighing my options, I’ve decided to stick with the venerable Alfred.
How long have I been using Alfred?
Since October 26, 2010. Almost a decade later, I purchased the Alfred PowerPack. Alfred is a launcher, and PowerPack is a set of powerful features that adds to and extends Alfred’s capabilities.
A few years ago, I purchased David Spark’s excellent Alfred Field Guide, which helped me immensely in understanding the capabilities and power of the combo.

Alfred is a very capable tool, but it’s showing its age in its overall user interface. Alfred has many options to configure it just as you’d like. But without any affordance of a Search bar, it can be daunting to find what I’m looking for.

The PowerPack extends Alfred by way of customized workflows. Conceptually, I understand what a workflow can do, but it still feels unintuitive for me to make one on my own.
Alfred includes theming options to configure it’s appearance. Colors, type, margins and the like can be changed on a near granular level, but the interface to do so feels clunky.

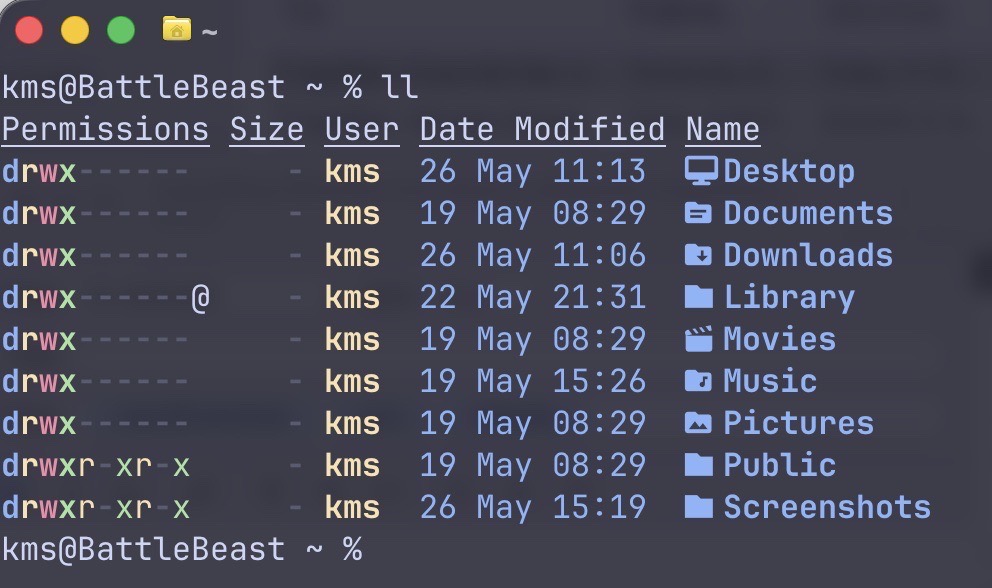
For my M5 Pro MacBook Pro, I’ve intentionally crafted a custom theme for Alfred, called BattleBeast. It uses the Google Font ShareTechMono. I prefer a clean, minimal look, with tight margins – and I feel that the BattleBeast theme reflects those decisions.
Alfred’s developers have teased the upcoming Alfred 6, which I’m eagerly anticipating. I’m hoping that Alfred’s Workflows receive an overhaul and that the UI complexity gets some much needed refinement.
-Krishna