Tag: Ghostty

  • Theming Ghostty

    Theming Ghostty

    While superfluous to some, the ability to customize my computing environment has always been important to me. In fact, I can’t remember a time where I didn’t customize some aspect of my computer.

    It’s how I learned about computing, whether I was creating a bespoke desktop wallpaper background or making the Trash icon look like Oscar the Grouch.

    Ghostty offers a wealth of customization options by way of themes, which give your terminal a very specific look and feel. Theme settings can be overridden at a granular level to match exactly what you’re after. Translation: if you have a very specific font or color tweak you’d like to implement, it’s as easy as adding a line or two in your Ghostty configuration file. (Users can even make their own Ghostty theme from scratch.)

    Below is a screenshot of my Ghostty configuration file, where I’ve assigned the Dracula+ theme and increased the font size for improved readability.
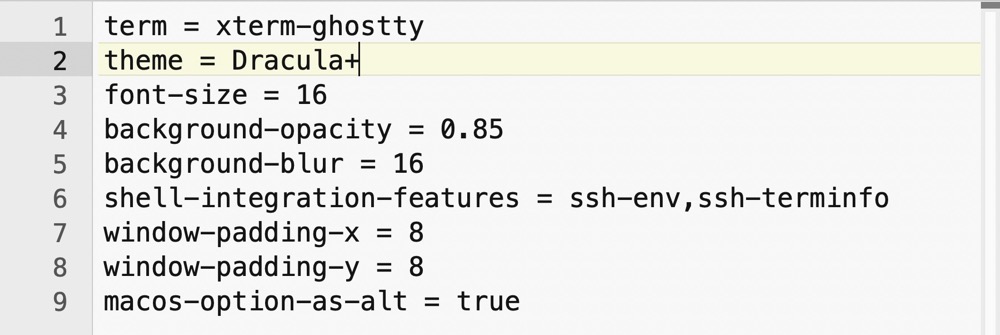
    Ghostty settings.

    Ghostty’s theme options can be accessed from within the terminal, by typing the following:

    
    ghostty +list-themes
    

    As of this post, there are hundreds of themes to choose from. Themes are organized alphabetically on the left, with a detailed preview of the selected theme on the right.
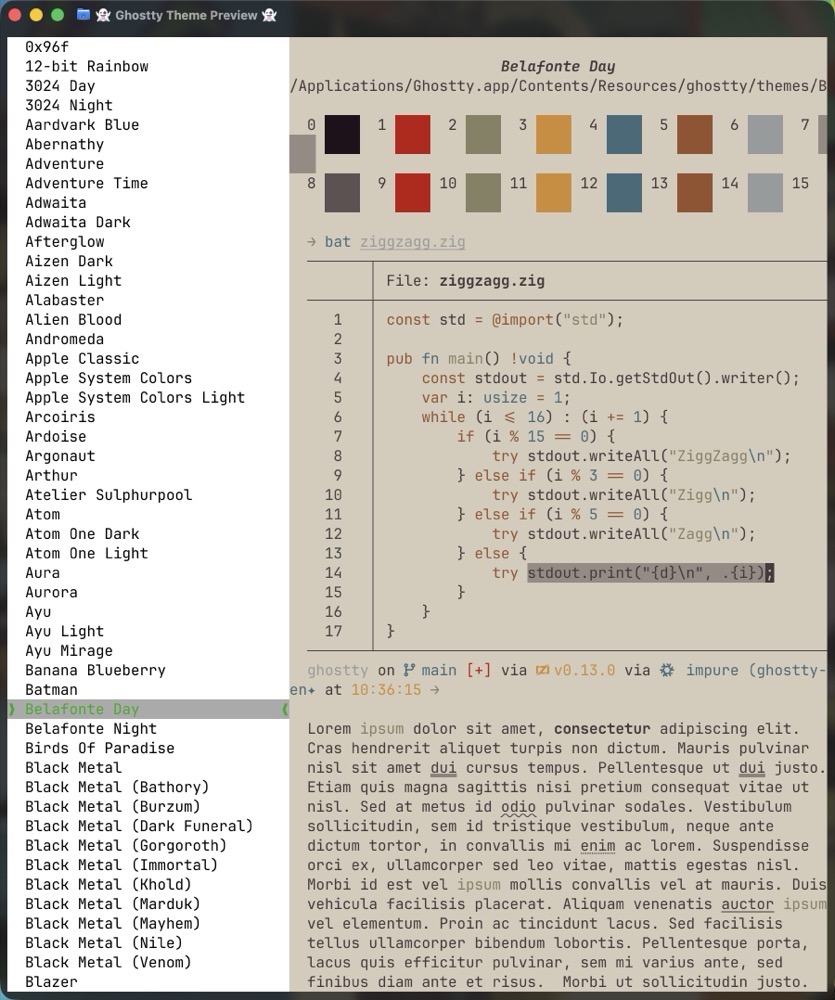
    Ghostty theme1.

    Pick a theme from the list by using the up / down arrow keys. Pressing Return on a specific theme will show instructions for activating it.

    
    theme = Dracula+
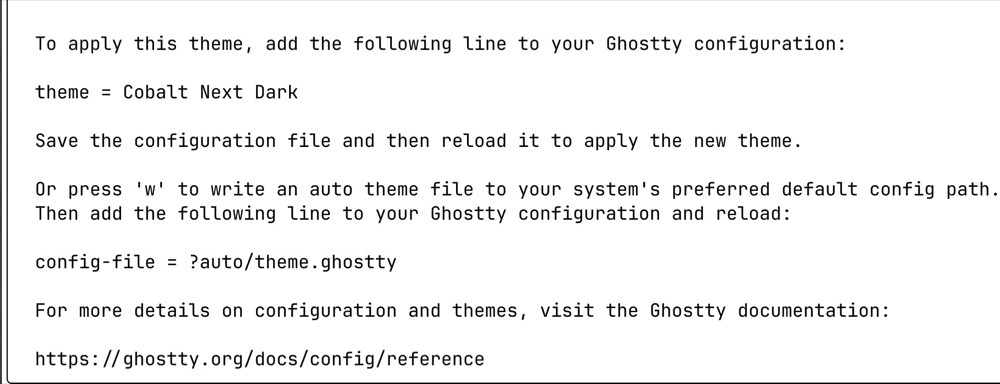
    
    Ghostty adding a theme.

    I don’t change themes very often, but when I do, I want the process to be easy. Since I hate remembering esoteric commands, I created an alias called themes in my .zshrc file.


    alias themes='ghostty +list-themes'


    Now I can browse Ghostty themes whenever the mood strikes, without having to remember the command that gets me there.

    -Krishna
  • Make Alfred Use Ghostty Instead of Terminal.app

    Make Alfred Use Ghostty Instead of Terminal.app

    When it comes to macOS Launchers, I’m on Team Alfred. For me, it’s the Swiss Army knife of macOS utilities.

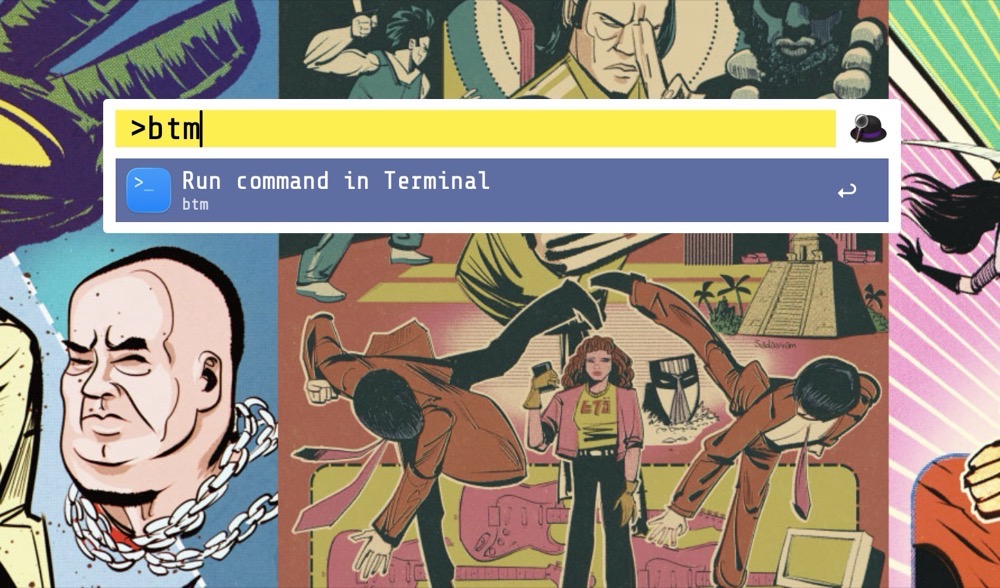
    Alfred does much more than launching applications. One of my favorite features is the ability to run a terminal command directly through its interface.

    By default, typing a terminal command within Alfred opens Apple’s Terminal.app and executes the command there.

    I use Ghostty instead. Would it be possible to have Alfred make the switch?

    Absolutely. Here’s how.

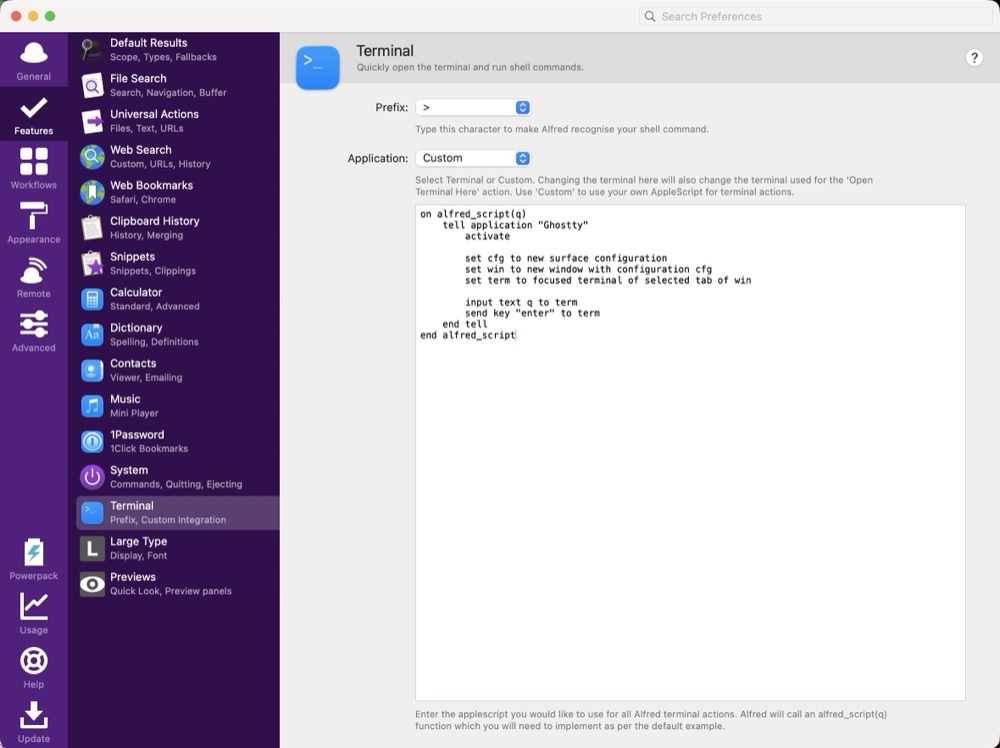
    Alfred custom script.

    Open:

    Alfred Preferences > Features > Terminal

    Under Application, choose Custom.

    Replace the existing AppleScript code with this:


    on alfred_script(q)
        tell application "Ghostty"
            activate
    
            set cfg to new surface configuration
            set win to new window with configuration cfg
            set term to focused terminal of selected tab of win
    
            input text q to term
            send key "enter" to term
        end tell
    end alfred_script


    On first run, macOS may ask whether Alfred is allowed to control Ghostty. Grant the permission and you’re set.

    From that point forward, every terminal command you run through Alfred will execute it inside Ghostty instead of Terminal.app.

    -Krishna

  • Ghostty is the Mostty

    Ghostty is the Mostty

    For those who are interested, my latest post for OWC Rocket Yard shares more detail about Ghostty, a modern terminal replacement for macOS. I have Ghostty installed on all three of my Macs, and working within its environment has been a delight. So much so that I can’t fathom the thought of using Apple’s staid Terminal app.

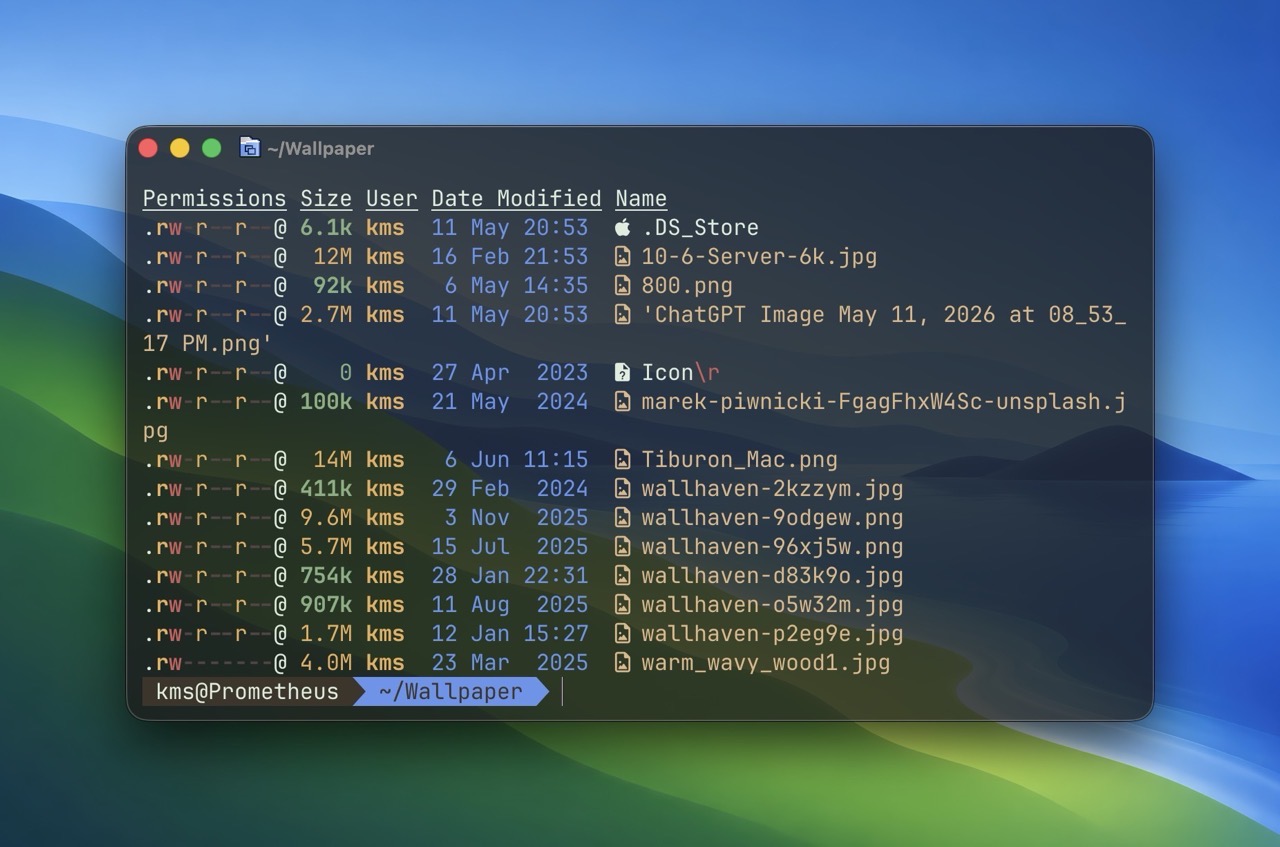
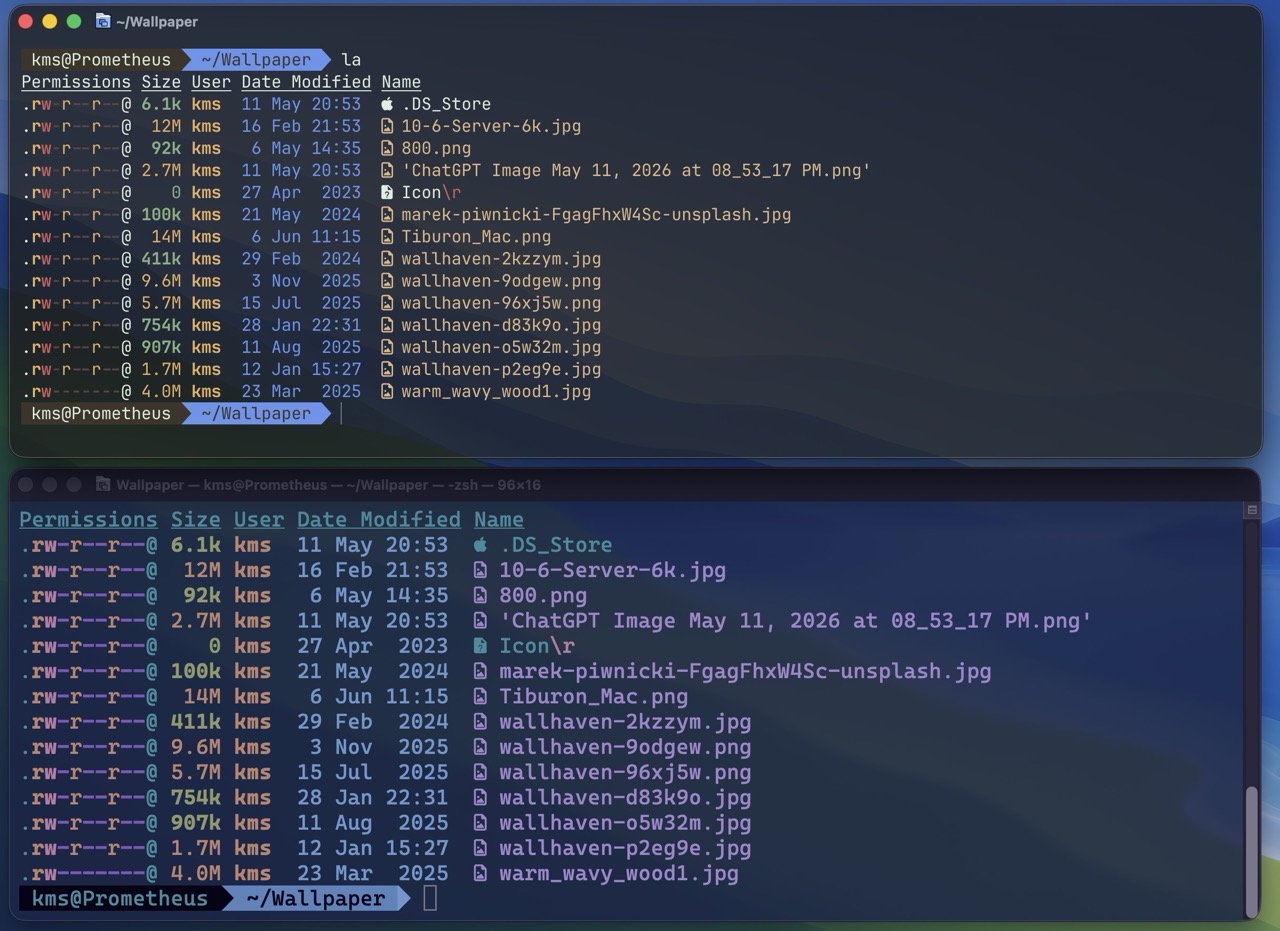
    The image below shows a comparison between Ghostty (top) vs Apple’s Terminal (bottom). Notice how sharp and crisp the text appears in Ghostty, compared to Terminal. Unlike the Terminal, Ghostty does a great job of displaying content within smaller window sizes

    Ghostty vs terminal.

    -Krishna

  • My Top Three Terminal Command Line Tools

    My Top Three Terminal Command Line Tools


    Using Ghostty has been a pleasant experience. It feels modern and clean, making the Terminal.app seem dated by comparison. Similarly, adding Homebrew has made the command line experience much more enjoyable. One big benefit with Homebrew is that I can quickly install and remove apps right from the shell.

    Some of my favorite command line apps are:

    1) eza. (This command is a modern replacement for ls.) My favorite command is eza’s built-in tree command, which lets me view the structure of my folder hierarchy. 

    Eza command in the Terminal

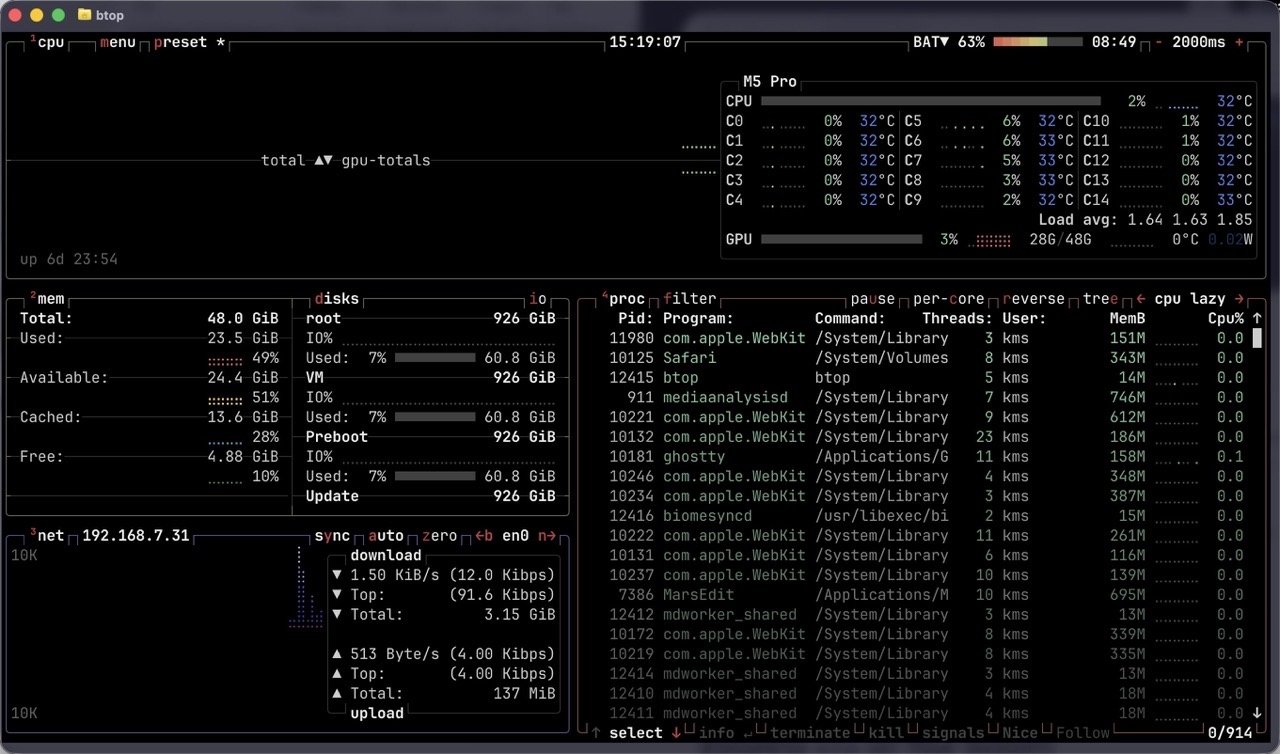
    2) btop is a more modern and visually parsable implementation of the classic top command. Invoking btop lets me glance at Mac’s memory, CPU usage, battery charge level and more.

    Btop command in the terminal.


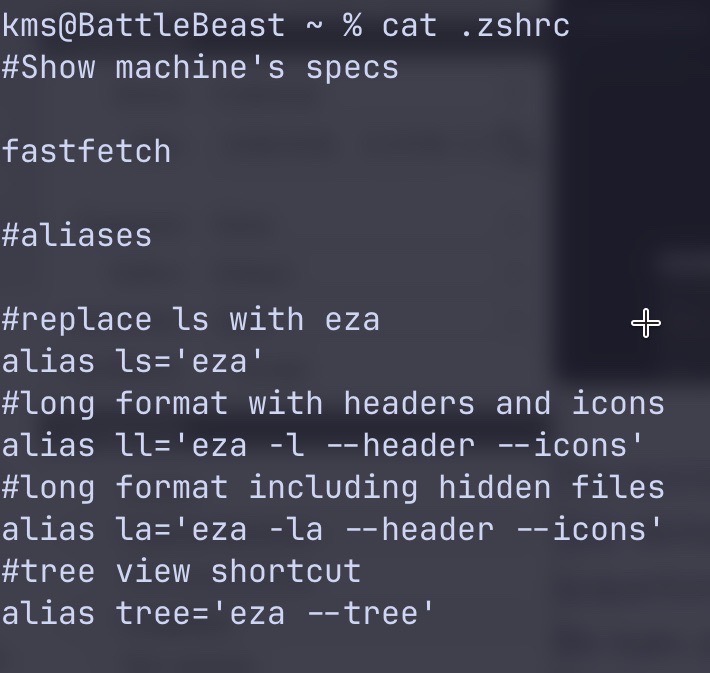
    3) bat is a modern spin on the venerable cat command. I use bat for quickly viewing the contents of a text file from the command line. Below is the output when running cat.

    Cat command in the terminal

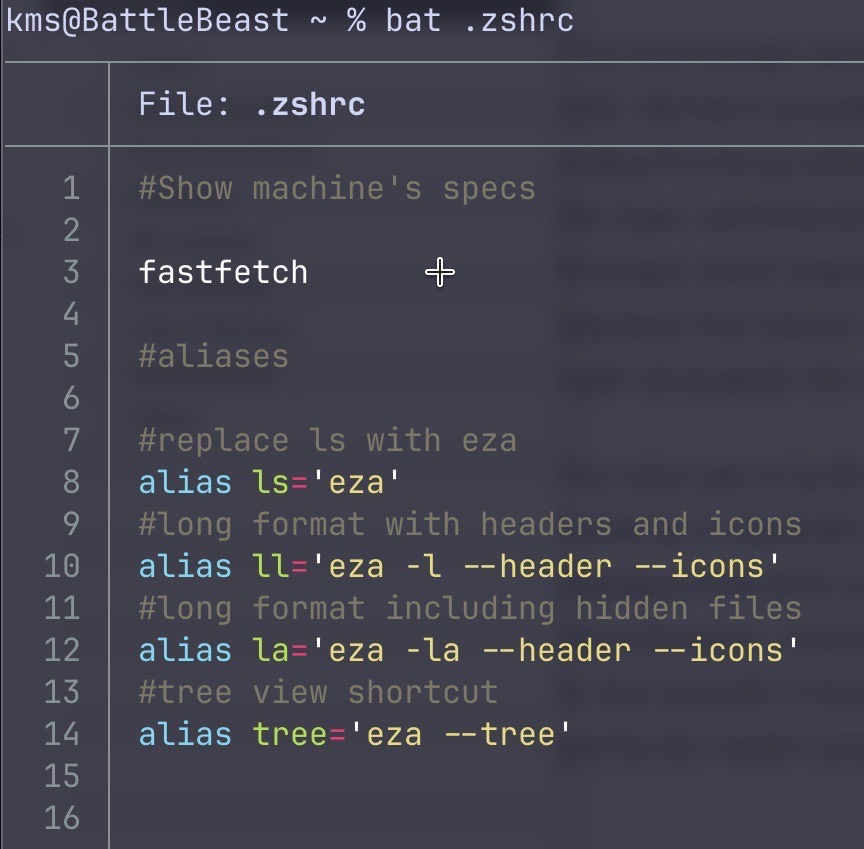
    And now, the same result when running bat. The information appears in a much clearer format, complete with line numbers and color coding.


    Bat command in the terminal.

    With Homebrew installed, these apps were all easily added by typing:

     brew install <app> 

    This go around, I’m reallly focusing on keeping an organized, annotated and manageable .zshrc file.

    -Krishna

  • FrugalMac: Essential Mac Apps for Productivity

    FrugalMac: Essential Mac Apps for Productivity

    Working within the confines of macOS’s first party offerings has been frustrating. In an earlier post, I lamented about window management inconsistencies that lead me to install Rectangle. 

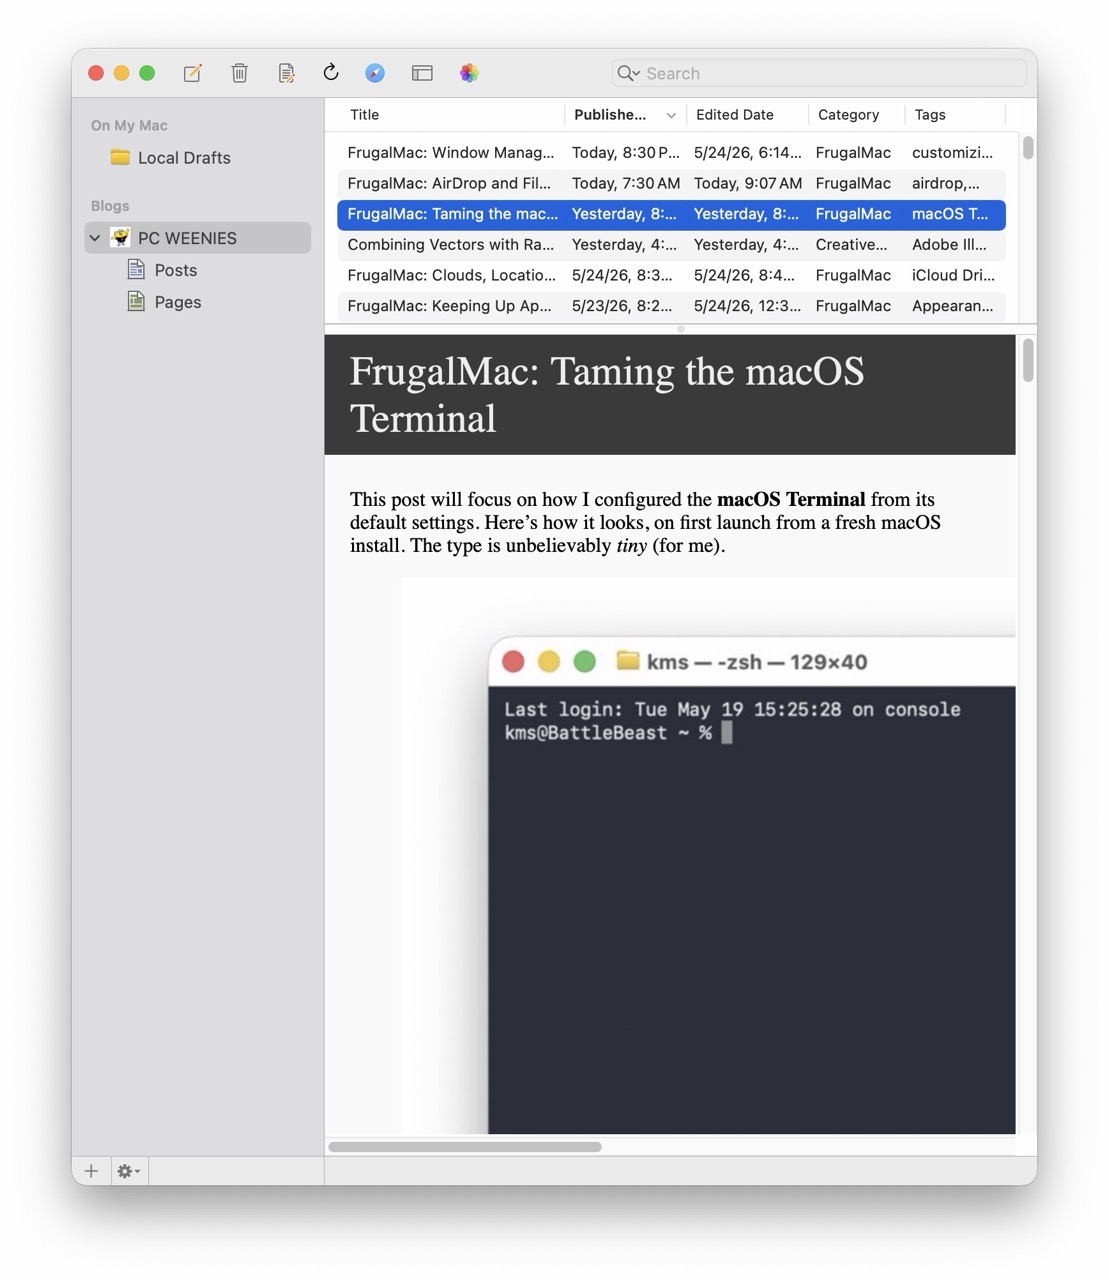
    MarsEdit – this application has become essential to my blogging workflow. Blogging with MarsEdit is easy, and if it’s easy, I can do it more often. 

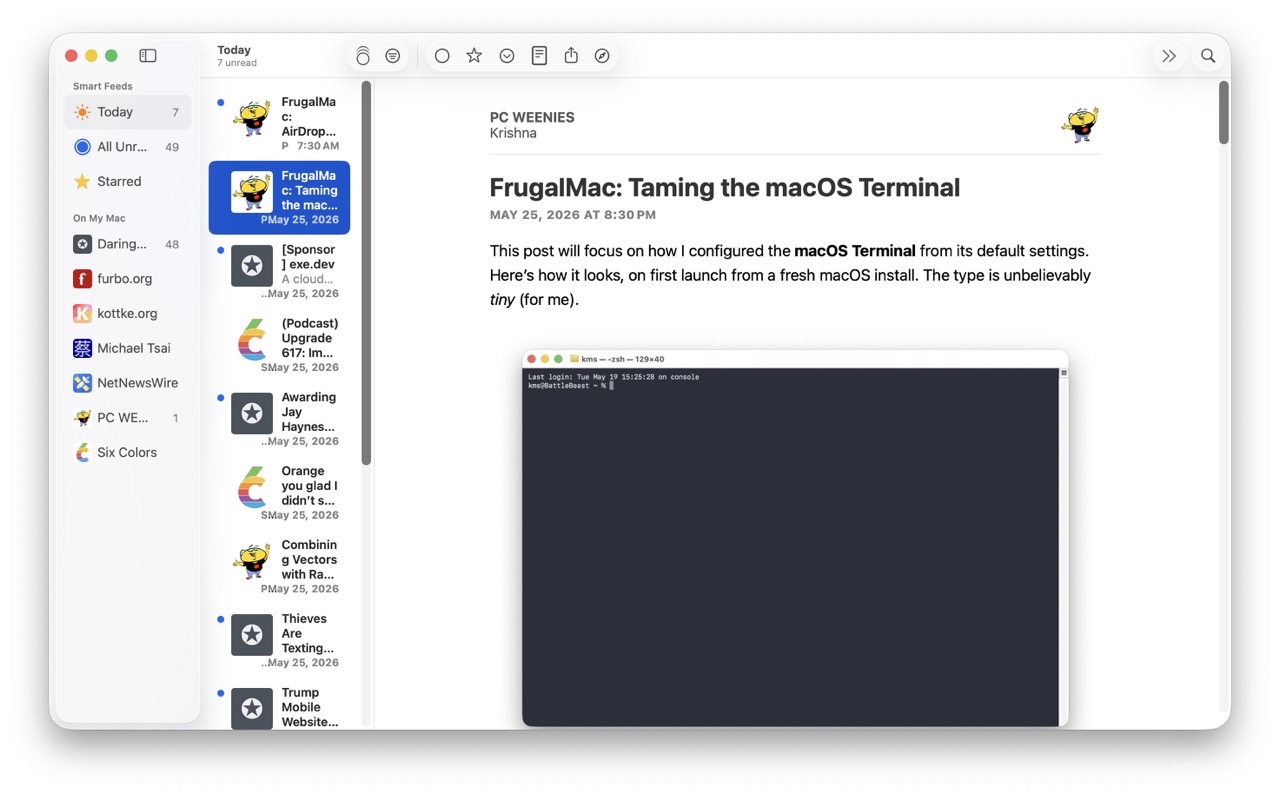
    NetNewsWire – with my new Mac, I’ve limited the number of RSS feeds I follow. This isn’t to say I won’t add any new feeds at some point in the future. With NetNewsWire, I can easily keep up with my favorite blogs. It’s fast and free. It also offers iCloud syncing, but I’m not ready for that just yet.

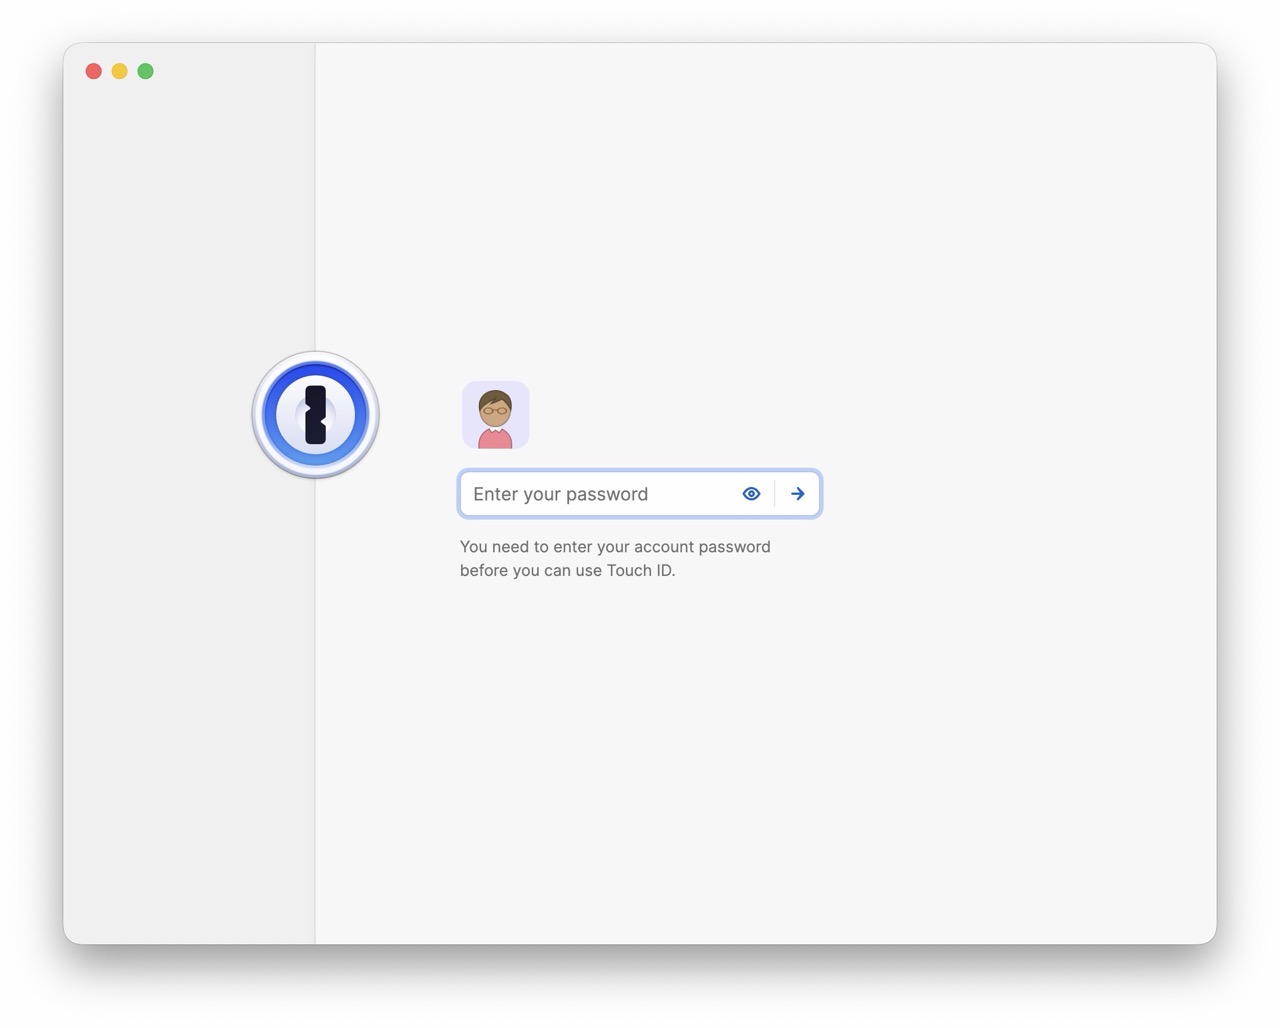
    1password screenshot

    1Password – I haven’t found a better password management application, so I’m sticking with this Electron app for now. Apple’s Password app, while serviceable, doesn’t have a key feature I really need (saving attachments). There was a time when 1Password was best in class as a native Mac app.

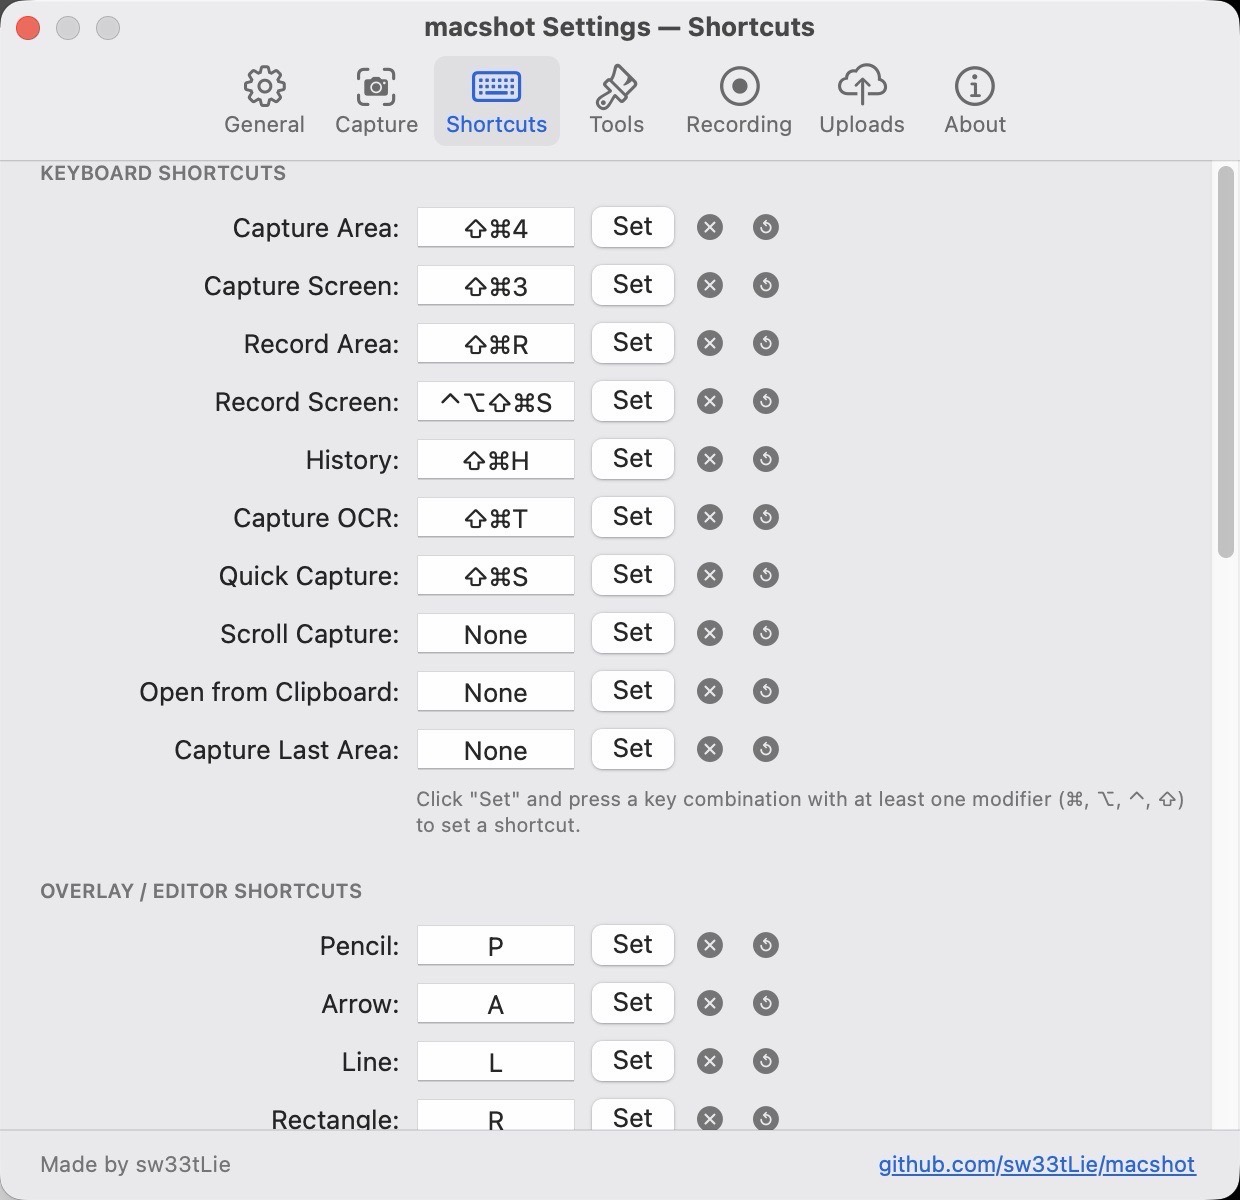
    MacShot settings.

    macShot – a powerful, free screenshot and screen recording utility that competes quite favorably against the subscription-based CleanShot X. I haven’t spent too much time using this app, save for making the screenshots that accompany this post. I plan to test its screen recording capabilities soon. If it succeeds on that front, I may be able to ditch CleanShot X once and for all. 

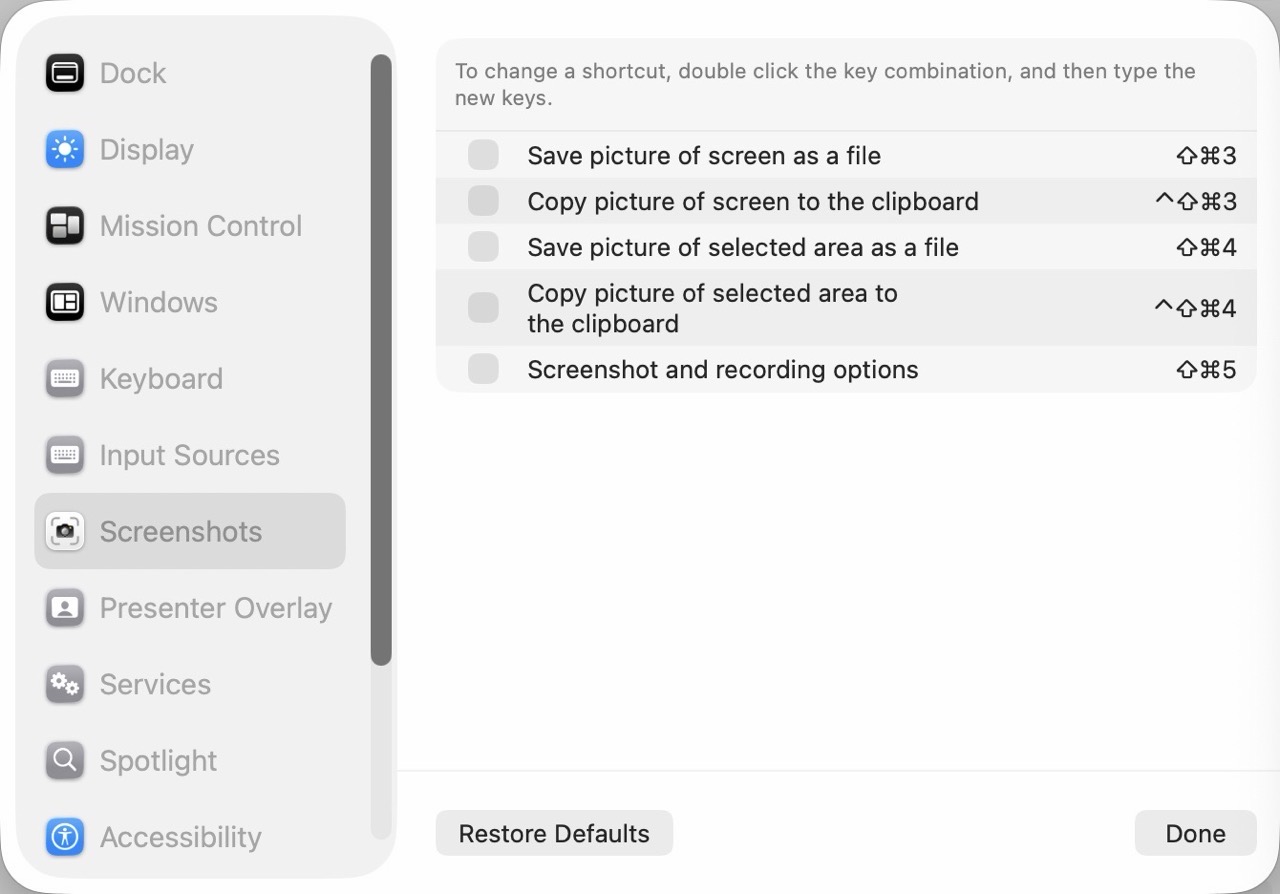
    Remember to turn off Screenshot keyboard shortcuts if you plan to use them with macShot.

    Turn off default screenshot shortcuts.

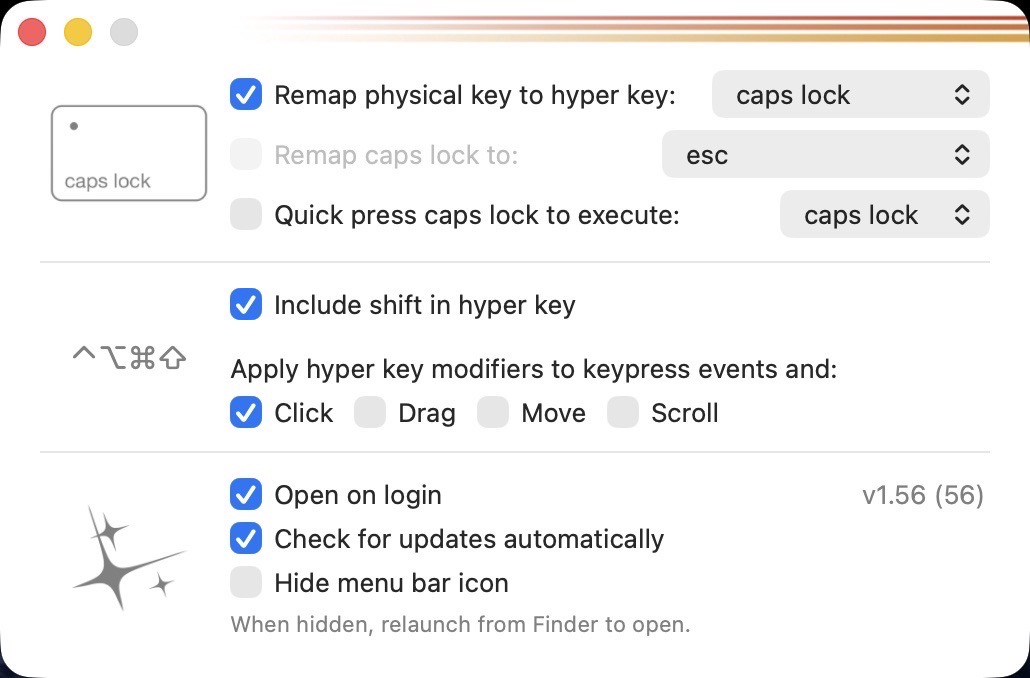
    Hyperkey settings

    Hyperkey – a simple, free app that turns the (rarely used) Caps Lock key into a Hyper key. Pressing Caps Lock with Hyperkey is like pressing Shift Option Command Control simultaneously, without the awkward finger gymnastics.

    Ghostty – My post on Apple’s Terminal software led to a suggestion on Mastodon to check out this advanced terminal application. So far, in my very brief usage, it feels modern and fast. Without my current command line utilities, I really can’t gauge how it will perform over time. (On this new laptop, I have also installed Homebrew because I need a proper package manager.)

    BBEdit – a proper text editor that blows the doors off of TextEdit. I have paid for earlier versions of BBEdit, but I want to see if the free version will suffice for my usage.

    Still left to install: a proper Mac launcher app. I’m leaning towards Alfred, but I want to examine other options before committing. 

    -Krishna