Working within the confines of macOS’s first party offerings has been frustrating. In an earlier post, I lamented about window management inconsistencies that lead me to install Rectangle.

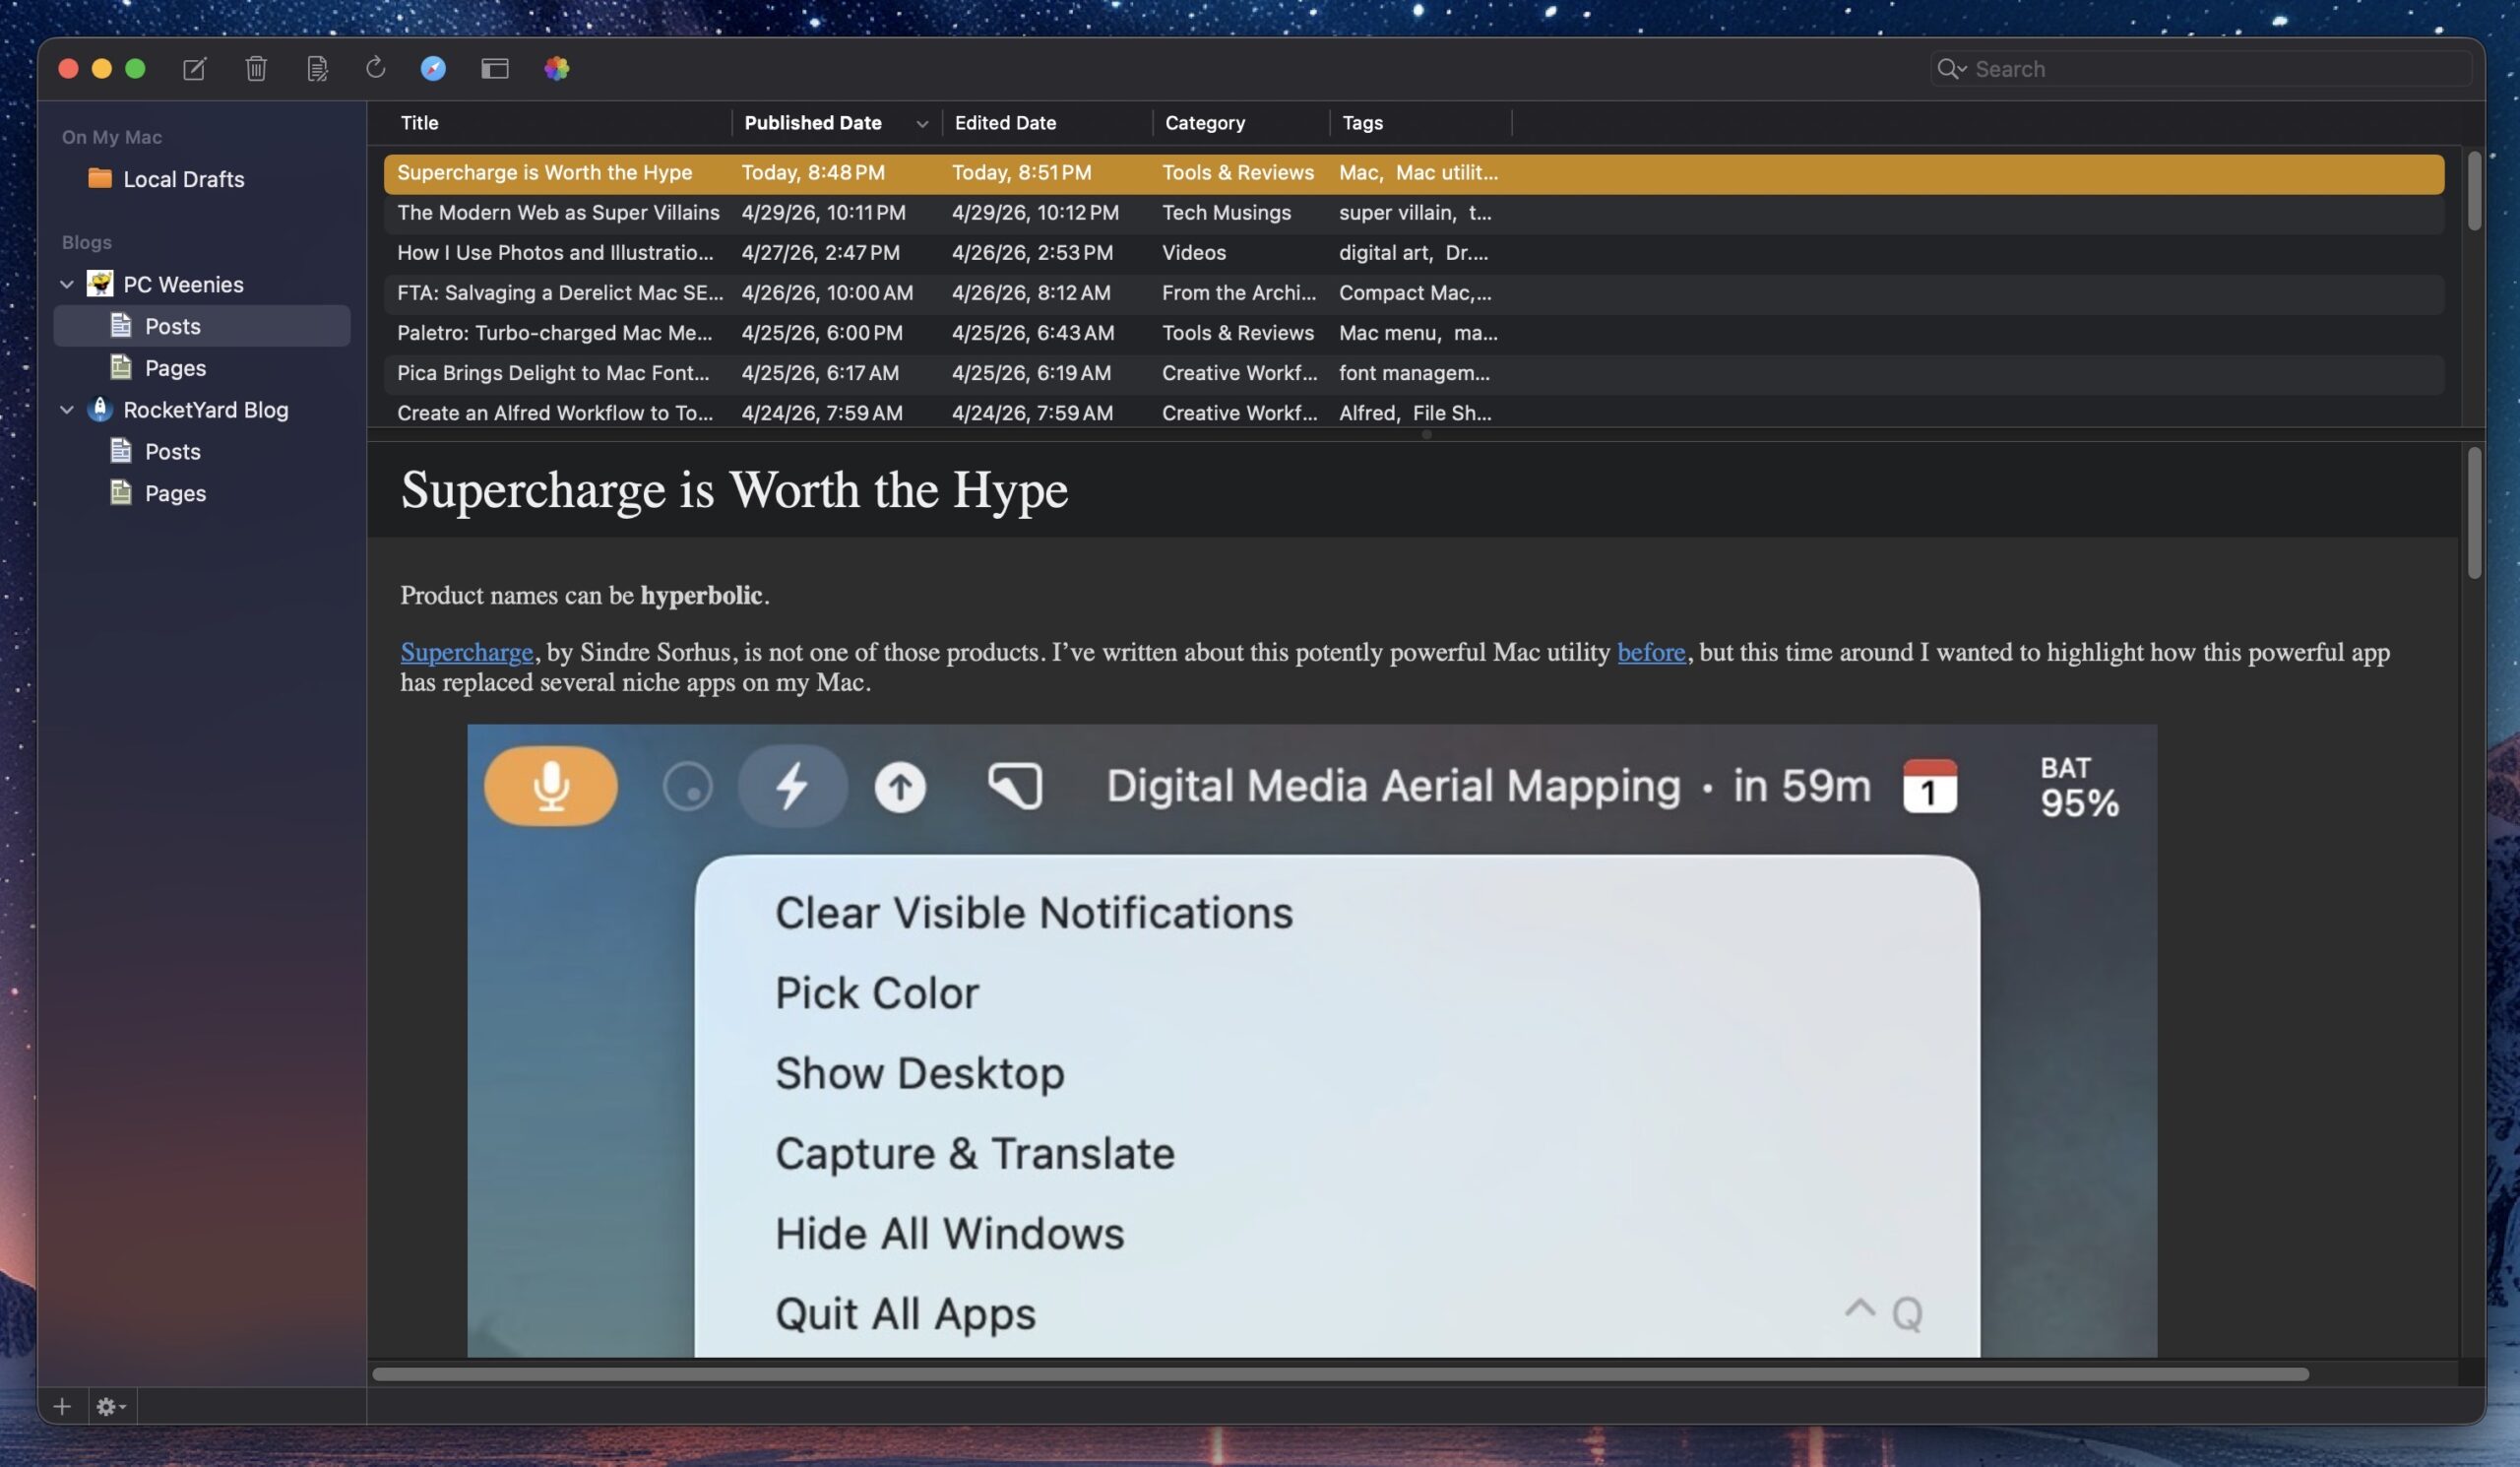
MarsEdit – this application has become essential to my blogging workflow. Blogging with MarsEdit is easy, and if it’s easy, I can do it more often.

NetNewsWire – with my new Mac, I’ve limited the number of RSS feeds I follow. This isn’t to say I won’t add any new feeds at some point in the future. With NetNewsWire, I can easily keep up with my favorite blogs. It’s fast and free. It also offers iCloud syncing, but I’m not ready for that just yet.

1Password – I haven’t found a better password management application, so I’m sticking with this Electron app for now. Apple’s Password app, while serviceable, doesn’t have a key feature I really need (saving attachments). There was a time when 1Password was best in class as a native Mac app.

macShot – a powerful, free screenshot and screen recording utility that competes quite favorably against the subscription-based CleanShot X. I haven’t spent too much time using this app, save for making the screenshots that accompany this post. I plan to test its screen recording capabilities soon. If it succeeds on that front, I may be able to ditch CleanShot X once and for all.
Remember to turn off Screenshot keyboard shortcuts if you plan to use them with macShot.


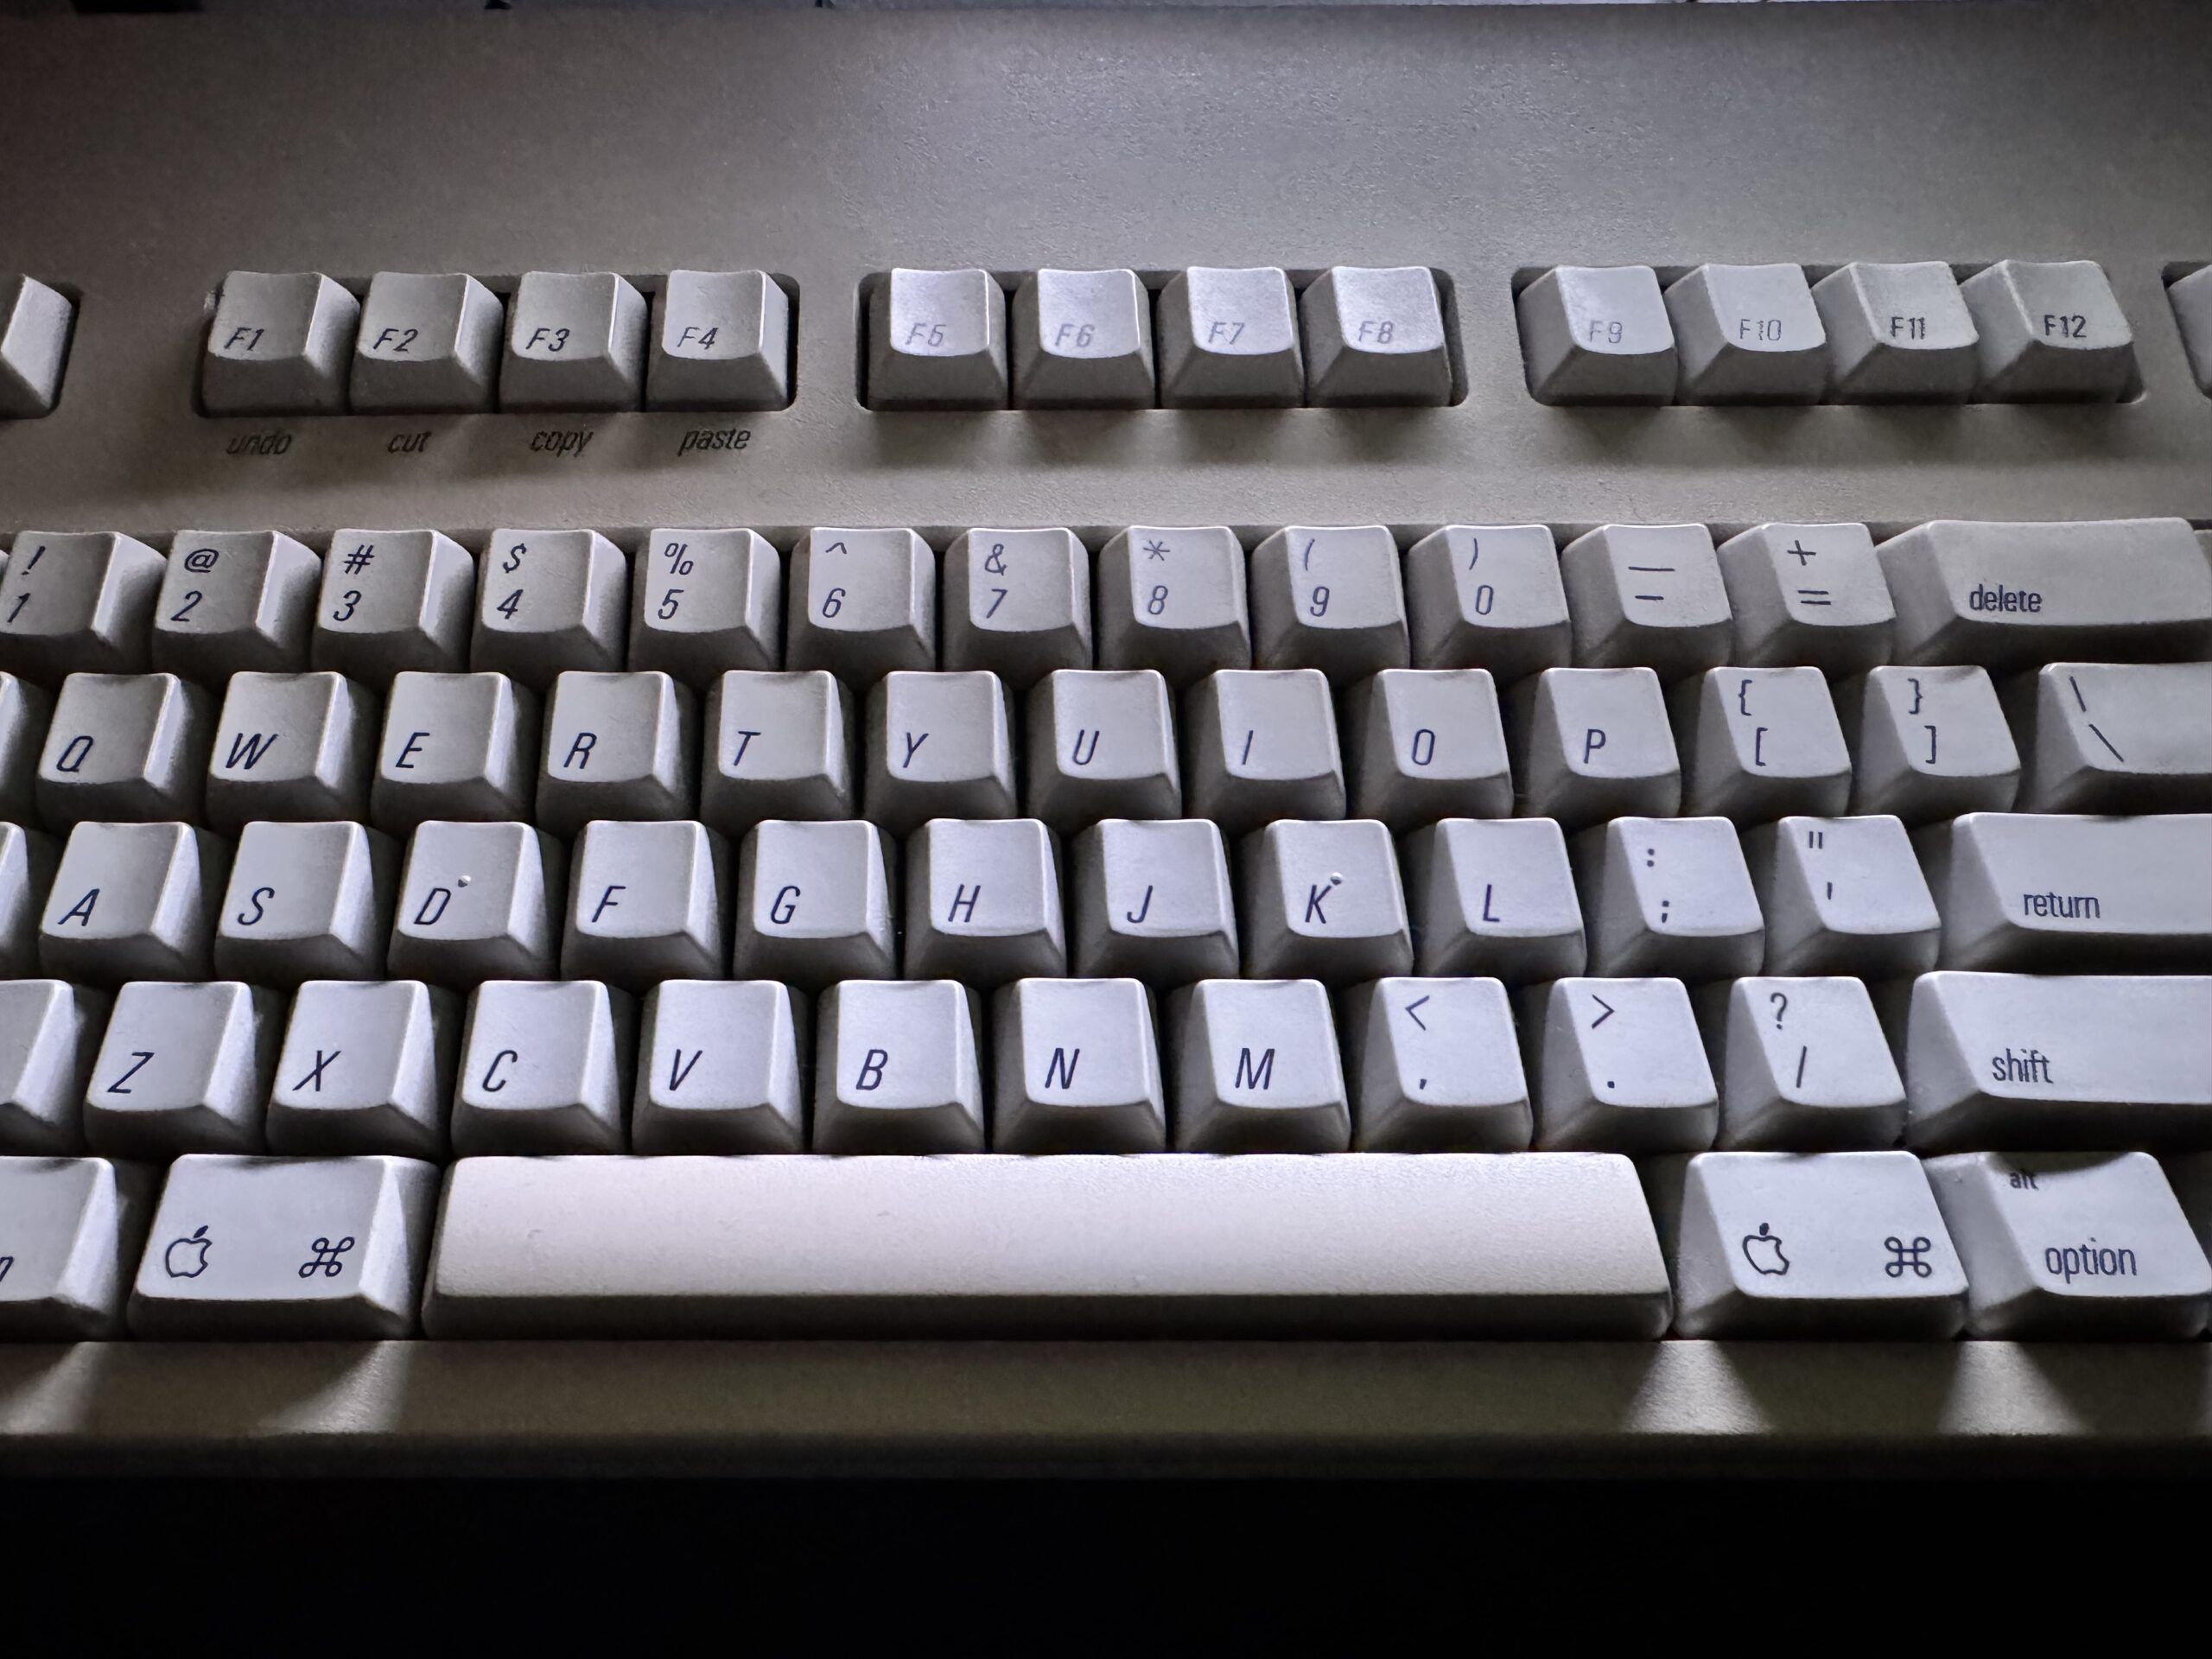
Hyperkey – a simple, free app that turns the (rarely used) Caps Lock key into a Hyper key. Pressing Caps Lock with Hyperkey is like pressing Shift Option Command Control simultaneously, without the awkward finger gymnastics.
Ghostty – My post on Apple’s Terminal software led to a suggestion on Mastodon to check out this advanced terminal application. So far, in my very brief usage, it feels modern and fast. Without my current command line utilities, I really can’t gauge how it will perform over time. (On this new laptop, I have also installed Homebrew because I need a proper package manager.)
BBEdit – a proper text editor that blows the doors off of TextEdit. I have paid for earlier versions of BBEdit, but I want to see if the free version will suffice for my usage.
Still left to install: a proper Mac launcher app. I’m leaning towards Alfred, but I want to examine other options before committing.
-Krishna