Tag: M5 Pro MacBook Pro

  • FrugalMac: Unboxing and Initial Setup of an M5 Pro MacBook Pro

    FrugalMac: Unboxing and Initial Setup of an M5 Pro MacBook Pro

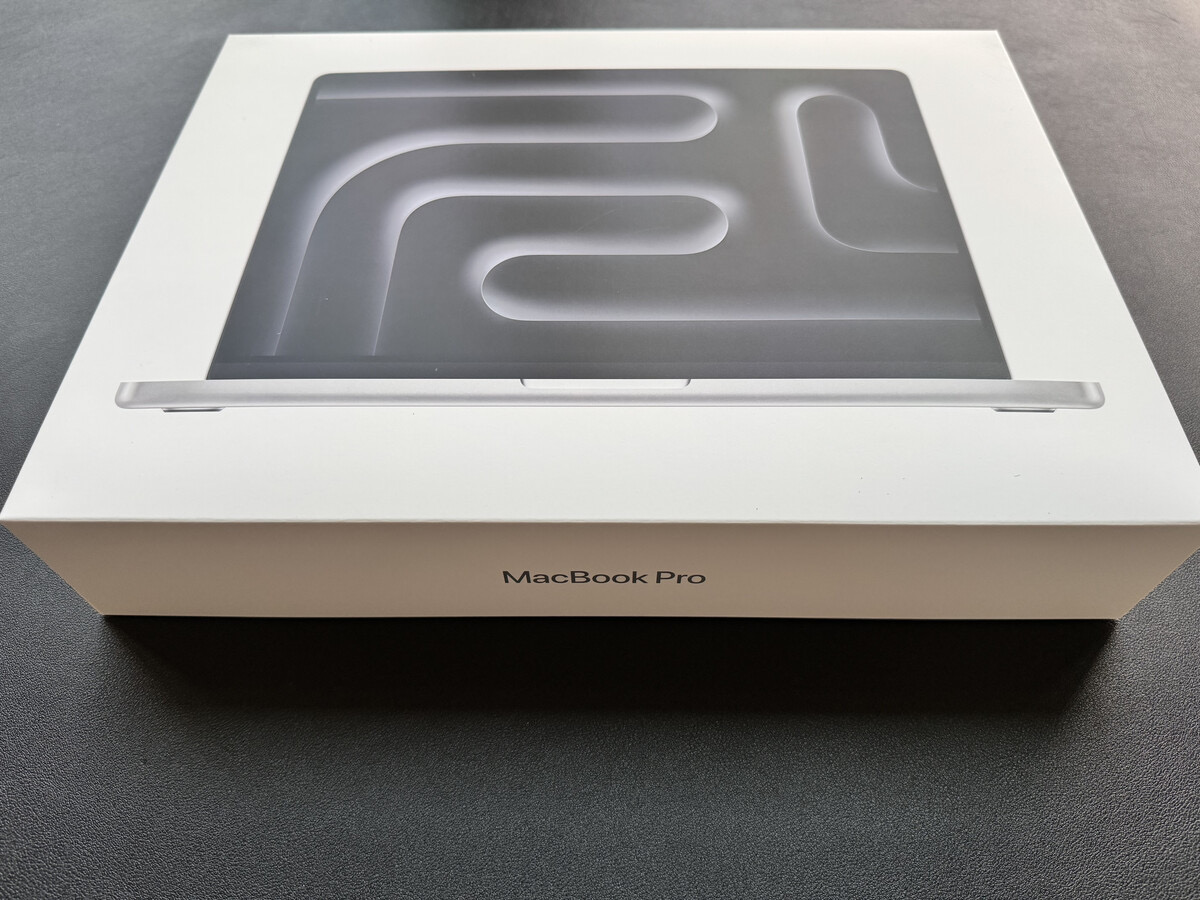
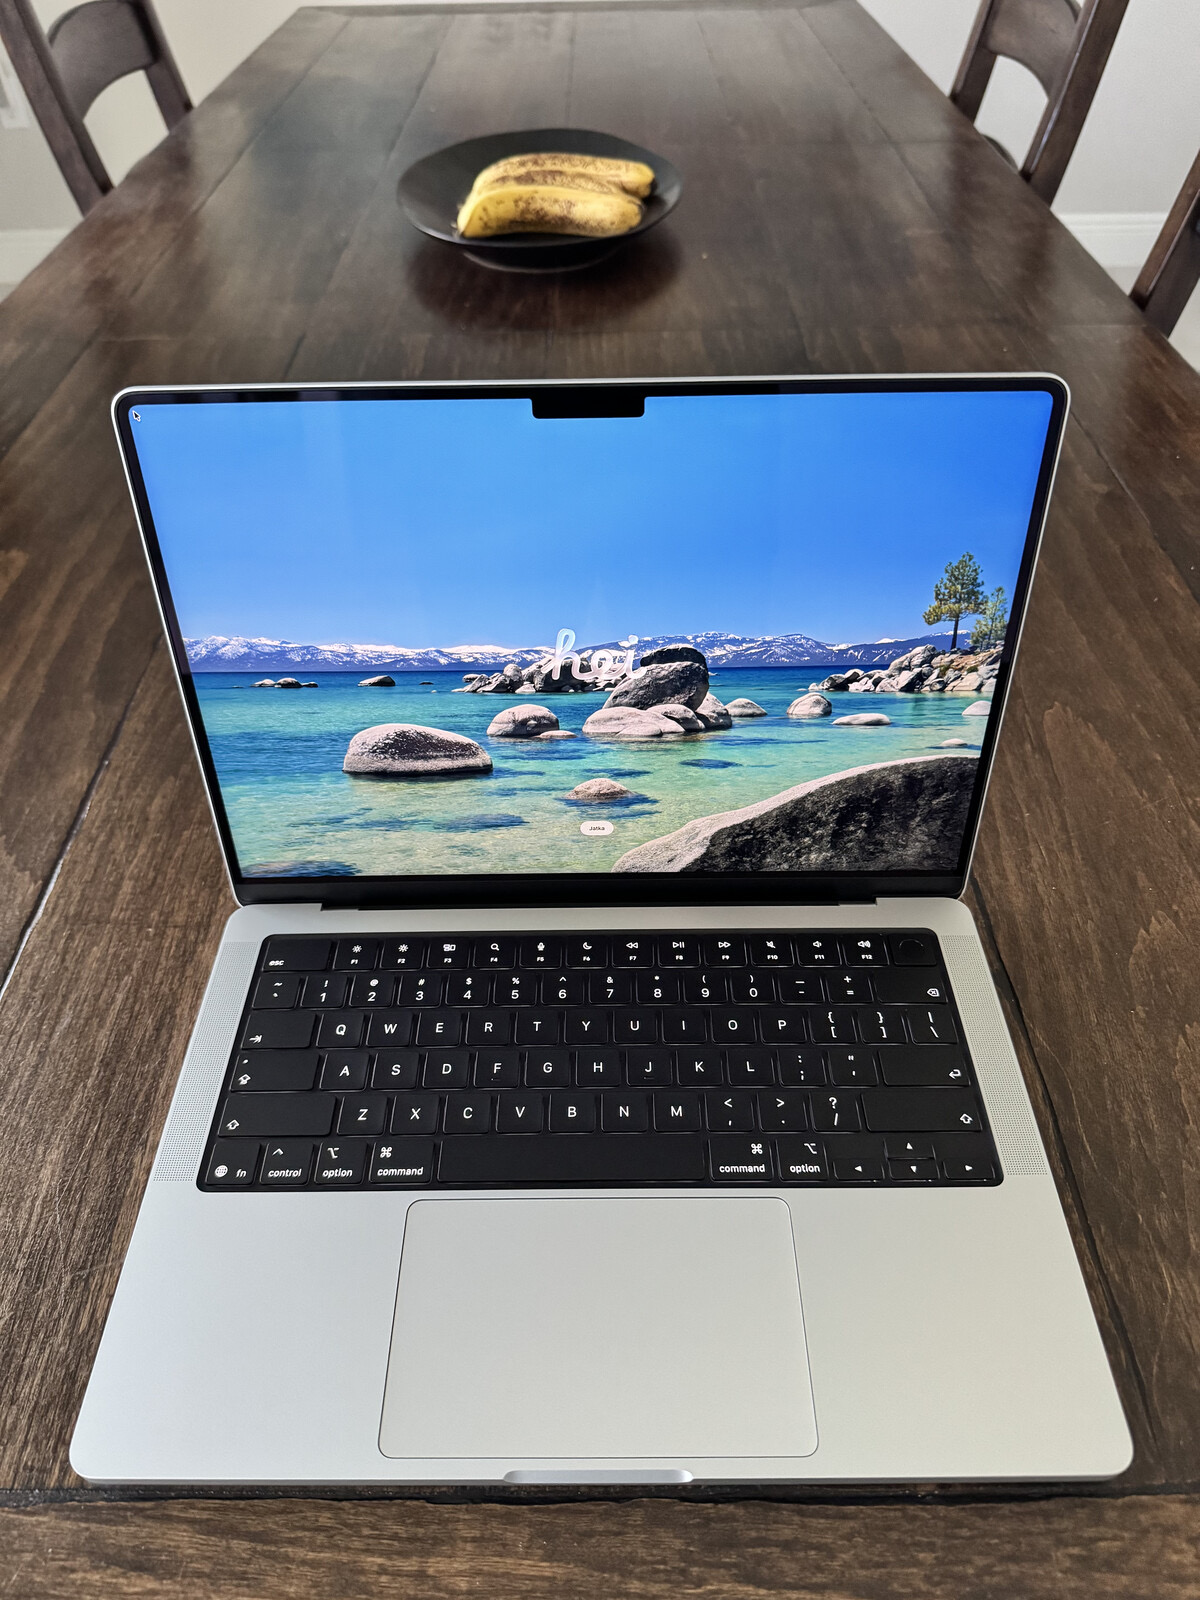
    I’m typing this post within a few minutes of unboxing my new M5 Pro MacBook Pro. I’ll share a few obligatory photos, but I’ll skip past the usual commentary on the build quality and aesthetics.

    The mbp box.

    Mbp first look.

    Mbp out of the box.
    Mbp cable and charger.

    M5pro MBP first boot.

    The new machine is, in just about every instance, identical to my M1 Pro MacBook Pro. 

    A few bits of ephemera:

    • The unboxing experience is still absolutely a delight.
    • The MacBook Pro comes with a braided USB-C cable and charger.
    • macOS Tahoe 26.4 is installed.
    • Apple presents only two update options: Update Automatically or Only Download Automatically.
    • The machine will be configured as a new setup, using my existing Apple ID.
    • The battery charge out of the box is 85%.
    • I have kept Apple Intelligence / Siri on (for now).
    • In Settings, the Mac is already set for Optimized Battery Charging.

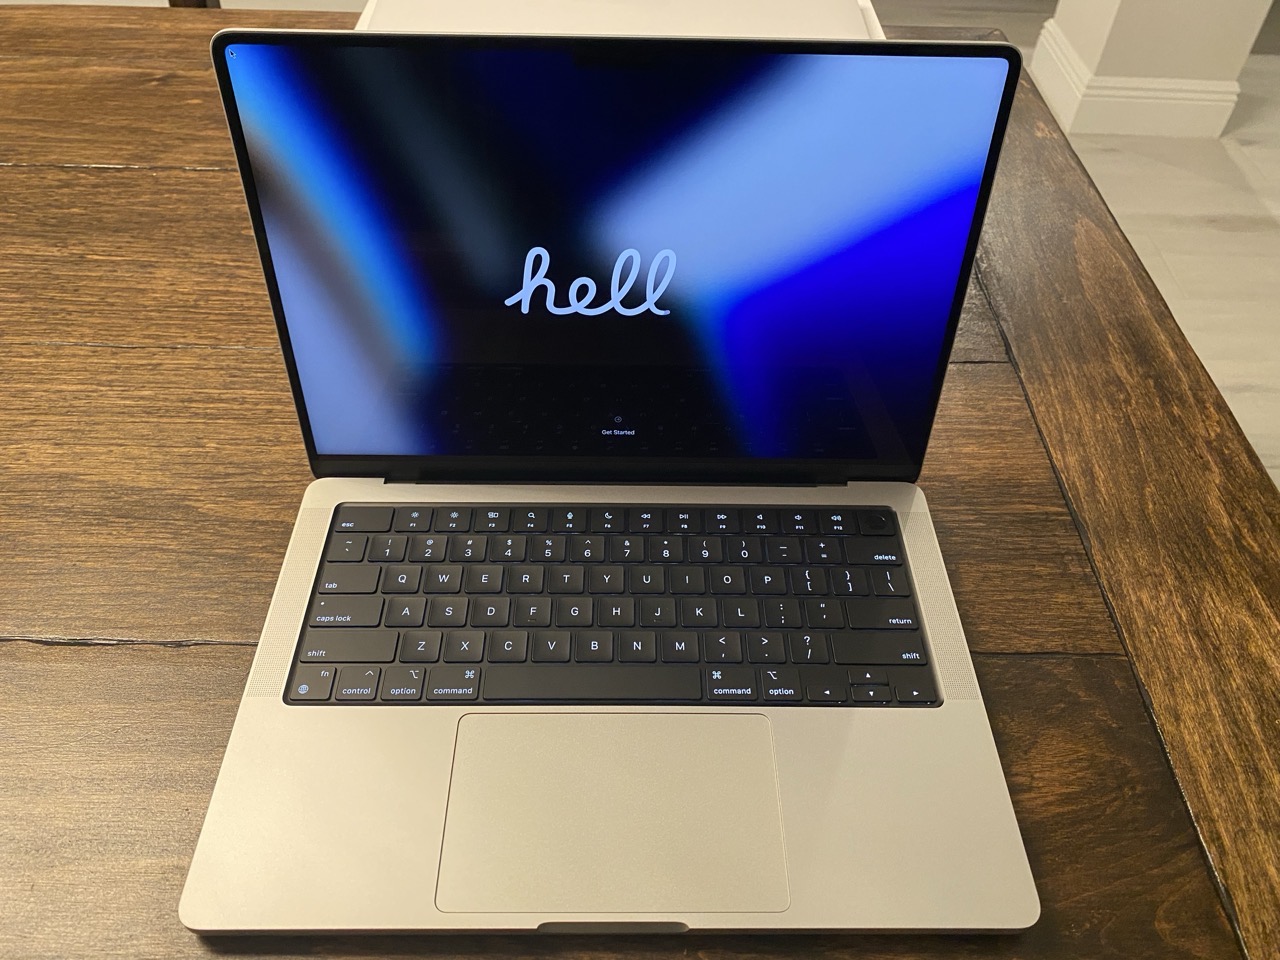
    The only observable difference between both two machines, when comparing them side by side, is the keyboard. On the M5 Pro model, Apple has omitted text on six key caps: tab, caps lock, left shift, right shift, delete, and return. While it does give the keyboard a cleaner look, I prefer the original layout. (Veteran Mac users will not have any issue, but new users, particularly those coming over from Windows, may encounter some friction.)

    In my next post, I’ll share my thoughts on the default macOS Desktop experience. Spoiler alert: I hate it.

    -Krishna

  • FrugalMac: The Rationale

    FrugalMac: The Rationale

    Tasks and errands got the best of me for most of the day, which means I still haven’t opened the box containing my new M5 MacBook Pro. (It will happen tomorrow, I promise.) 

    (Incidentally, the featured image for this post is of my M1 Pro MacBook Pro, shortly after it was unboxed.)

    In my last post, I wrote about why and how I plan to use this new laptop. Today I wanted to share the rationale for the specific configuration I chose for my new Mac laptop. 

    1. Silver vs. Space Black

    I chose Silver over Space Black after much internal debate. The Space Black MacBook Pro model looks sleek and sophisticated. I seriously considered it, but two things held me back: fingerprints and scratches. I take great pride in keeping my Macs pristine. Reports from users on various Mac reddit groups suggest that although Space Black looks good, it takes more upkeep to maintain. I suppose I could deal with a fingerprint-laden case, but visible scratches (from rings, watches, and plugging peripherals in and out) made Space Black  a no-go for me.

    2. 14” vs. 16″

    I value portability over screen size. If I need to use a bigger screen, I can do so by plugging my laptop into an external display. Therefore, the 14” model was an easy pick. At work, I have access to a 16” M3 Max MacBook Pro. Despite it’s larger screen size, it’s far too big and bulky for me to tote around.

    3. 48GB RAM

    My M1 Pro MacBook Pro was outfitted with 32GB of RAM. I plan to use the M5 Pro MacBook Pro for at least five years or more, so I bumped RAM up to what I was comfortable with. Truthfully, for the work that I do, I could have probably settled for 24GB of RAM. But I didn’t feel like settling. Besides, I’ve never, ever regretted having more RAM in any one of my Macs. 

    4. 1TB storage

    I’m very selective when it comes to the applications and files that live on my MacBook Pro’s internal drive. I have never used more than 350GB of storage space for apps / files on the M1 Pro’s 1TB drive. (Most of my files live on external drives.)

    5. Binned vs. Non-Binned

    I opted for the Binned variant CPU/GPU, largely based on the test results conducted by several YouTubers. For the type of work I do, I’m fine with waiting a few extra seconds. The extra cost for the non-binned CPU didn’t seem worth springing for. The 15 CPU cores and 16 GPU cores in the M5 Pro will be a massive step up from the 8 core (6 Performance and 2 efficiency) setup I have in the M1 Pro.

    Extensive research and careful deliberation led me to this decision. Soon, I’ll be putting my new machine to the test. Now if you’ll excuse me, I’ve got a box to open…

    -Krishna

  • FrugalMac: The Right Mac, Bought Once

    FrugalMac: The Right Mac, Bought Once

    In early May, I pulled the trigger on a custom-configured M5 Pro MacBook Pro.

    Its specifications are as follows:

    • 14″ Silver
    • 48GB RAM
    • 1TB internal storage
    • 15-core CPU
    • 16-core GPU

    It arrived this past Thursday. It’s Sunday as I write this, and much to both my wife and daughter’s surprise, I haven’t opened the box yet.

    I rarely purchase new computers, so I want to savor the experience of settling in with my new laptop. The plan is to open it tomorrow.

    My last MacBook Pro was purchased in late 2021, shortly before starting my current teaching post. At the time, I really needed a new portable machine. My 2014 MacBook Pro, with its measly 8GB RAM and 256GB SSD, was too anemic for regular use.

    I took possession of the late 2021 MacBook Pro a few weeks before the academic term started. It was put to full use as a curriculum-development machine before I could really set it up properly.

    Five years on, my M1 Pro MacBook Pro still runs well, but it does have a few minor hiccups here and there. It is also well overdue for a fresh install of macOS. I’m positive this approach will excise some of the detritus and cruft that still lingers within the machine. A clean install is something I have scheduled for this summer.

    For now, the M1 Pro will continue to handle my academic tasks. The new M5 Pro will be used as my daily driver for design-focused work. At some point in the near future, I’ll pass the M1 Pro laptop over to my wife and employ the M5 Pro as my main academic and design workhorse.

    But that’s only after I get everything set up properly from scratch.

    And if you’re following this blog, I’ll be documenting the entire configuration process along the way.

    With this new machine, my goal is to keep the quantity of third-party applications and add-ons to the absolute minimum. I will also be prioritizing free, open-source, and low-cost software options whenever I can. Along the way, I’ll share what I install, what I skip, what I replace with free or low-cost tools, and what is actually worth paying for.

    I’m dubbing this approach FrugalMac.

    FrugalMac doesn’t mean buying the cheapest Mac. It means buying the right Mac once, setting it up thoughtfully, and avoiding unnecessary bloat wherever possible.

    In my next post, I’ll explain the rationale for the specs I chose — and hopefully, by then, I’ll have the new machine out of the box.

    —Krishna