Enter the Raspberry Pi
There was a time before iPads and iPhones. My 8 year old daughter Sonia doesn’t believe me. Her iPad has been her closest computing companion for several years; she took to it almost immediately. But there’s much more to computing than apps and touch screens. As a diligent geek dad, I wanted to give my child the hands-on opportunity to learn more about the fundamentals of computing. Modern, mainstream computers tend to isolate the user from its underpinnings. I wanted a computing device that involved some assembly, but easy on the wallet and full of educational potential.
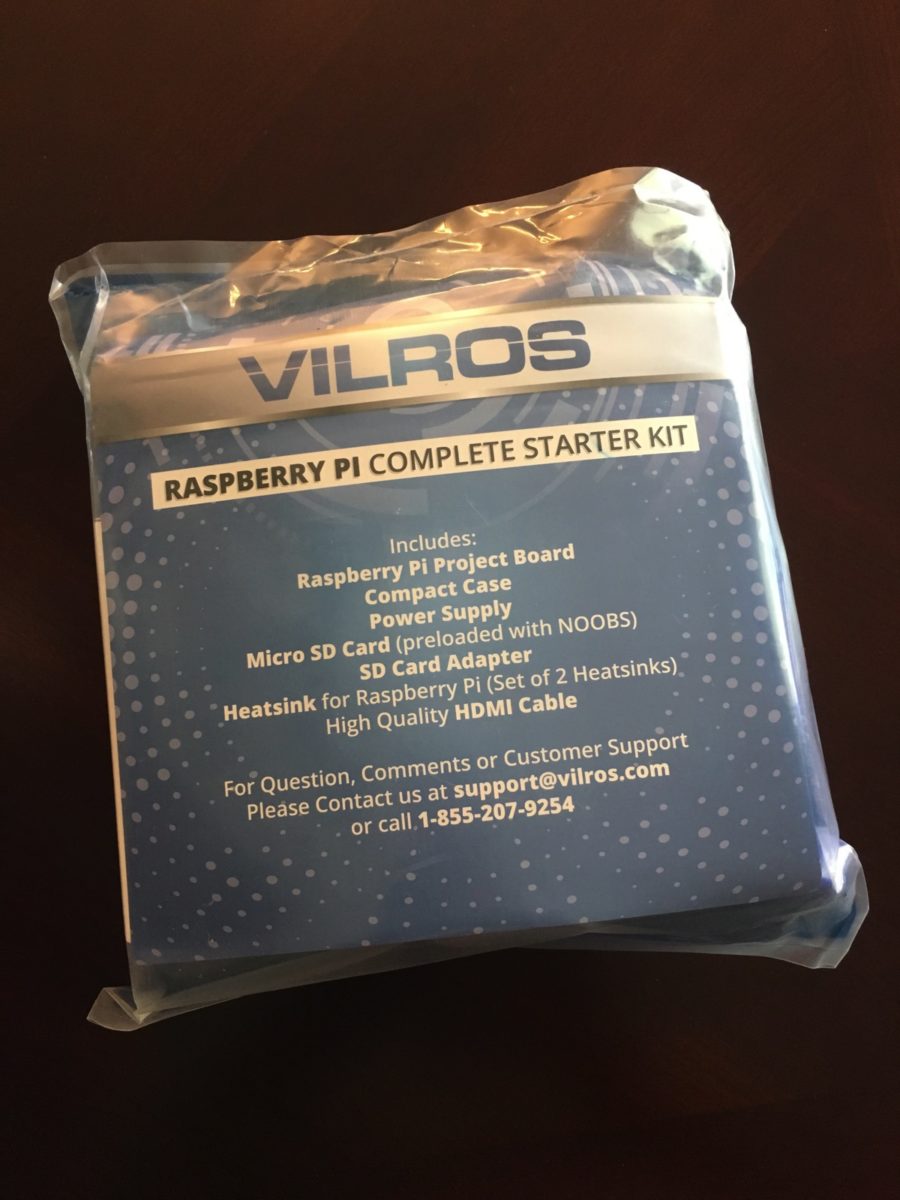
After a few weeks of research, I ordered a Raspberry Pi 3 starter kit from Virlos. For about $60 or so, Sonia could have her very own computer, and more importantly, a learning experience in the basics of computing.
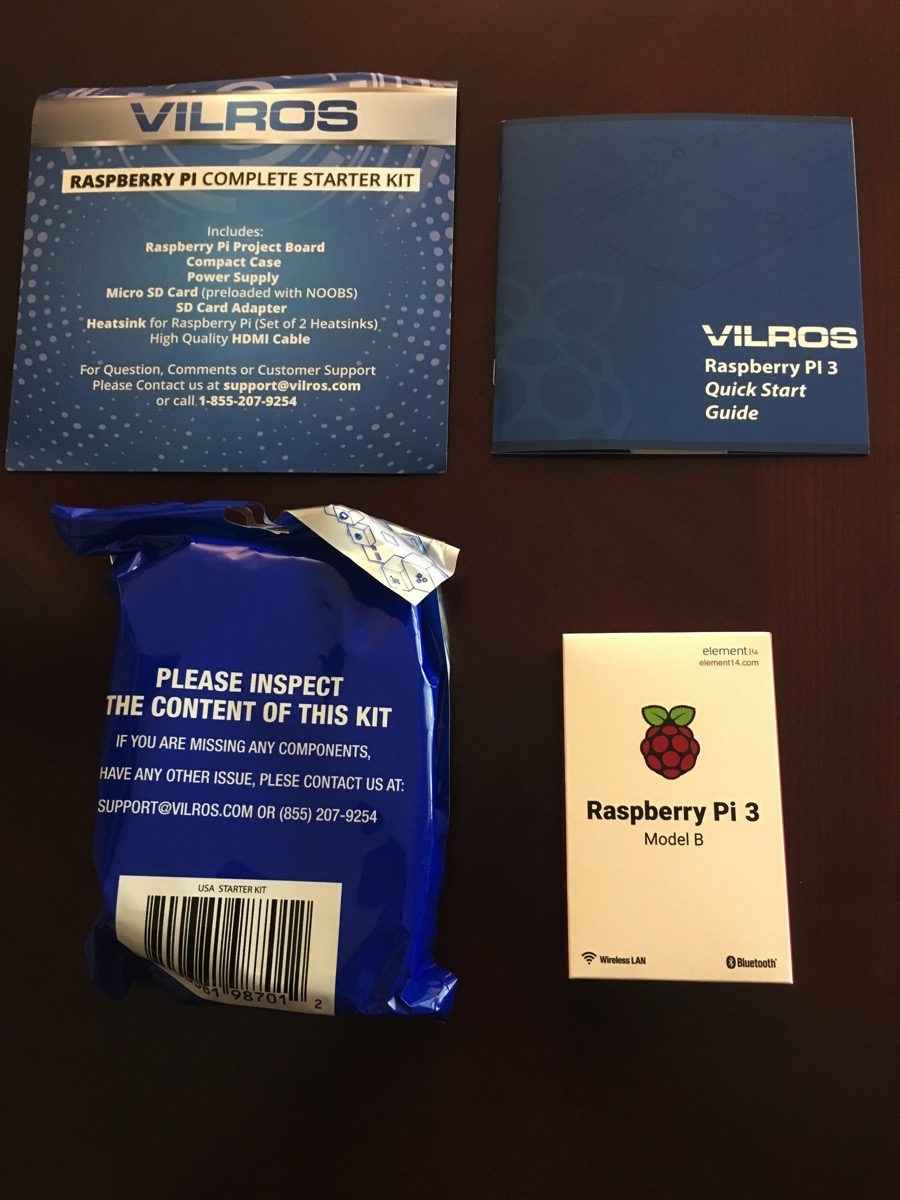
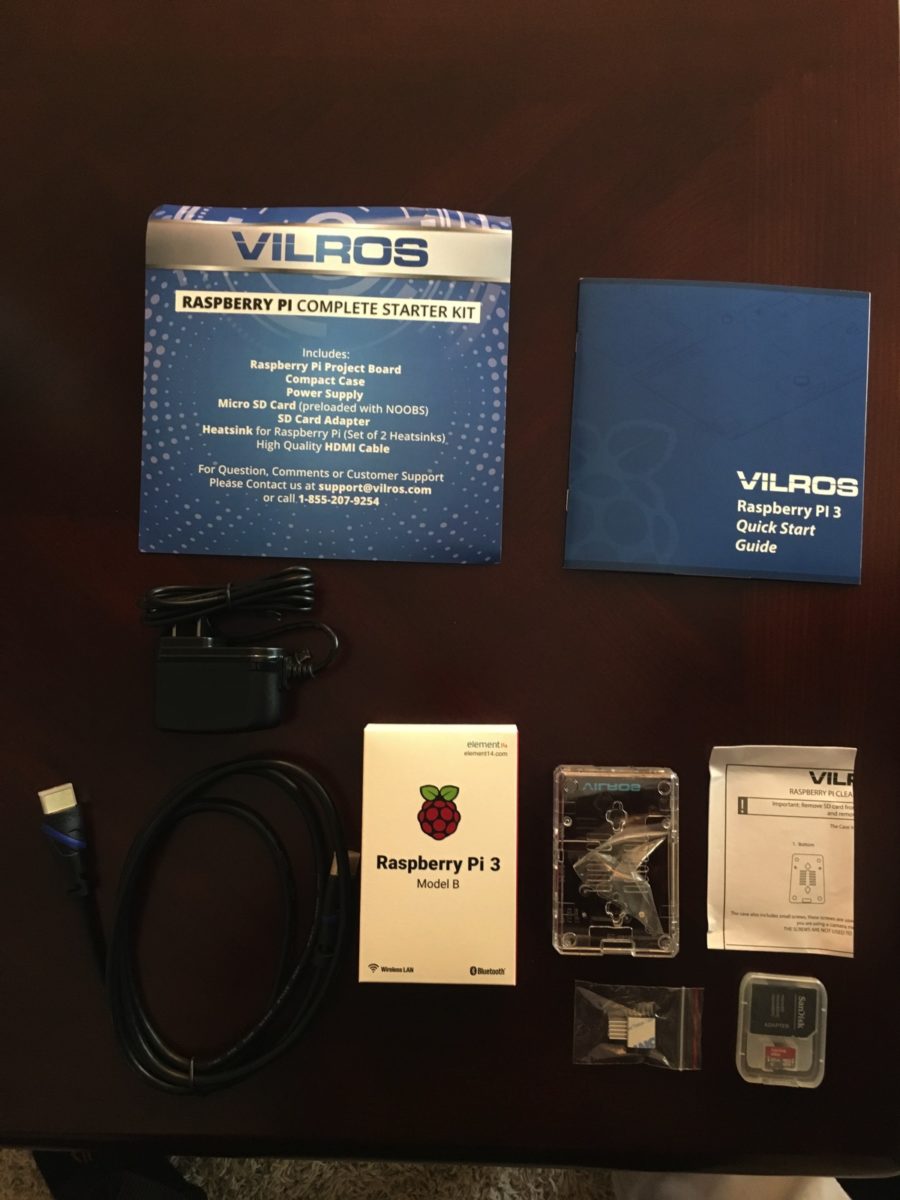
The Virlos kit includes nearly everything you need to get up and running. This, of course, assumes that you already have an HDMI display and a USB keyboard and mouse within reach. (I did.)
The Raspberry Pi 3 Starter Kit comes with the Raspberry Pi board, a clear, sturdy plastic case, a SanDisk 16GB SD card (preloaded with NOOBS Software, a 2.5 amp power supply and 5ft cord, two heat sinks and a well written starter guide. The Raspberry Pi unit itself has the following specs:
- 1GB RAM
- Built-in Wi-fi
- Built-in Bluetooth
- a 40 pin general purpose Input/Output interface
- 4 USB2 ports
- An Ethernet port
- An HDMI port (1080p)
- a power port
- a Broadcom BCM2837 64bit ARM7 Quad Core Processor running at 1.2GHz
While these specs might seem anemic as compared to modern Mac and PC workstations, they’re pretty solid for a device that retails standalone for $40.
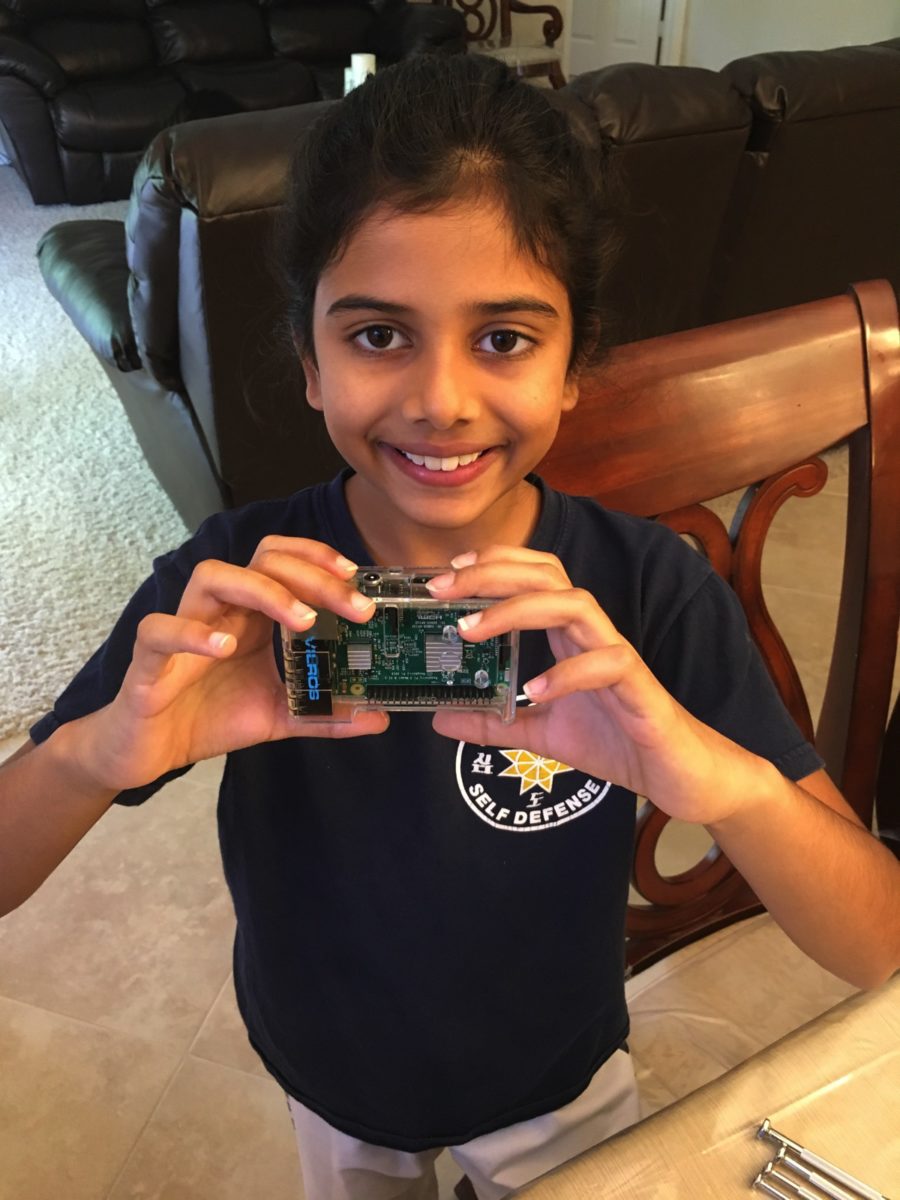
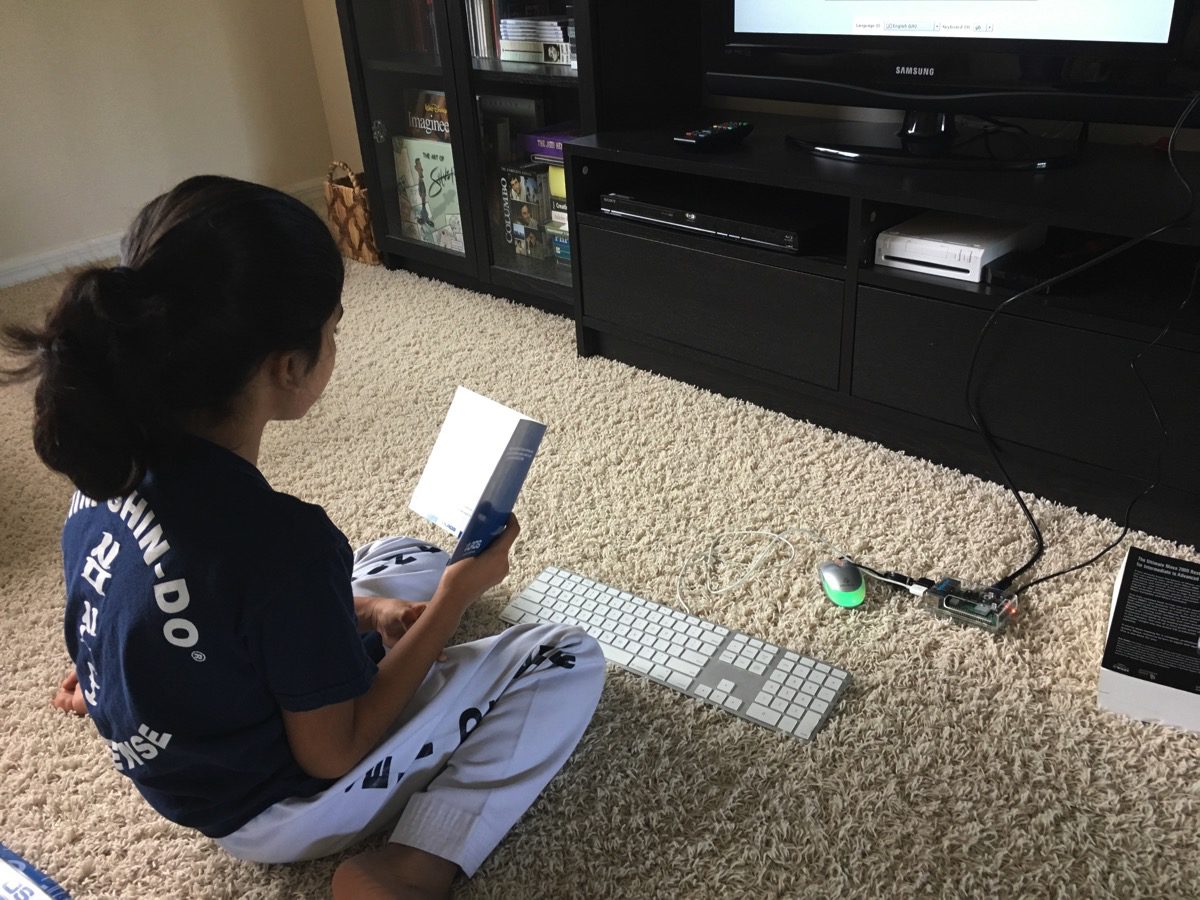
For the install, I let Sonia handle the full assembly. She and I read the documentation together. This was a bit foreign to her as she’s used to flying around on her iPad.
Nevertheless, we made it through step by step. In the process, I explained some of the unfamiliar terms she ran across. Next, we placed all the components on our table. Following the directions, she was able to properly affix the two heatsinks to the CPU and USB/Ethernet chips.
She had a little difficulty (at first) in placing the board inside the case but figured it out. I stepped in only to snap the top and bottom of the case together.
Next, we went to our den where I cobbled together the parts she needed to make her computer work.
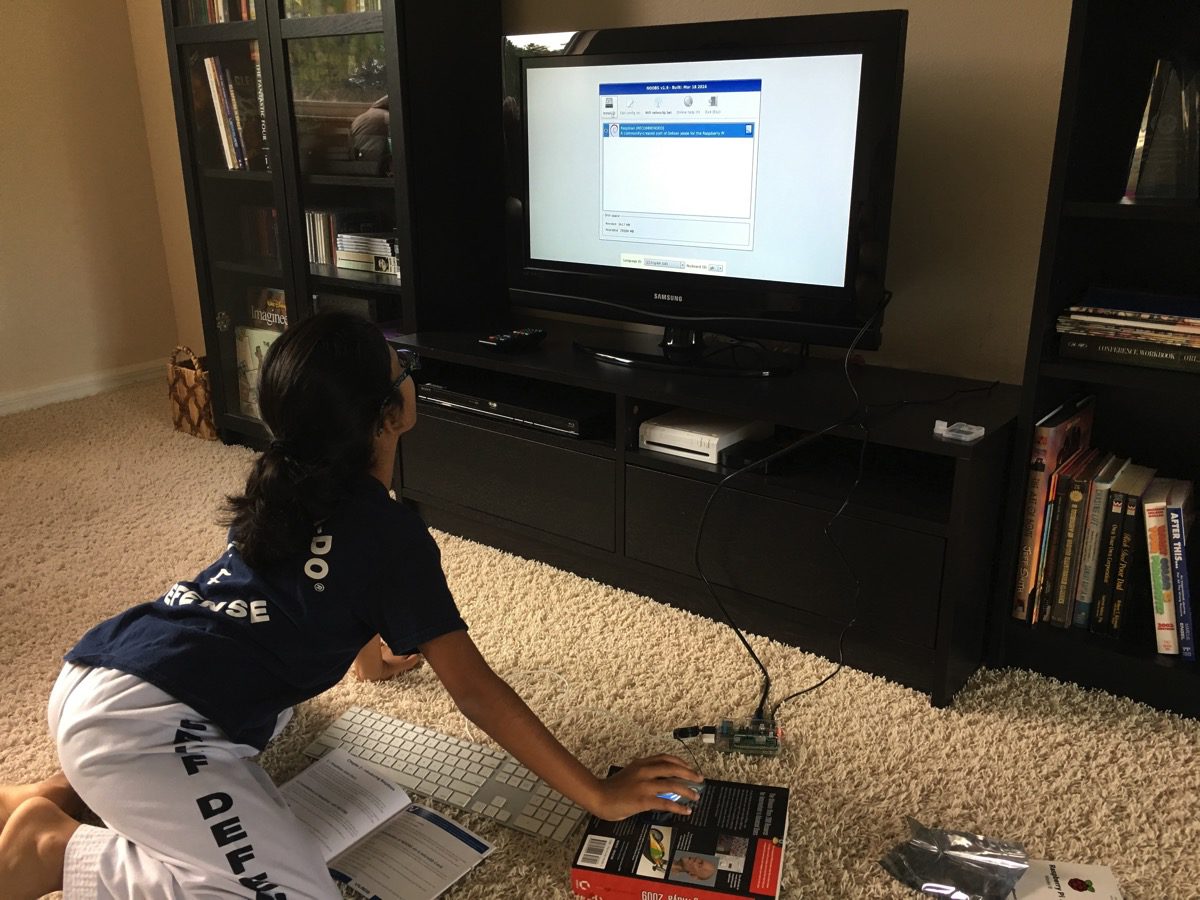
I supplied an old Apple keyboard and Targus mouse that I had sitting in our closet. She plugged the HDMI and USB cables. I helped her with installing the tiny SD card into the case. It was time to plug the power and see if her assembly was successful.
The Raspberry Pi has no ON/OFF switch, so the minute Sonia connected power, a bright red LED on the board turned on. Her tiny computer was awake. Sonia was thrilled!
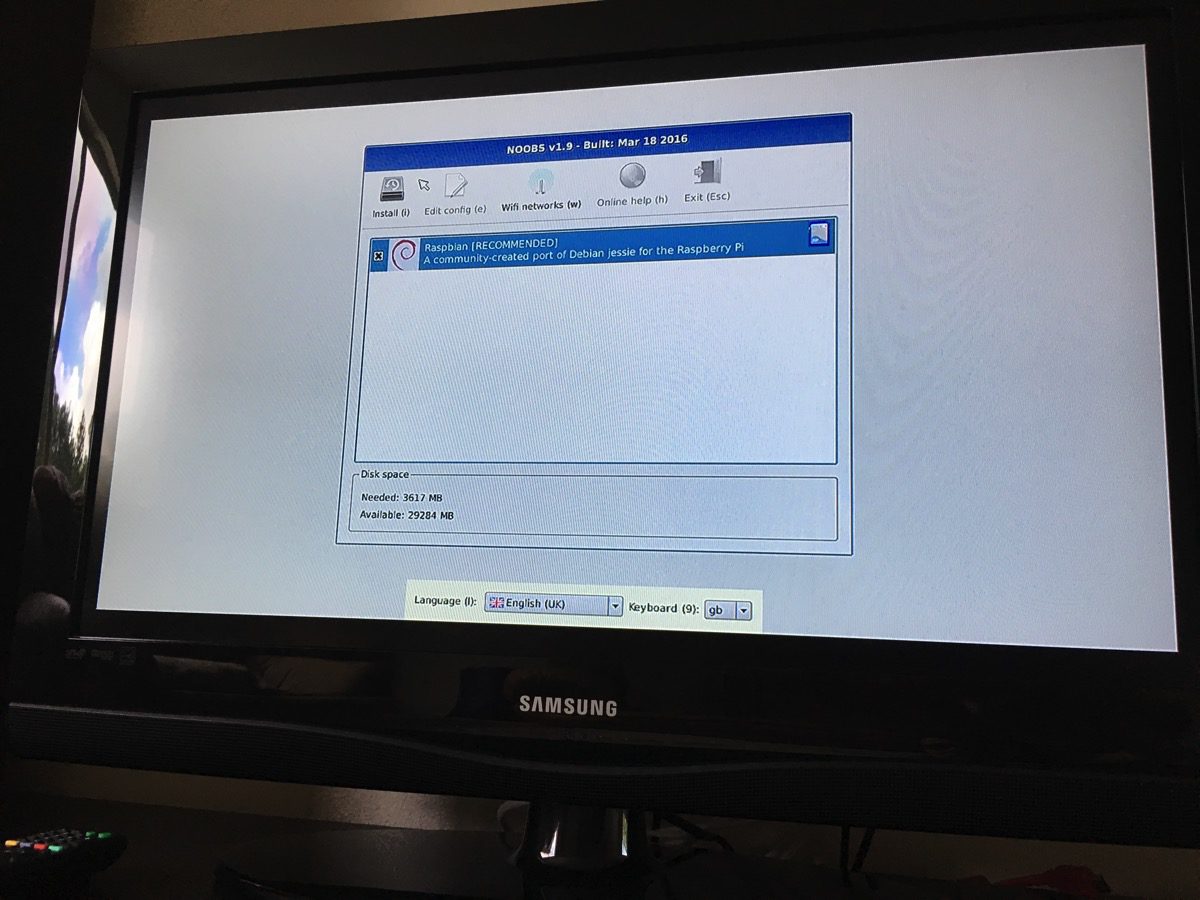
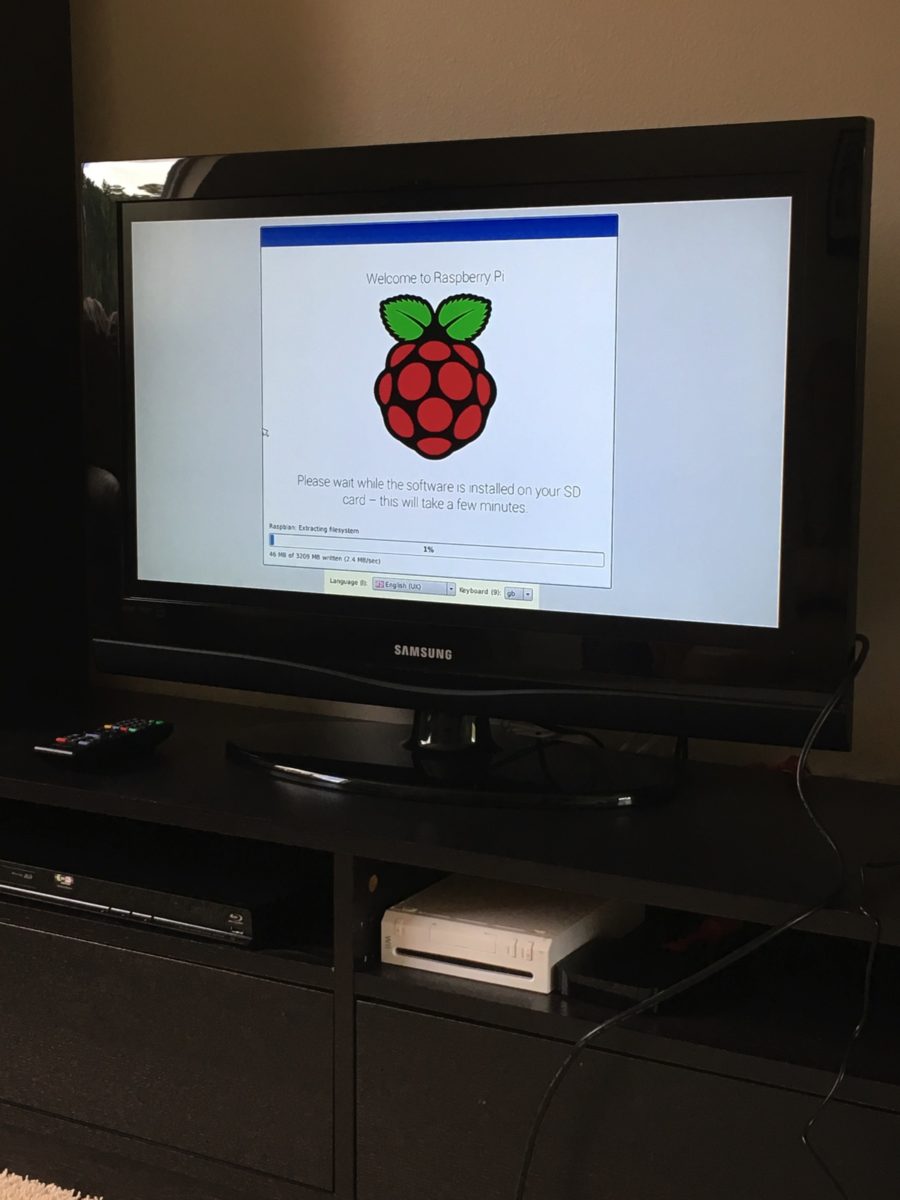
After seeing a rainbow hued start screen, the RaspBerry Pi booted NOOBS (an operating system installer). Within two clicks, Sonia was installing Raspbian (a flavor of Debian Linux) on her new machine. The install process took several minutes, during which time we snuck down for a snack.
After the install process completed, the unit rebooted and within seconds we were seeing the Raspbian Desktop. Sonia’s first adventures in computing was an unqualified success!
Virlos should be commended for putting together a very solid Raspberry Pi Starter Kit. We had no major hiccups during the assembly and OS install. This was a great daddy / daughter project – and one that will continue in the weeks and months ahead, as we both learn more about our new computer’s capabilities.
Do you own a Raspberry Pi? How are you currently using it? Share your feedback and experiences in the comments!
-Krishna


t3rminus
July 21, 2016 at 4:59 pmYour Wii is upside-down…
Sorry to be off-topic. It’s just weird to see!
I’d love to get an RPI, but all I can seem to find in Canada are resellers with outrageous markup, or insane shipping fees.
Krishna
July 22, 2016 at 6:01 amYep, the Wii is intentionally upside down – because the soft rubber “legs” of the unit were melting onto the hutch. The stain was really tough to get out, so I had to flip the unit upside down.
Jay
July 22, 2016 at 6:17 pmHey Krishna, (it’s Jay from the Ai days)
Just wanted to give you some kudos on this post, what a great project for you two! So cool, thanks – glad you’re doing well!
All the best
Krishna
July 23, 2016 at 1:24 pmThanks, Jay!
Mani Akella
July 31, 2016 at 1:54 pm..and she is already 6 years old!!!`