Resurrecting an Apple Extended Keyboard II
Before I begin, some context is needed. The Apple Extended Keyboard II, the subject of this very blog post, was released in 1990. That same year, I was finishing my senior in high school. In this era, I was already an Apple fan – or should I say “an Apple II fan”, having owned and used an the Apple IIgs since 1987.
Oh sure, I had seen Macs in both computer stores and magazines, but I had never actually used one. That would all change during my freshman year in college, where we used the Mac II, VersaCAD, and with it – the Apple Extended Keyboard II.
I was smitten.
Flash forward to the year 2000. I worked for a small engineering office where the server room was filled with old and creaky equipment. Plans were made to discard all the old stuff, and that’s when I snagged my Apple Extended Keyboard II (AEK2) from the jaws of the trash bin.
I remember testing it shortly after, only to discover that one of its keys didn’t work. That, and the spacebar was particularly wobbly. But it was too good to throw away, so I tucked it away and promptly forgot about it.
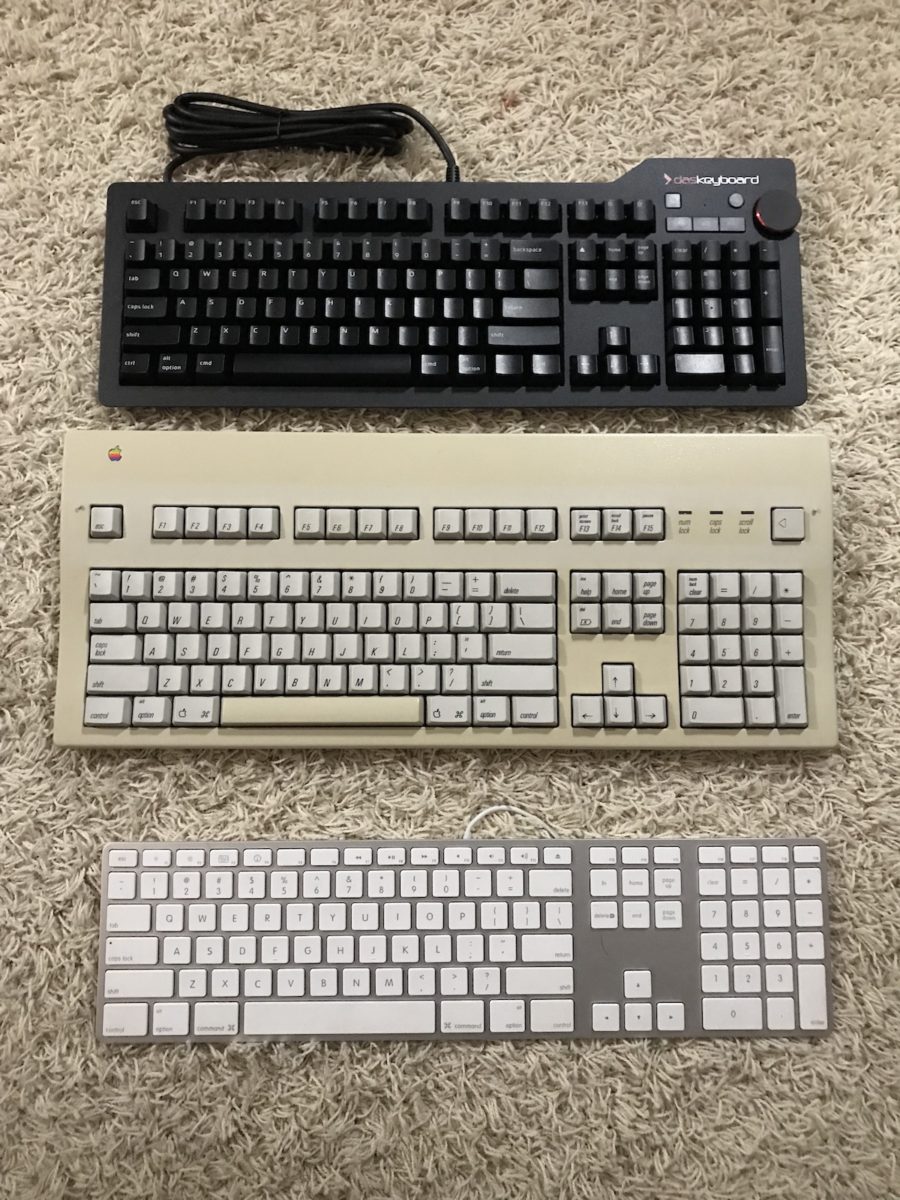
From time to time, I would dig out the venerable AEK2 – the last being a few years ago when I purchased my Das Keyboard 4 – to compare the sizes of both boards.
Which brings us to the present. While researching a few articles on vintage Macs, I came across an article on prodissues entitled Fixing My Apple Extended Keyboard II. Reading the article reminded me of my old AEK2, languishing on a closet shelf. Fixing it seemed possible, and I was determined to make it happen.
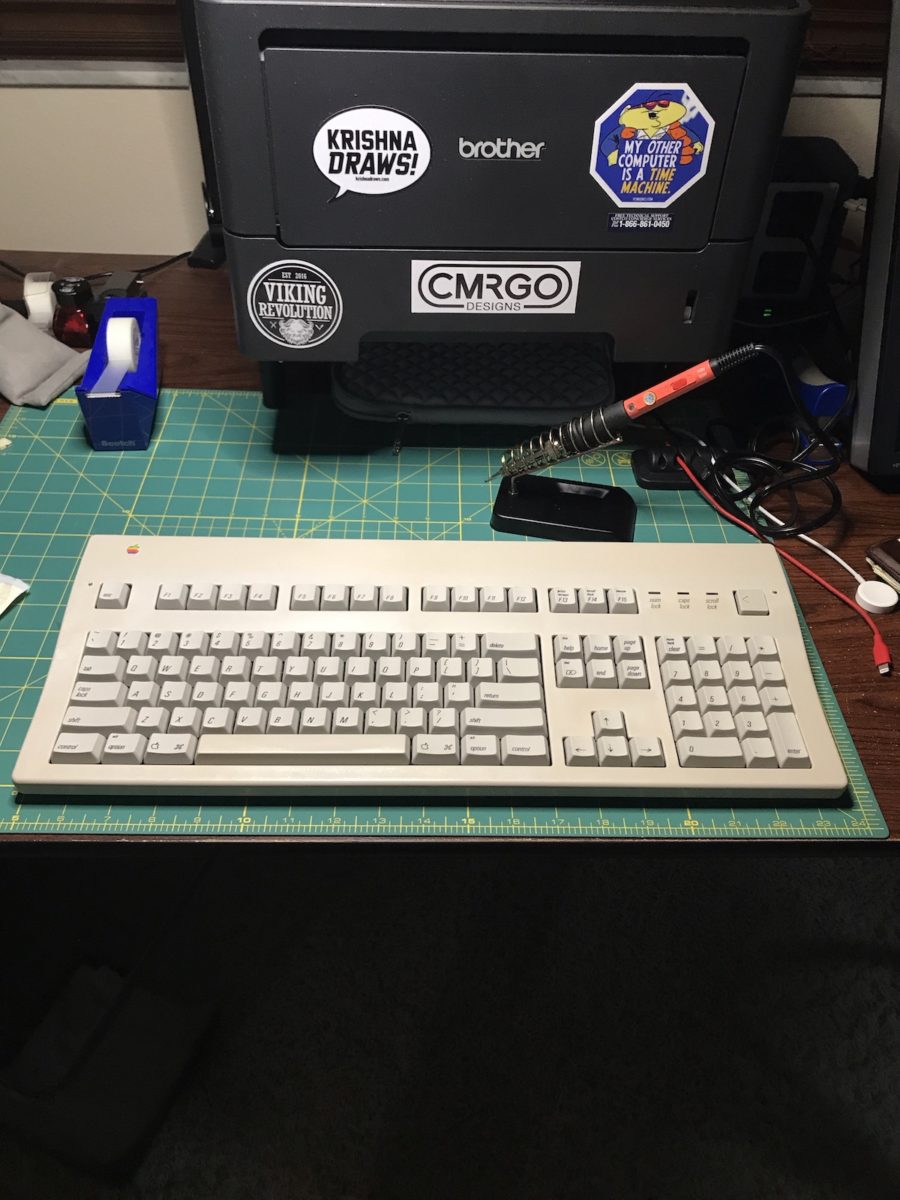
Below is a photo of the keyboard before any alterations were made. Like many computing devices from the 80’s, yellowing was evident. On this particular unit, you can see it on both the top of the case and the space bar.
First, I connected the keyboard to a PowerMac 6500 to test the AEK2. Using the KeyCaps utility in Mac OS 9, it was determined that the only bad key on the unit was the “C” key.
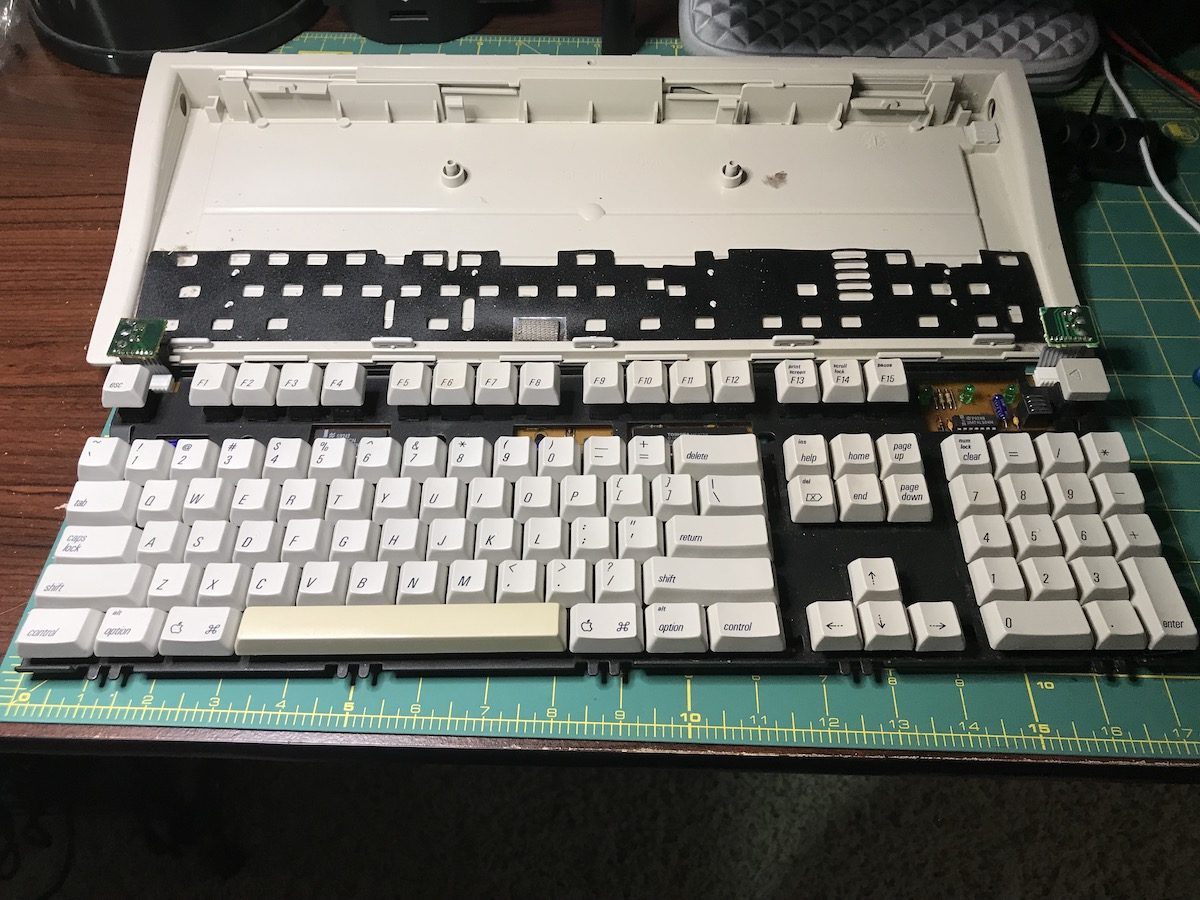
I used iFixit’s AEK2 Teardown article to begin disassembly. Only one screw holds the keyboard in place, and with that removed, I used an old credit card to release the clips that hold the top of the keyboard to the base.
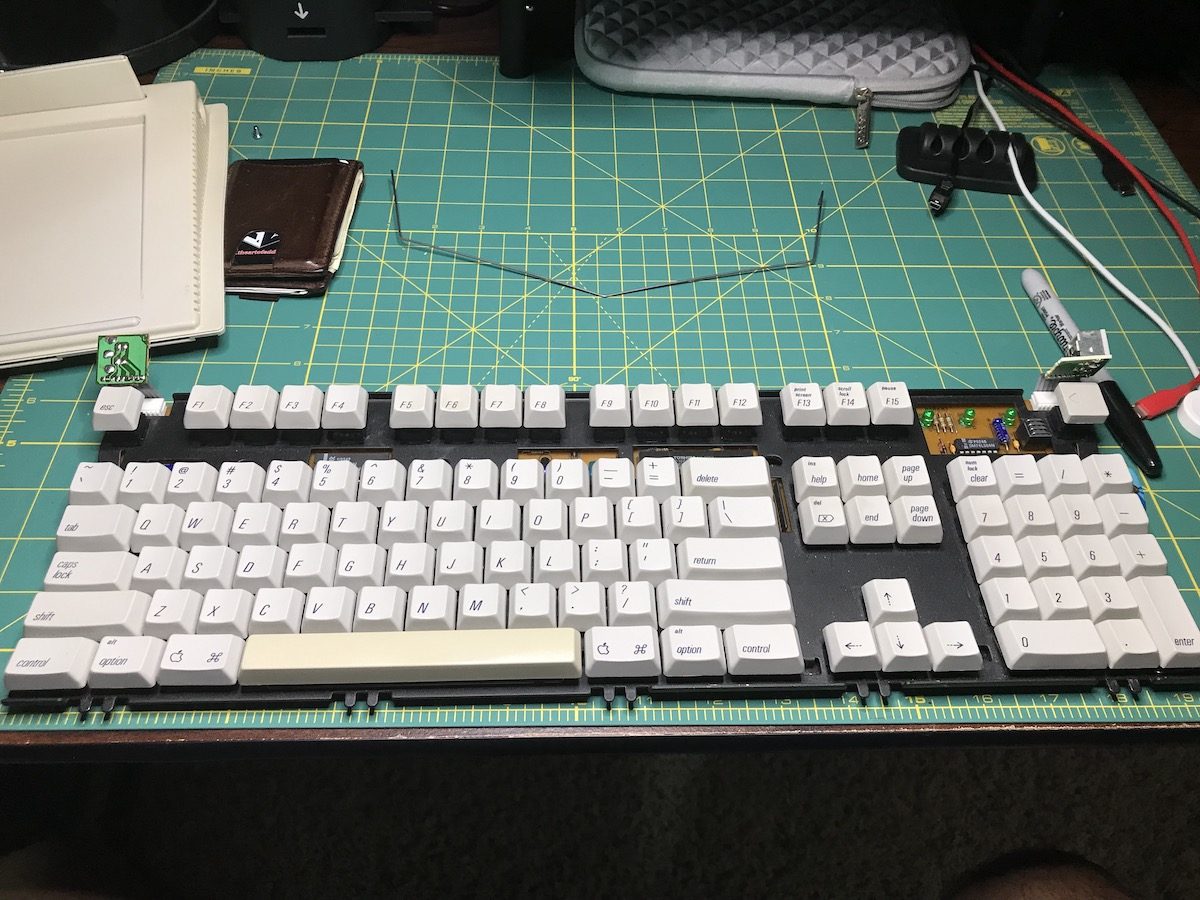
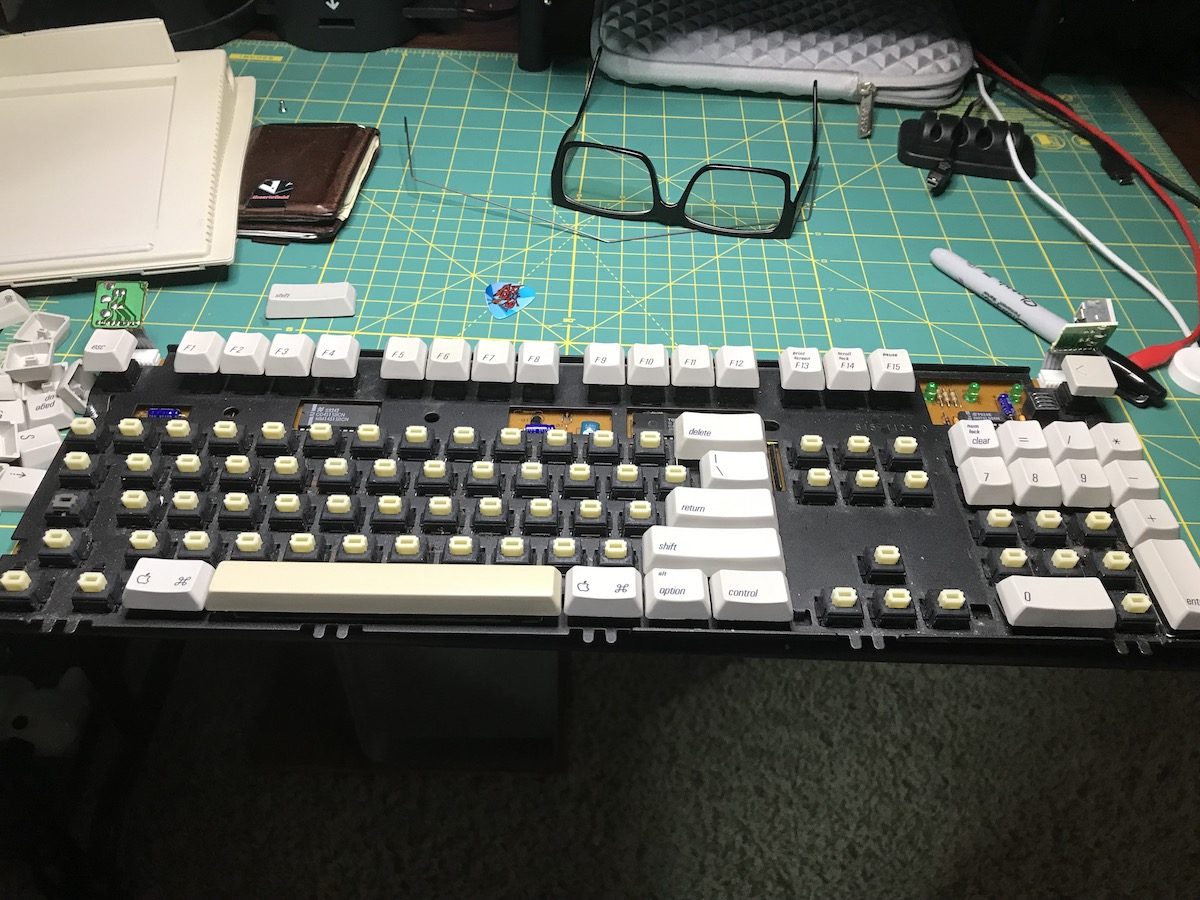
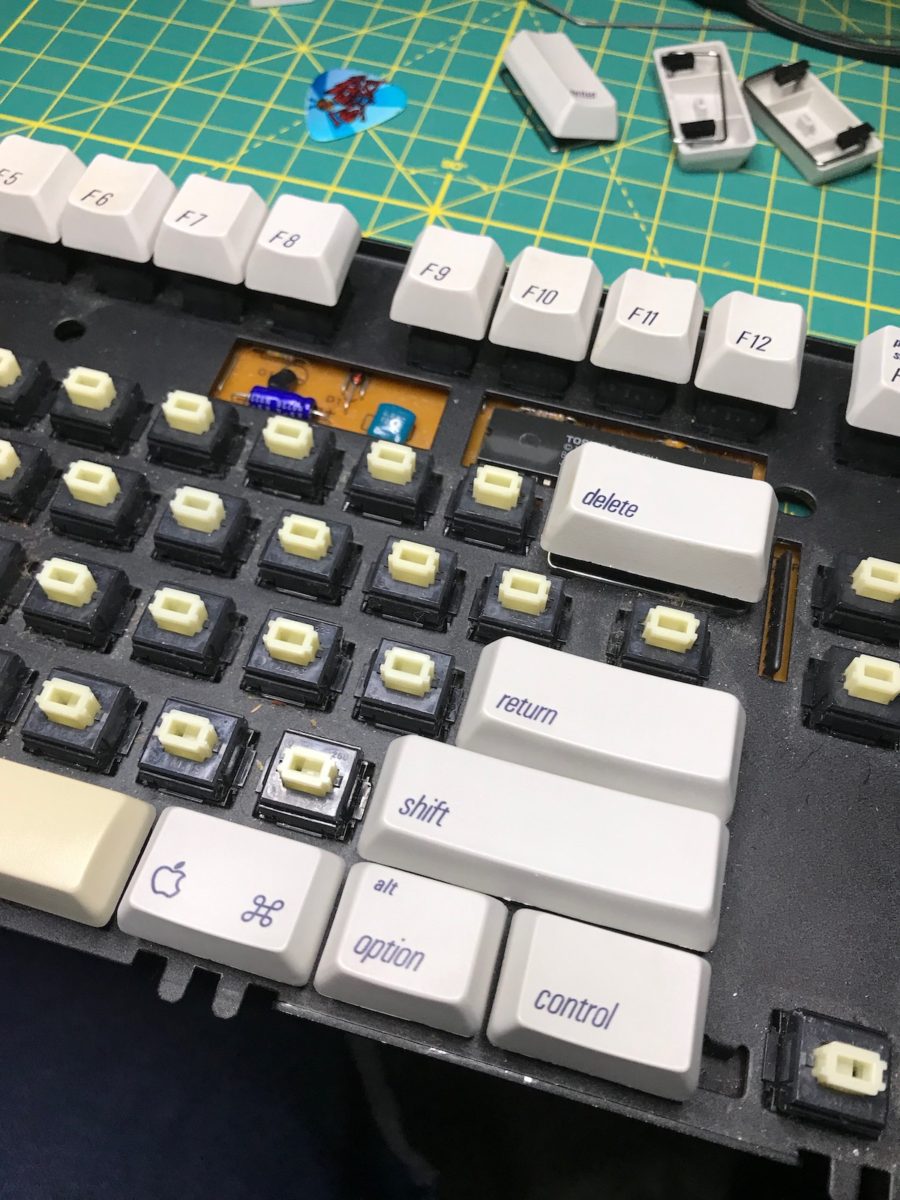
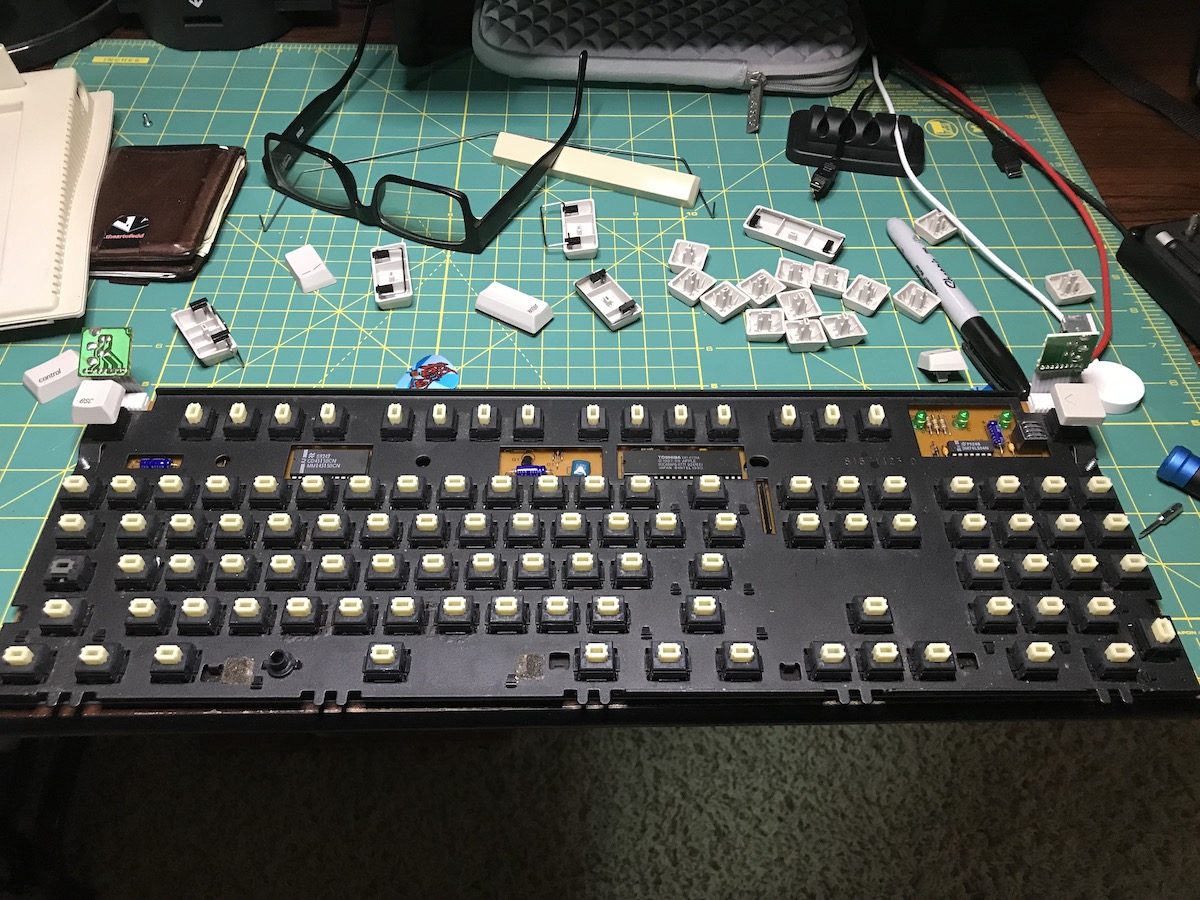
The Apple Extended Keyboard II uses Cream ALPS key switches, which provides a nice tactile response when typing. The keycaps are really easy to remove. I recommend using a keycap puller.
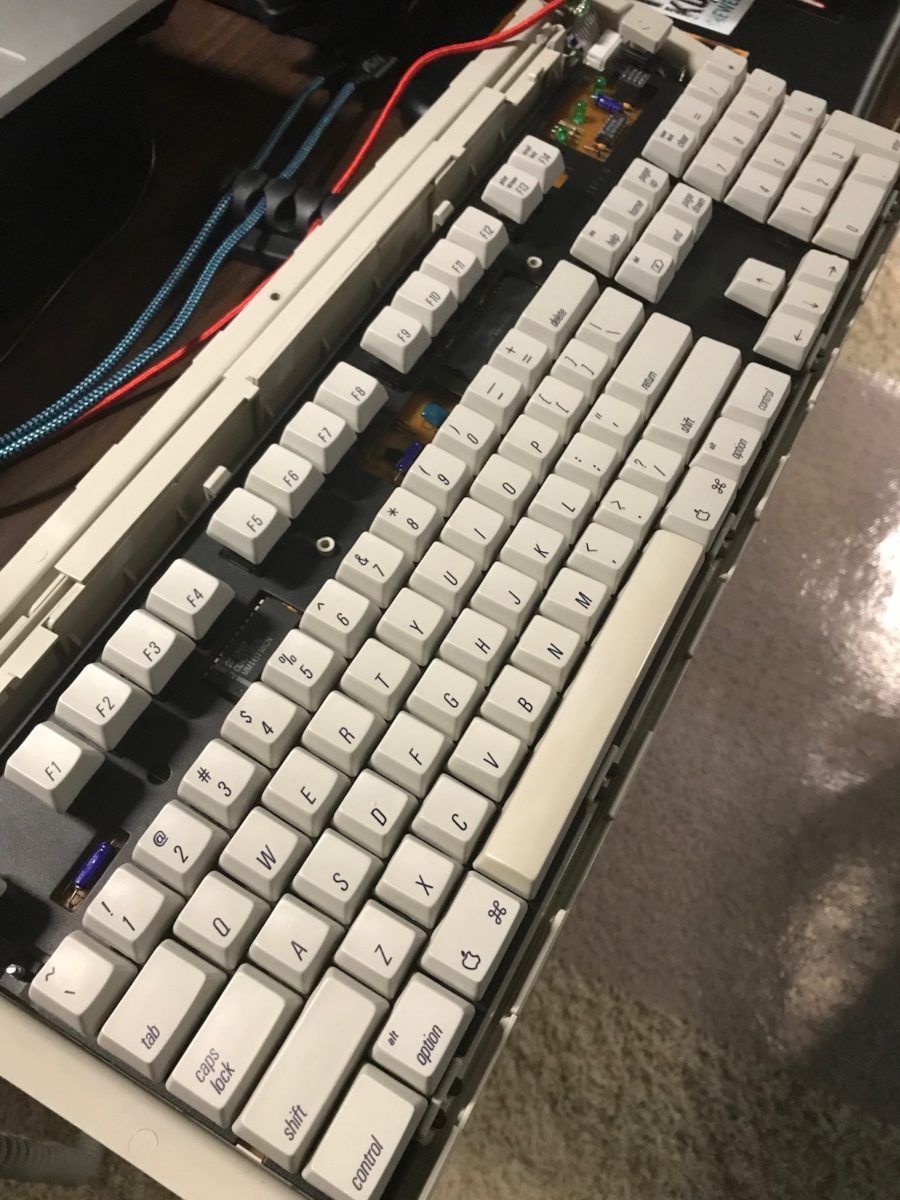
As befitting a nearly 30 year old keyboard, dust bunnies and other detritus were present, but it wasn’t as bad as I expected.
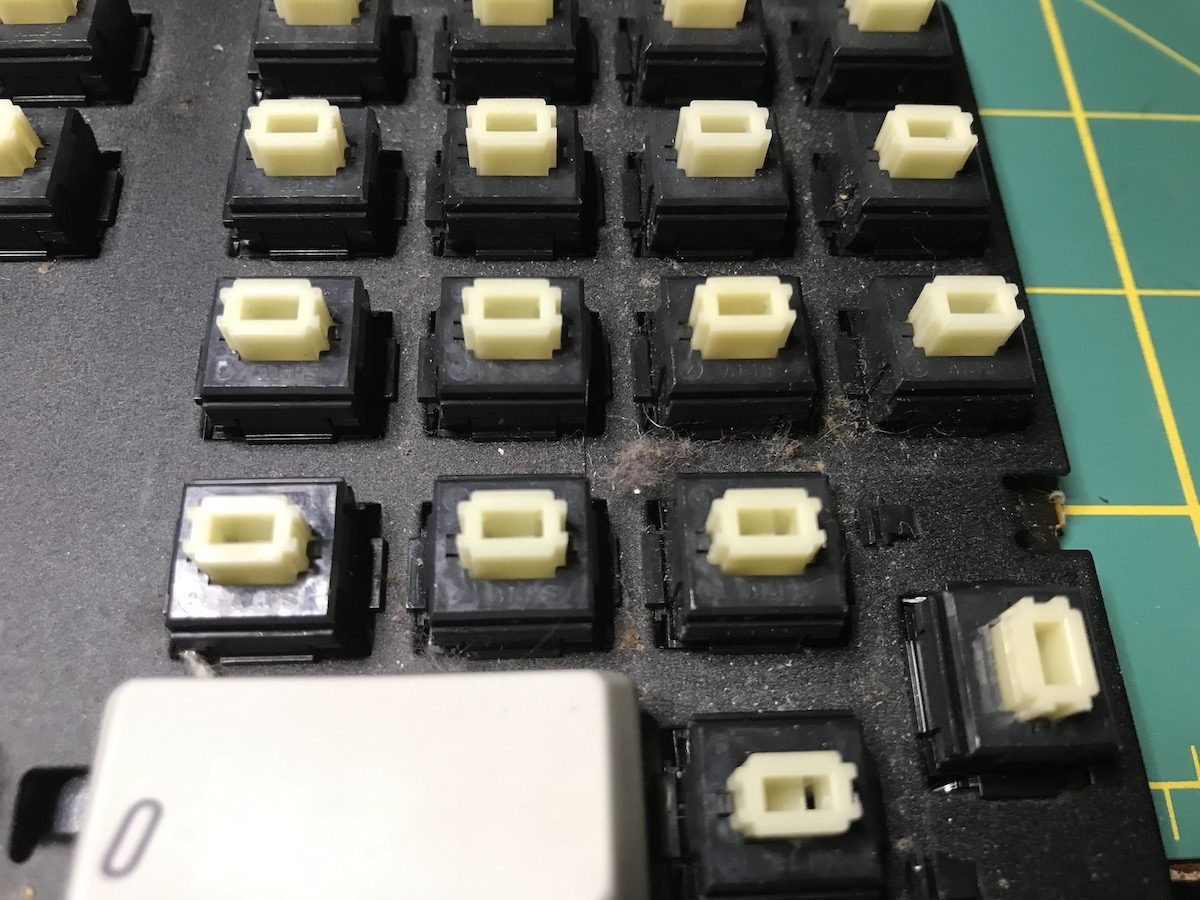
The larger keys are connected to the chassis with key stabilizers. These have to be gently pried out to release the keys.
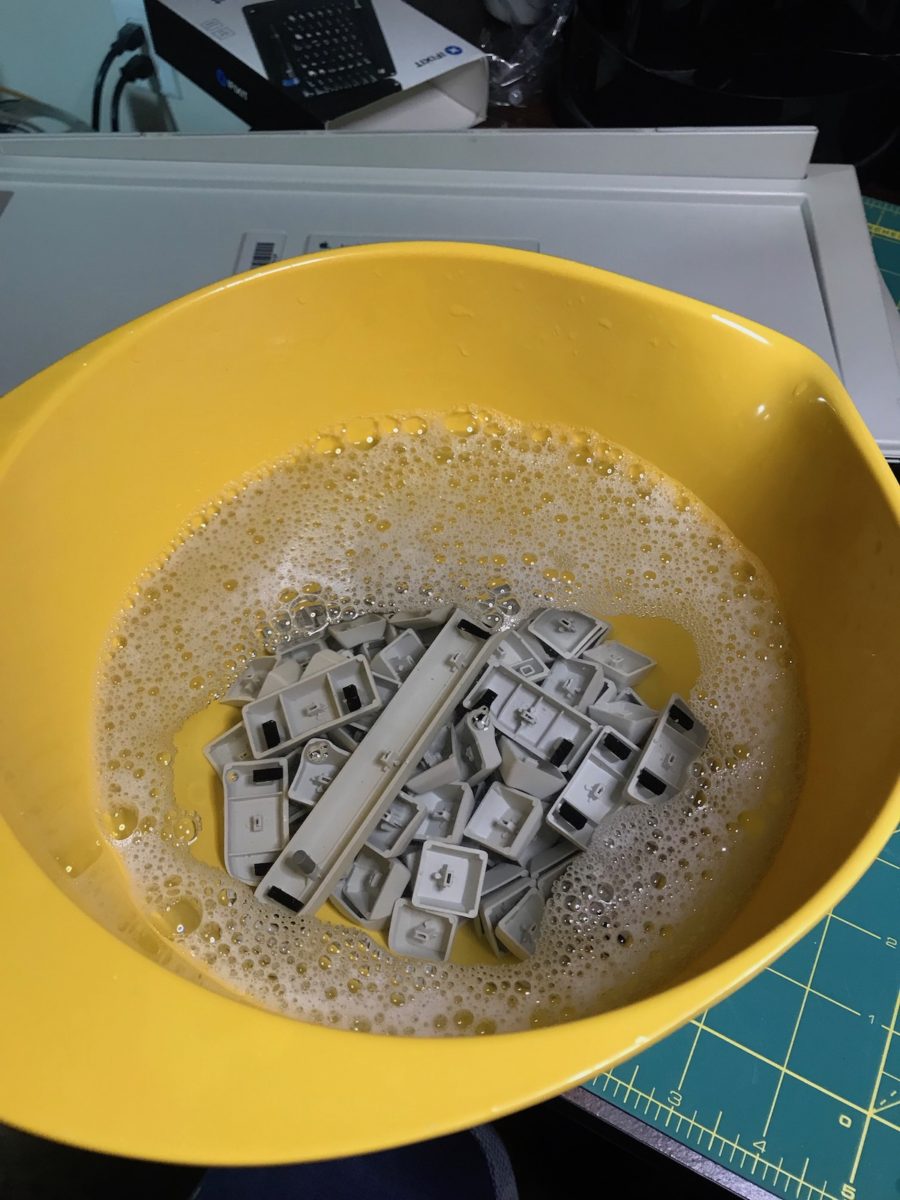
With all the key caps removed, it was time to clean them. I used warm water, mild soap, and a bowl to clean off the years of debris and dirt. I soaked the contents for about two hours. Two of the keycaps had small pen marks on the side. Gently rubbing these keycaps with a baking soda based toothpaste (Arm & Hammer) is all that is required to remove the marks. While the keys were soaking, I used my DataVac to blow out all the debris.
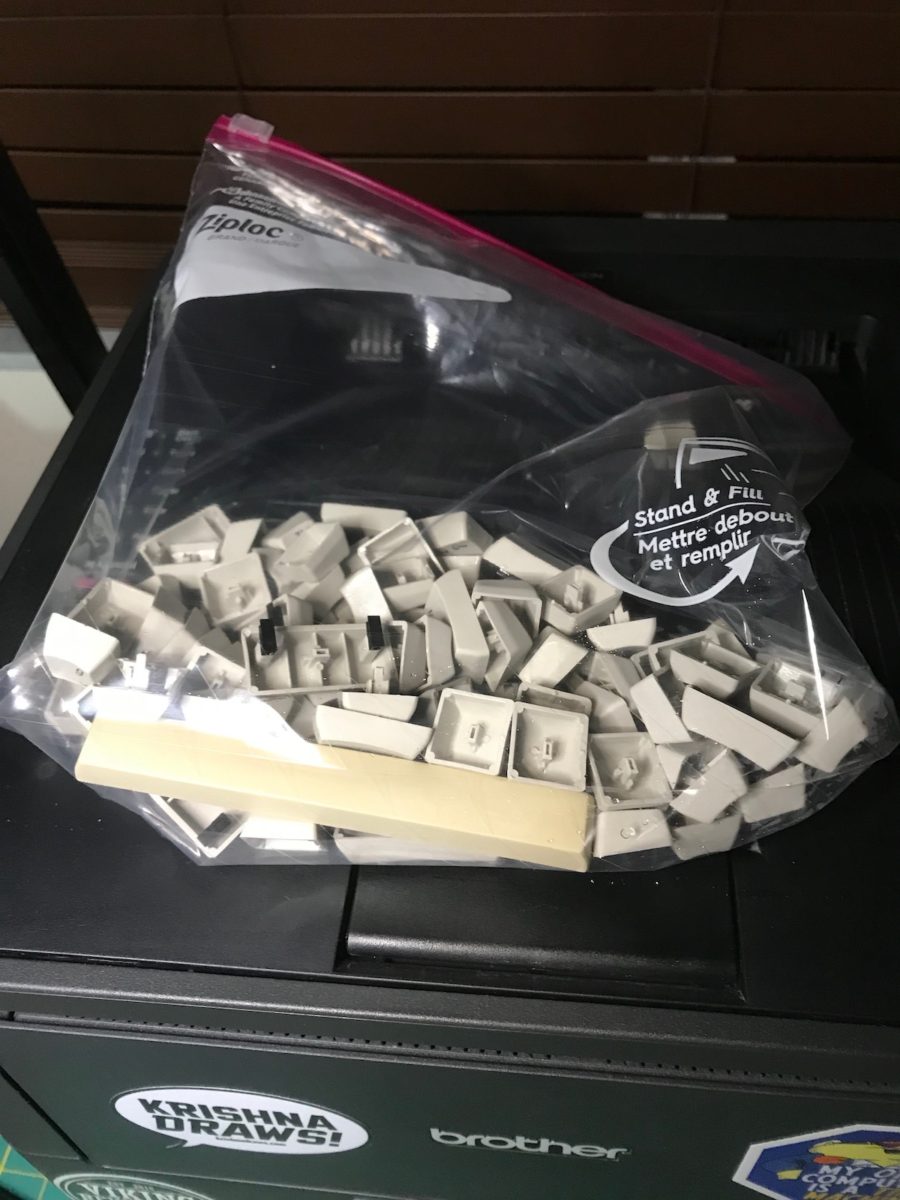
Once the keycaps were cleaned, I used a cloth to wipe off any excess water and put them in a Ziplock bag to dry.
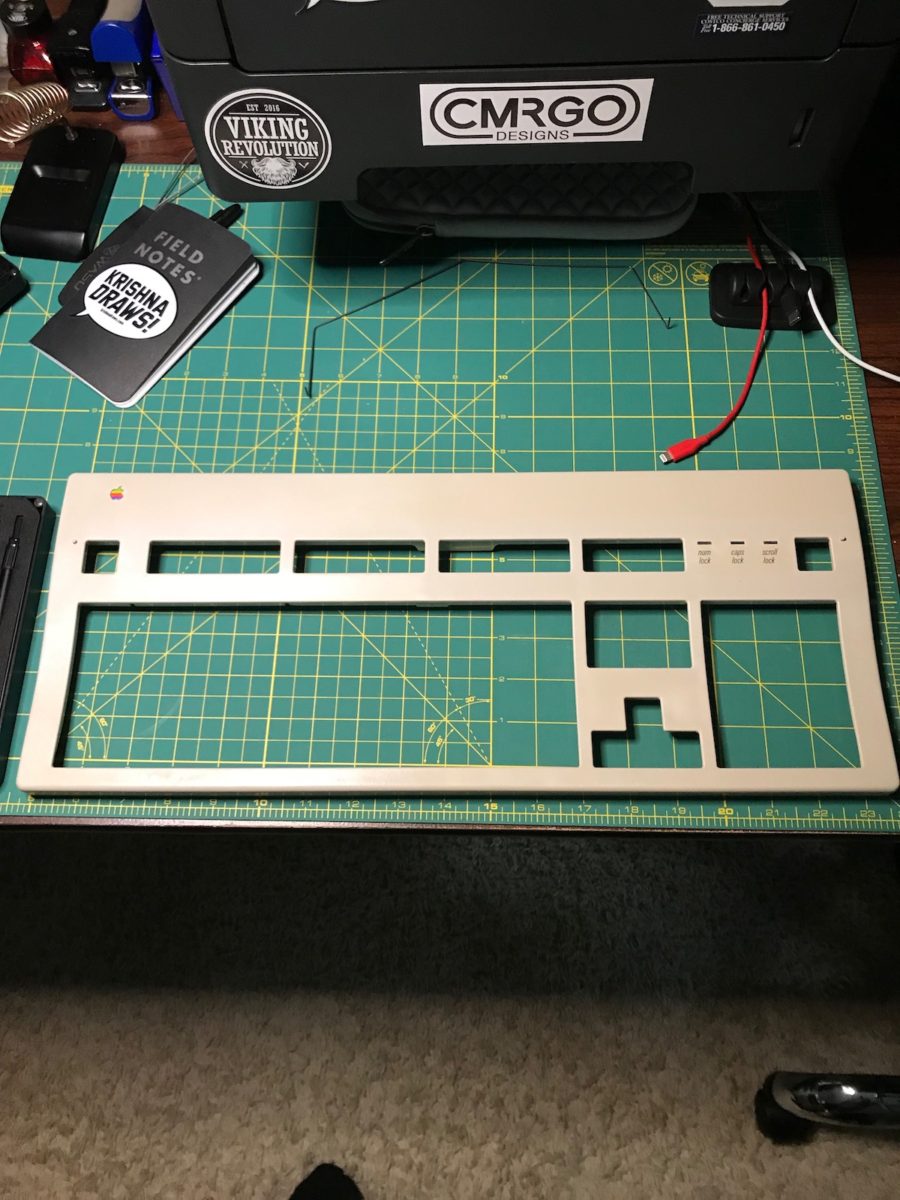
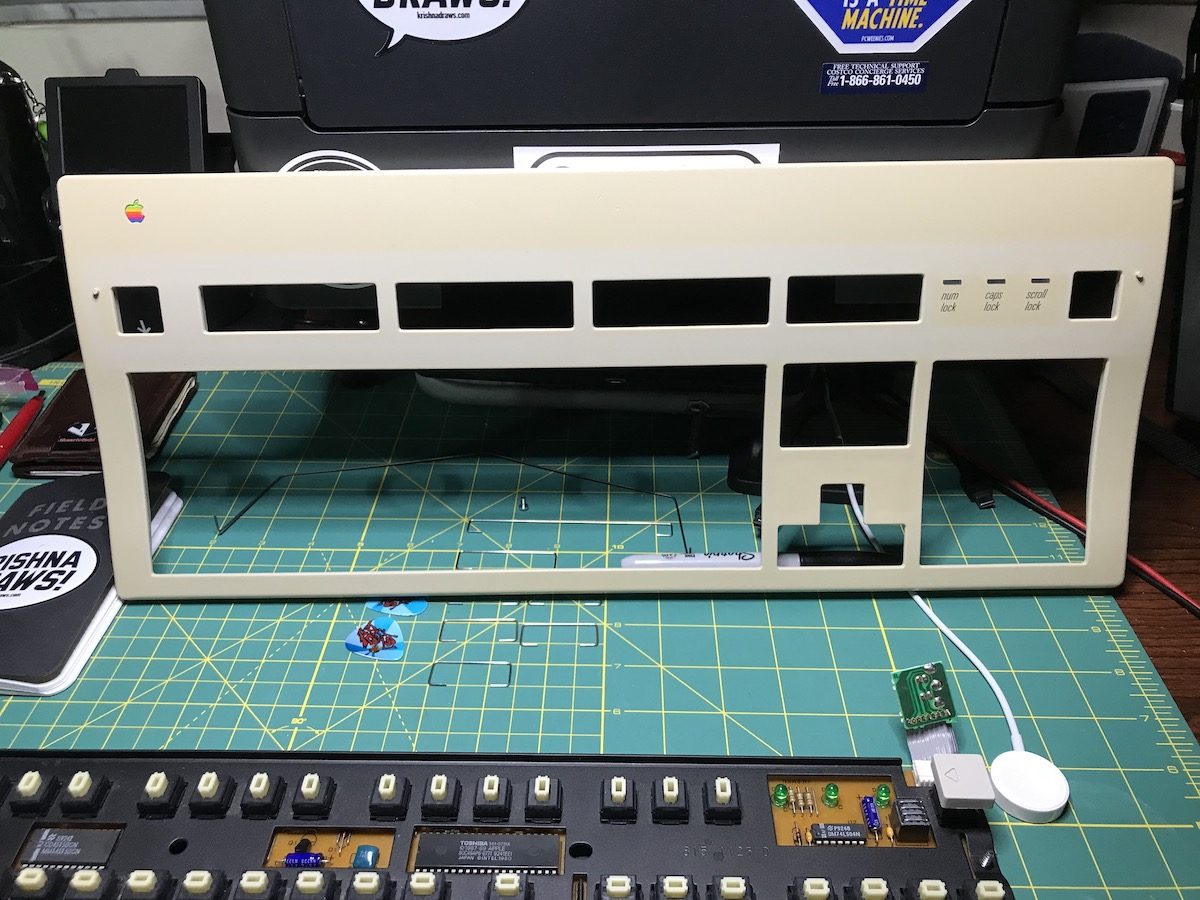
With the AEK2 apart, it was time to tackle the yellowing. My AEK2 wasn’t too bad in that regard (I’ve seen worse) – with most of the yellowing on the top of the case and on the spacebar. To reverse the yellowing process, I used retr0brite, a concoction of various chemicals that, when coupled with UV light for several hours, removes the yellow.
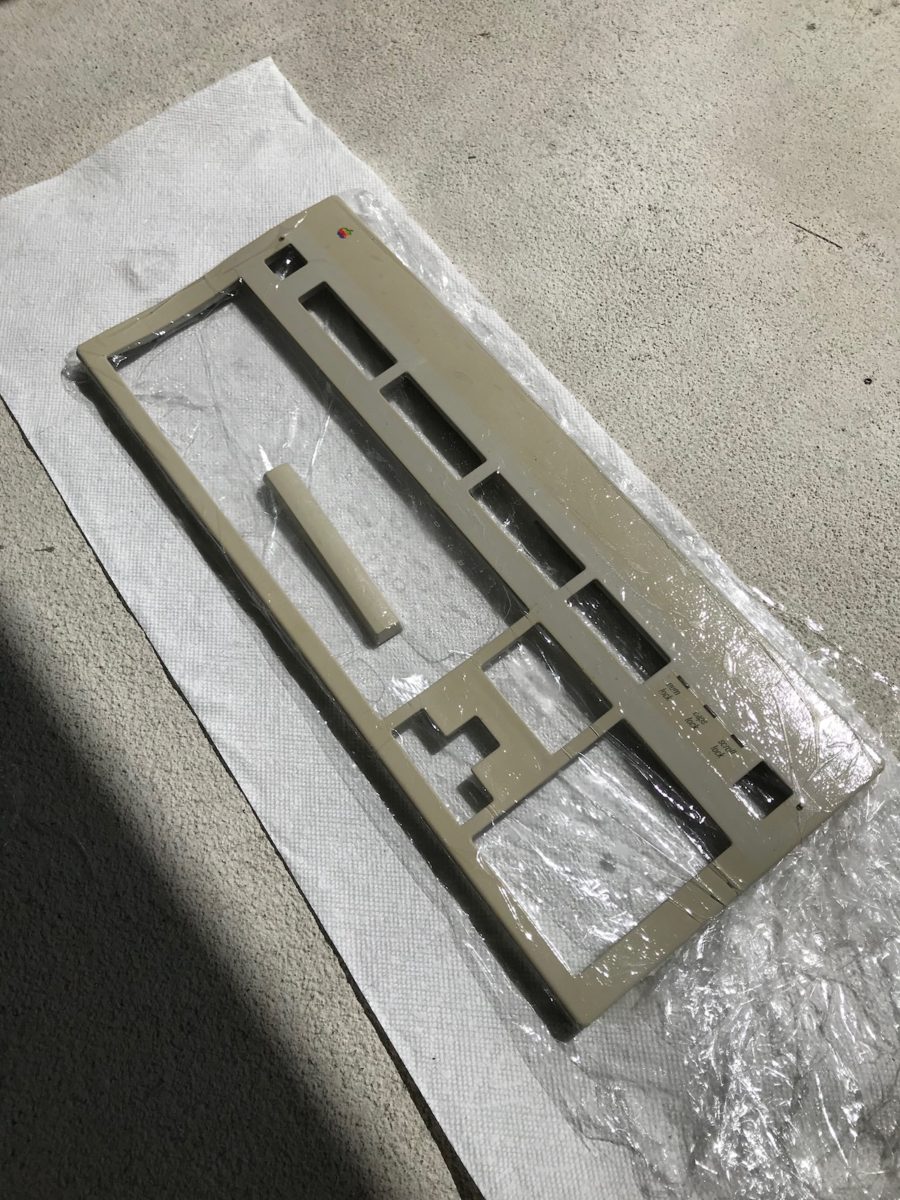
After applying the retr0brite paste on both the keyboard case and space bar, I wrapped them both using plastic wrap and placed them outside to bask under the powerful Florida sun.
Here’s what the keyboard case looked like after retr0briting.
Enter the Wombat
Connecting an old AEK2 to a modern Mac requires an ADB /USB adaptor. My research led me to the Wombat, a truly plug and play device that not only lets old ADB keyboards work with modern machines (Mac and Windows), it also allows modern keyboards to connect to old ADB Macs. It costs $49US for the board, and $10US for an optional case. I bought both.
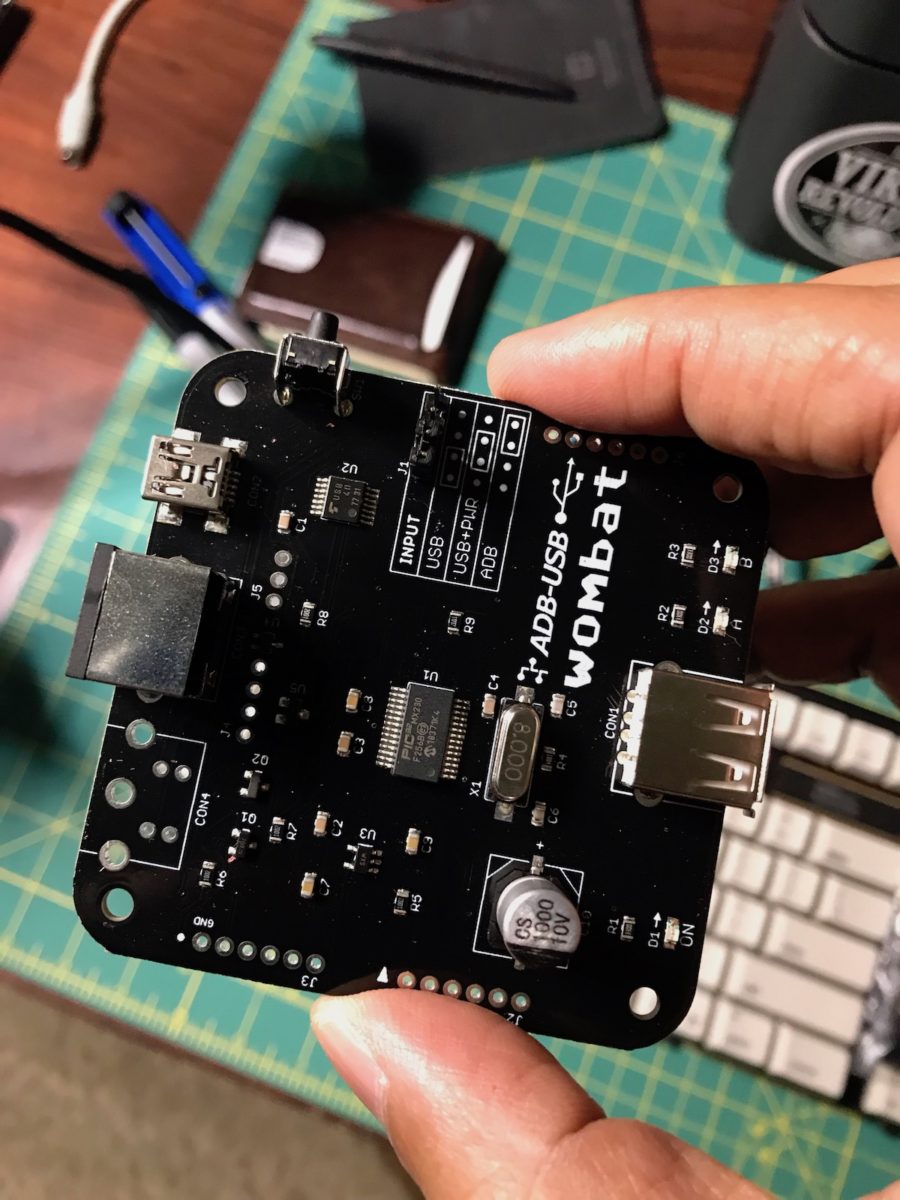
Within a few days, the Wombat arrived. Below is the board itself. It’s a clean layout with jumpers that control the board’s functionality.
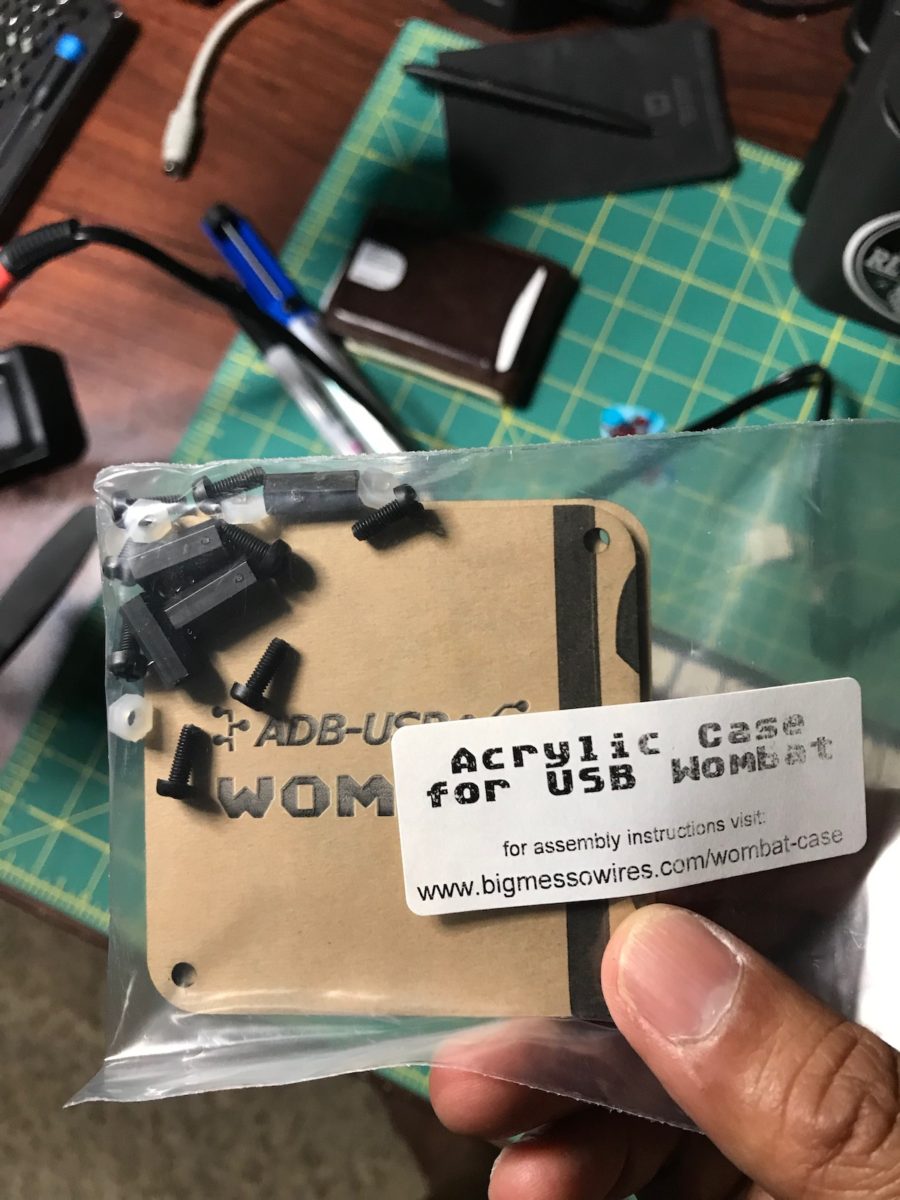
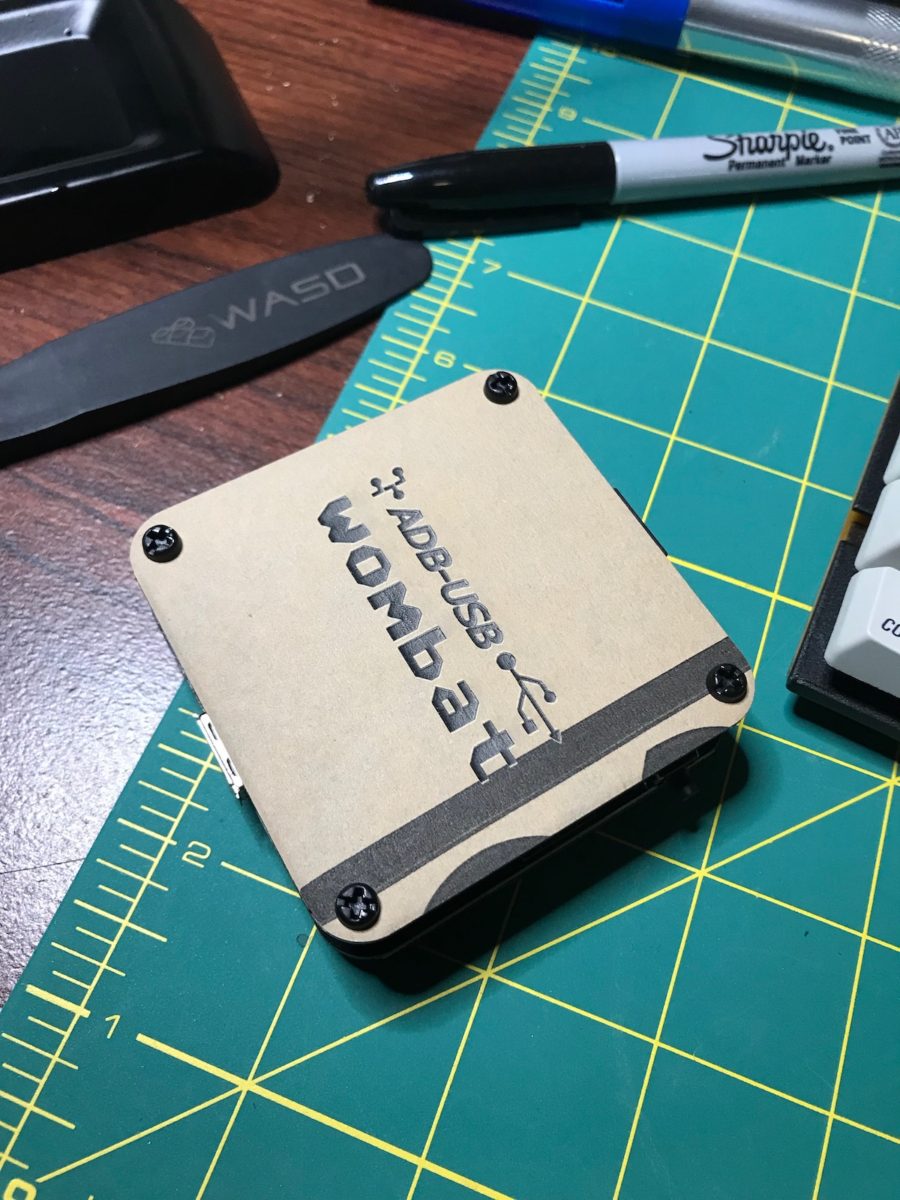
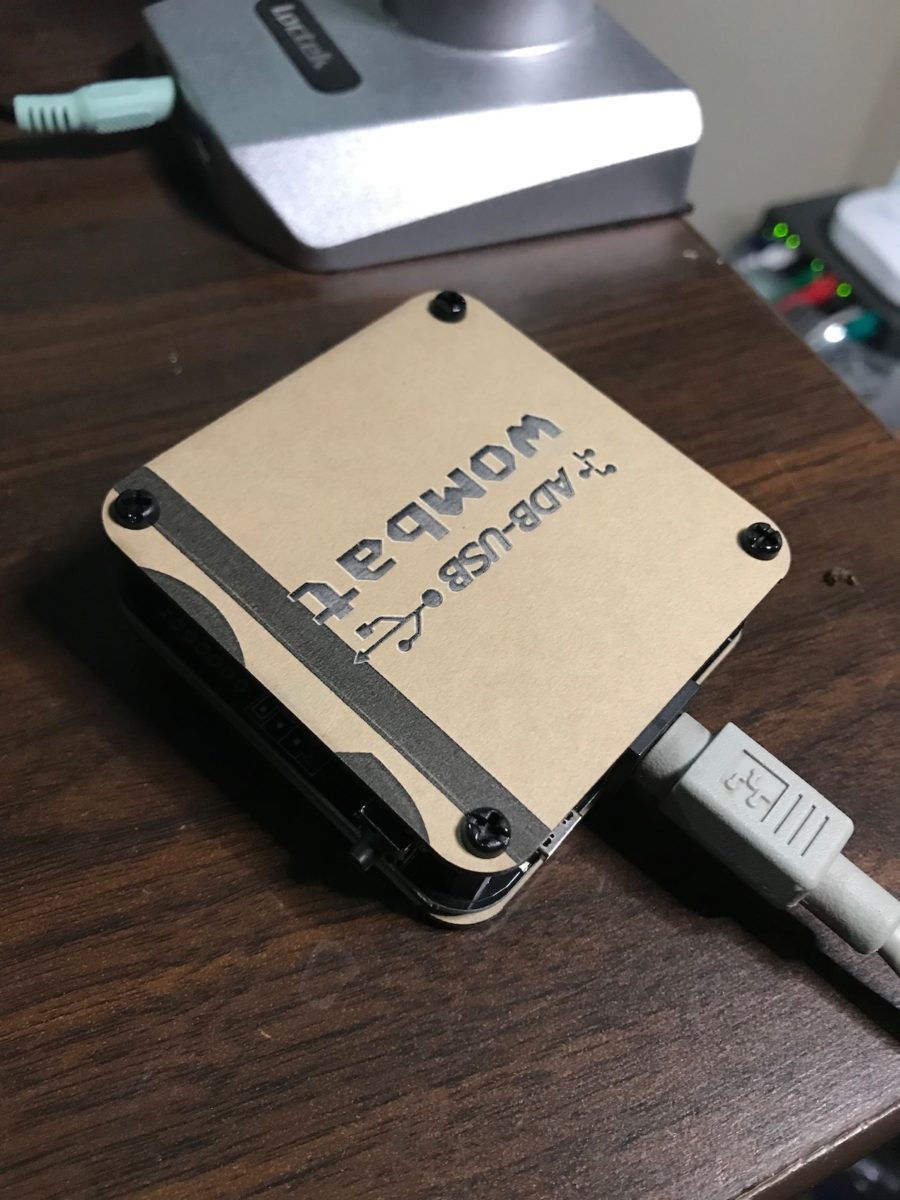
And here’s the packaging for the DIY case to house the Wombat.
On one side of the Wombat is a USB-A port.
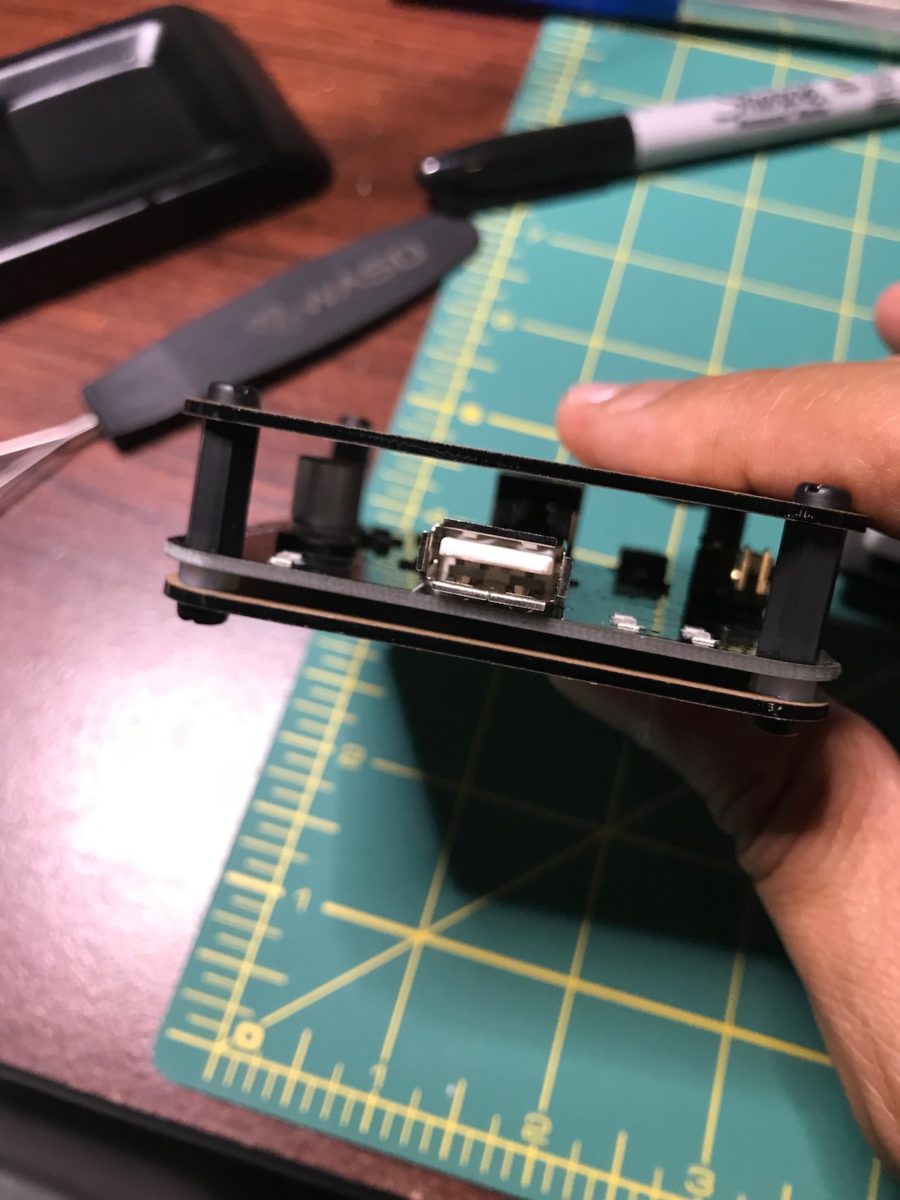
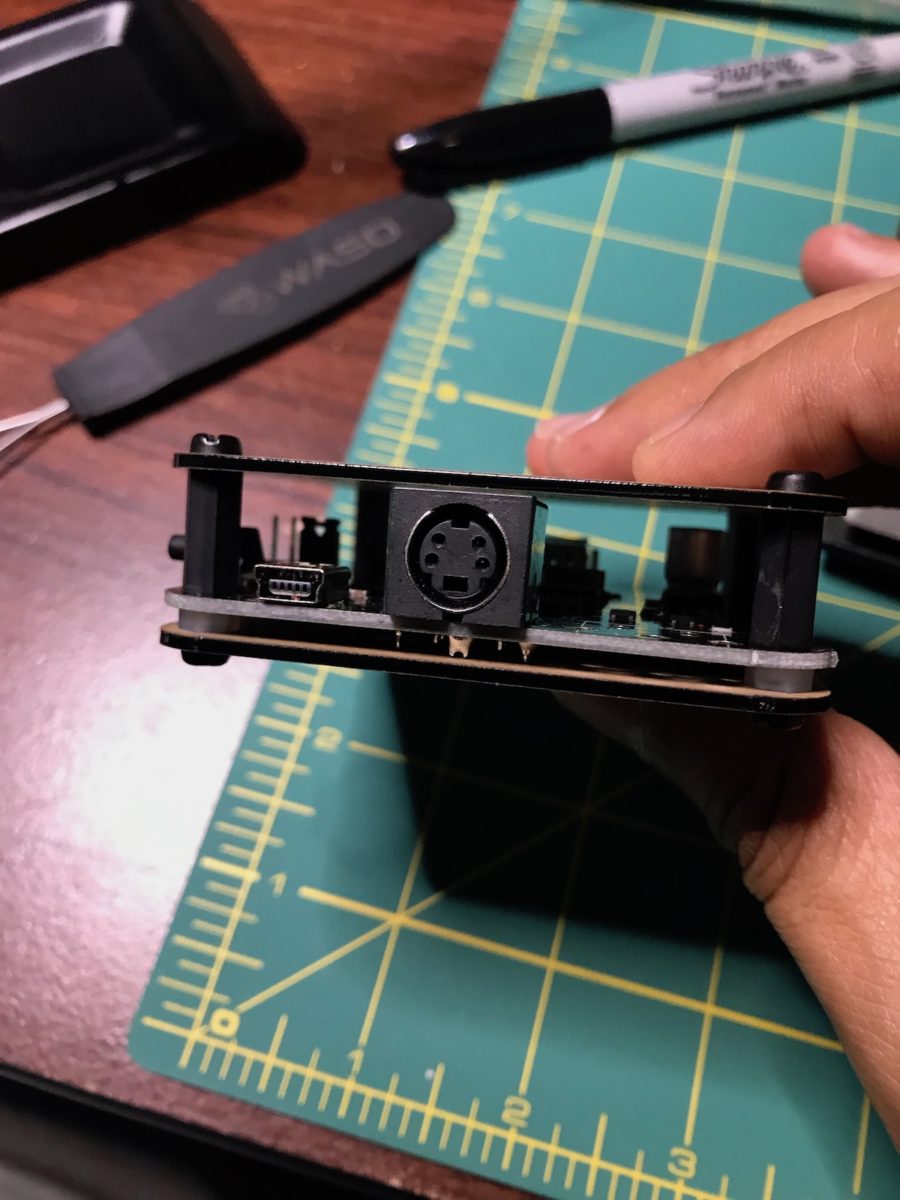
The other side has an ADB port and a mini-USB port. When connecting an ADB keyboard, you’ll use both the ADB port and the mini-USB port – NOT the USB-A port.
Assembly was really easy – requiring only a small Phillips head screwdriver. Instructions are on the Wombat’s website. My Wombat, ordered in July 2019, shipped with the 0.2.2 firmware. The latest firmware is 0.3.1. (More on that in a bit.)
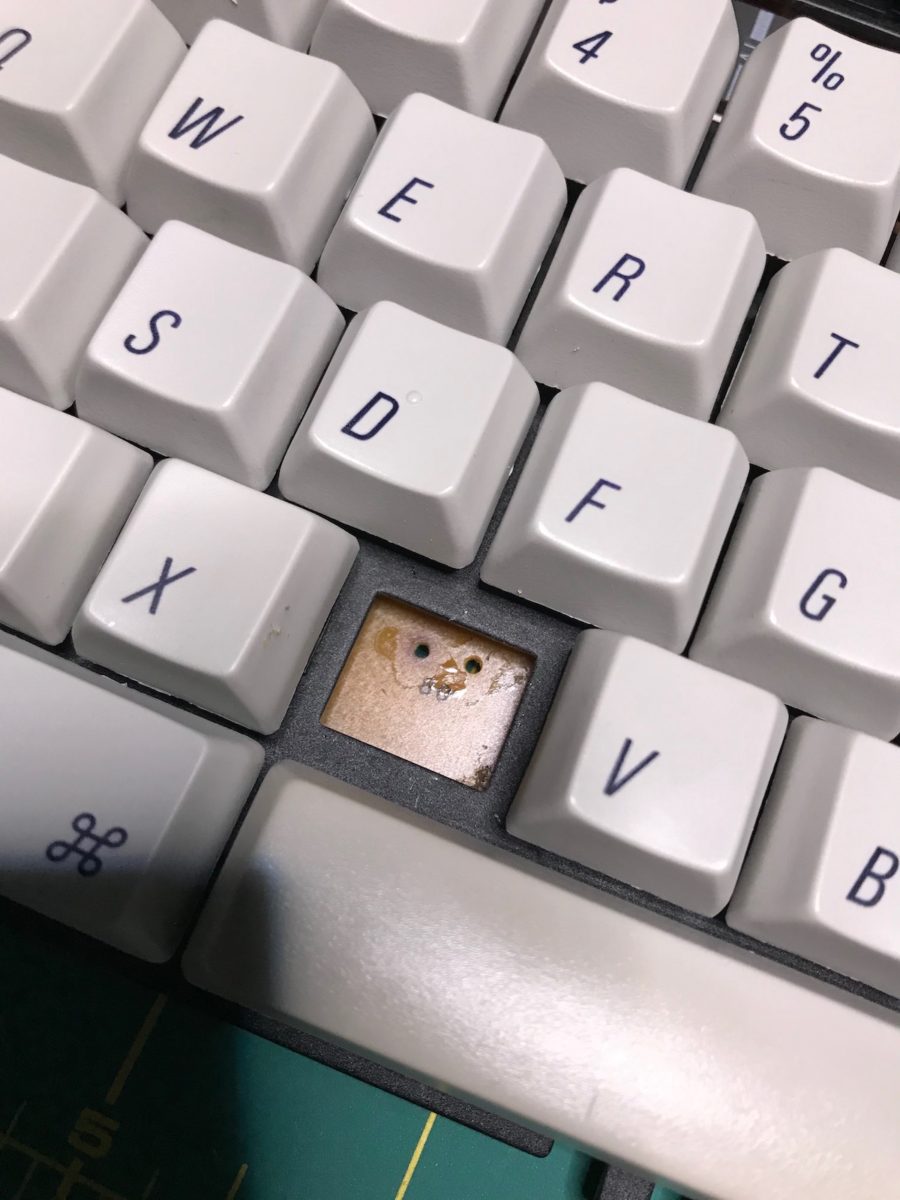
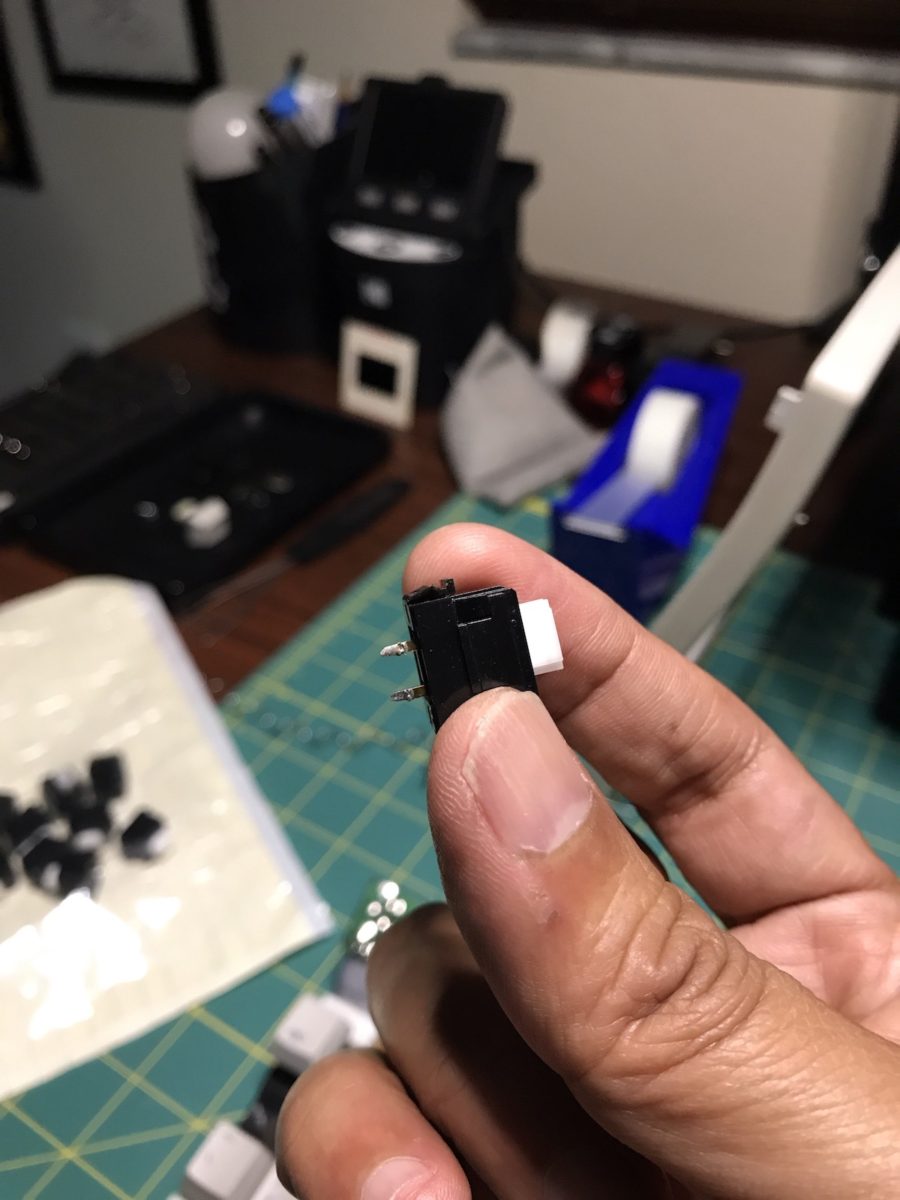
With the Wombat assembled, it was time to actually fix the faulty C key. Using a soldering iron, I removed the contacts that held the C switch on the back of the keyboard. The problem? The leads on the C keyswitch were heavily oxidized (corroded). I also desoldered the F15 keyswitch, with the intent of using the F15 keyswitch as a suitable replacement for the C keyswitch.
I ordered some replacement ALPS key switches online, to fill the hole left by the absence of an F15 keyswitch.
Once they arrived, I soldered one of the key switches back into the F15’s spot. After all keys were verified to work properly, it was time to put all the keys back on the board. Oh, and I fixed the wobbly spacebar. One of the stabilizer ends wasn’t properly connected to the chassis.
Fire in the Hole
I connected the newly repaired AEK2 to the PowerMac 6500 to verify that both the C key and the F15 key worked. They did! Confident with that part of the puzzle solved, I wanted to see how well the AEK2 would work on a modern Mac.
The Wombat is truly plug and play – no drivers are needed. When the Mac boots, two green LEDs on its board light up. One serves as a power indicator. The other LED registers keypresses. Both LEDs are also provide input when updating the firmware. I did yet another keyboard test using the website Keyboard Tester to confirm full functionality for my AEK2.
Speaking of firmware, I followed the directions on the Wombat page to update the Wombat’s firmware from 0.2.2 to 0.3.1. After the update, I observed some incredibly weird behavior when using my AEK2 on my Mac mini. First, pressing the Caps Lock key on the AEK2 would trigger a noticeable delay / lag in both typing and using my USB trackball mouse. Second, the Caps Lock light, which worked before on the 0.2.2 firmware, no longer lit up when triggered.
To isolate the problem, I used the AEK2 / Wombat setup with my 2014 MacBook Pro. While there were no delays when using the trackpad, triggering Caps Lock would cause a noticeable delay before any text would appear on the screen.
I reverted the Wombat to the 0.3.0 firmware and those problems have gone away. With that phase of testing complete, I reassembled the keyboard.
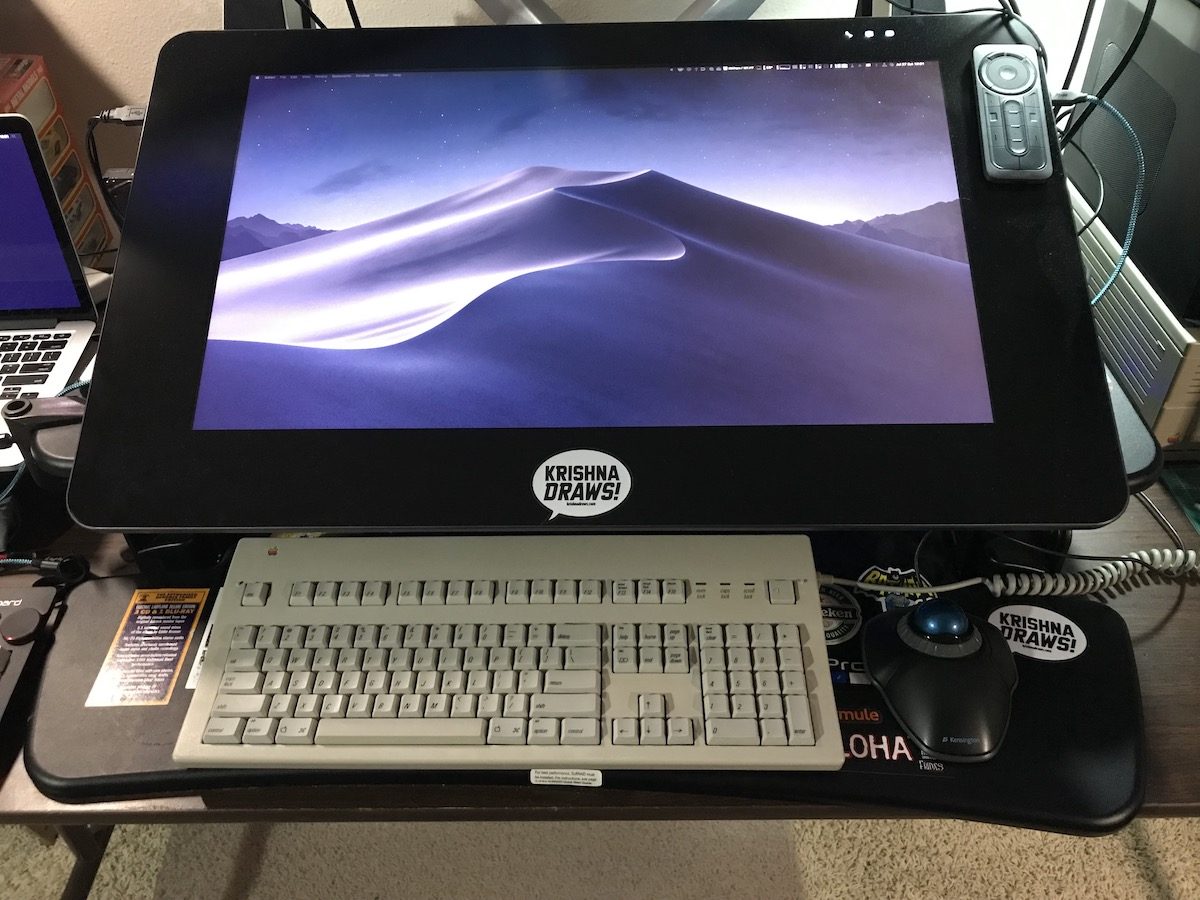
I’m pleased to say that my AEK2 functions beautifully now. All keys work and typing on it is really pleasant. It’s not quite the same as my Das Keyboard 4 with brown cherry switches (which has more tactility), but it has good travel and is comfortable to type on. So, why even go to all this trouble to bring back such an old keyboard?
More so than anything, because it was immensely satisfying. I thoroughly enjoyed this project and the sense of accomplishment I felt is something I can’t put a price on. It was fun!
This entire post has been typed using my Apple Extended Keyboard II. :-)
-Krishna



No comments yet. Be the first!