My Das Apple keyboard
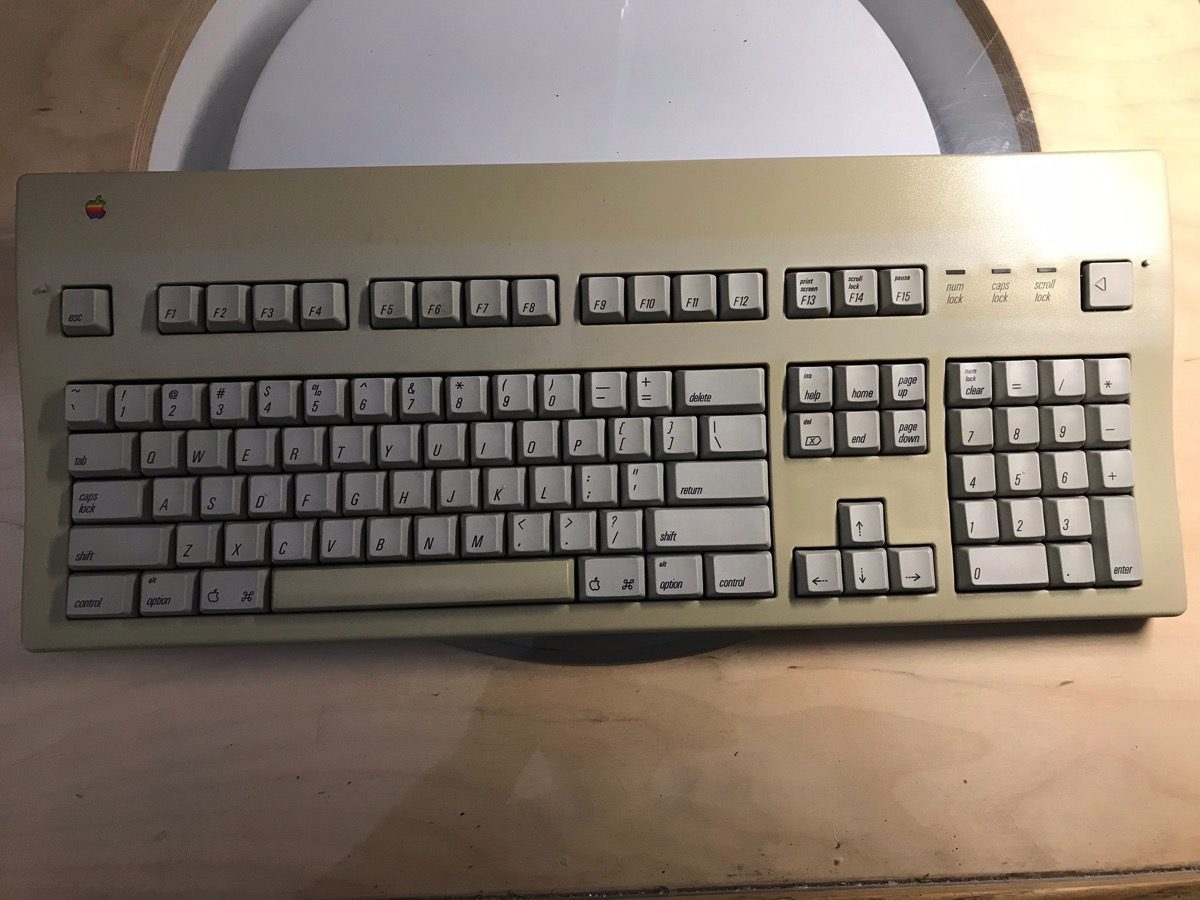
One of the best things about mechanical keyboards, outside of the refreshingly satisfying tactile feel one gets when typing, is the variety of keycap customization options. It’s no secret: I love the look and feel of the old classic Apple keyboard, specifically the Apple Extended Keyboard II (codename: Saratoga).
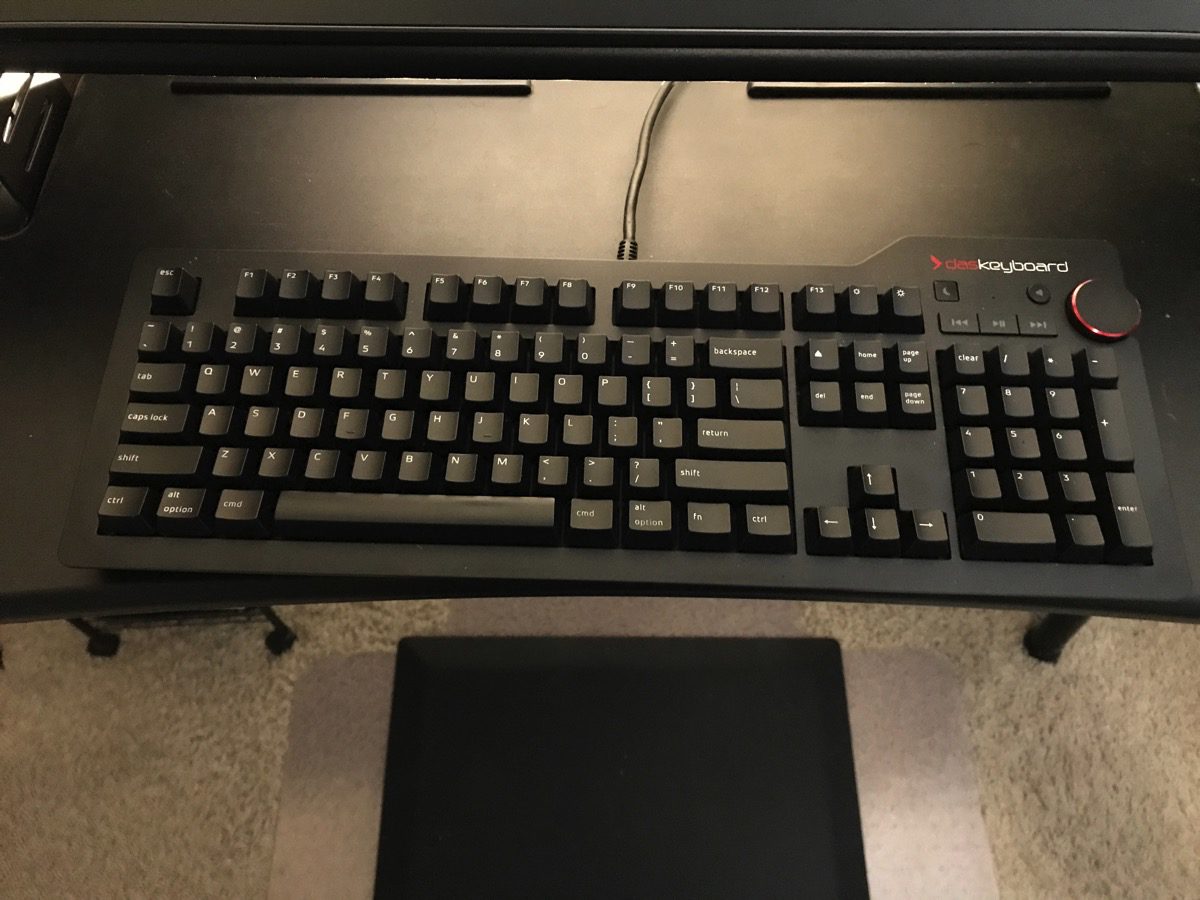
While I absolutely enjoy using my Das Keyboard Pro 4 model, I wanted to give it more of a Mac-like look.
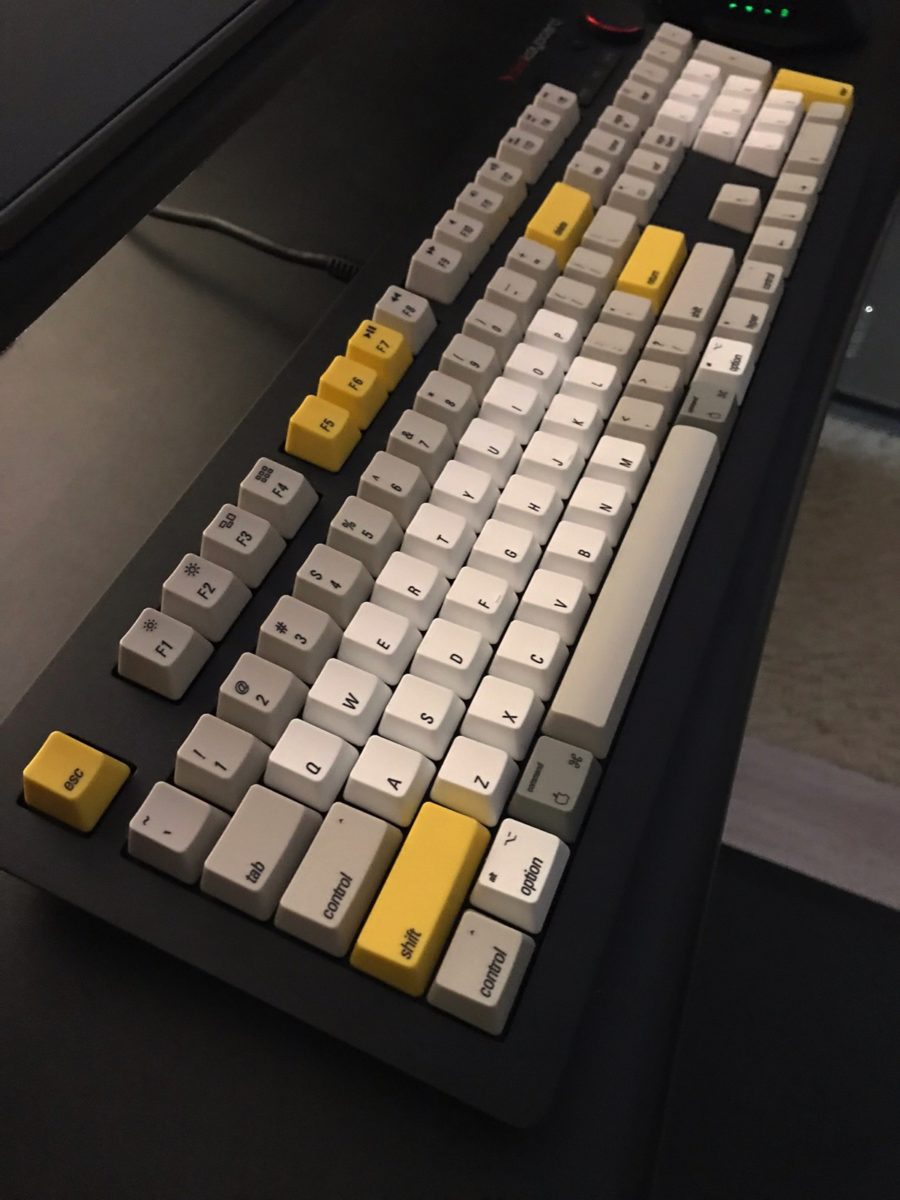
Thanks to the fine folks at WASD, I was able to do just that. The purpose of this post is to provide some guidance and tips on modifying your Das Keyboard to look more like the Apple Extended Keyboard II.
To begin the process, you’ll need an SVG file that contains the Apple Extended Keyboard layout. (An SVG file is an open source XML-based vector image format, meaning that the graphics are entirely editable via a text editor.)
With the layout on hand, hop over to WASD’s site and visit their keycap set customizer. Upload the SVG file and choose the appropriate keycap compatibility. You can optionally choose your keycap colors. I color-coded mine with a balance of white, yellow and gray keycaps.
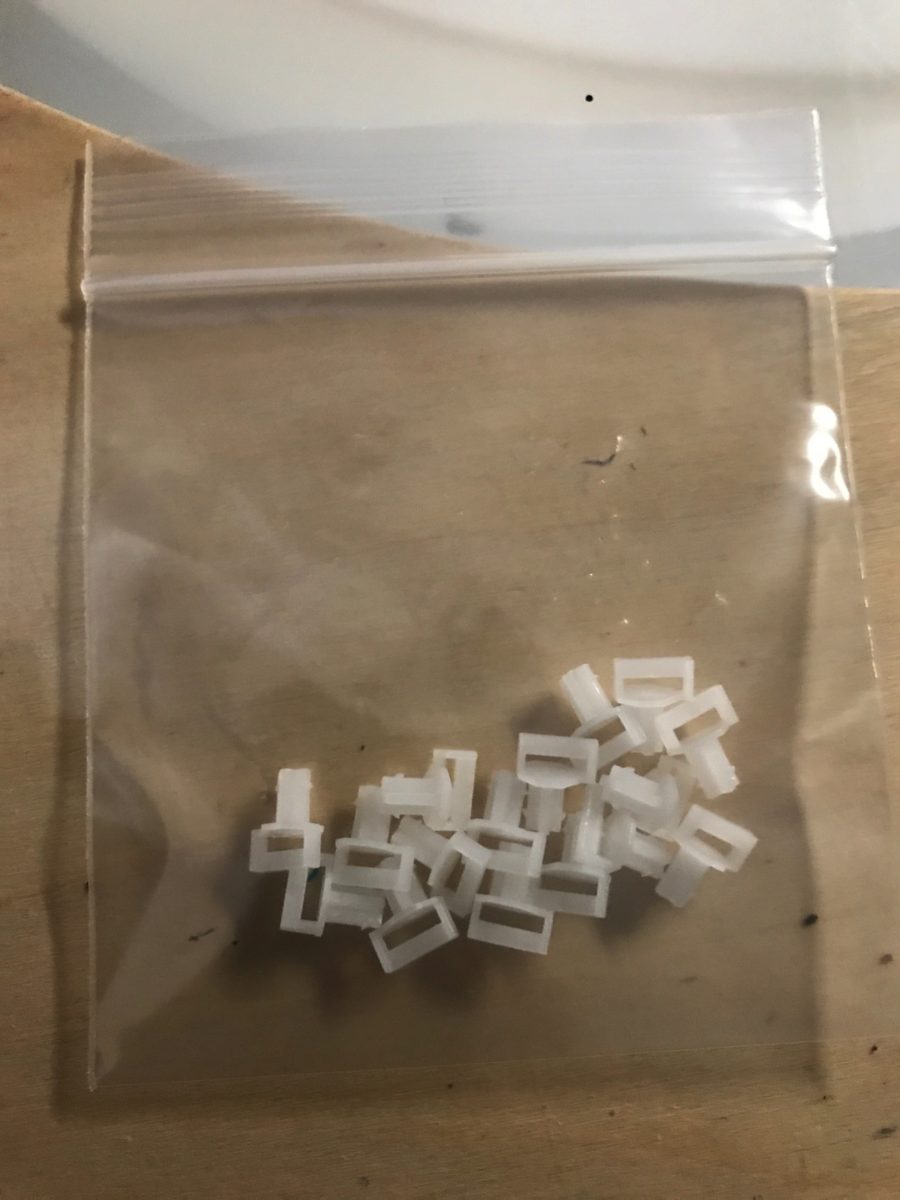
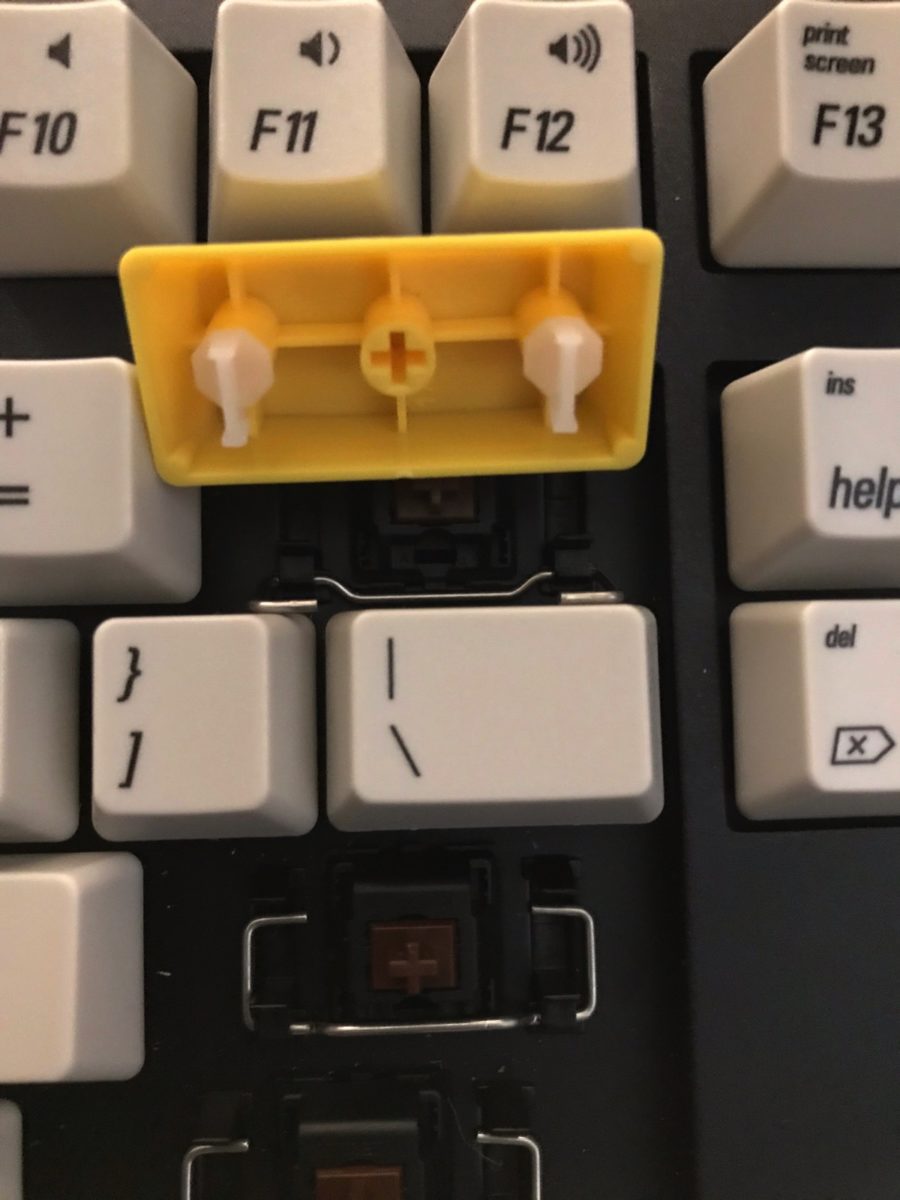
Save your layout, add it to your cart and order 8 – 10 Cherry MX Keycap stabilizer inserts. You’ll need these for the larger keys (i.e. return, delete, numeric enter, numeric addition, shift). The stabilizer inserts allow larger keys to stay level when pressed. For some reason, Das glues their stabilizer inserts to the keycaps, making them impossible to reuse. I didn’t realize this until I attempted to remove the stabilizer inserts. Buy the stabilizer inserts with your keycaps to avoid the same headache.
The total price for the keycaps and stabilizer inserts is about $58 + shipping.
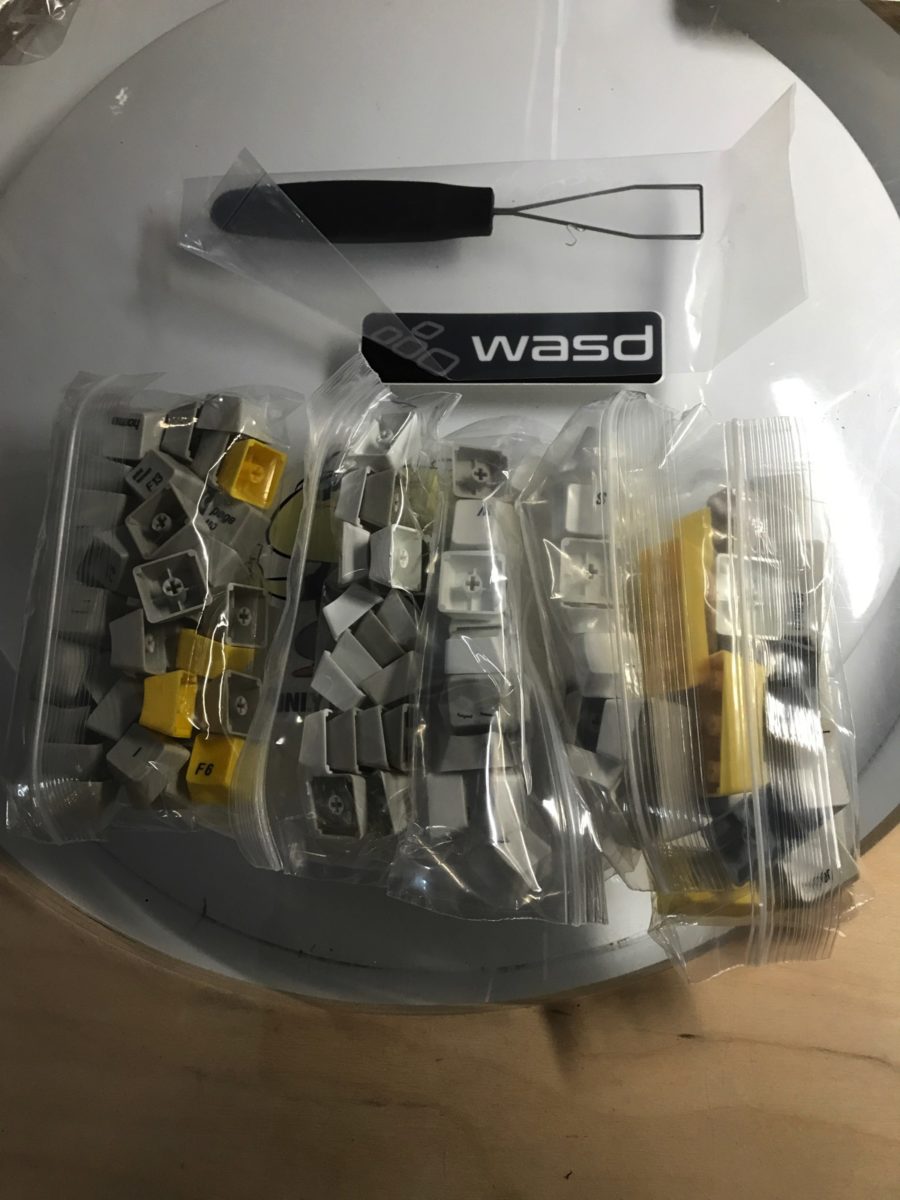
When your order keycaps from WASD, you’ll also receive a keycap puller.
Each row of keycaps comes in its own bag, making it easy to find and sort. Before replacing your keys, it’s a good idea to take a photo of your existing layout so you’ll know where to place the new keys.
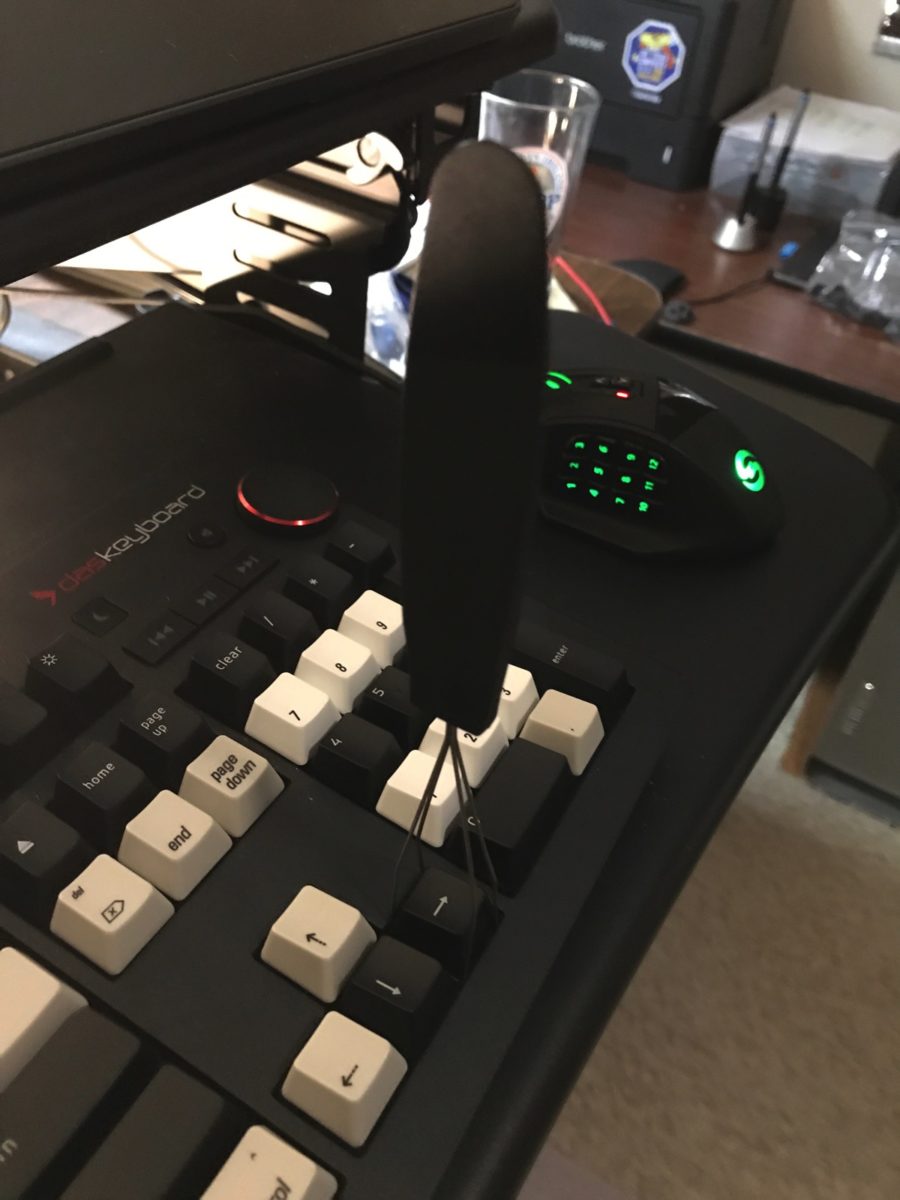
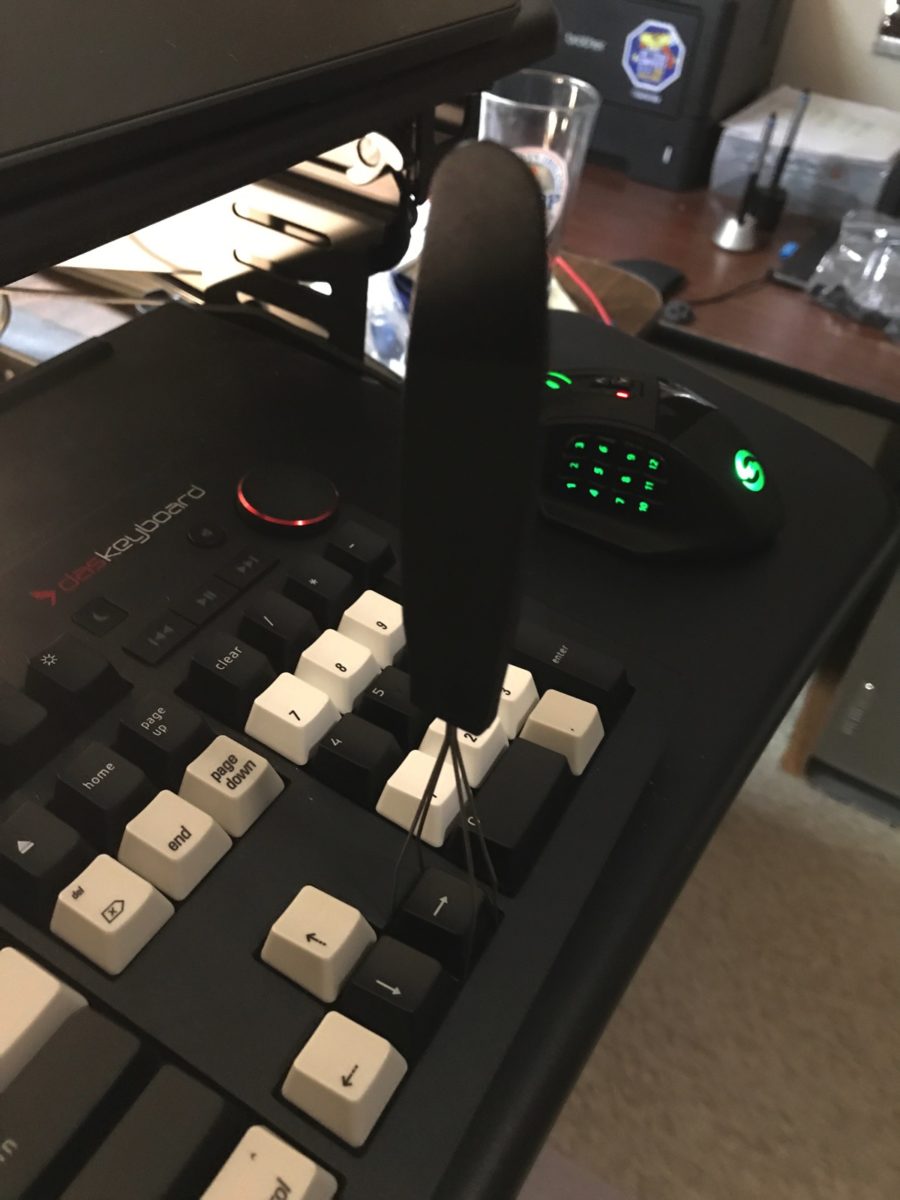
Replacing the standard keycaps is a breeze with the included keycap puller. Simply position the ends of the keycap puller around the key and gently pull up.
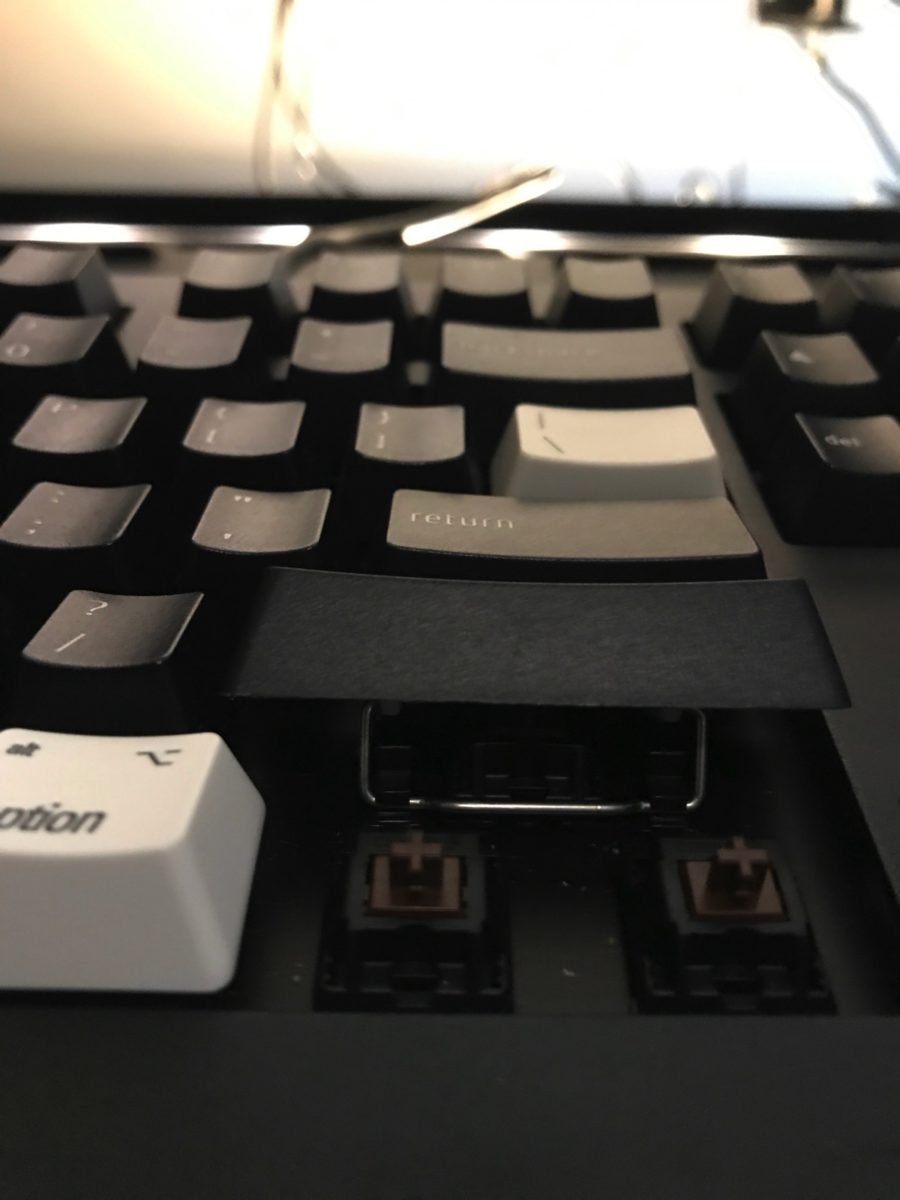
For the longer keys (shift, return, etc.), be aware that there are stabilizer wires that also secure the keycap.
Pull up either end of the keycap gently, using the keycap puller. Then move the keycap to one side to unhook the stabilizer wires. It’s helpful to have a small jewelry sized screwdriver to aid in this process.
After 15 minutes or so, I had all my keys installed.
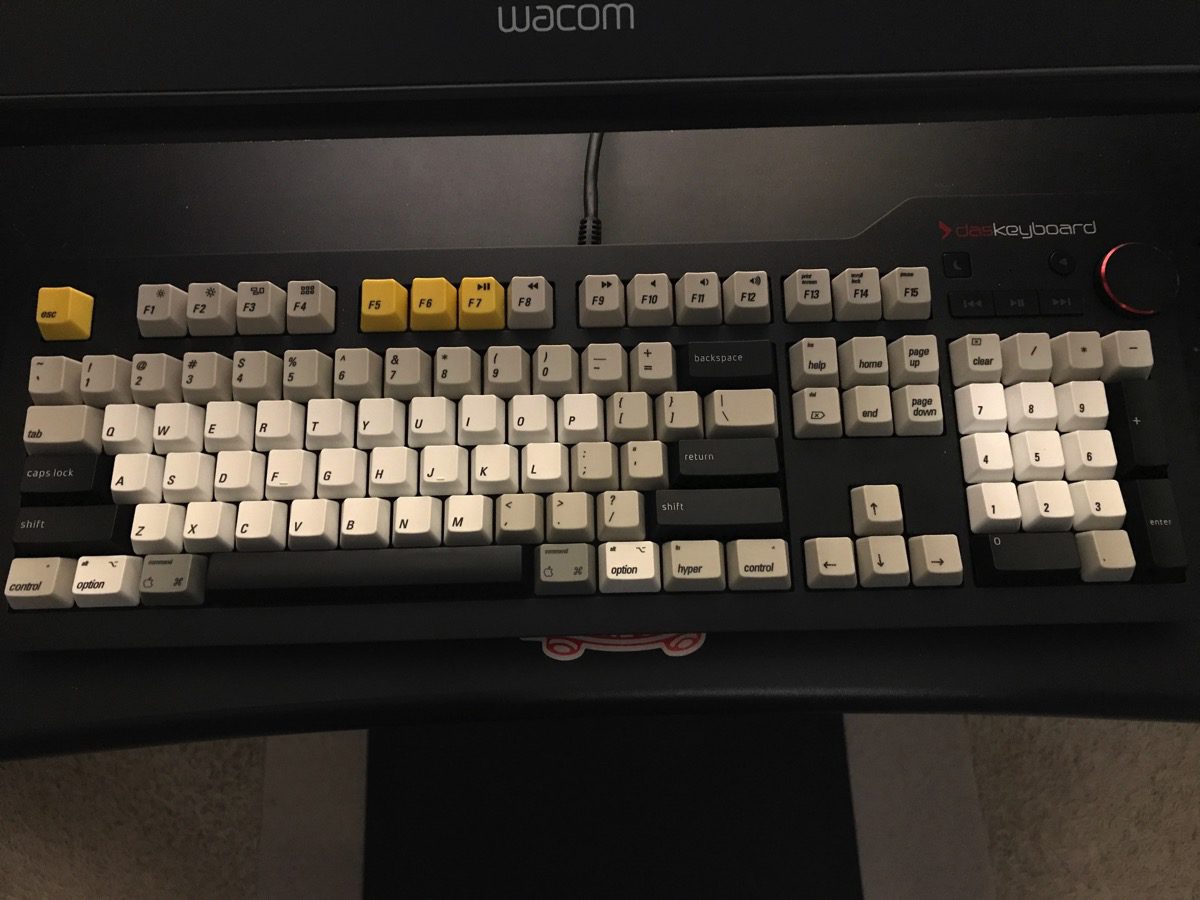
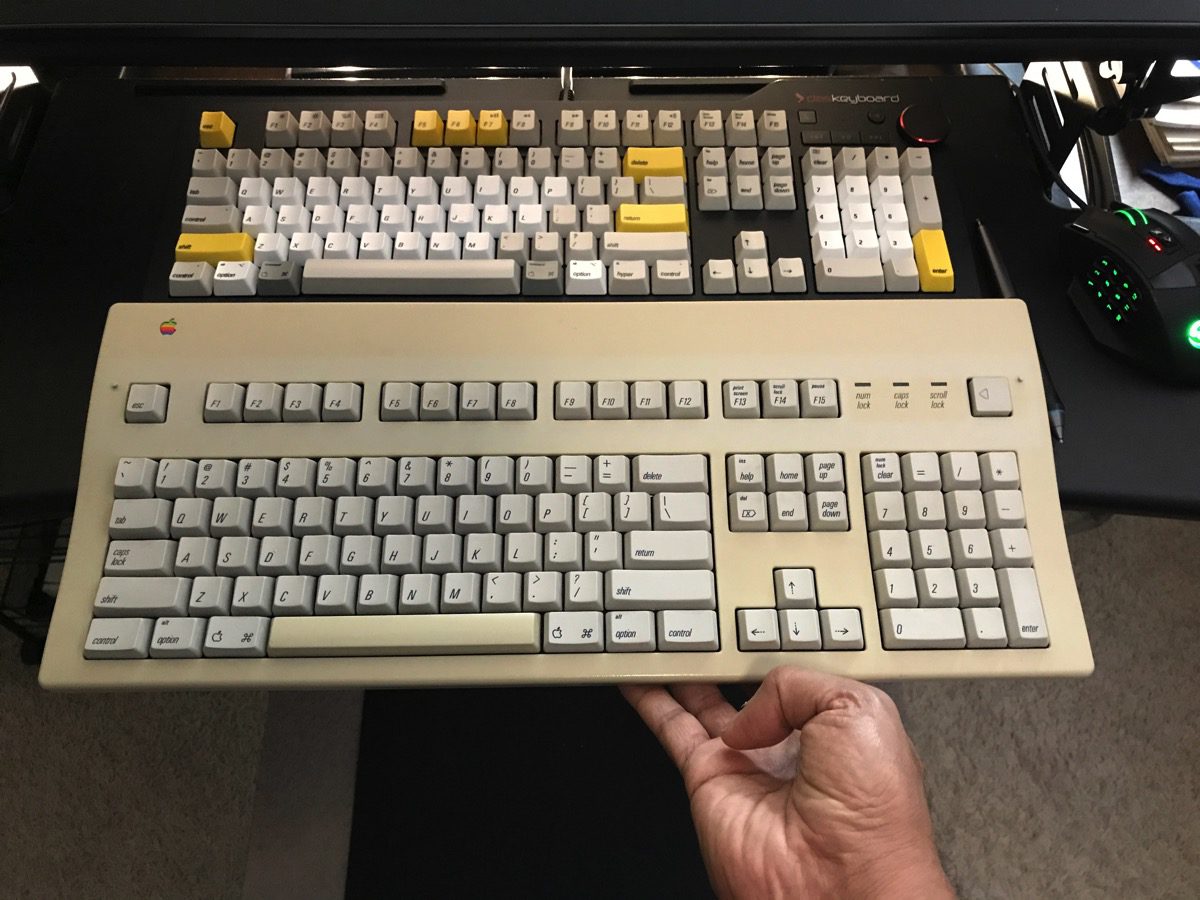
Below is a photo of the Apple Extended Keyboard II and the Das Apple.
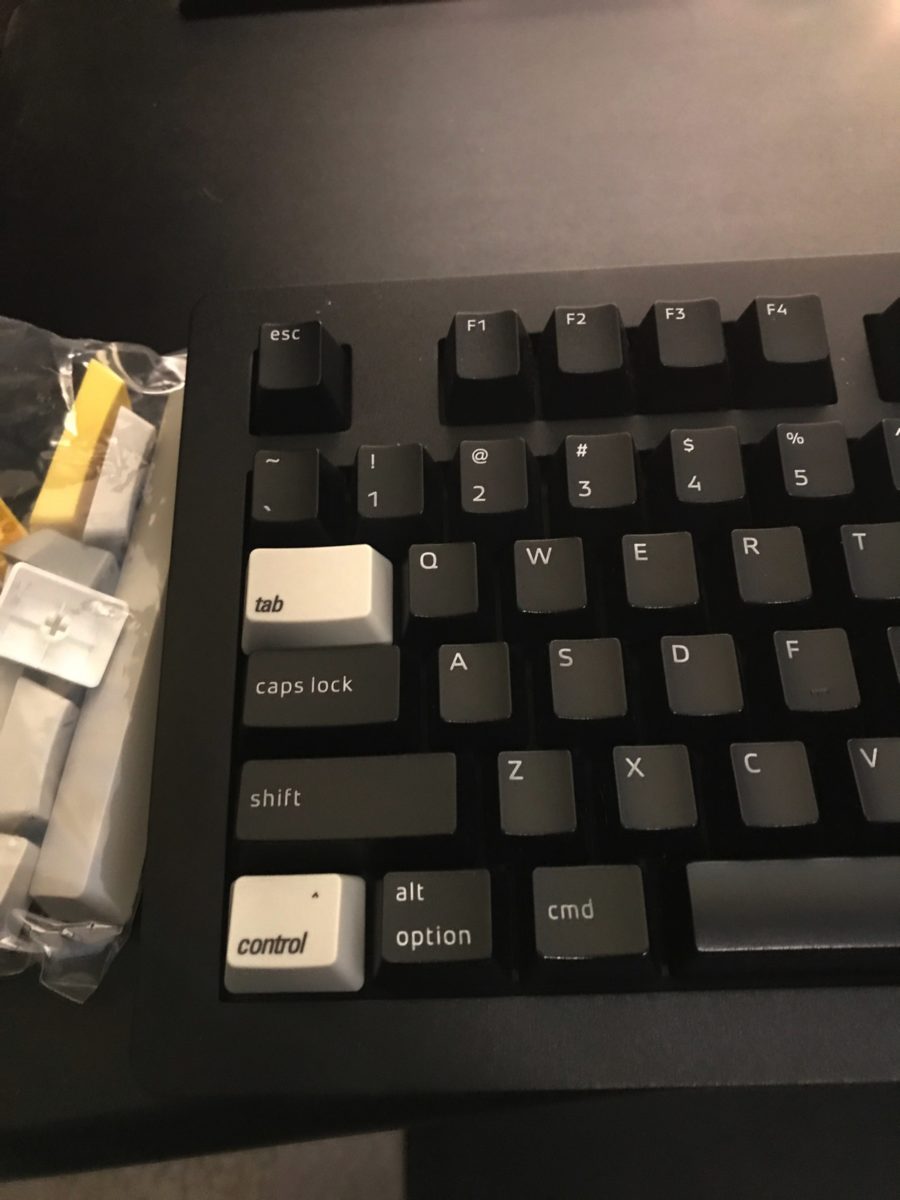
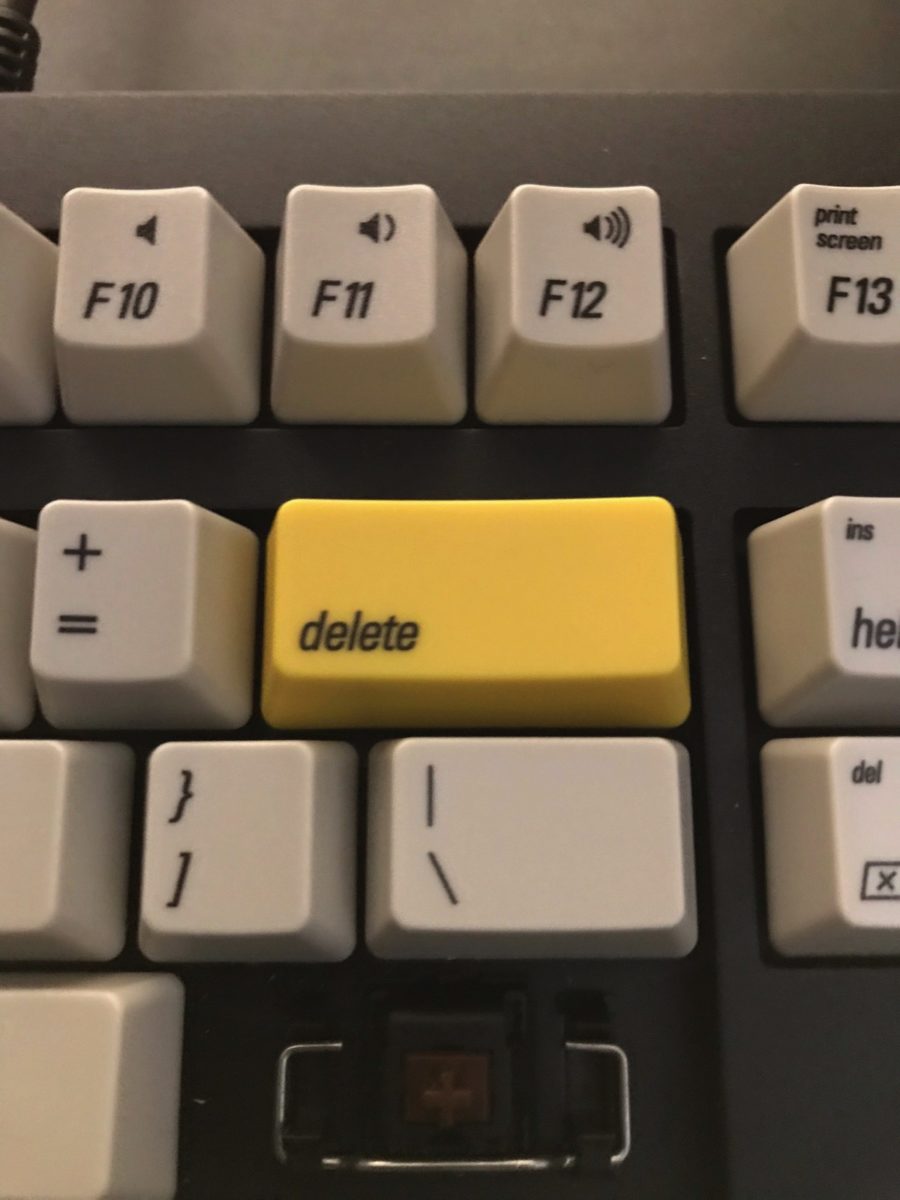
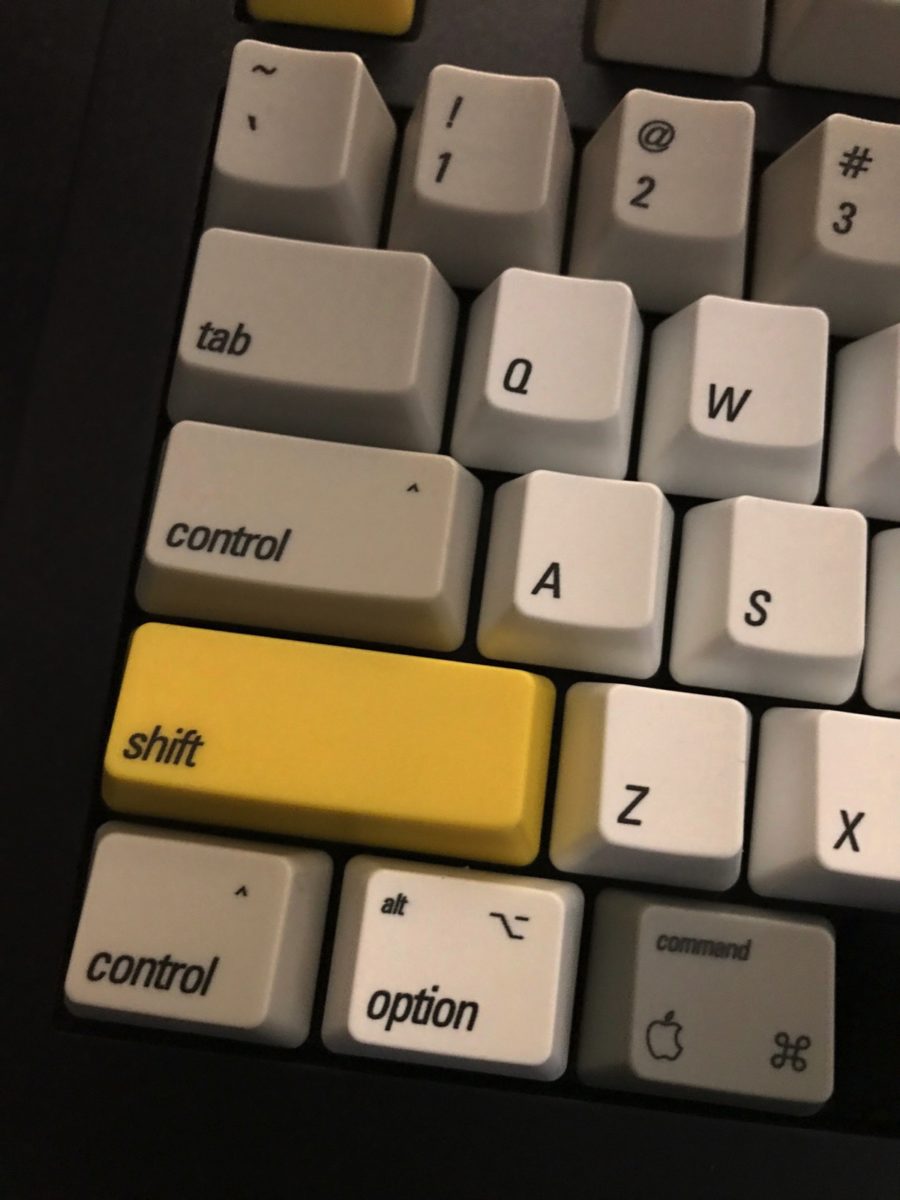
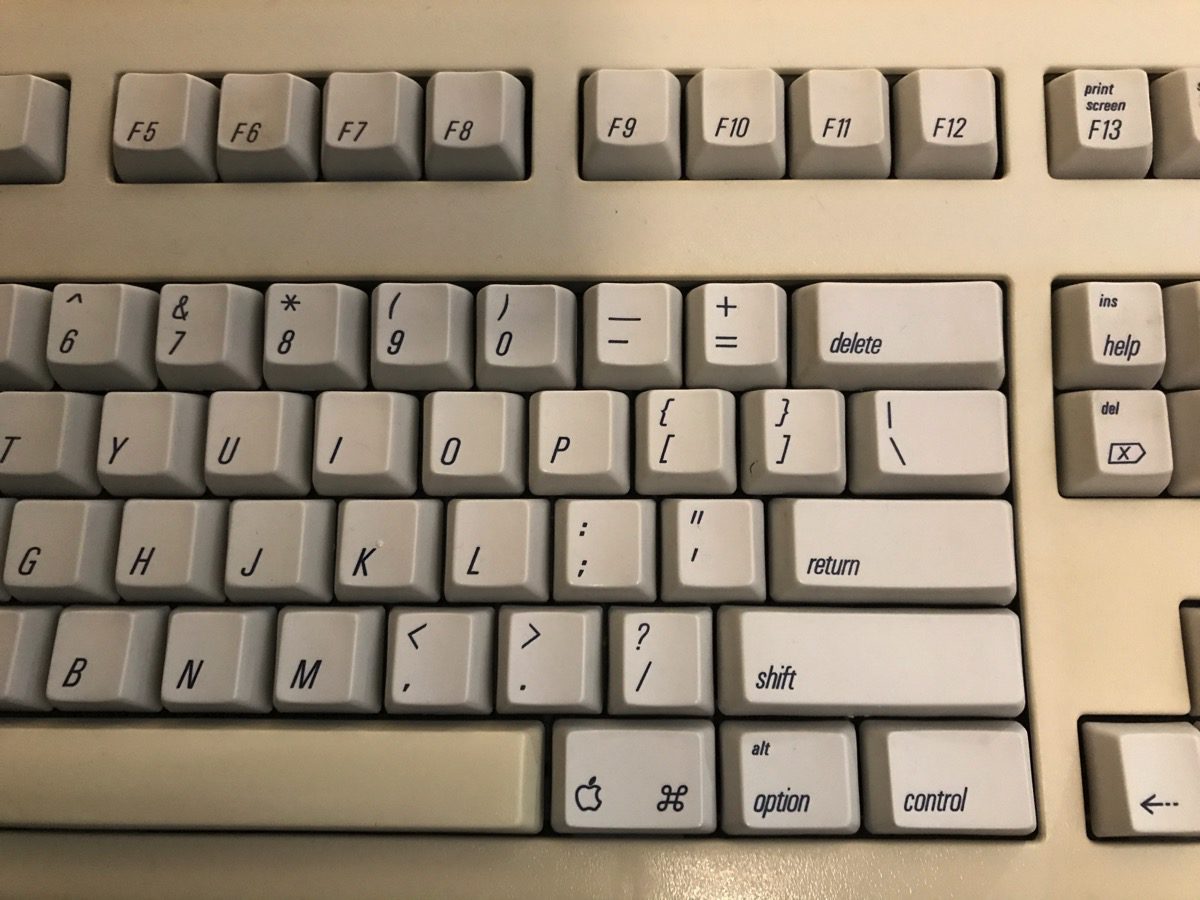
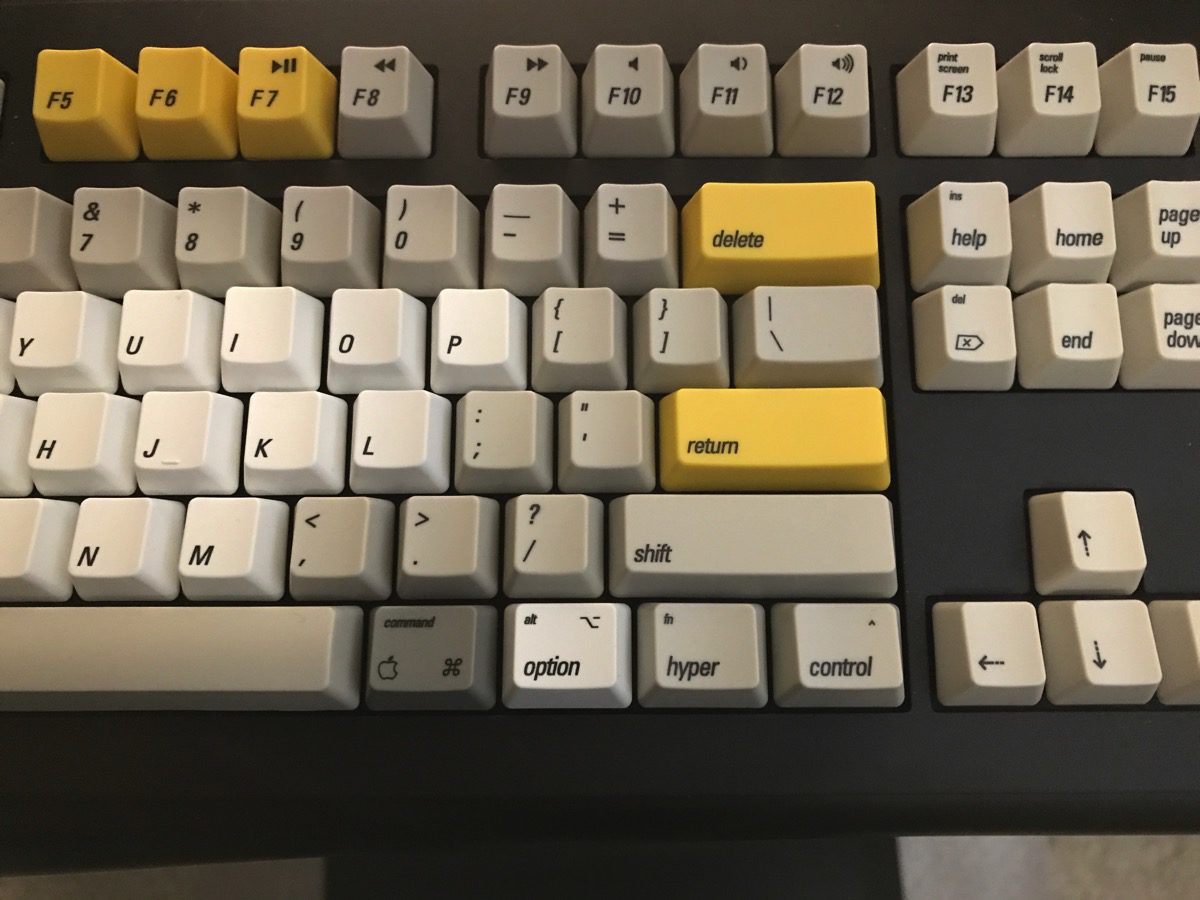
And here a few close-ups for comparison purposes.
I’m really pleased with how the WASD custom keycaps came out. It gives my Das Keyboard a bit more of an Apple flare, with a touch of modernity. While working on the Das is not the same as typing on the old Saratoga board of yore, it pushes all my buttons (in a good way). Let me know what you think in the comments below.
-Krishna


No comments yet. Be the first!