Building the Hackintosh: Part 1: Adding the GPU and SSD
Instead of waiting for Apple to make a coveted mini-tower, I opted to do the next best thing: make my own.
A lot has changed in the PC space over the past 15 years, making it easier than ever to put one together. As a first time PC builder, I learned a lot from the process. I also found the build to be both fun and satisfying. (Computers are my LEGO.)
My goal has been to create a machine that will run both Windows and OS X. Thus far, I’m half way there. The Windows 7 to Windows 10 upgrade was a breeze. Windows 10 runs quite stable and fast on my setup.
But I’m not finished yet. I want this machine to replace my nearly 8 year old Mac Pro, which I use as my main production machine. Because I want a fast, responsive machine that will last me a while, I sprung for a few key upgrades.
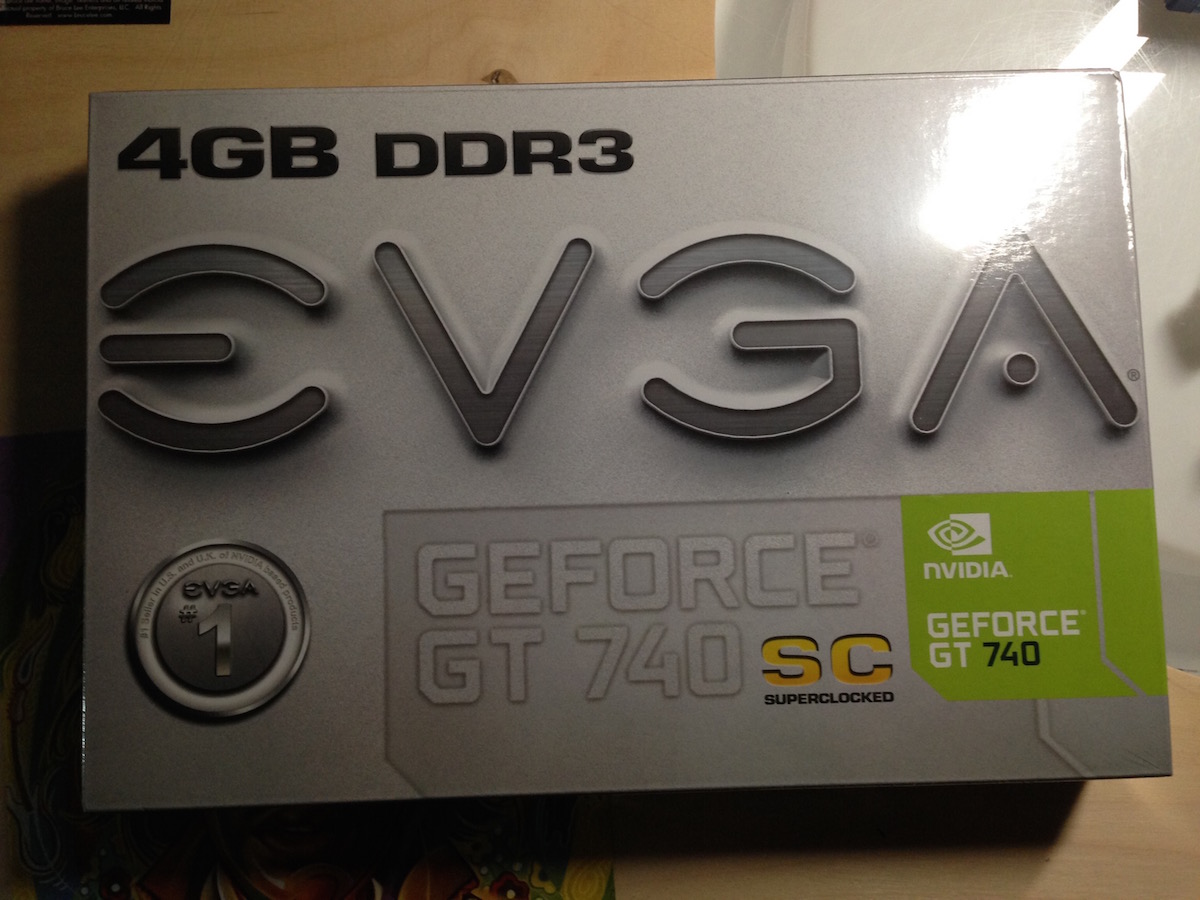
To improve video performance, I ordered a 4GB EVGA GeForce GT740 SC GPU card ($99). To provide dedicated storage for my impending Hackintosh build, I purchased a Crucial BX100 240GB SATA 2.5″ solid state drive ($80). I also bought a SanDisk 16GB USB3.0 flash drive ($8) with the intent of creating a bootable Yosemite drive to facilitate installation onto the PC.
Every single hardware component I’ve picked for this custom PC build was deliberate. Building a Hackintosh requires a careful mix of hardware, and I wanted to make the installation as easy as possible. To facilitate part selection, I leaned heavily on the mATX CustoMac build found on the TonyMacx86 website. In my next post, I’ll chronicle the steps I used to turn my PC into a Hackintosh. For now, I’ll focus on the out-of-the-box experience and install of the GPU and SSD I selected for this build.
The GPU
A workstation used for visual work (Photoshop, After Effects, Premiere, Manga Studio, etc.) needs a dedicated GPU. I selected the EVA GeForce 740 SC.
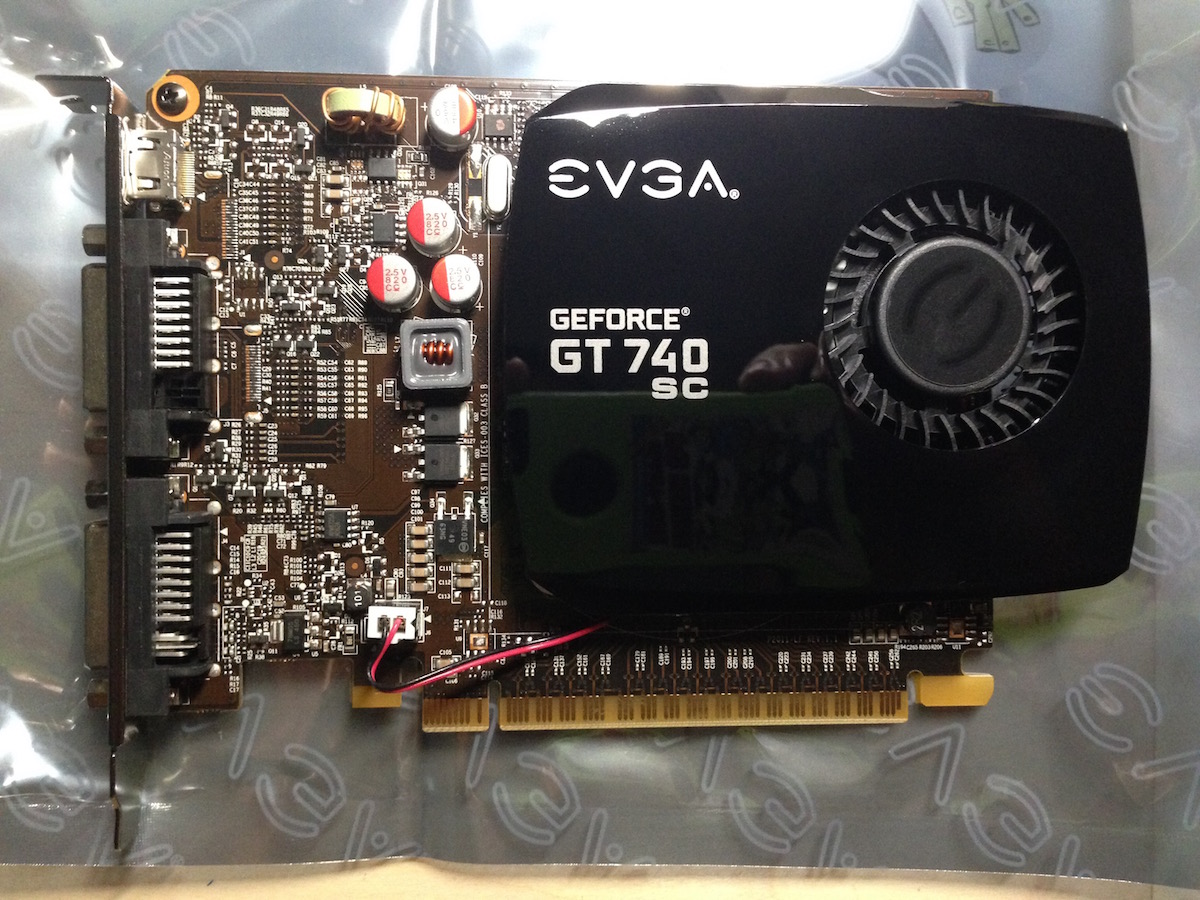
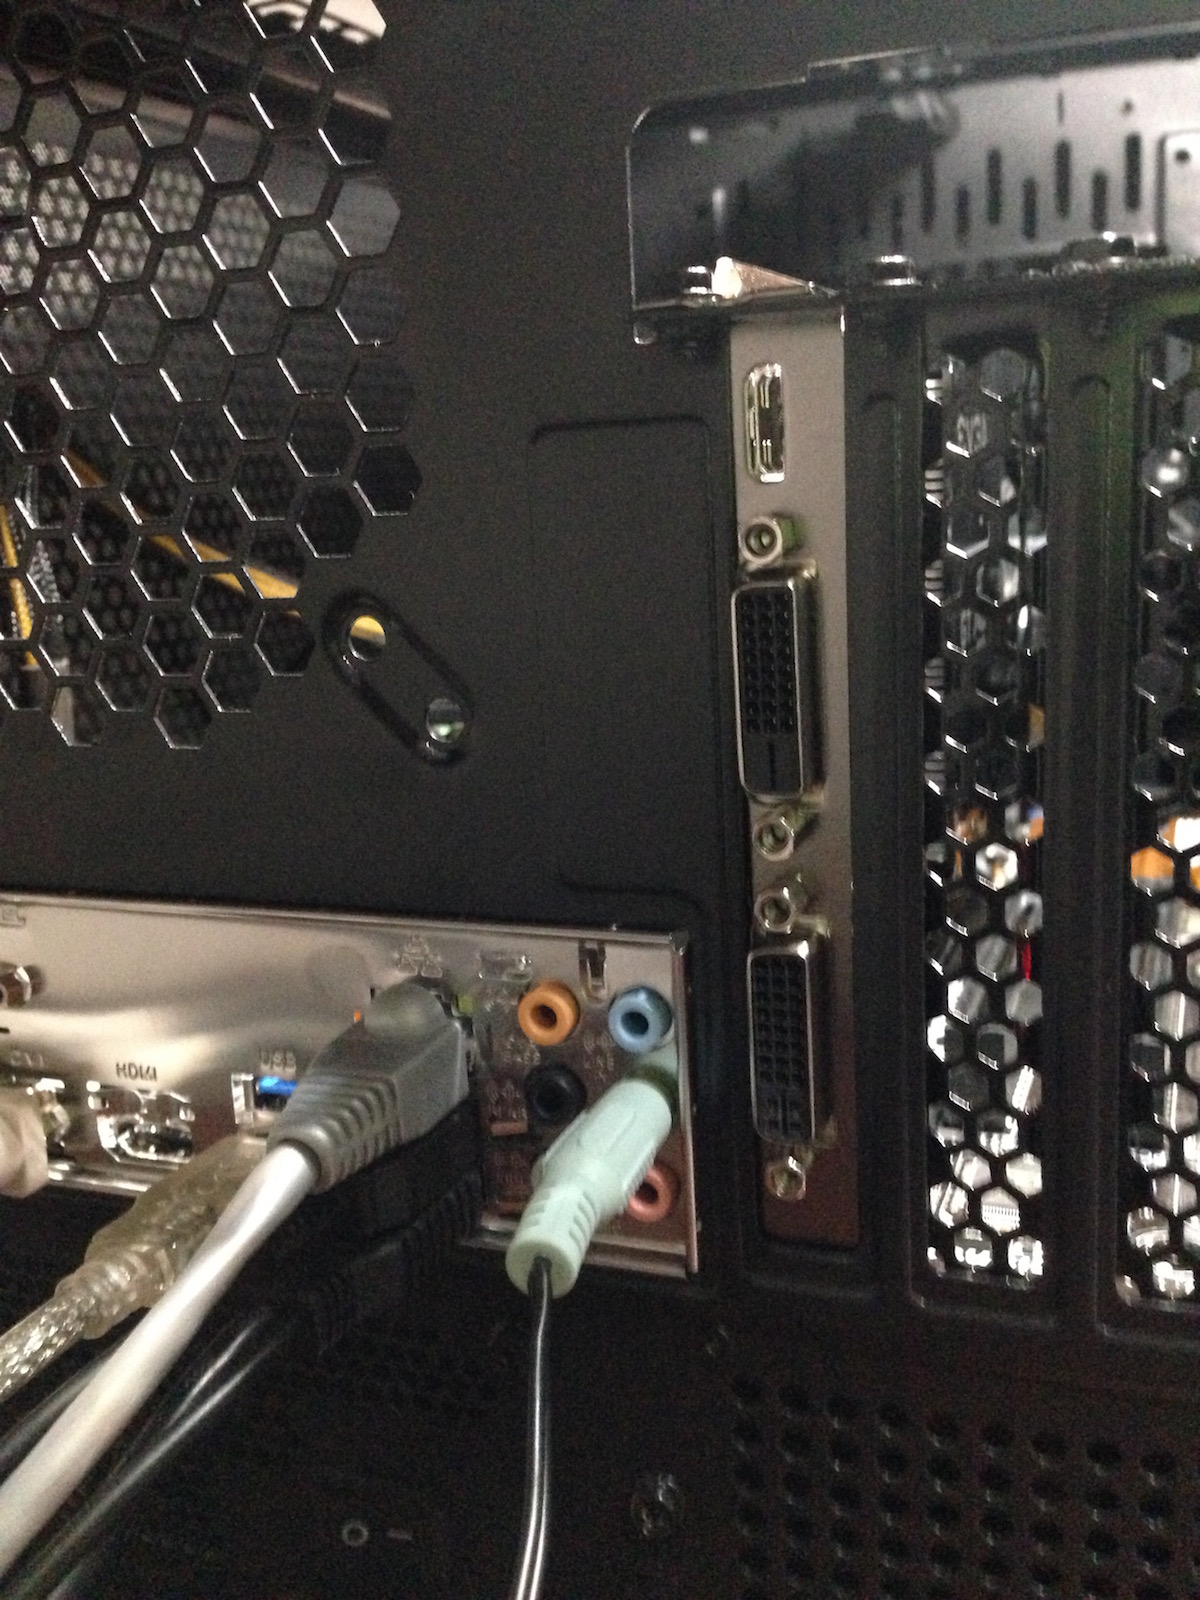
Inside the box, you’ll find only two items: a VGA to DVI adaptor and the card itself. There is no accompanying manual or documentation, which I found to be pretty surprising. (More on that soon.) The card itself is compact and fits into a single PCI-Express slot. On the back of the card, you’ll find one DVI-I, one DVI-D, and one HDMI port. The DVI-I port carries both analog and digital signals, while the DVI-D port carries only a digital signal. (If you have an old school CRT, you’ll use the supplied VGA to DVI connector to attach it to the DVI-I port.)
After powering down the PC and letting it cool, the first task at hand was to select the PCIEX16 slot and remove its corresponding backplate. On the Thermaltake Core V21 case, this involves popping a small rubber plate resting above the slots to get at the backplate screws.
Next, I put the card into position, keeping it vertically aligned and applying even pressure to seat it firmly onto the motehrboard.
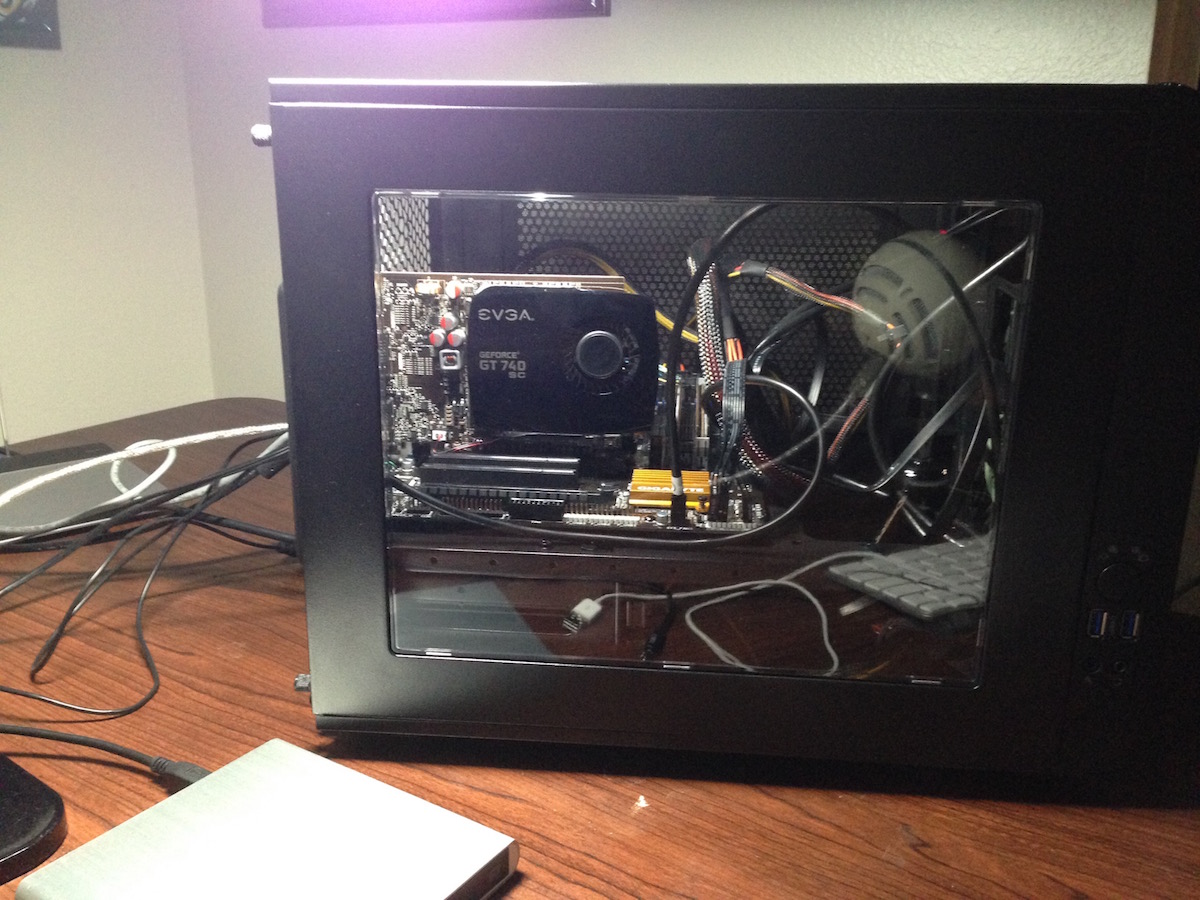
Below is the GeForce 740 SC card after installation.
I plugged the DVI cable from my display into the DVI port and fired up the PC. The fan turned, and the screen went blank when the Windows 10 boot logo should have appeared. Powering the machine off to troubleshoot, I realized that I never installed the video card’s drivers. Once the drivers were in place, Windows 10 recognized the card and booted fine.
The SSD
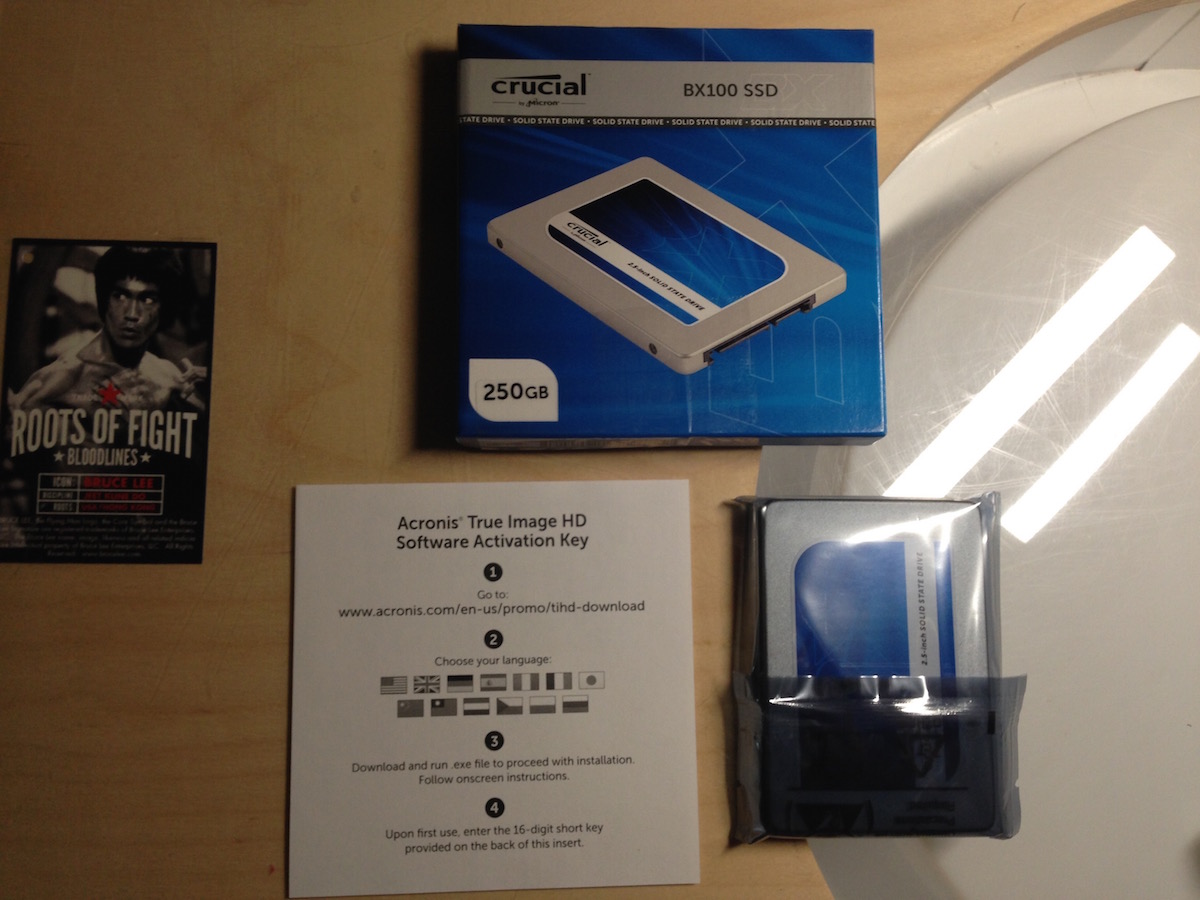
I opted to try the Crucial BX100 because of its good reviews on Amazon and its low price. Inside the box is an activation code for a software based encryption app that I’ll never use, the SSD drive, and a rubberized ring.
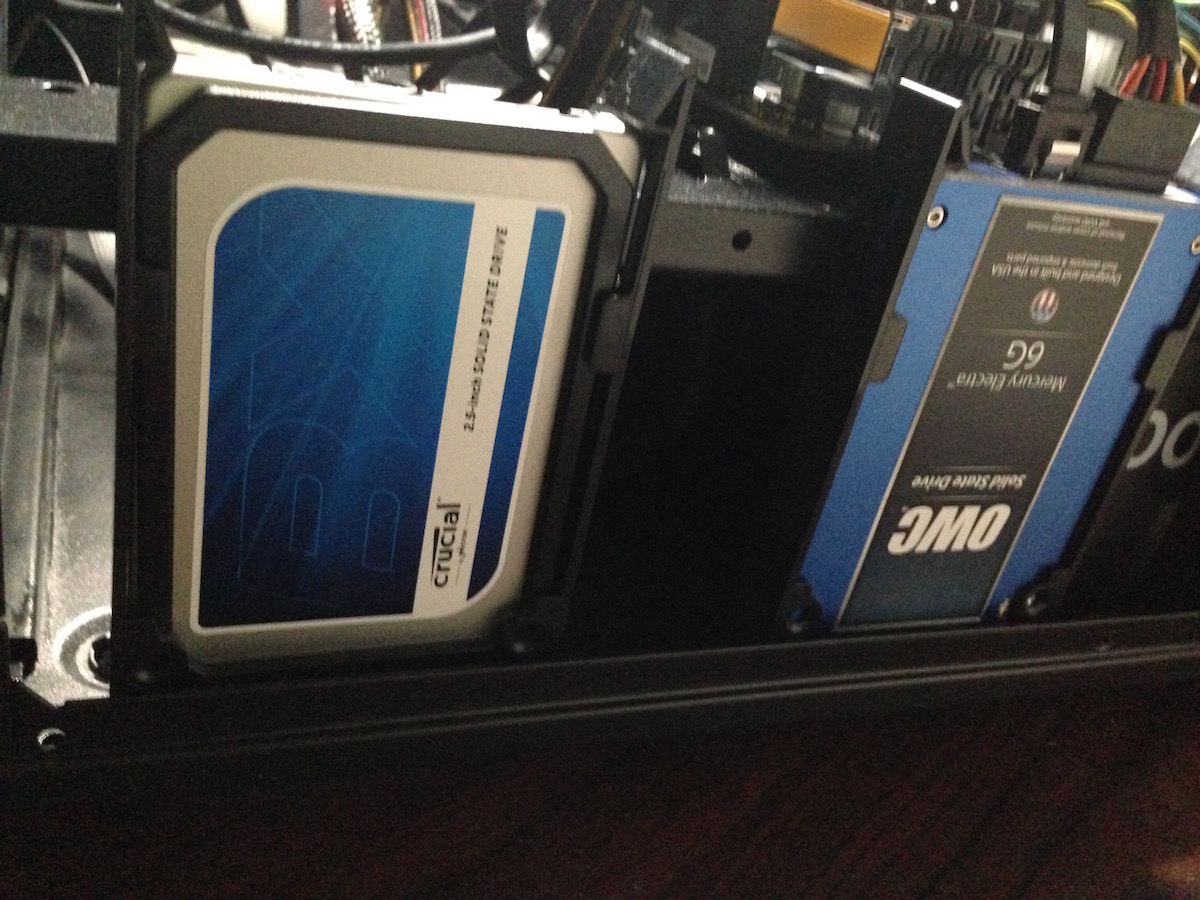
The rubber ring acts as a spacer; I wound up using it to give the drive a snug fit into its slot on the case.
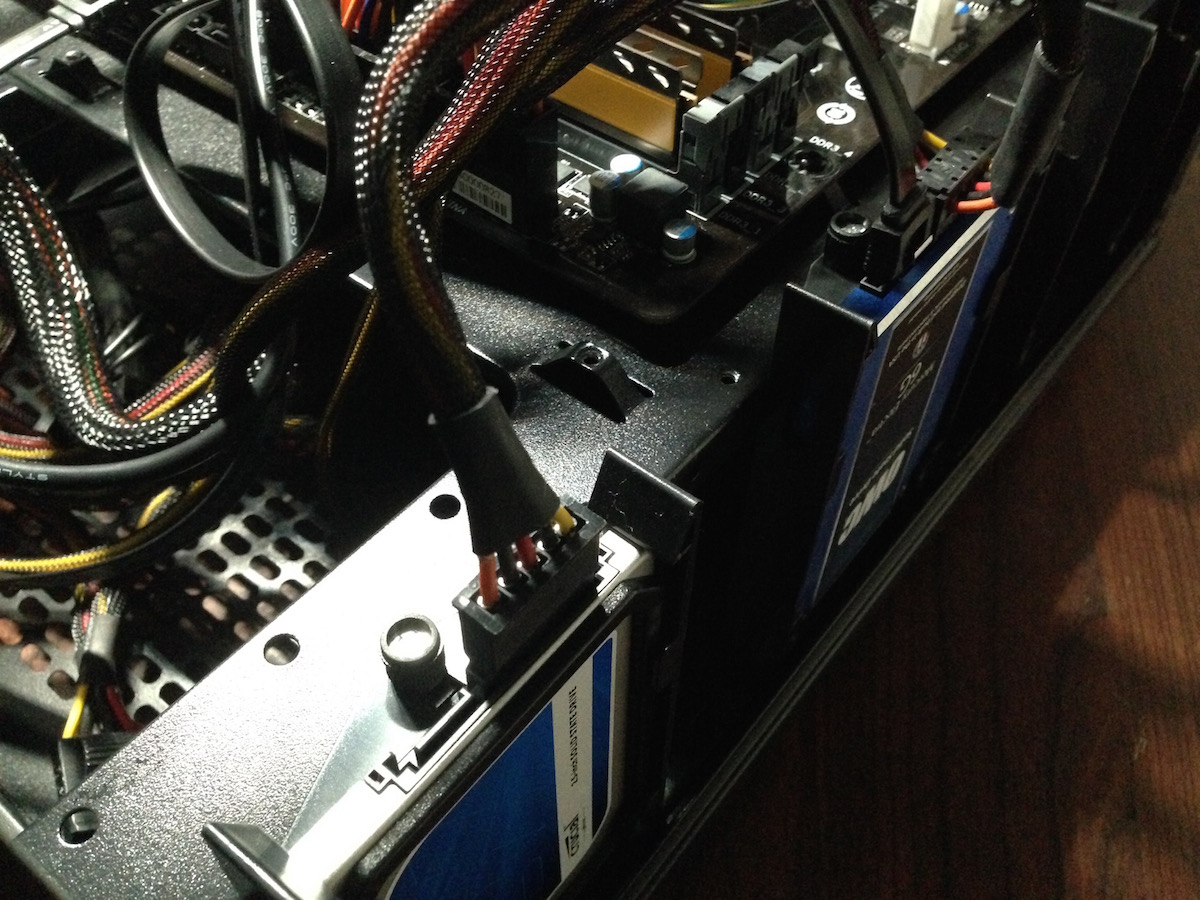
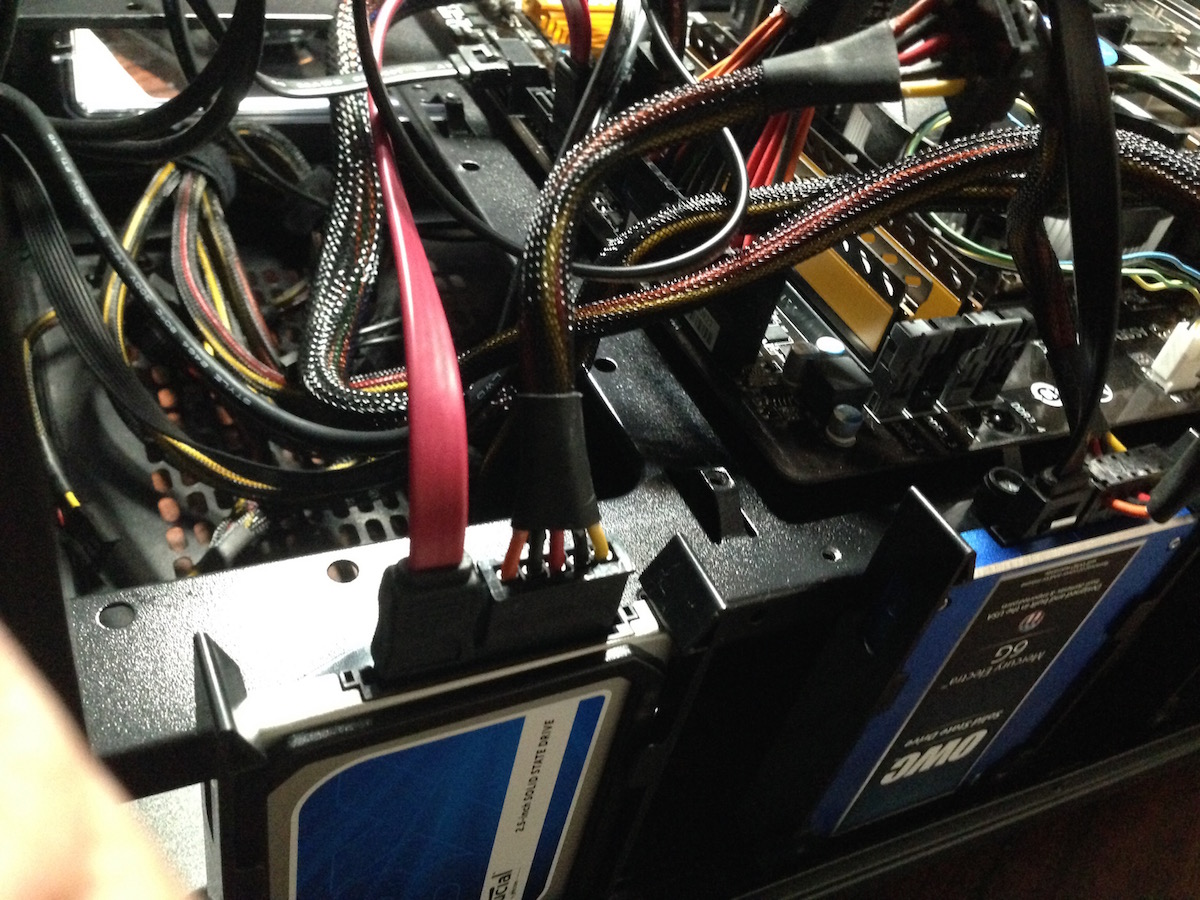
For me, the trickiest part of this installation was connecting the necessary power connections from the power supply. This wasn’t the fault of the drive, but I do wish that the power supply had a slightly longer power connector cable. After attaching the cable, I discovered that I was missing a SATA connector.
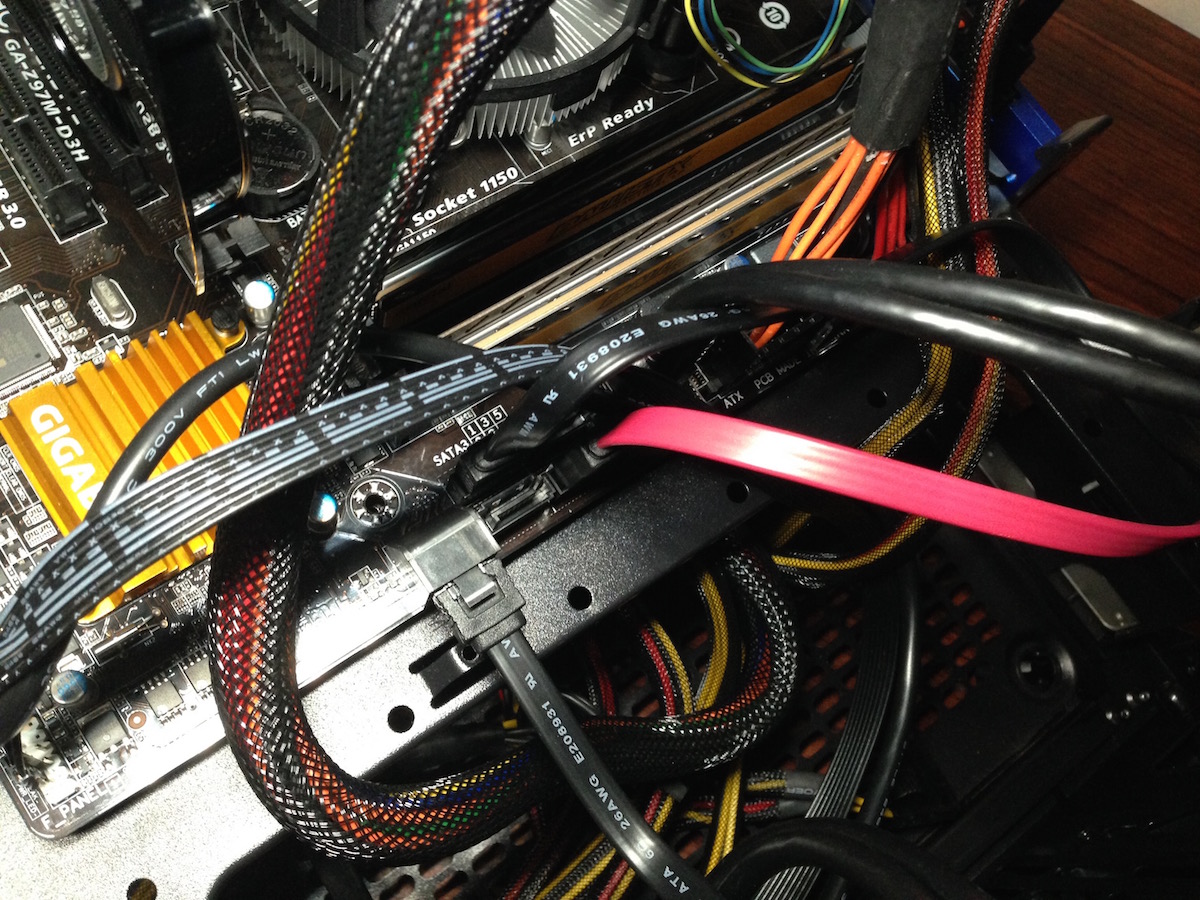
Thankfully I had one in my “miscellaneous cable” box. It was just the right size to connect from the drive to the motherboard.
With both SSDs in place, I fired up the WinBeast for another round of testing, where it passed with flying colors.
It was time to turn this screaming beast into a Hackintosh.
-Krishna
update: The spare SATA cable I found turns out to be a SATA-1 cable. Thanks to Matt and Dave for alerting me that I may not be using the most optimized cable to take advantage of SATA-3 speeds. I’ve ordered a SATA-3 cable for a whopping $2.89 (includes shipping) from Monoprice.com to remedy the situation.




qka
August 23, 2015 at 3:14 pmCrucial? There goes your OWC deal!
Krishna
August 24, 2015 at 6:57 pmLOL, I love the OWC SSD drives. I’m just testing the Crucial model… for science.
Matt
August 24, 2015 at 10:04 amYou may want to check the SATA cable you have selected. Does it have small metal retaining clips on the connectors? The reason for asking is that I have generally found the red cables to be the older SATA I cables, blue for SATA II and black for SATA III. I acknowledge that this might be a generalisation but worth checking for maximum optimisation.
Krishna
August 24, 2015 at 6:54 pmThanks, Matt. The cable I have appears to be the older style version. It seems to be working okay, but if I can find a SATA III cable cheap, I’ll definitely pick one up.
DAVe3283
August 24, 2015 at 10:41 amLooking at your SATA cable, I don’t see the retainer clip, which means it is probably a 1st Gen SATA cable. The MX100 uses 3rd Gen SATA (where possible), so using the old cable could cause problems. I have an older Crucial (M500) that started dropping offline with a SATA-1 cable. I put a SATA-3 cable on, and it has worked great since.
Krishna
August 24, 2015 at 6:55 pmThanks, Dave. I have the BX model – but I think I will look into a SATA-3 cable to replace what I have.