PC Build Day 1
This evening, I embarked on my first ever PC build. I started by disassembling the Thermaltake Core V21 case, which has a M-ATX form factor. Removing the panels required first removing 8 thumb screws on the back of the unit. The Core V21 case has some heft to it and feels durable. All four side panels of the Core V21 can be easily removed, making it easier to work on. The unit comes with a fan on its front, and removable magnetic meshes for two of the side panels. Ports on the unit are on the side.
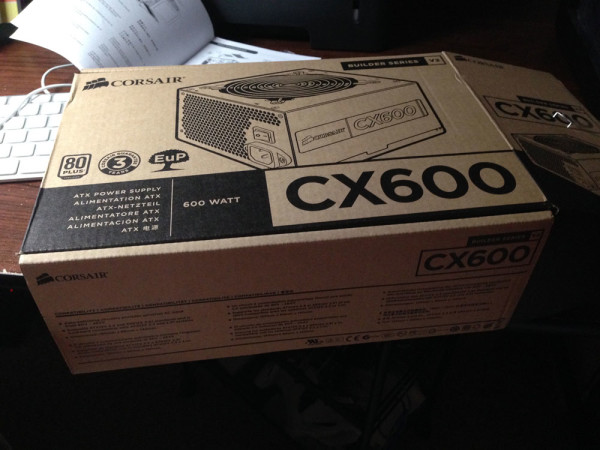
My goal this evening was to install the power supply. For this build, reader Byron P. donated a Corsair CX600 power supply.
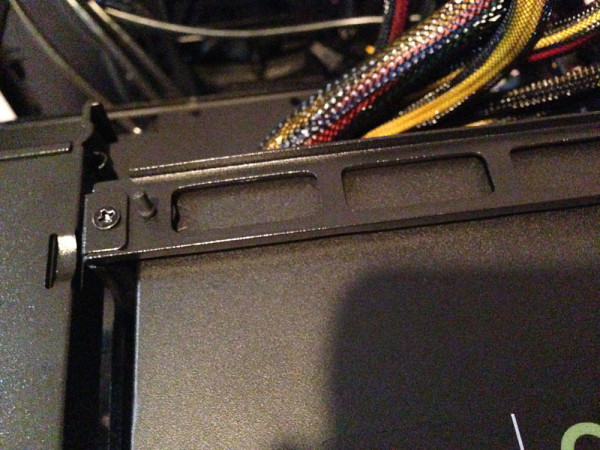
Installing the PSU started off easily enough, but the PSU retention bracket (used to keep the PSU secure) took some fiddling to install into place. Apparently, one of the PSU retention supports is supposed to lock into the chassis. I could never manage to securely “lock” the retention support – but did manage to keep it in place while I connected it to a secondary PSU retention bracket.
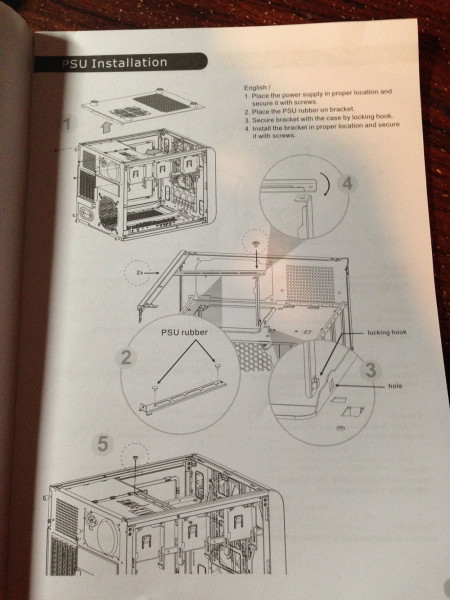
Which brings me to the Thermaltake Core V21’s documentation. For a first time PC builder, I expected a bit more clarity in the diagrams that accompanied the paper thin manual. The illustrations were small, and it was unclear from the pictures in the manual as to which screws were needed for the PSU’s retention brackets.
It’s my strong belief that Thermaltake should have at least one company-made Youtube video to walk its customers through the assembly process.
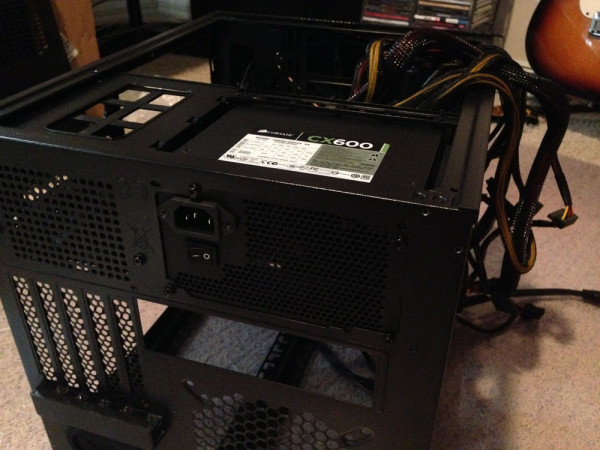
In any event, after some fiddling about, the Corsair PSU is now successfully installed inside the case.
All that I need are CPU, RAM, and a GPU to make this computer fully operational.
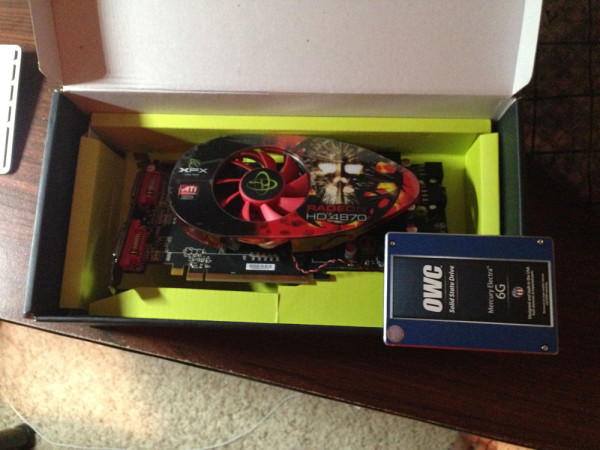
For drive storage, I plan to reformat and use an old 120GB Other World Computing solid state drive. I also have a few older hard drives in my closet that I can repurpose for the build.
While preparing for the build, I found an old XFX 4870 1GB video card to use. Will this card work with my Gigabyte Z97M-D3H motherboard?
If I can get by with an older GPU for now, I can save some money on the build and begin steps to procure RAM and the CPU.


Brian Dunaway
June 2, 2015 at 8:14 amIt is a PCI Express card and you have PCI Express ports on motherboard. So yes. It should work.
Your motherboard has an on board video card but that card should give you a little more horsepower.
Both support CrossFire. Really means nothing at this point in the build though.
Krishna
June 2, 2015 at 2:14 pmThanks, Brian! I wasn’t aware that the motherboard had onboard video. It’s good to know that the ATI card should work with my mobo as well.
t3rminus
June 8, 2015 at 3:11 amAs Brian said, most Intel CPUs now come with some form of integrated video, as long as the motherboard has ports for it (yours does). It’s not great, but it’ll get the job done in a pinch.
You _could_ use the the AMD card, but my sources* tell me it will require some complicated tricks (DSDT editing) to get OS X to boot. Best stick to Windows until you get the GeForce GT 740.
Also a friendly reminder, I’m your guy for hackintosh info. I have an almost identical set-up to your wishlist build, so I hope I can save you the (nearly) three weeks of research and fiddling it took me to get OS X up and running perfectly.
* = http://www.tonymacx86.com/wiki/index.php/Graphics_Card_Database
Krishna
June 8, 2015 at 6:07 amThanks, Kevin. Then I could really get by with just buying CPU and RAM to have this thing up and running. That helps me prioritize my purchases. And, count on it: I’ll definitely bug you when the time comes. (Thanks! :)