Back from the Dead: Reviving a 4th Generation iPod Classic
Taking apart an iPod Classic to update the battery isn’t for the faint of heart. But I did it anyway and lived to tell the tale. Did it work? Did I escape unscathed? Read on…
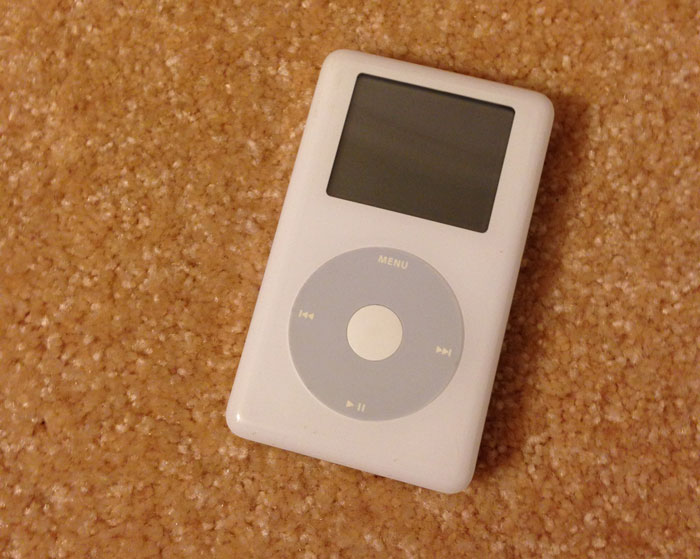
Remember when the iPod was about music? Back in the early 2000’s, it was. Quaint by today’s standards, the original iPod line (now referred to as “Classic”) was a mega hit, and said to be instrumental in Apple’s comeback.
The iPod Classic was built first and foremost for music – it was simple, it worked well, and it was an incredibly convenient method of carrying thousands of songs in your pocket.
The iPod Classic came in many flavors. The model I own came with a storage capacity of a whopping 20GB. (Compare this to the standard 16GB and 32GB iPod Touch models being offered today). I purchased my iPod Classic new in 2003, alongside a PowerMac G5 tower. After heavy use for 4 years, the battery was unable to hold a charge. And so I packed the iPod away…
Flash forward to two weeks ago, I was cleaning my studio when I accidentally stumbled upon my venerable iPod. I’d completely forgotten about it. It was covered in a layer of dust. There were no signs of life. Would this relic from my technological past still work?
The Forensics
The iPod’s battery was dead, but when I plugged the device into an AC outlet, the familiar Apple logo appeared, bathed in the stark bluish-white hue of the surrounding backlight. Seeing that menu once again felt like I’d transported myself through a time warp. From the bulkiness of the device to the click wheel and hierarchical menu interface, this ten year old model felt positively ancient.
But I was instantly smitten. I wanted my old friend back. It was time to bring this iPod Classic kicking and screaming into the future.
Operation: Revival
I scoured the Internet looking for iPod replacement batteries. I was also curious as to how to open the device. Then I remembered iFixit, a site known for its detailed device tear-downs. Sure enough, my model was on the list. Even better, iFixit offered a replacement battery kit for $14.95. I placed my order. (Pro-tip: look for coupon codes – I saved $5 on shipping that way.)
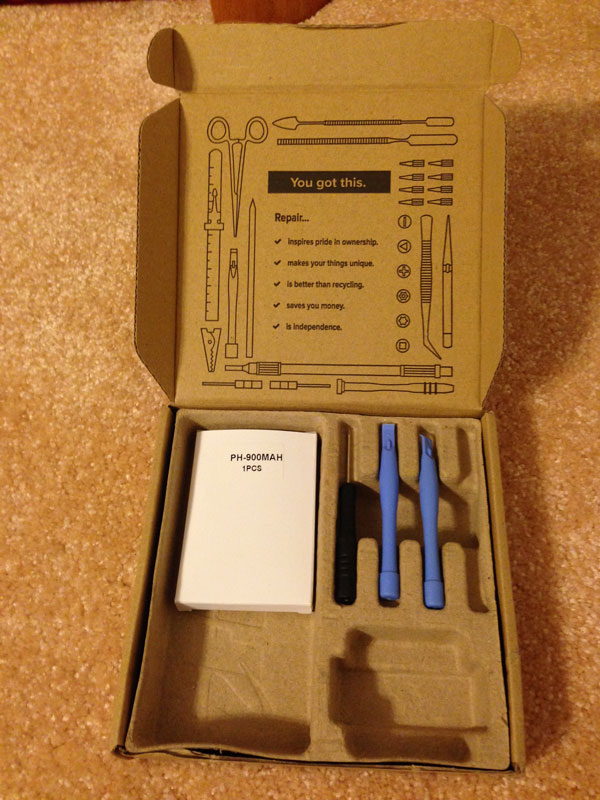
Delivery was fast; I received my iPod battery + tool kit within two days. Not bad for a product traveling from cross country to Florida.
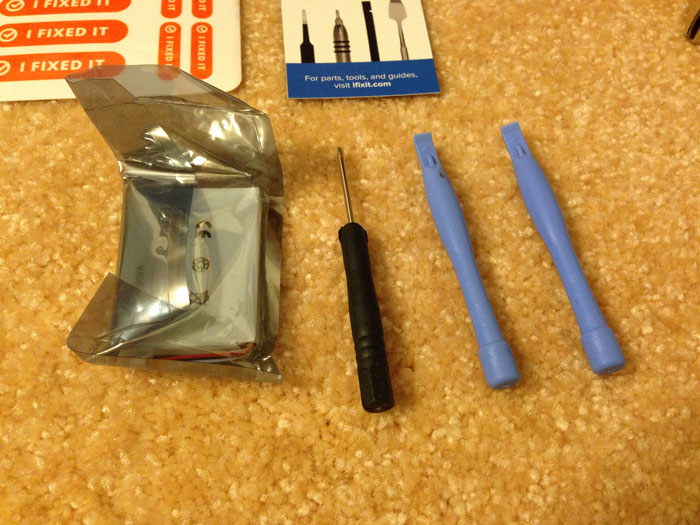
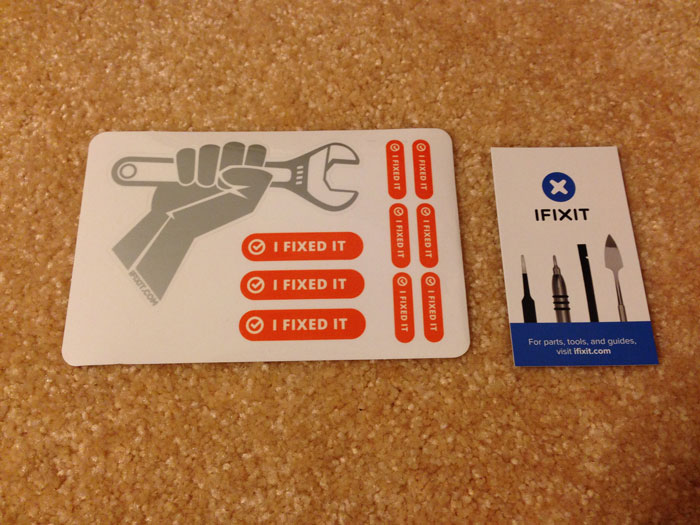
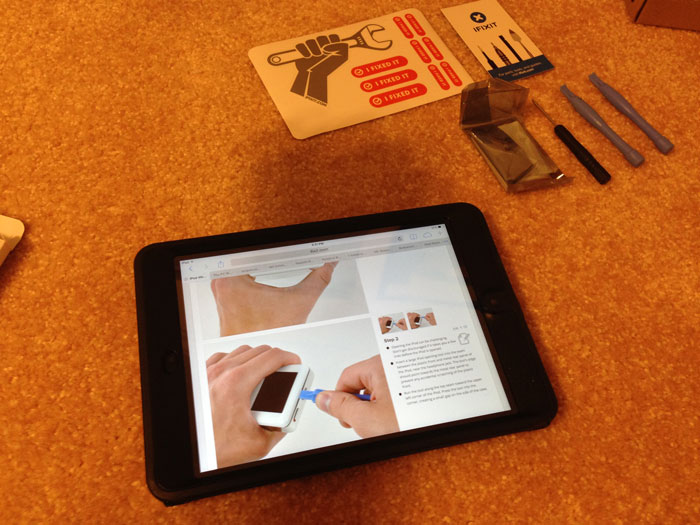
Inside the box were two plastic opening tools, a small T6 Torx screw driver, the replacement battery and some nifty stickers.
Installing the Battery
The first step in the process is to open the iPod case. With my iPad at my side, I pulled up the installation procedure and then prepared for surgery.
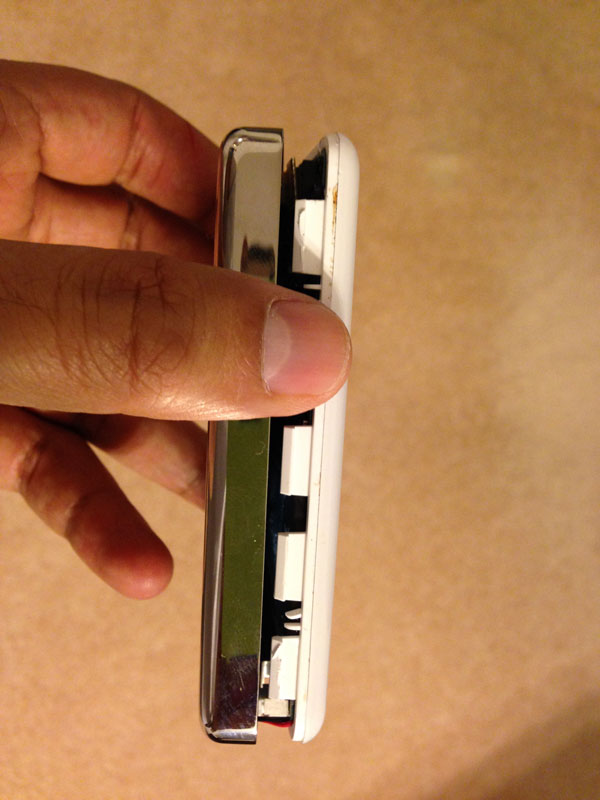
Taking the iPod’s case apart was, by far, the toughest part of the whole installation process. In my experience, the supplied plastic tools were worthless. I tried many, many times to use the tools to open the case, and wound up getting a few knicks and cuts on my skin from the process.
After some time, I was able to open the device using a butter knife.
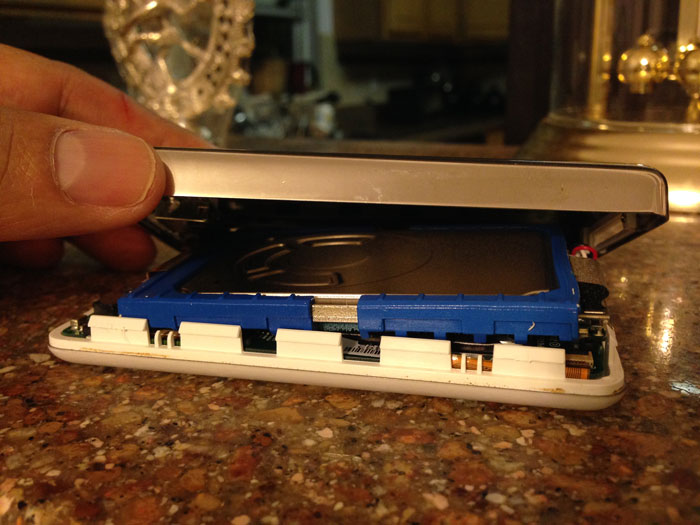
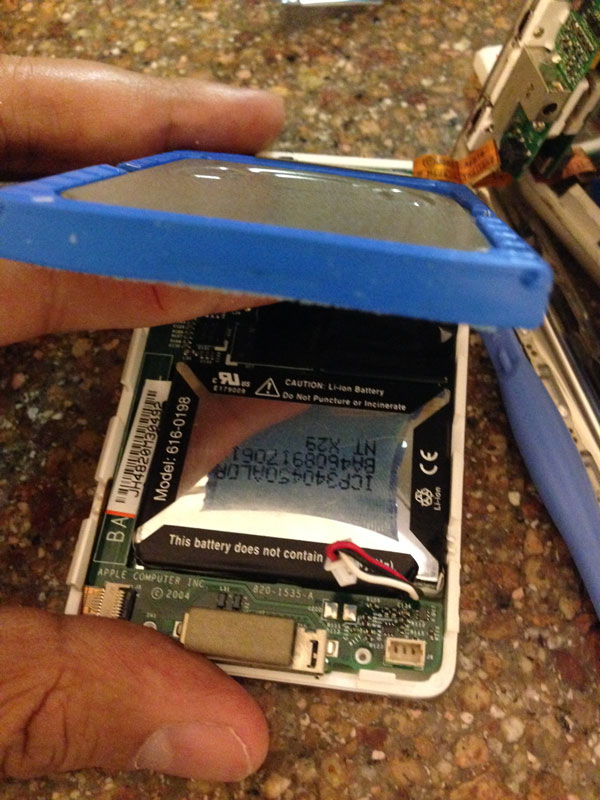
Inside the unit is a logic board, the battery and a few connectors. For the installation, I did not need to remove the headphone connector (Step 8 in the iFixit documentation). The original battery took a little patience to remove, because it is held to the logic board by way of an adhesive. NOTE: There are two tiny Torx screws that need to be removed to slip the battery wires out.
I unplugged the connector for the old battery and removed it. The old battery had a slight bulge to it. The iFixit battery was placed inside. I sealed up the iPod’s case and plugged it in. Would it work? Would it go up in smoke? Would I be the proud owner of a new paperweight?
Fire in the Hole
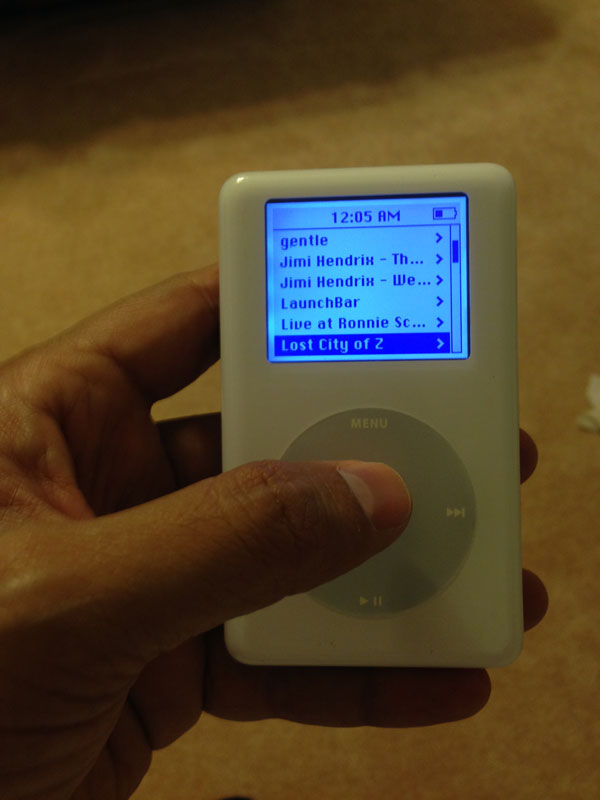
The moment of truth was at hand. Thankfully, the iPod powered up fine. The new battery had some residual charge to it. It took about 2 hours to bring the device up to full charge, and I’m pleased to say that I now have a working iPod Classic with nearly all of the music I originally had on the device.
Conclusion
The iFixit directions were more or less straight forward. Before you take apart your device, you want to read the steps and get familiar with the procedure you are about to undertake. Going further, take a few moments to read the user comments underneath the install guide on the iFixit website.
The supplied iFixit plastic tools aren’t really that useful, so for this procedure, I’d recommend having a butter knife on hand. Given that there is only a $1 difference between buying just the part versus buying the part and the kit together, I suggest paying the extra $1 for the kit – it’s worth it for the Torx screwdriver alone.
The toughest part of the installation is opening the case. If you don’t feel comfortable with taking apart devices, you may want to find a friend who can help you with the install. For tech savvy folks, you should have the whole thing complete in 10 minutes or less.
Would I do it again? Absolutely.
For $14.95 I have my old iPod back (and a few battle scars). Time will tell on how long this new battery will last, but if I can get at least a year or two from it, the upgrade was money well spent.
-Krishna
P.S. The iPod Classic will in fact work with iTunes 11. First, make sure that you enable “disk mode” on your iPod. Next, insure that you are connecting your iPod’s USB cable directly to your Mac’s USB port. Some USB hubs (even those which are powered by an AC adaptor) will not recognize your iPod. I was able to successfully sync my music with iTunes 11 using the steps above.



Plus ca change ...
December 22, 2013 at 11:44 amInteresting, Krishna. I have (since 2005) the next model – the Colour Classic. A few years ago I thought the battery was going so I went to OWC (one of my fav spots) and got a kit. I still have the kit … because the iPod battery didn’t die on me. Yet. Hopefully this kit will work when it’s needed!
Krishna M. Sadasivam
December 22, 2013 at 4:41 pmIt worked well for me – just be careful with opening the case – the supplied plastic tools have a tendency to slip and cut fingers.