Bringing Color to the Mac SE/30 with an 8 inch Pimoroni LCD
A few months ago, I wrote about my experience in rehabilitating a derelict Mac SE/30. It was an immensely satisfying project, but ultimately, not fully realized as I could not find a replacement SE/30 logic board to plug in. Some time passed, and the Mac sat on my desk, patiently awaiting its resurrection.
And then I had an idea – why not put a color display inside the Mac SE/30 bezel and use it as an additional display for my Mac mini setup?
To be sure, it was a crazy idea, but I’m not one to shy away from a challenge. I had seen videos of other compact Macs kitted out with LCD displays, but many of the solutions required permanently modifying the front bezel of the Mac. What I wanted was a simple, reversible method to couple a color LCD to the Mac SE/30, while simultaneously having the SE/30 house my 2018 Mac mini and its assorted drives.
And, I’m pleased to say, I made it happen.
Let’s start with what you’ll need.
Parts List:
- Pimoroni 8″ IPS LCD display from Adafruit ($74.95US)
- 5V 2.5A Switching Power Supply with microUSB cable ($7.50US)
- 1 meter HDMI cable ($7.50US)
- Black Acrylic Frame and Mounting Bracket ($49.90)
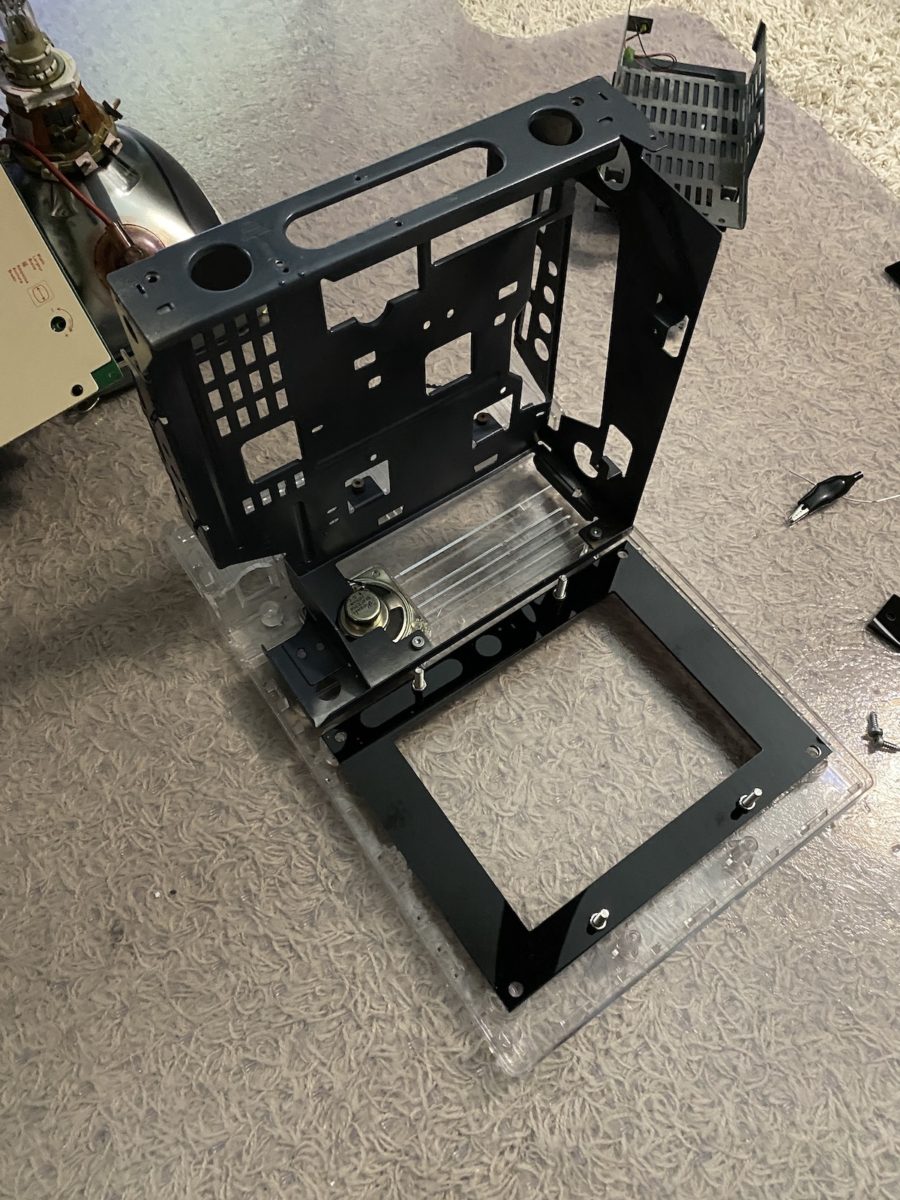
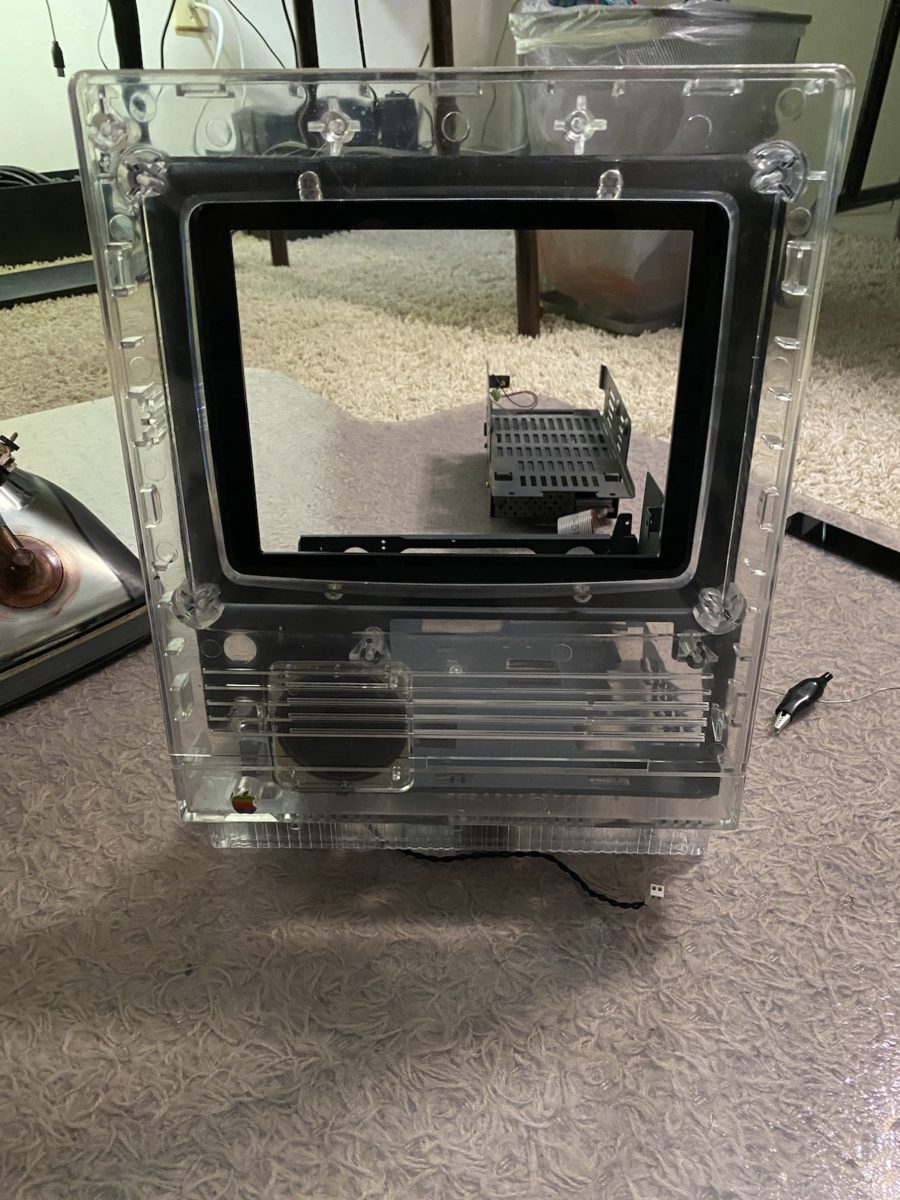
The acrylic frame and mounting bracket was designed for the purpose of installing an iPad mini inside a compact Mac case. Designed by Trav DeRose, this kit consists of a rectangular bracket that fits perfectly into the CRT mount holes on the Mac SE/30’s front bezel, along with two vertical supports to secure the display in place. Customers must provide their own screws and bolts to assemble the kit. To get to the front bezel, I removed all the guts of the Mac SE/30, which includes the CRT, analog board, power supply and floppy drive cage. (Fret not, I have all the original parts tucked away safely.)
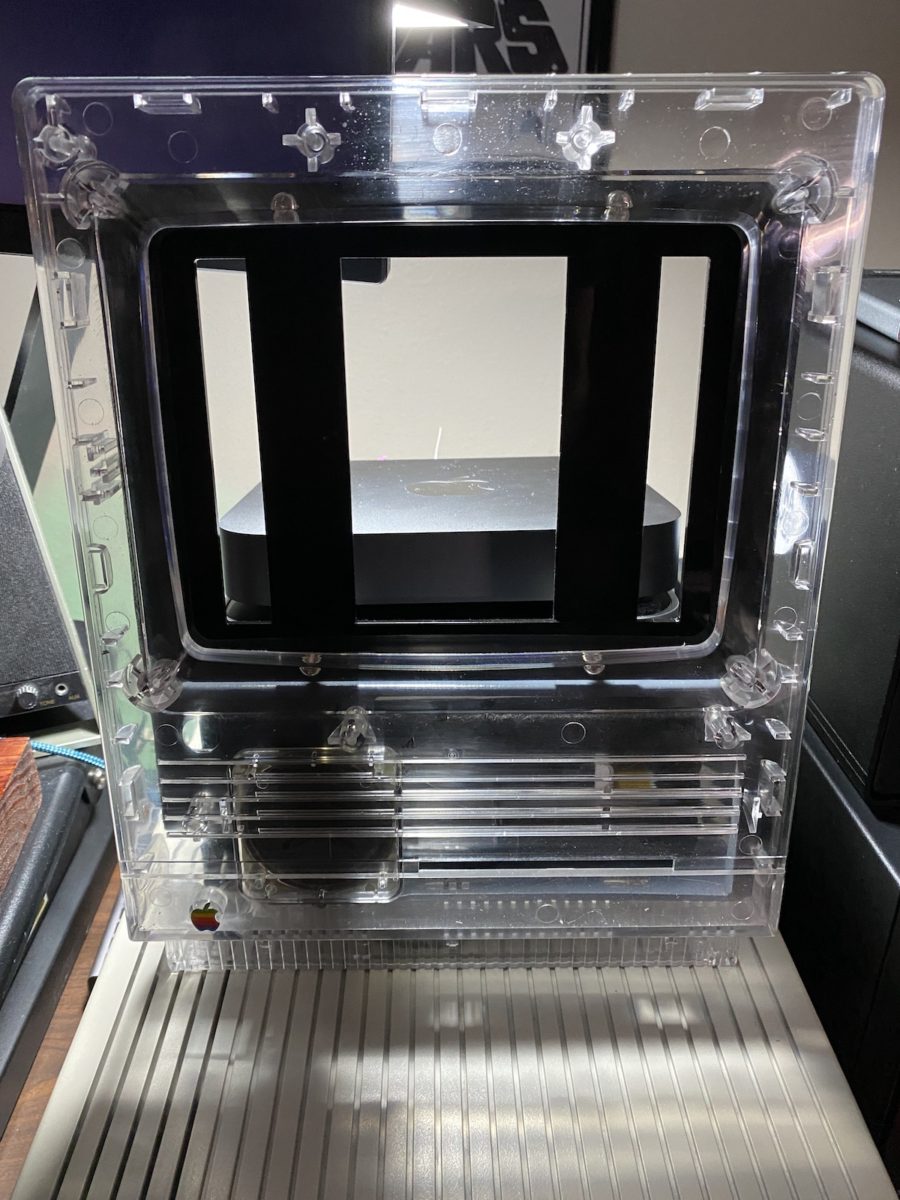
The frame does a good job of creating a nice, even black border inside the display area.
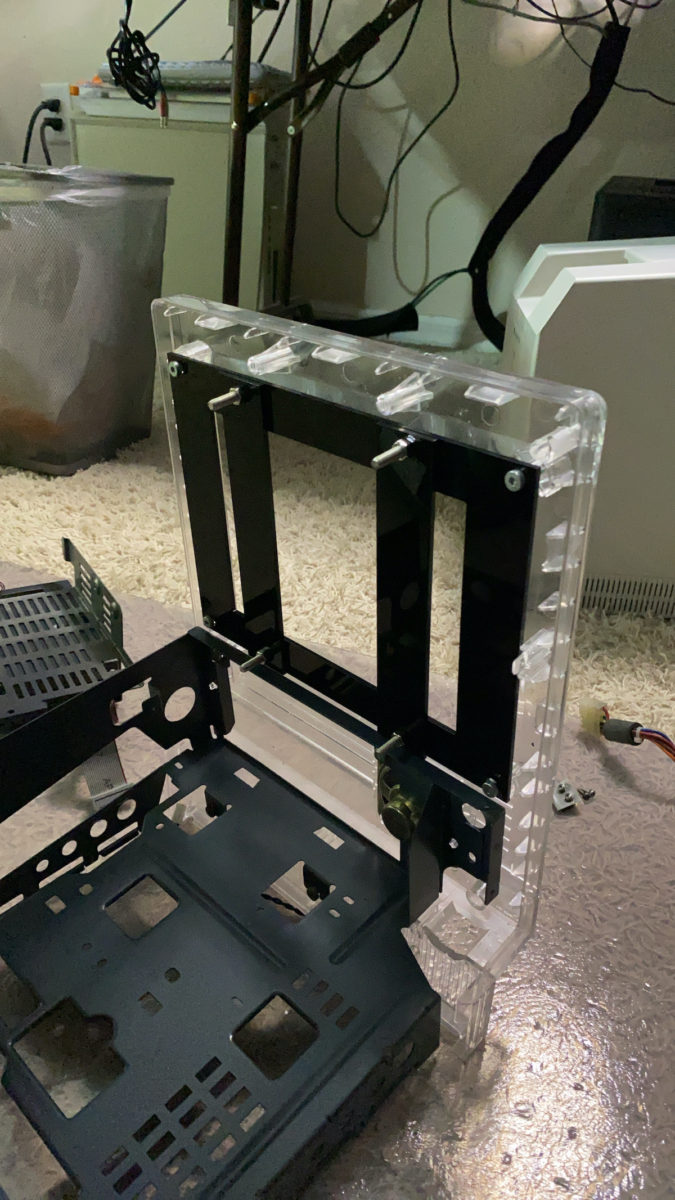
Here’s what the setup looks like with the two vertical brackets secured to the frame.
I had a few weeks before the Pimoroni LCD display arrived, so I used my daughter’s old iPad mini to check the fit.
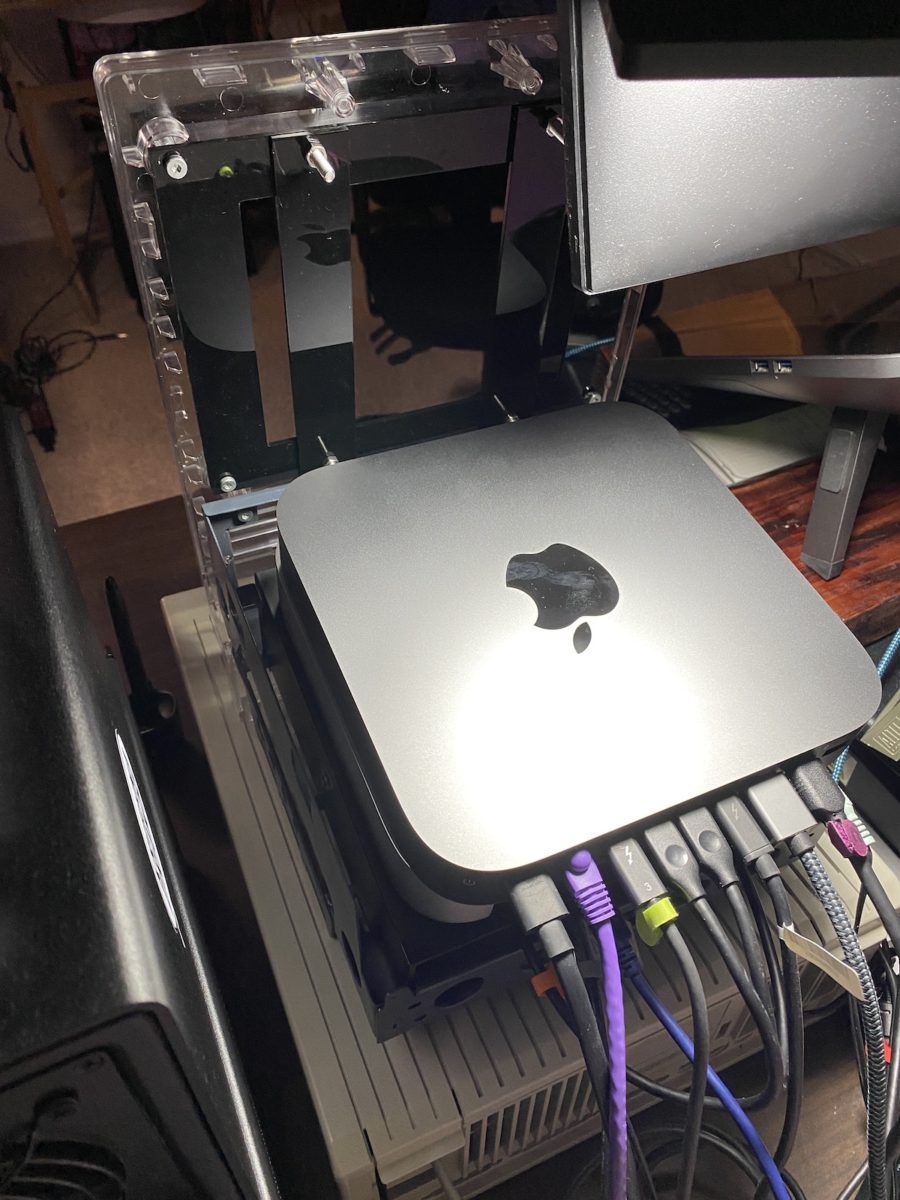
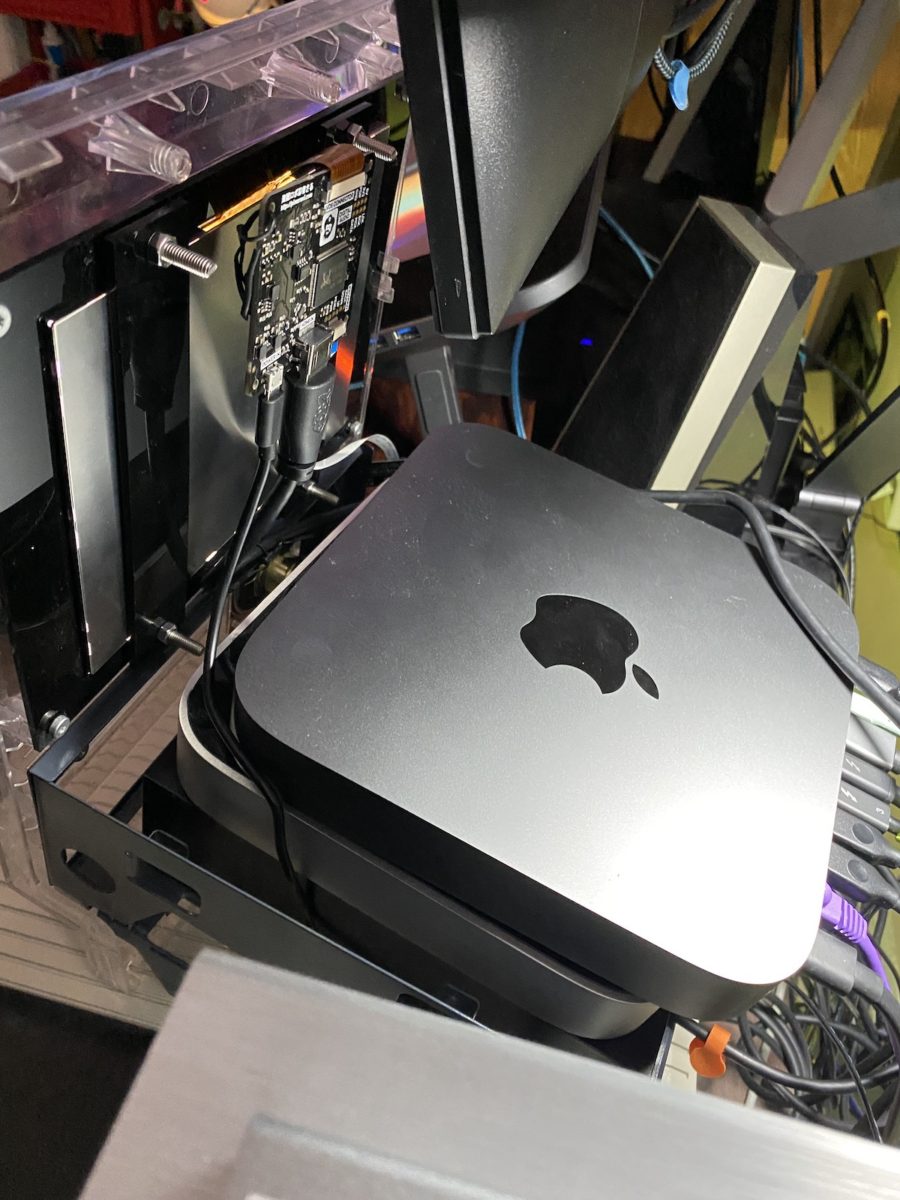
I also wanted to see if the Mac mini would fit inside the SE/30’s chassis. It was nearly a perfect fit! It was at this point I felt confident that everything would come together.
The biggest variable in this project was the display. I initially bought a TOGUARD portable 7″ display, but it was disappointing, to say the least. The display was bulky, the picture was not sharp, and the controls were garbage unintuitive. I’ll save you some time and tell you that the Pimoroni 8″ IPS LCD is the one you’ll want. Not only does the Pimoroni 8″ LCD fit perfectly inside the confines of the compact Mac, but it has a really nice, sharp picture, with a detached LCD menu that gives you flexibility during your install. This display has been a popular choice for Raspberry Pi enthusiasts, since its 4:3 aspect ratio makes it perfectly sized for the Pi’s arcade game emulation capabilities.
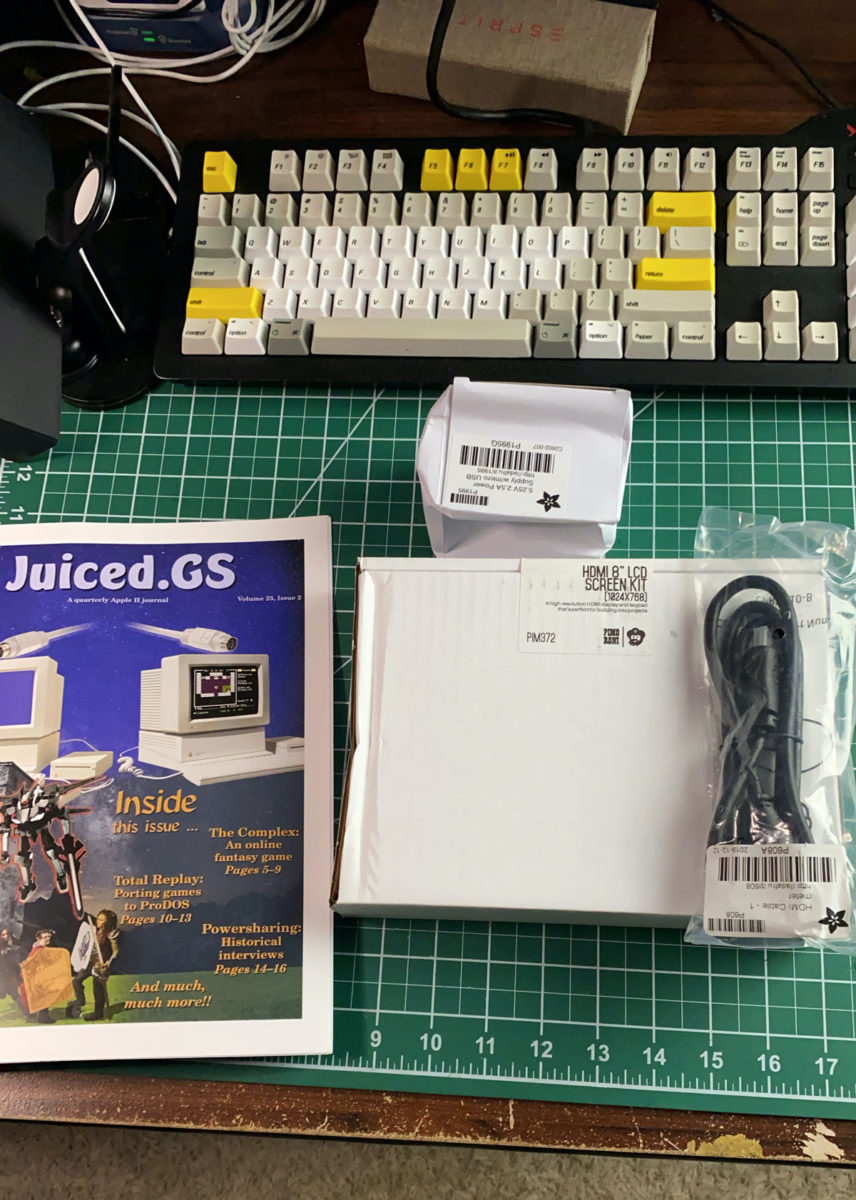
I ordered the power supply, display and HDMI cord directly from Adafruit. A week later, the package arrived.
Inside the sufficiently padded box are the aforementioned parts and a quick start manual.
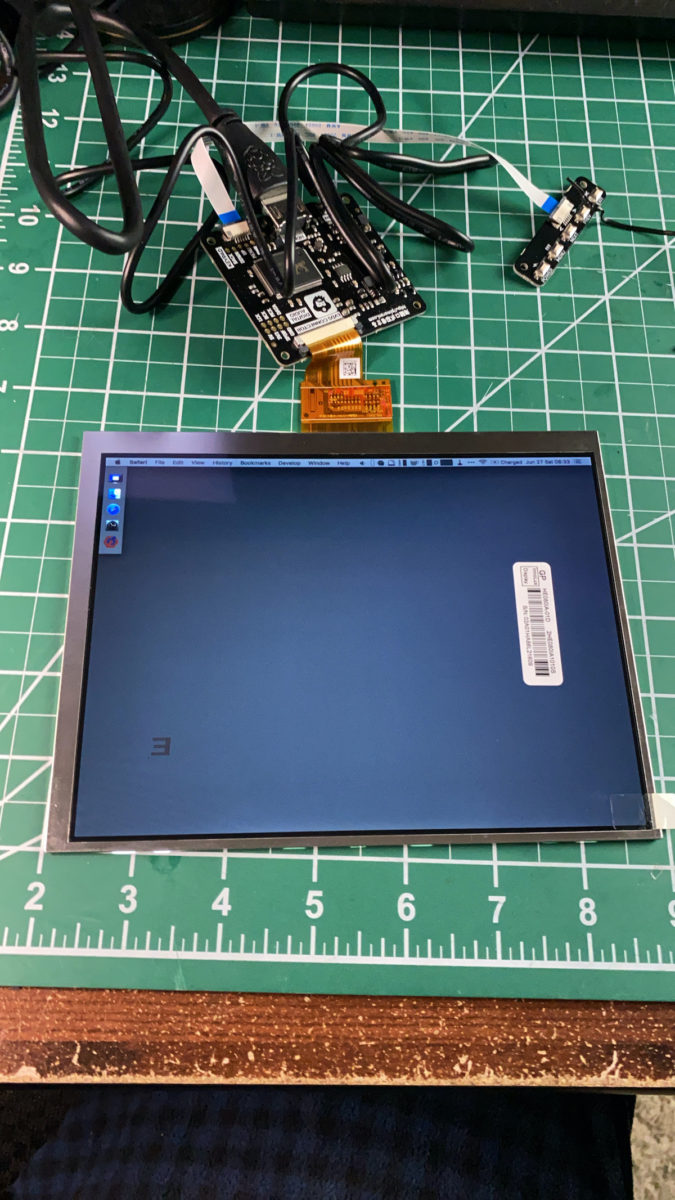
The display includes a small, thin ribbon cable that will need to be connected to the display driver board. The power cable includes a micro USB connector that powers the display driver. The display’s menu buttons also attach to the driver board via a thin ribbon cable. After plugging everything up, I did a quick “fire in the hole” test by connecting the display to my MacBook Pro. Once I confirmed that the display was working, I moved onto mounting it into the SE/30’s front bezel. (Don’t forget to remove the screen protector!)
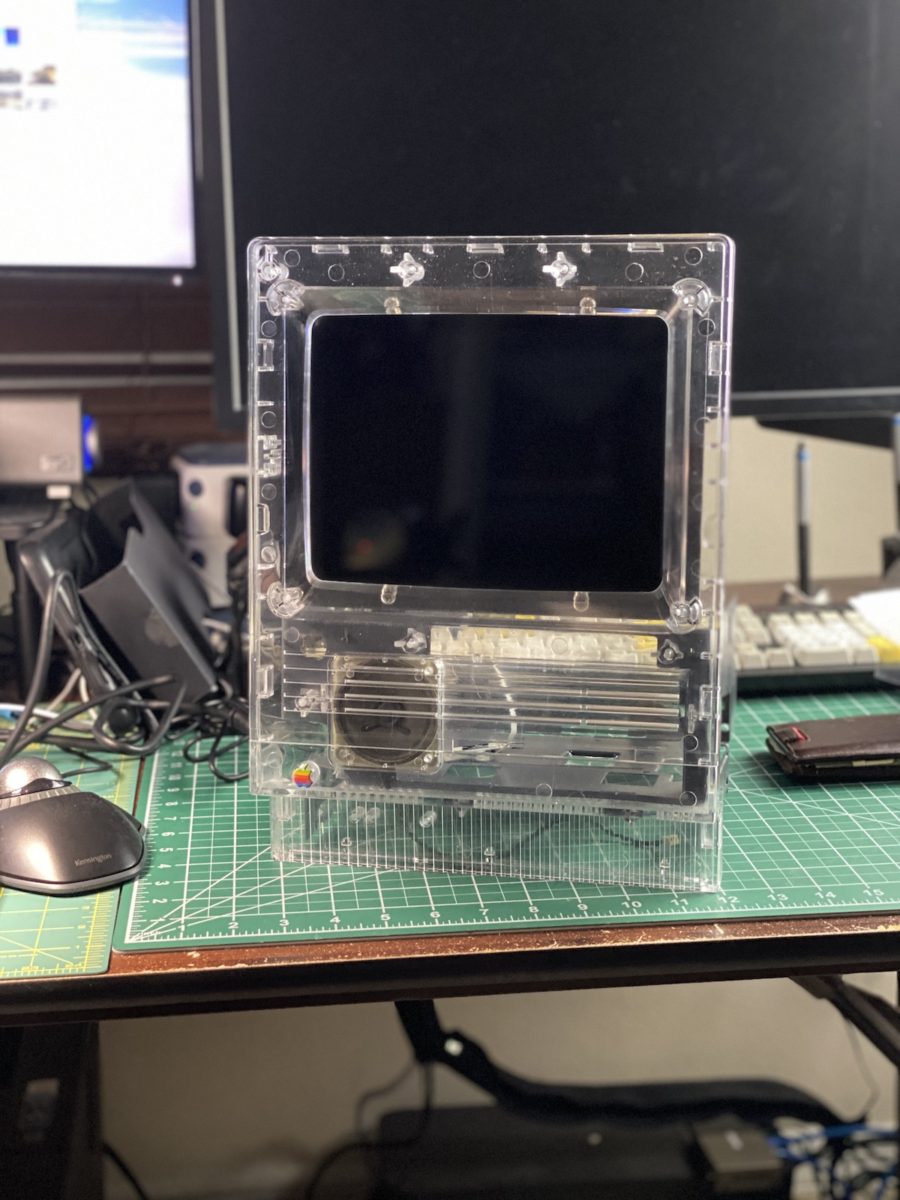
The Pimoroni display mated very easily with the acrylic frame. I kept the vertical mounting brackets somewhat loose so that I could properly align the display inside it.
Here’s the back of the Pimoroni display, after I connected it to the front bezel.
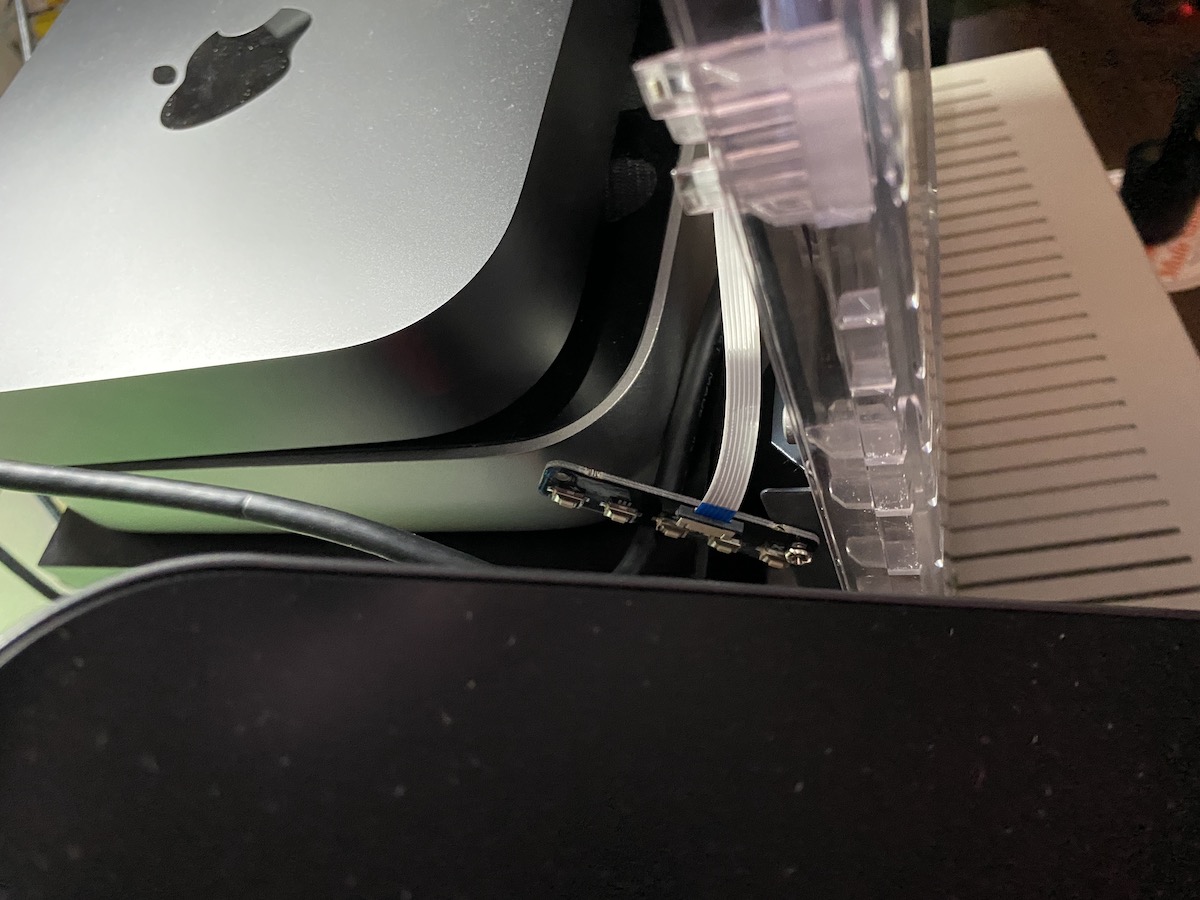
Finding a proper place for the display’s menu buttons was a bit of a challenge. I settled on securing it to one of the Mac SE/30’s chassis mounts. It’s not a great location, but it is accessible and does the job.
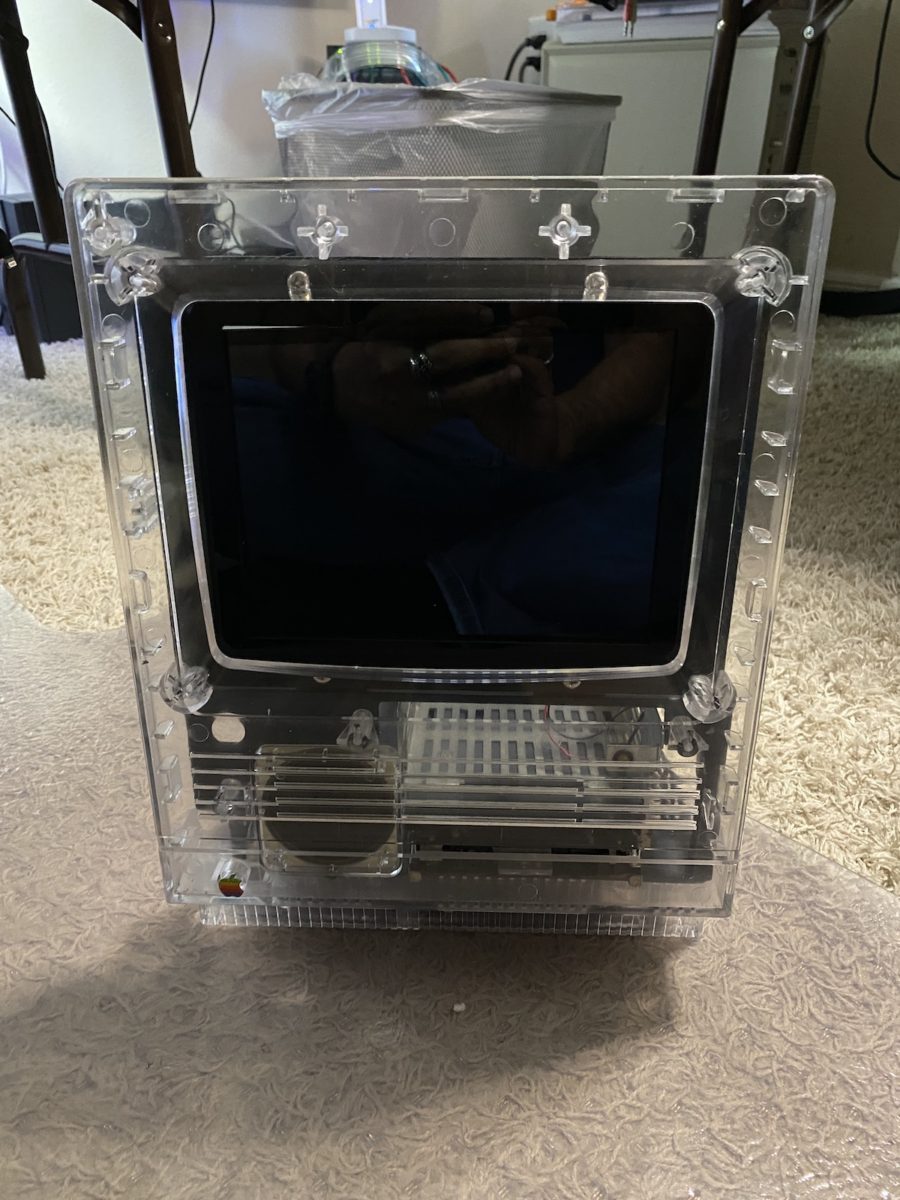
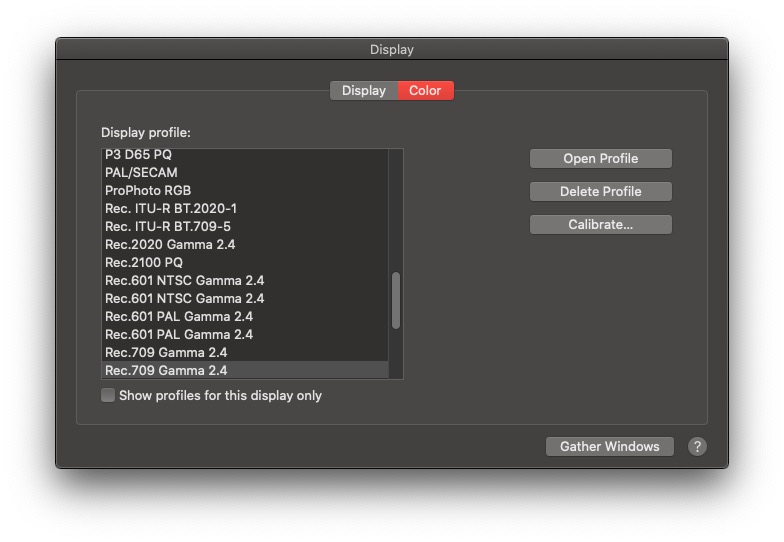
With the display installed it was time to test it out. Initially the color and brightness of the display were lacking. After some adjustments to contrast, brightness, and saturation, there were slight improvements. The big improvement to picture quality came when I applied the Rec.709 Gamma 2.4 color profile in the macOS Display control panel.
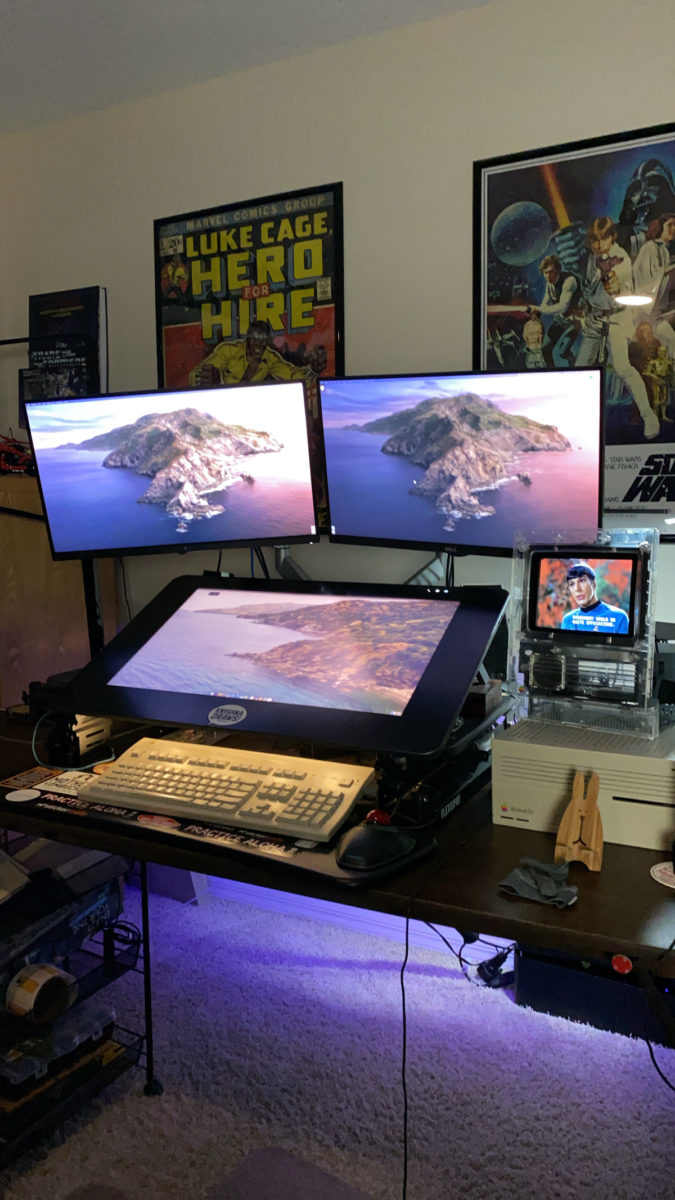
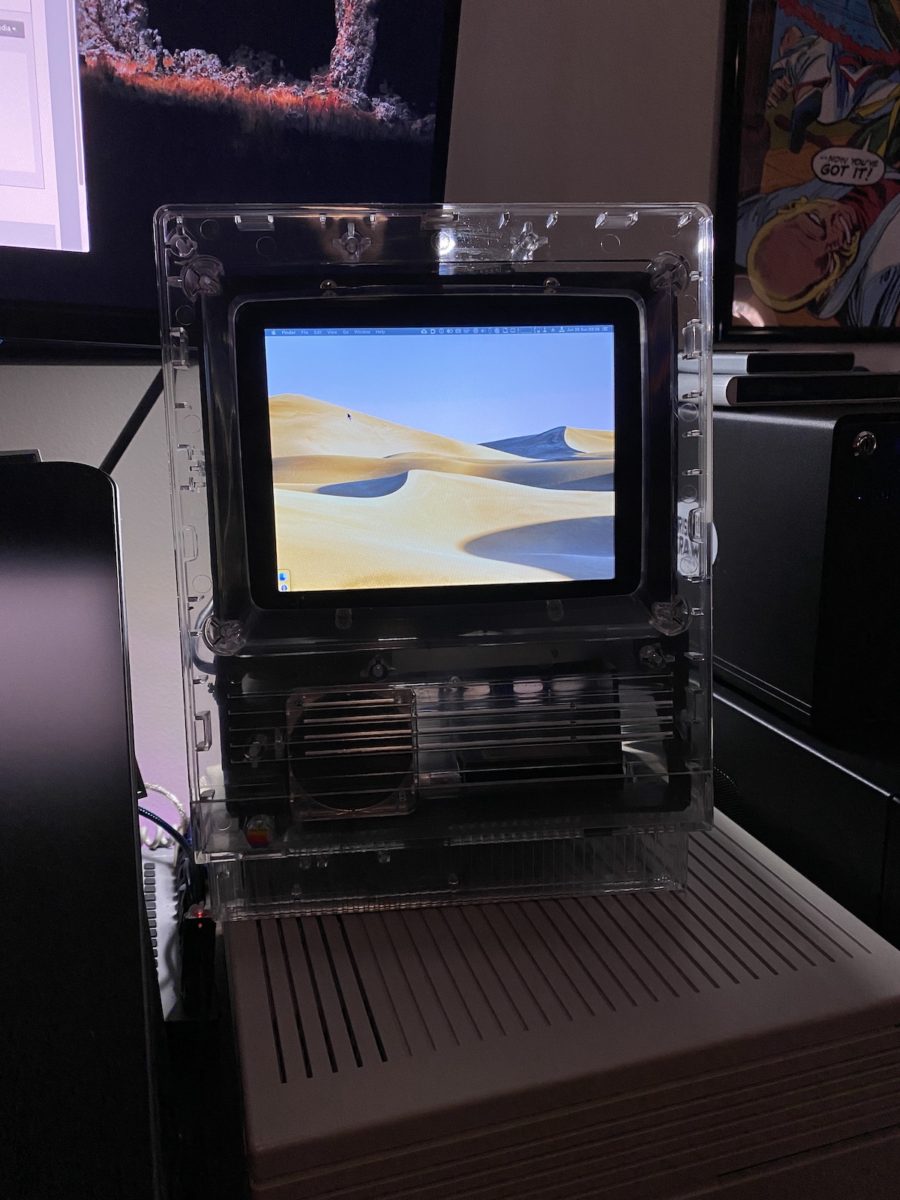
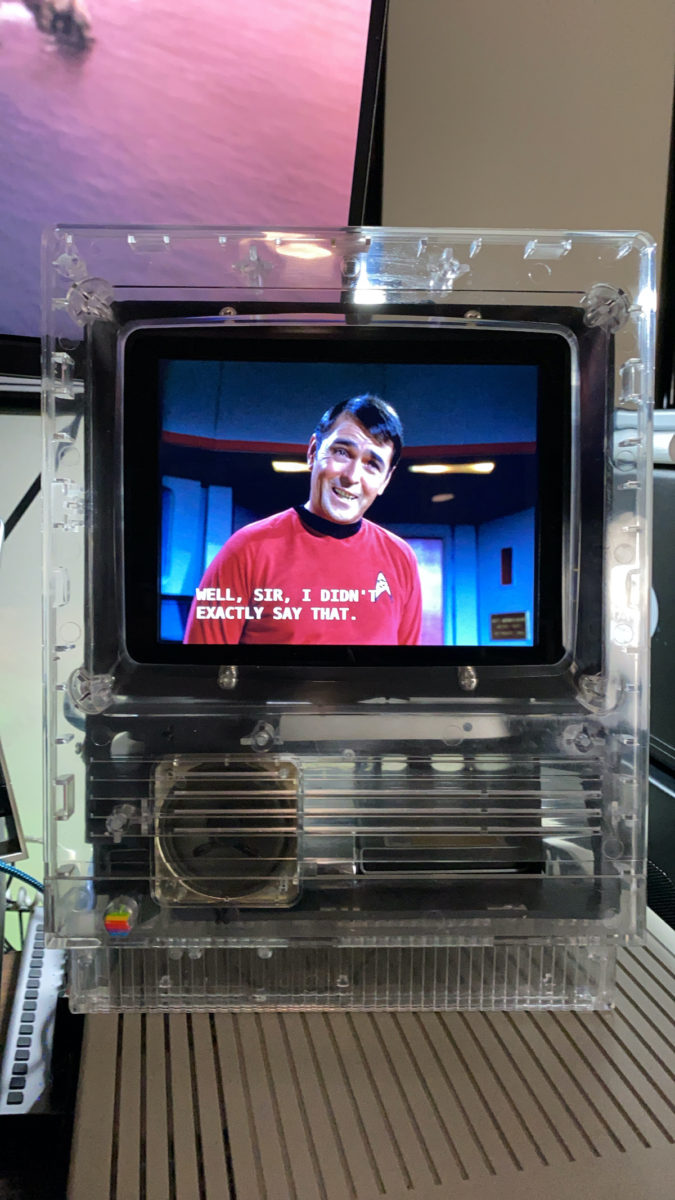
Below are two photos I’ve taken that seem to reasonably demonstrate the picture quality of the display. In person, it’s sharp and the colors are vivid.
The 8″ display is obviously too small for my work related tasks, but it’s perfect for watching YouTube and other streaming channels. And that’s exactly what I’m using this display for.
All in all, I’m very happy with how this project turned out.
-Krishna


No comments yet. Be the first!