Salvaging a Derelict Mac SE/30
(Lengthy blog post. Sit back and bring your favorite beverage…)
Based on the last several blog posts, it should be obvious that I’ve been bitten by the bug that is retrocomputing. I had so much fun resurrecting my Mac SE FDHD that I wanted a new challenge.
Several months ago, I bid and won a Mac SE/30 on eBay. From the seller’s own photos, the Mac was listed as “sold as is”. From the seller’s photos, the case was yellowed, but intact. The machine did not boot, but displayed the infamous Simasimac screen. After assurances from the seller that he would properly pack the machine before shipping it, I placed my bid and won the Mac for a whopping $60 + shipping.
I felt confident that I could bring this venerable Mac back to life…
When buying vintage computers on eBay, it’s always a roll of the dice. The seller did not disclose much information outside of the four photos accompanying his post. I placed my trust in what he listed. After all, the seller had a 100% positive rating on eBay.
What could go wrong?
A lot, it turns out.
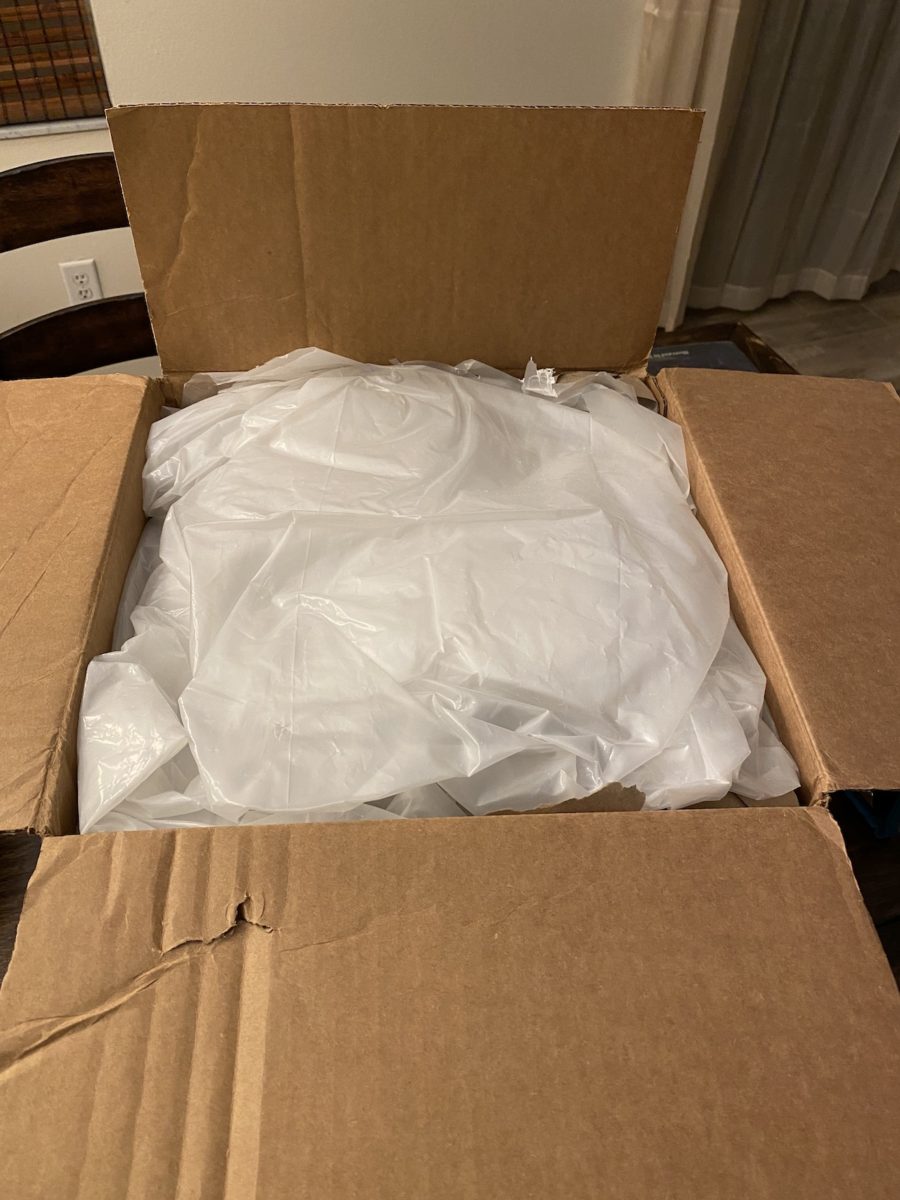
A few days after I won the bid, a box showed up at my doorstep. It was no bigger than the Mac SE/30 itself. My first thought was “I hope the Mac is okay.”
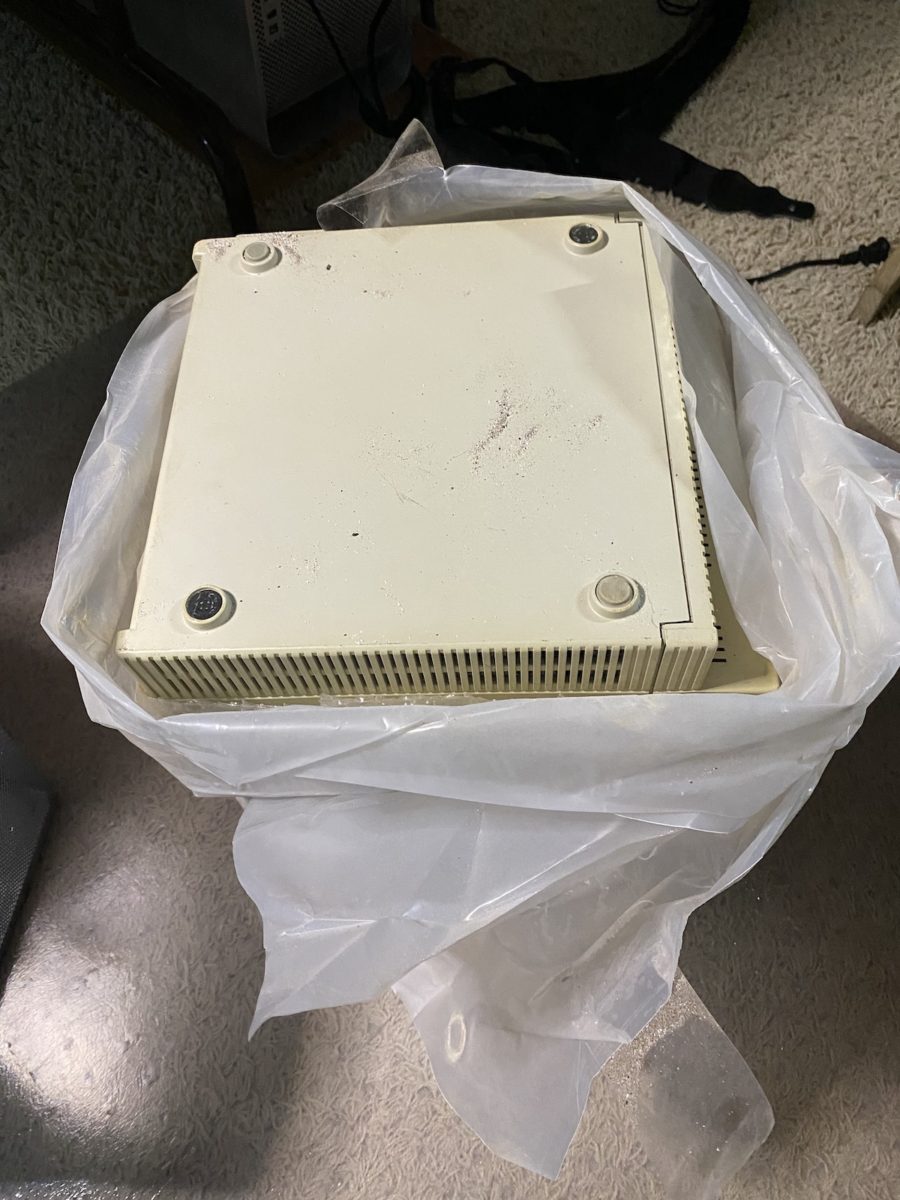
I brought the box inside and opened it up. The first thing that hit me was the pungent aroma of a fishy smell. Then I looked at the packaging: One thin layer of bubble wrap. Lifting the Mac out of the box, I could see granules of sand pouring out from its base. I had flashbacks to the final scene in “Raiders of the Lost Ark”, where the Nazis open the Ark of the Covenant.
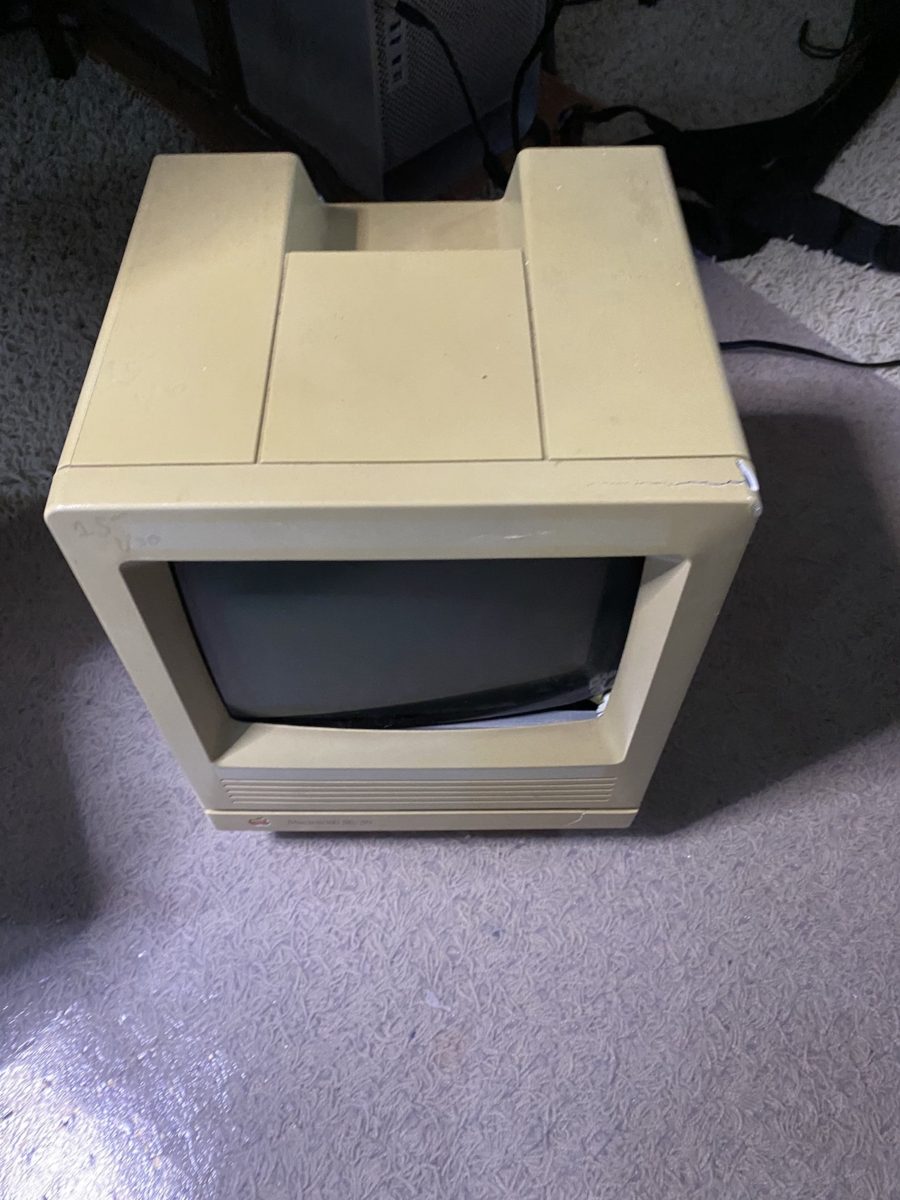
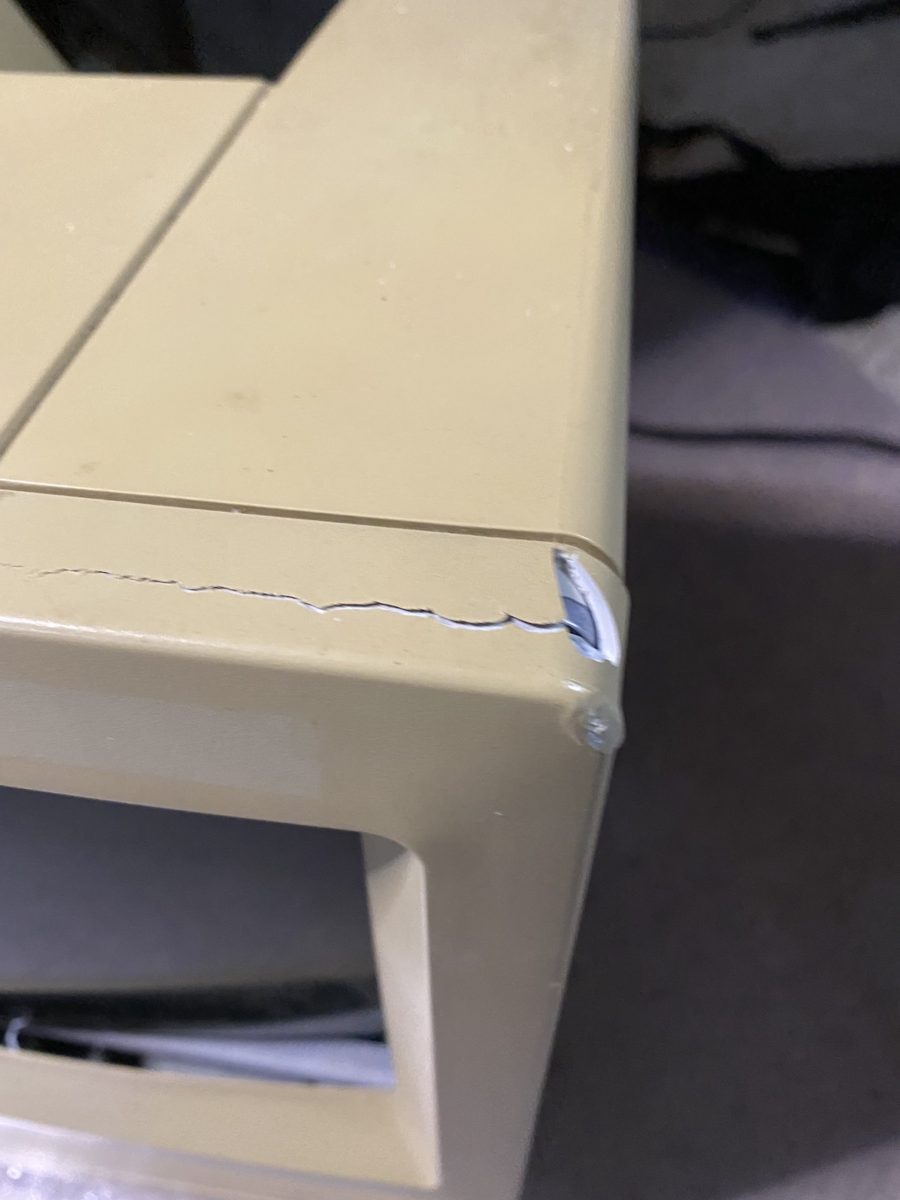
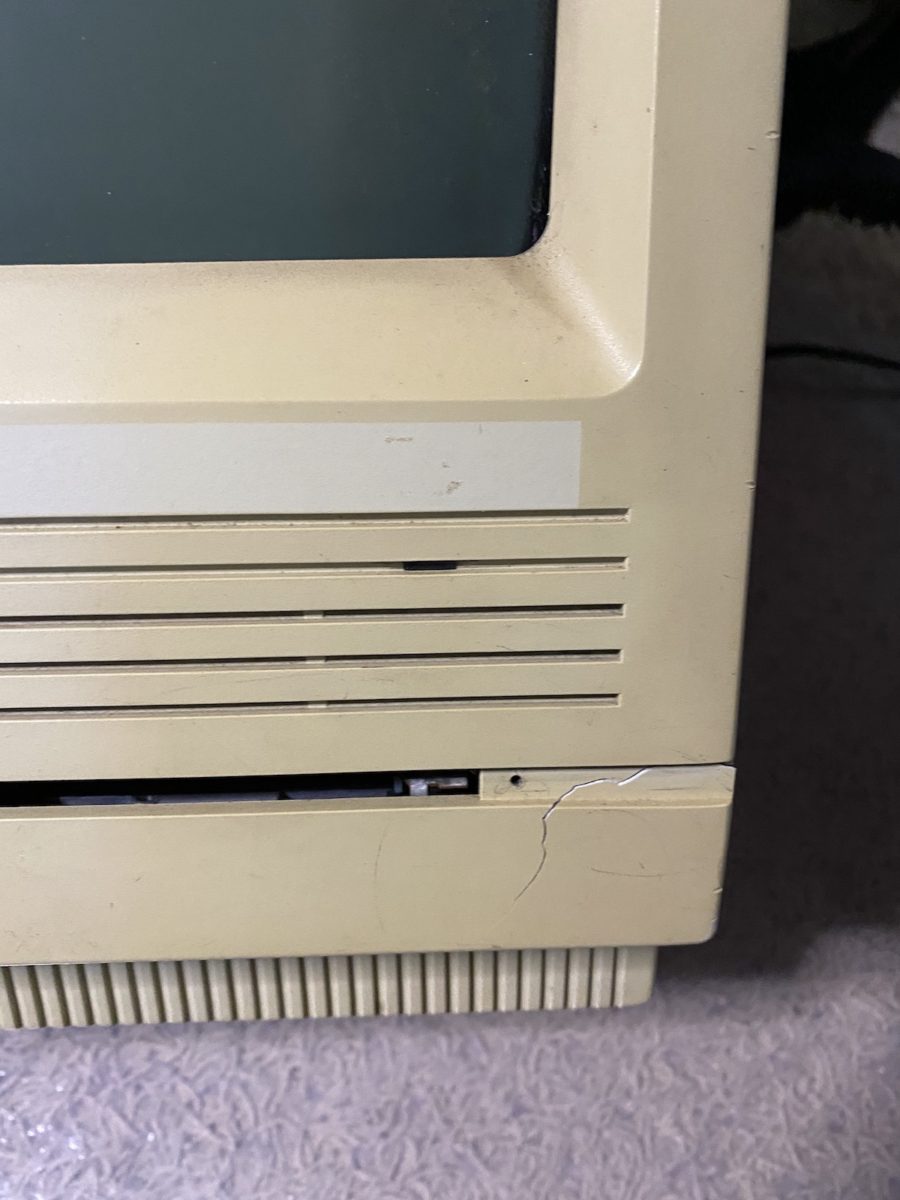
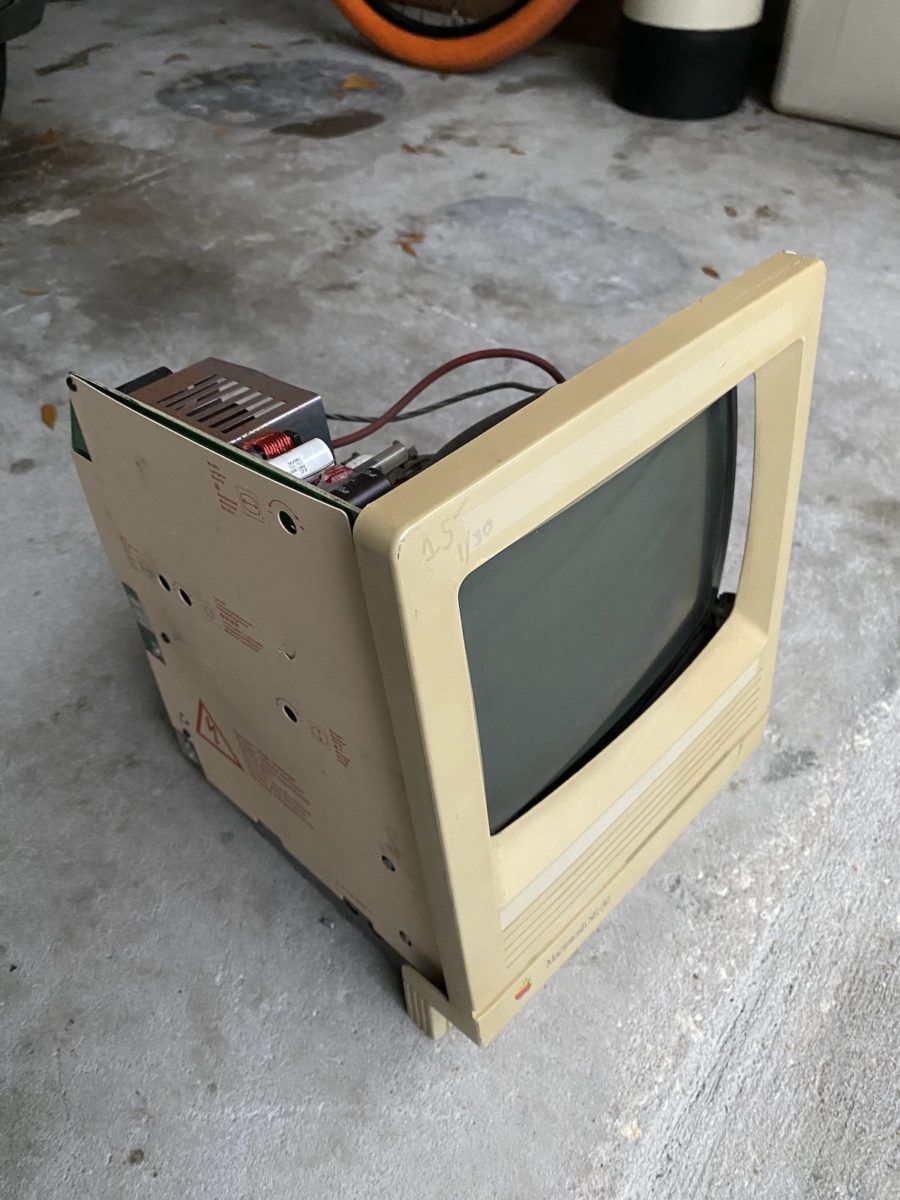
It didn’t look so good. There were prominent cracks on the front bezel. One crack was by the floppy drive, while the larger one was on the top right corner of the front bezel. My heart sunk.
Immediately, I reached out to the seller. After some back and forth – he reluctantly refunded me for the entire amount that I paid. He didn’t want the Mac back, so I was now left with a nonfunctioning, dilapidated Mac SE/30.
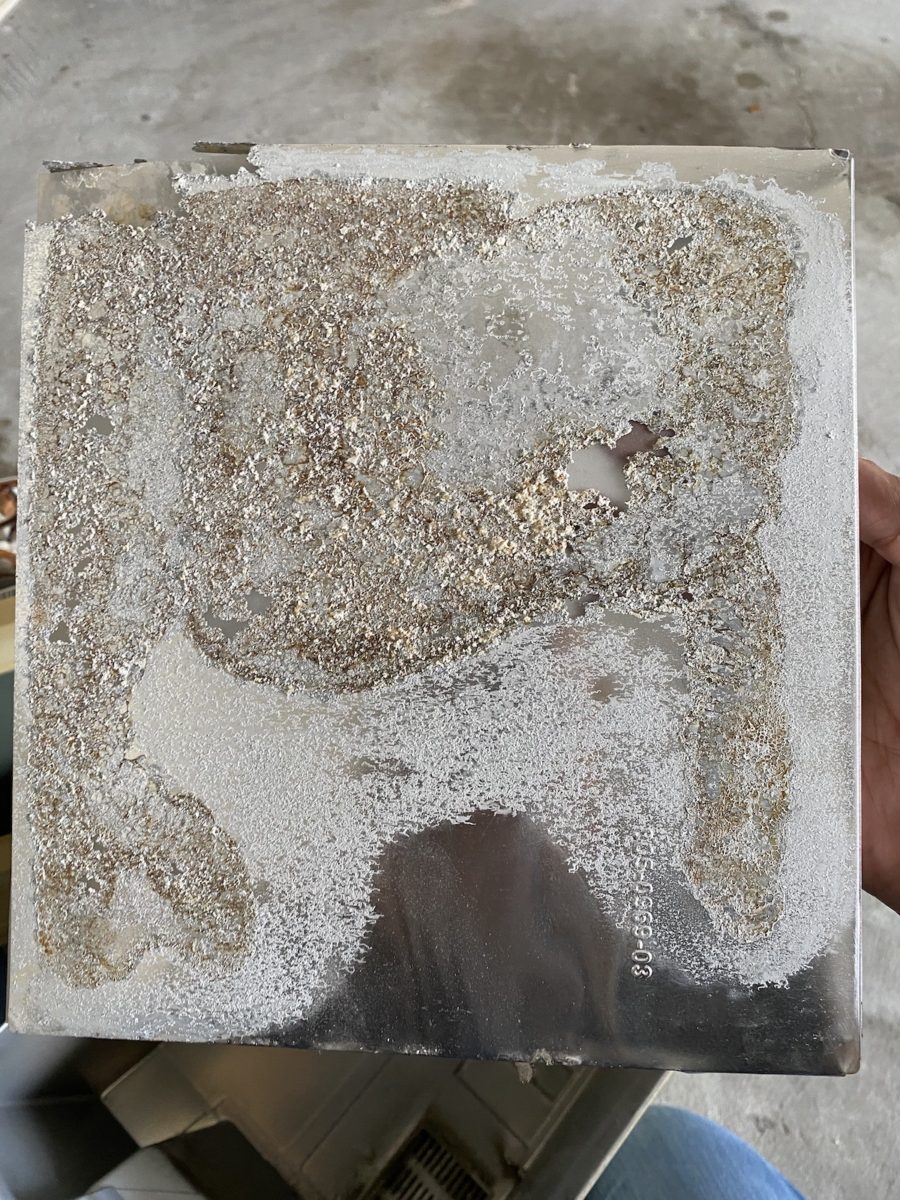
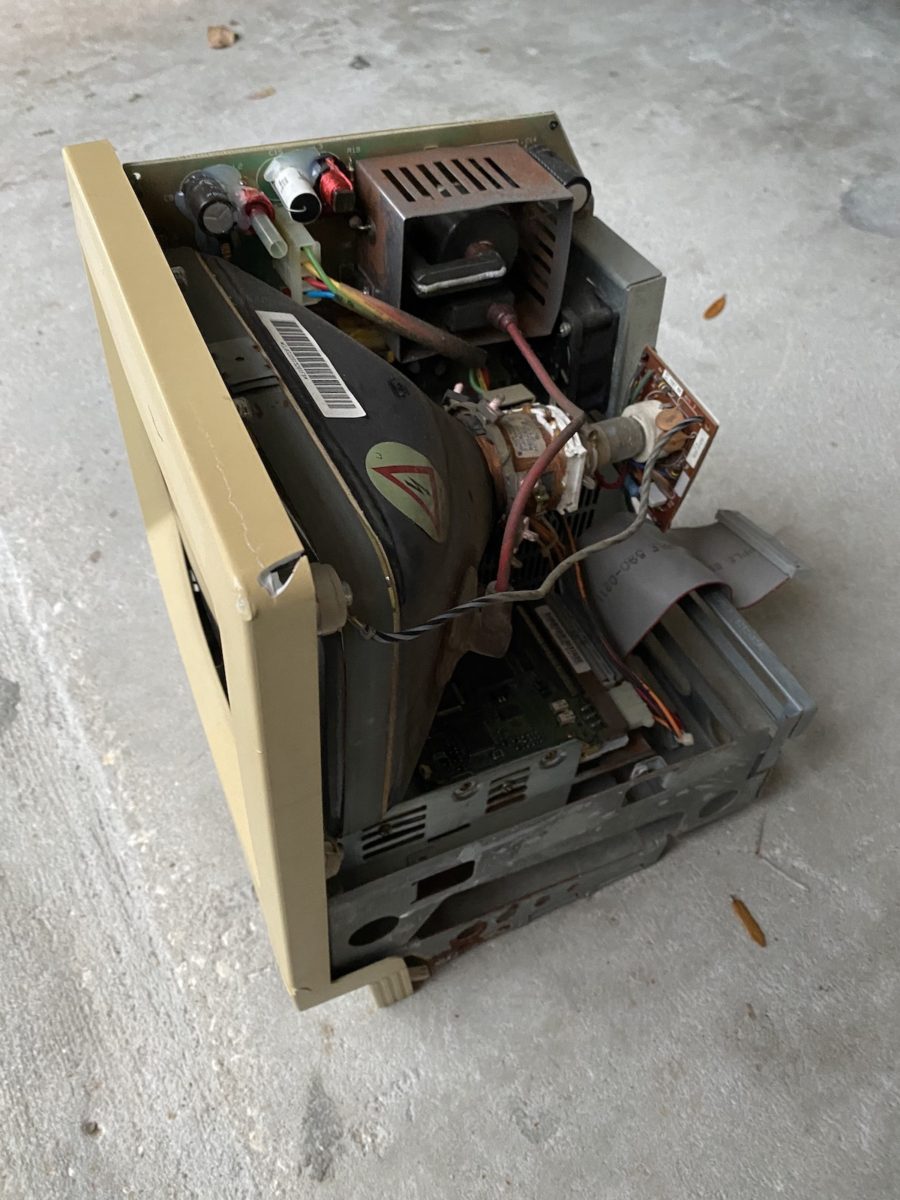
Opening up the Mac with my Torx screw driver, I uncovered even more tragedy. The Mac SE/30’s RF shielding was eaten away.
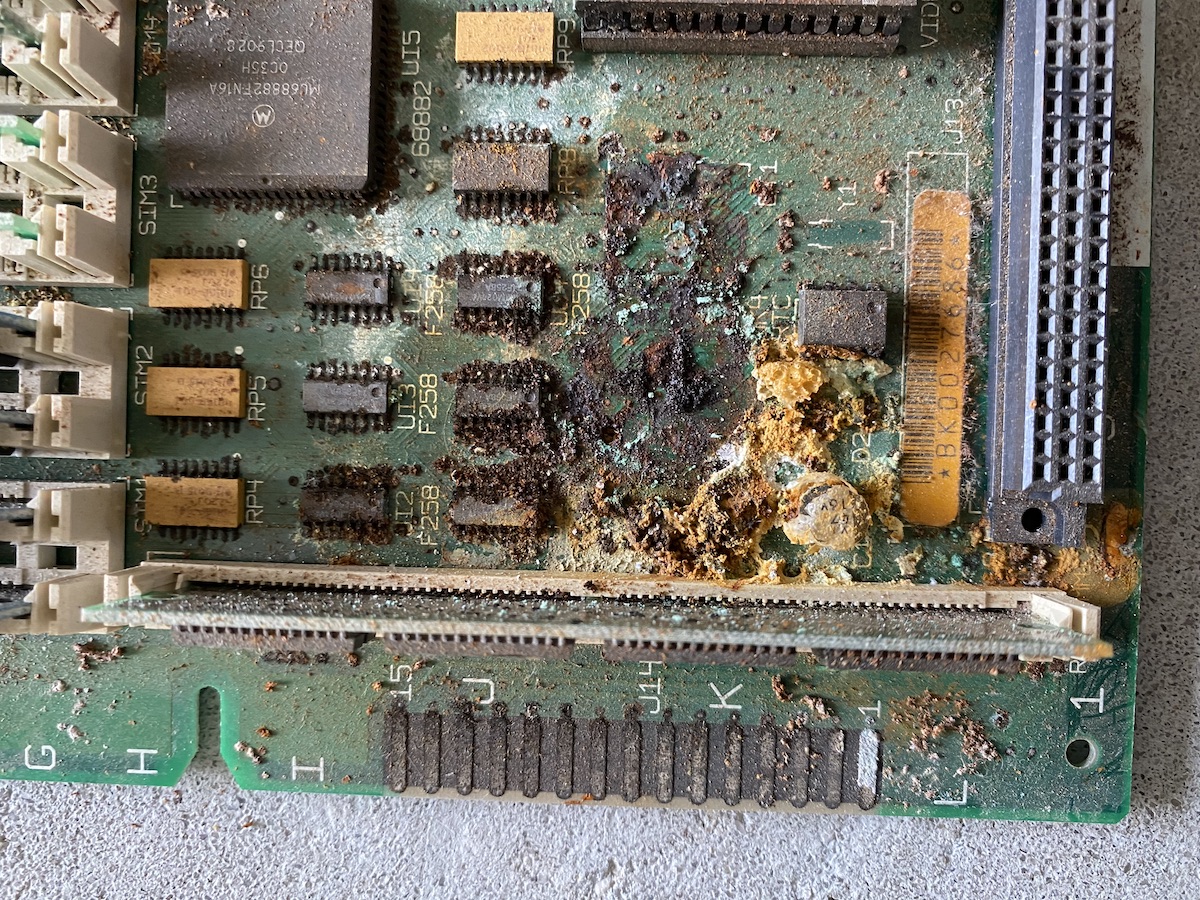
My worst suspicions were confirmed when I pulled out the logic board…
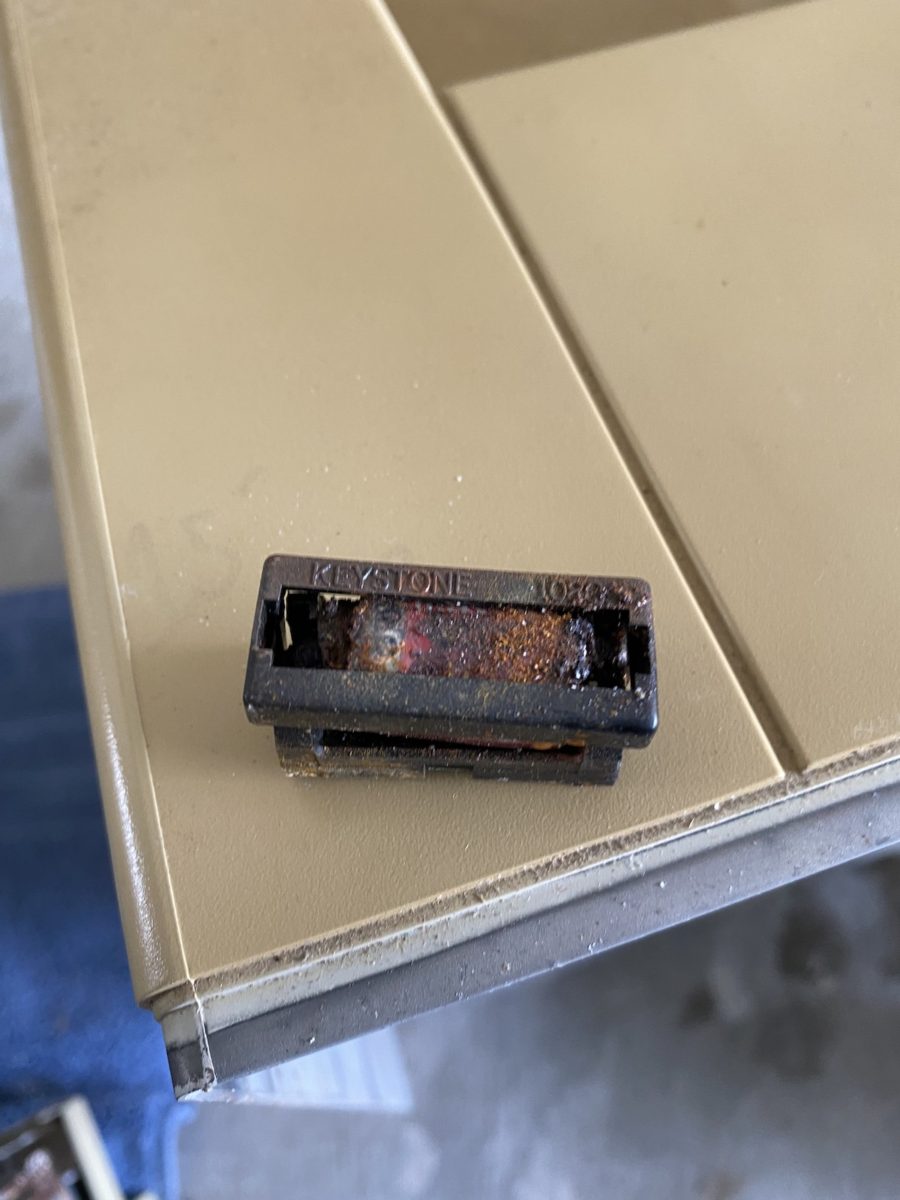
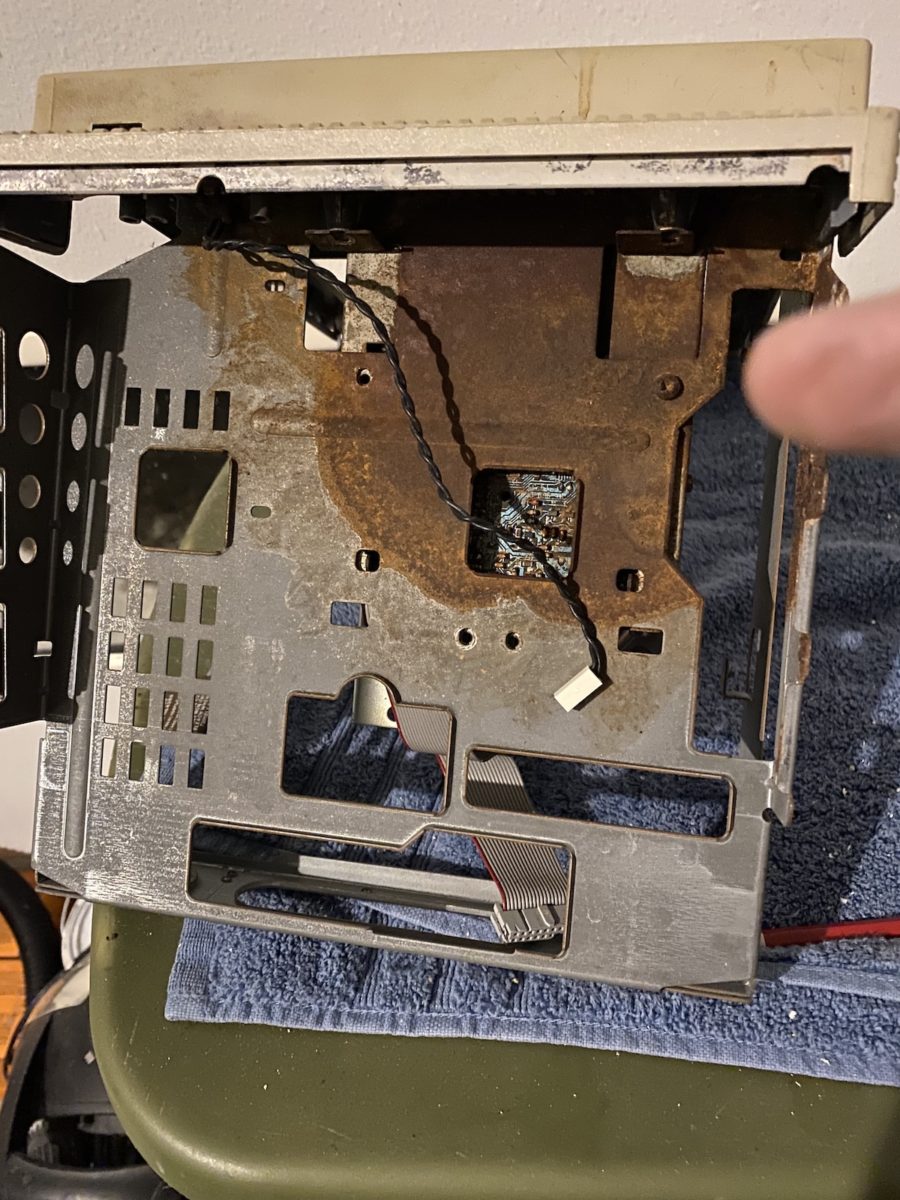
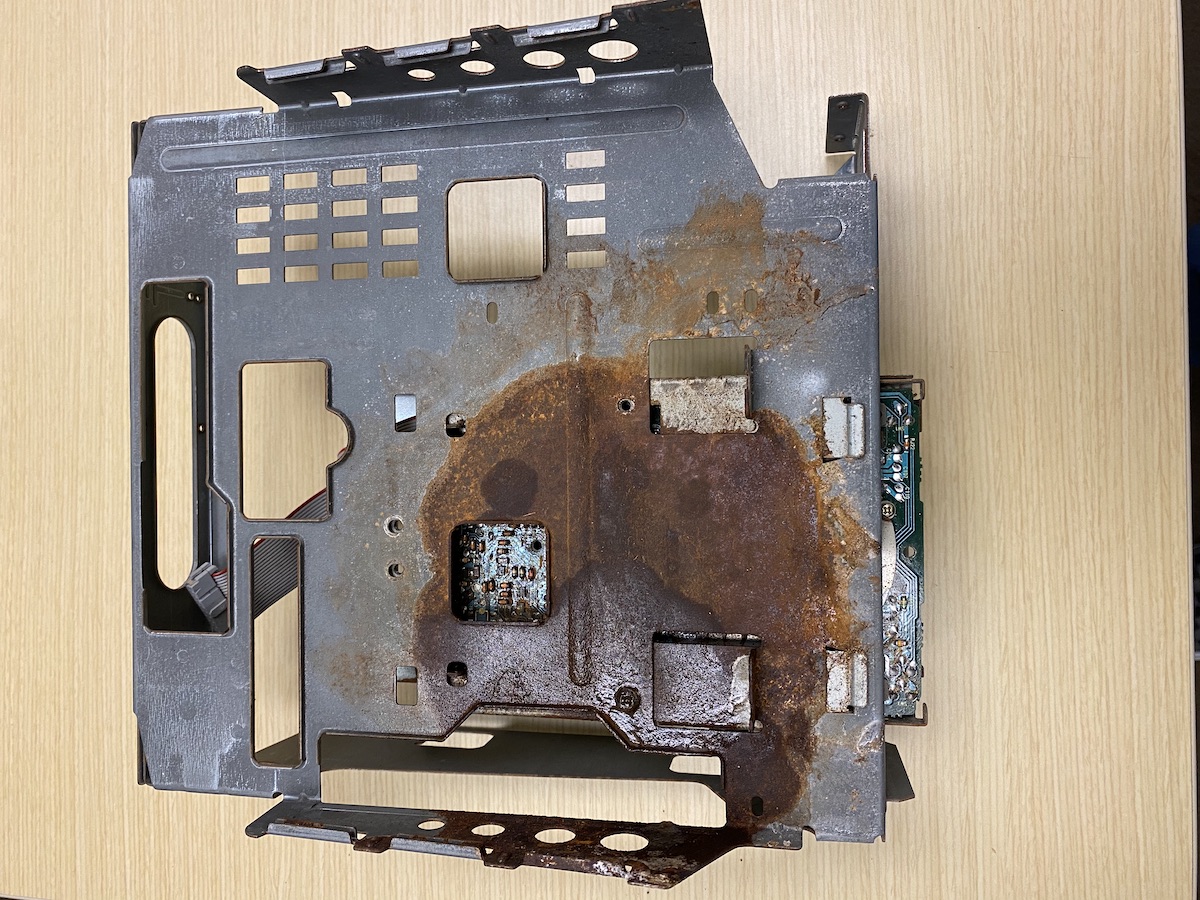
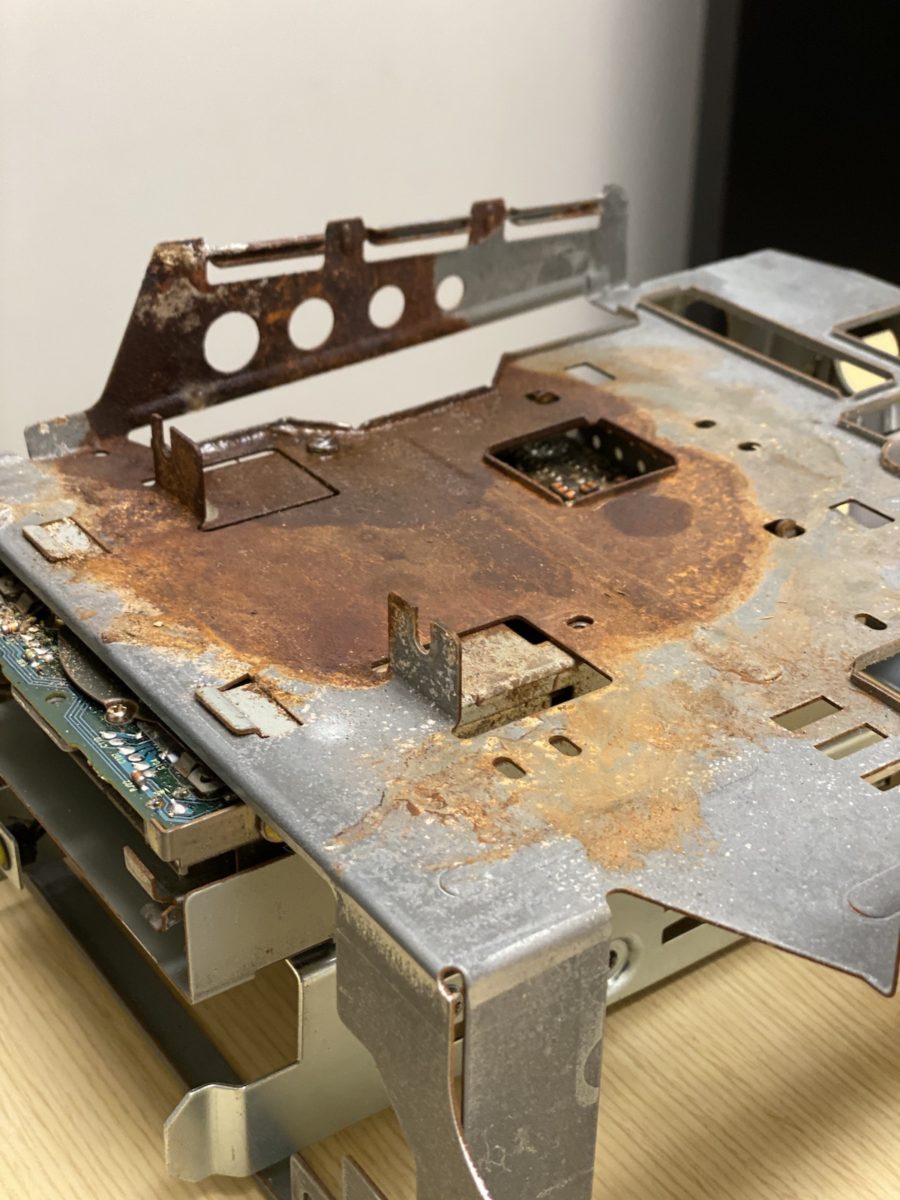
The CMOS battery had exploded, taking out a corner of the SE/30’s logic board. I say “exploded” because of the massive corrosion ring splattered on the Mac’s chassis.
The “sand” was not sand, but rather – it was remnants of an exploded Maxell CMOS battery. Sadly, exploded batteries are fairly common for vintage Macs. Many people don’t realize the extent of the damage until they open up the case.
How did the rest of the Mac fare?
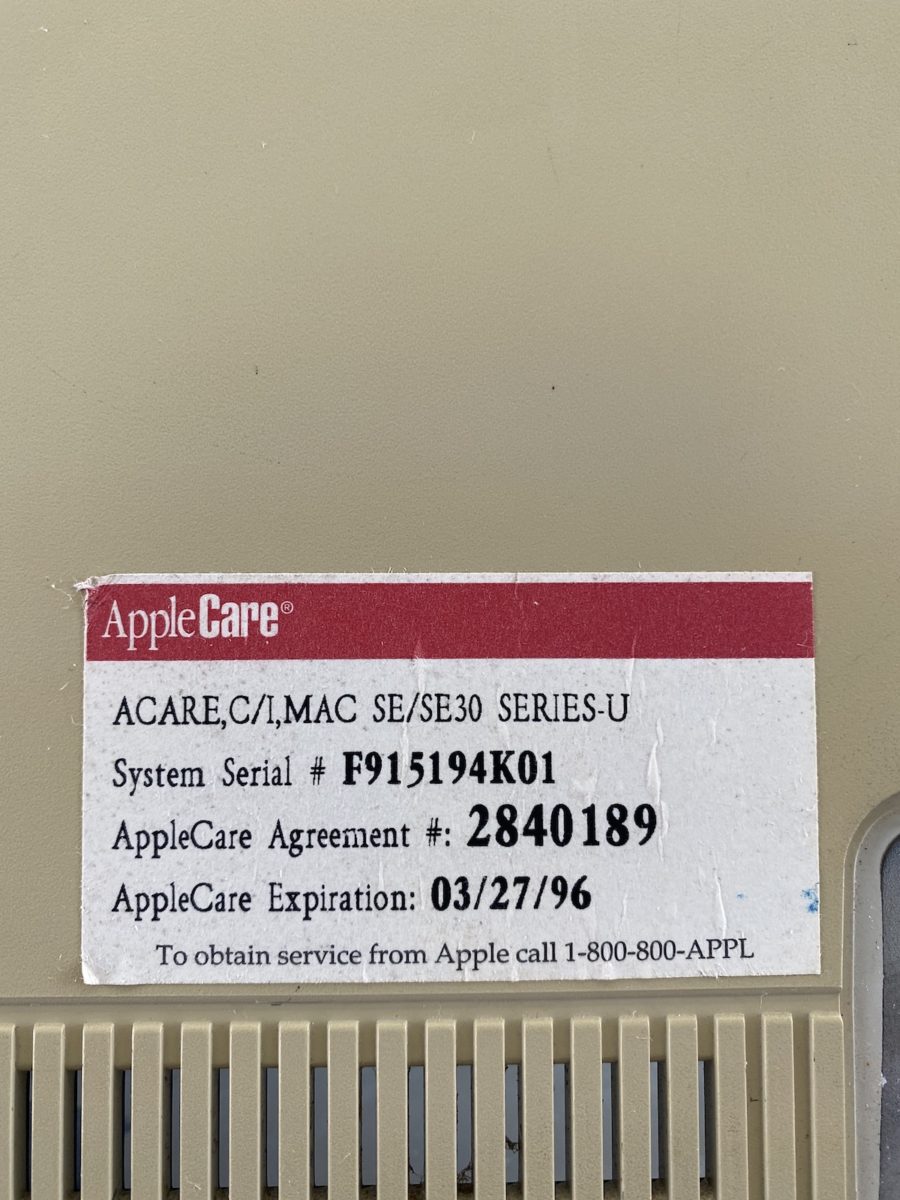
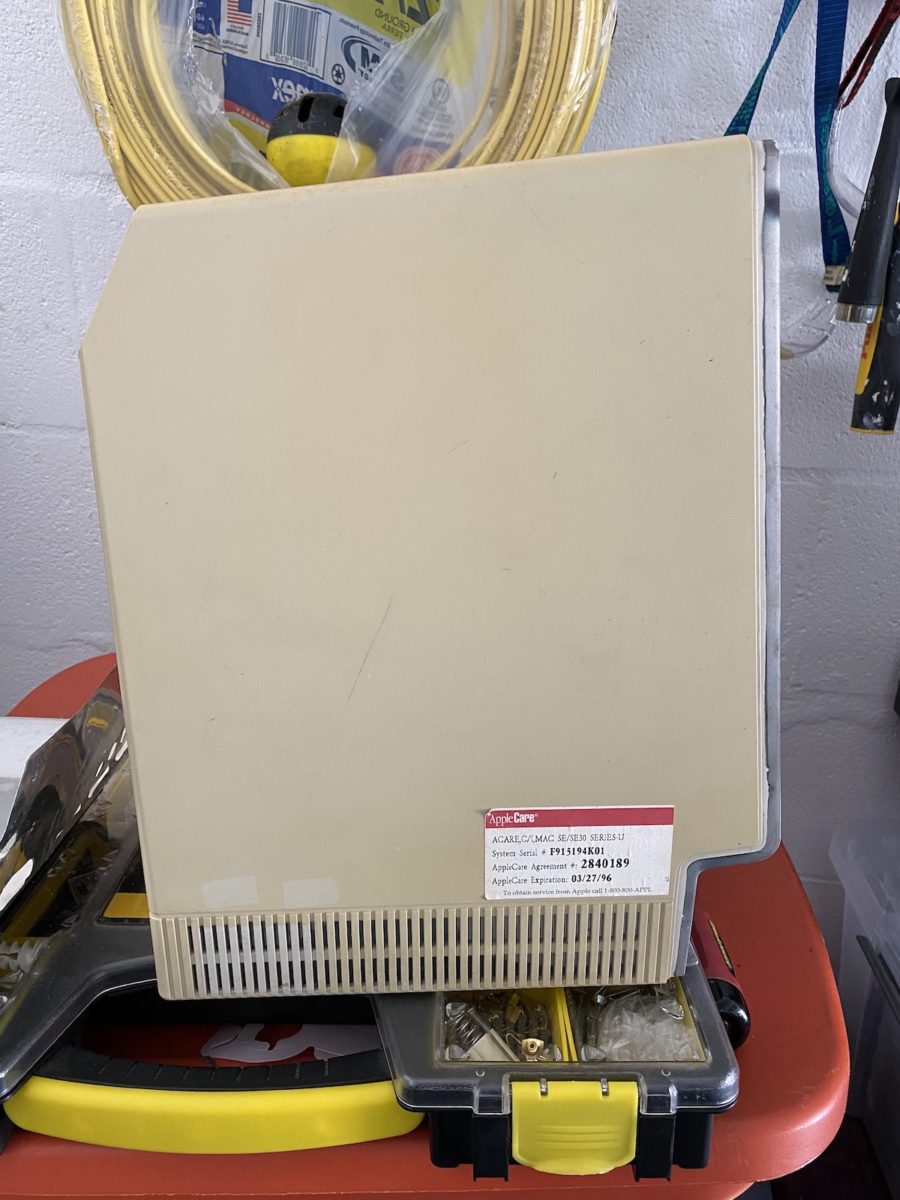
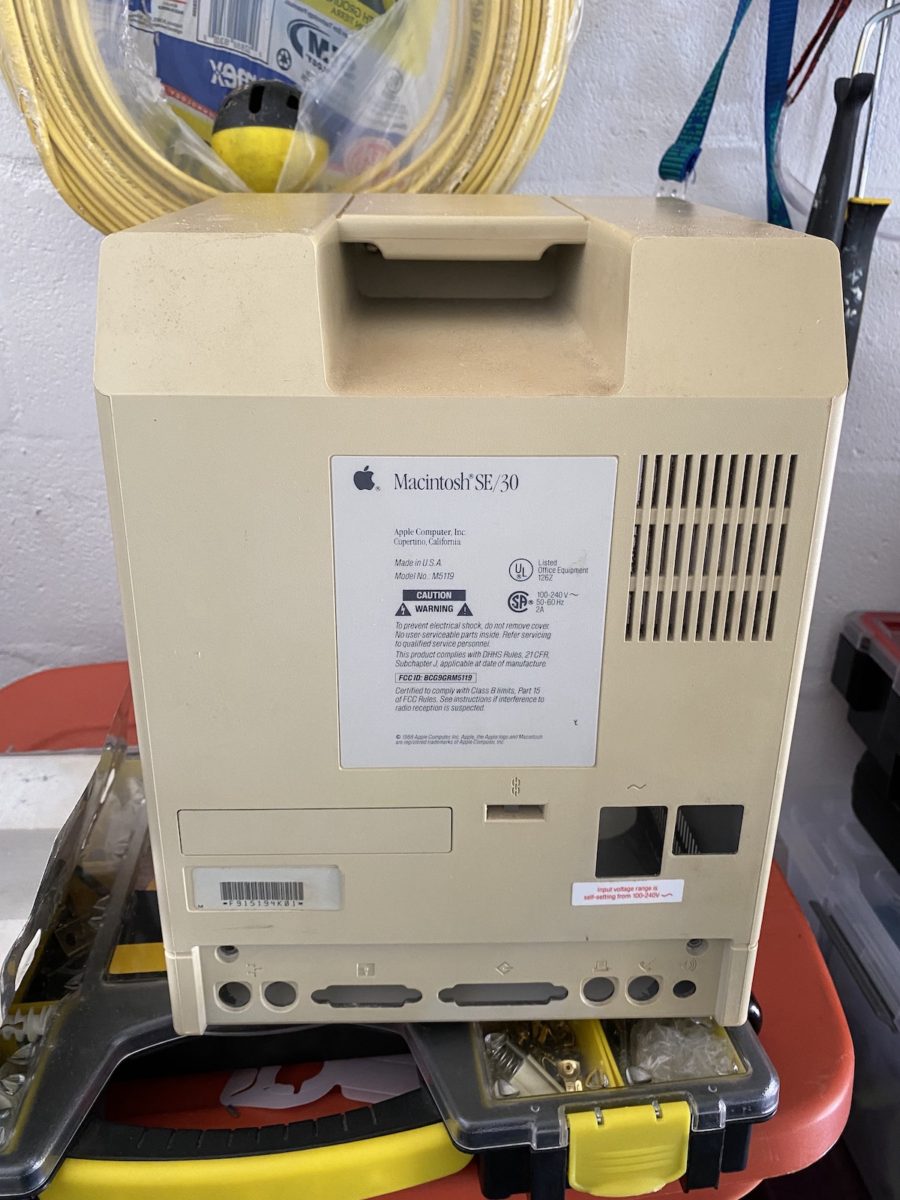
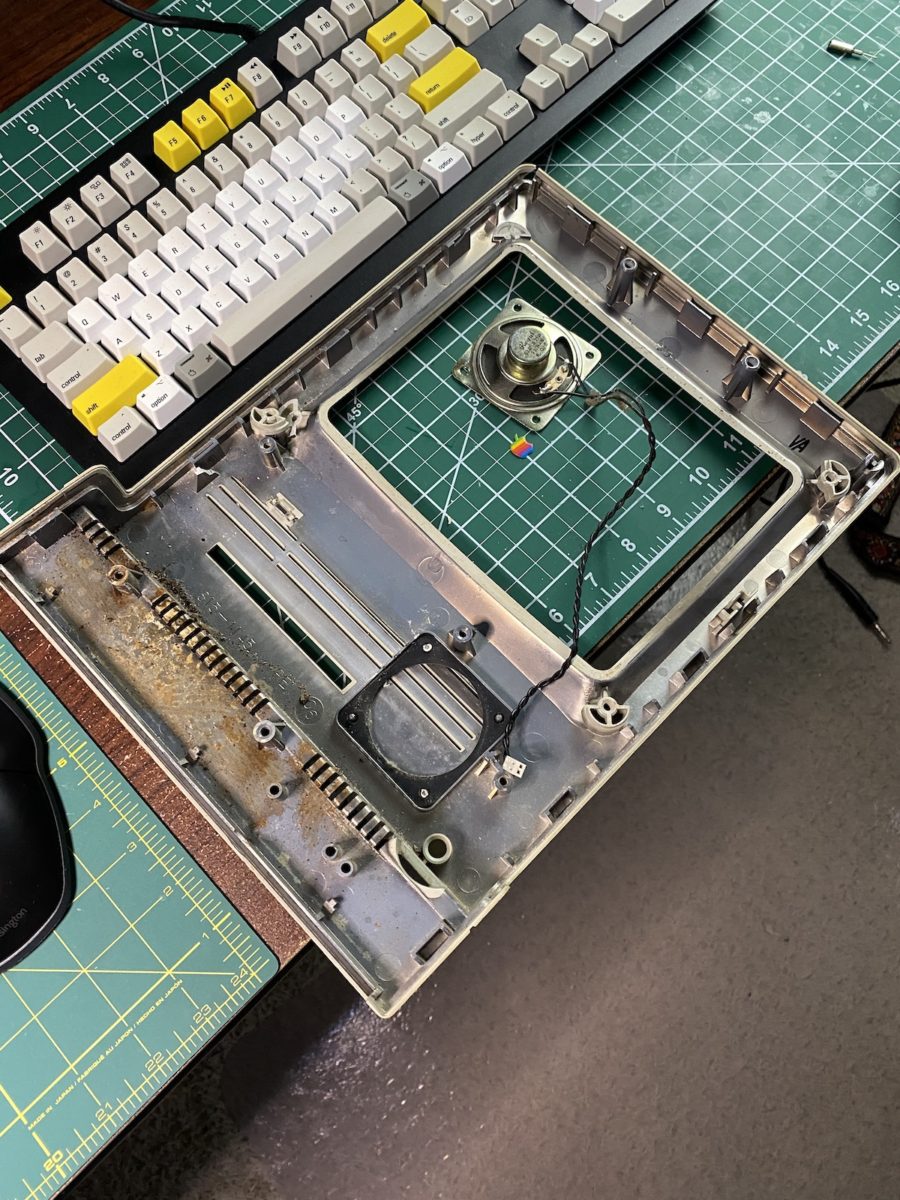
The back case appeared fine. I got a small chuckle out of the AppleCare sticker on it.
Apparently the Mac was last serviced on March 27, 1996. (I’m willing to bet at that last servicing, the battery was not replaced.)
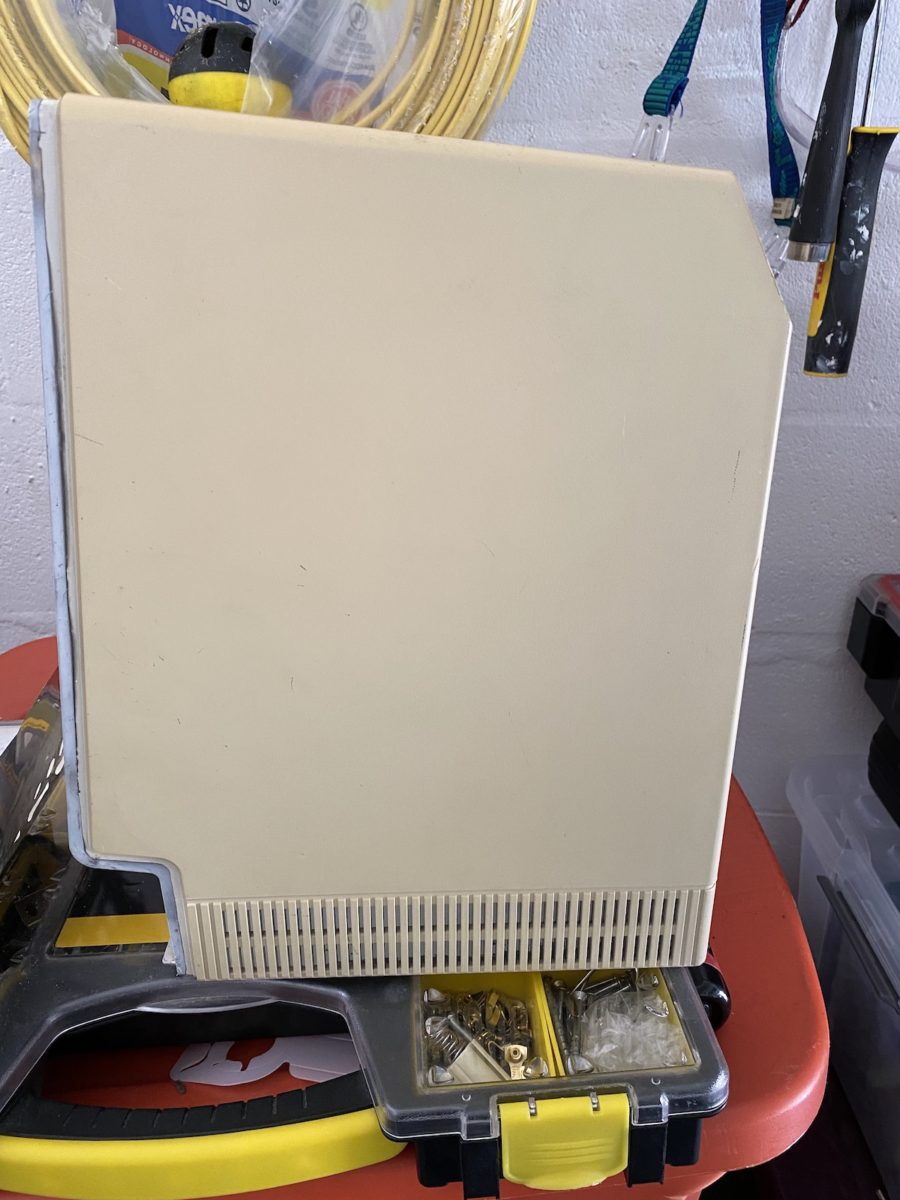
The bottom (not pictured) was missing two of its rubber feet. The Mac was heavily yellowed, with a few minor marks on its sides.
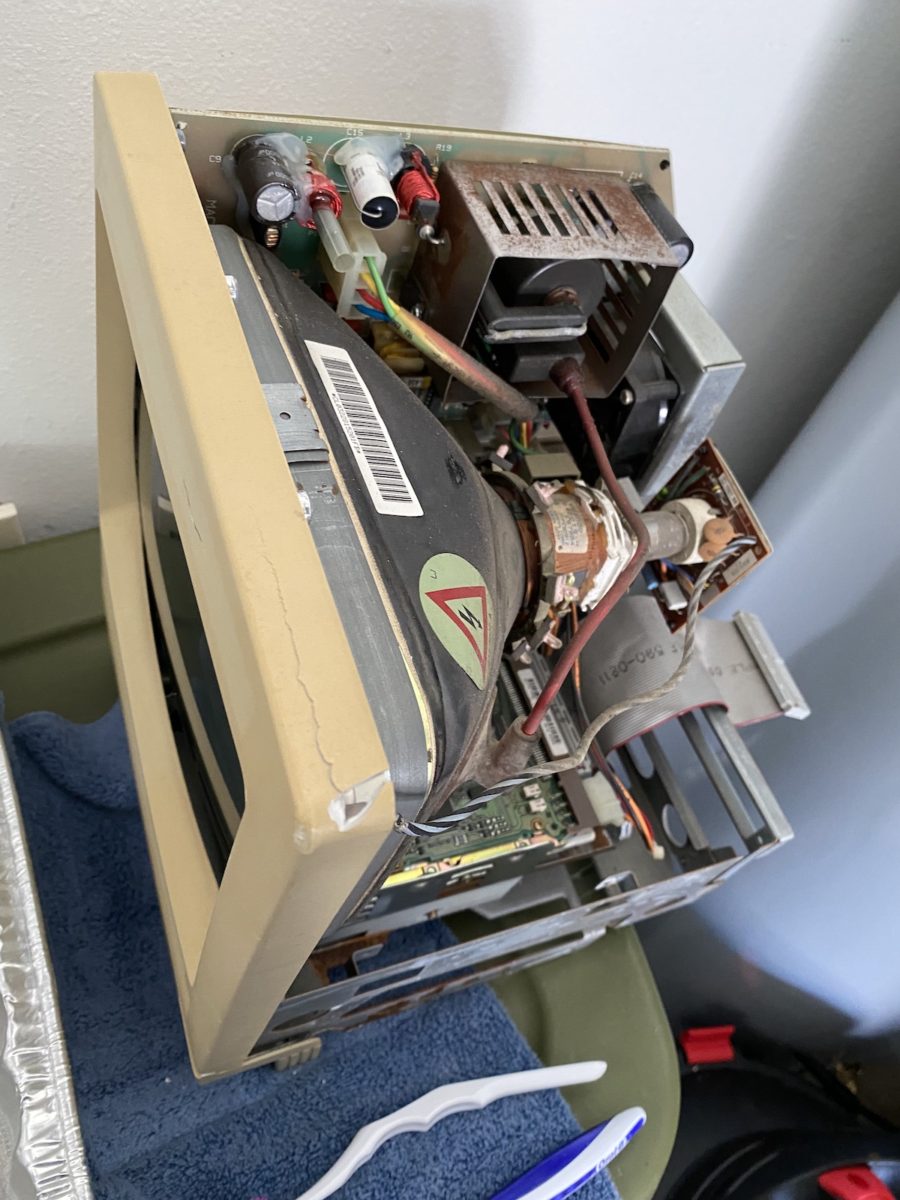
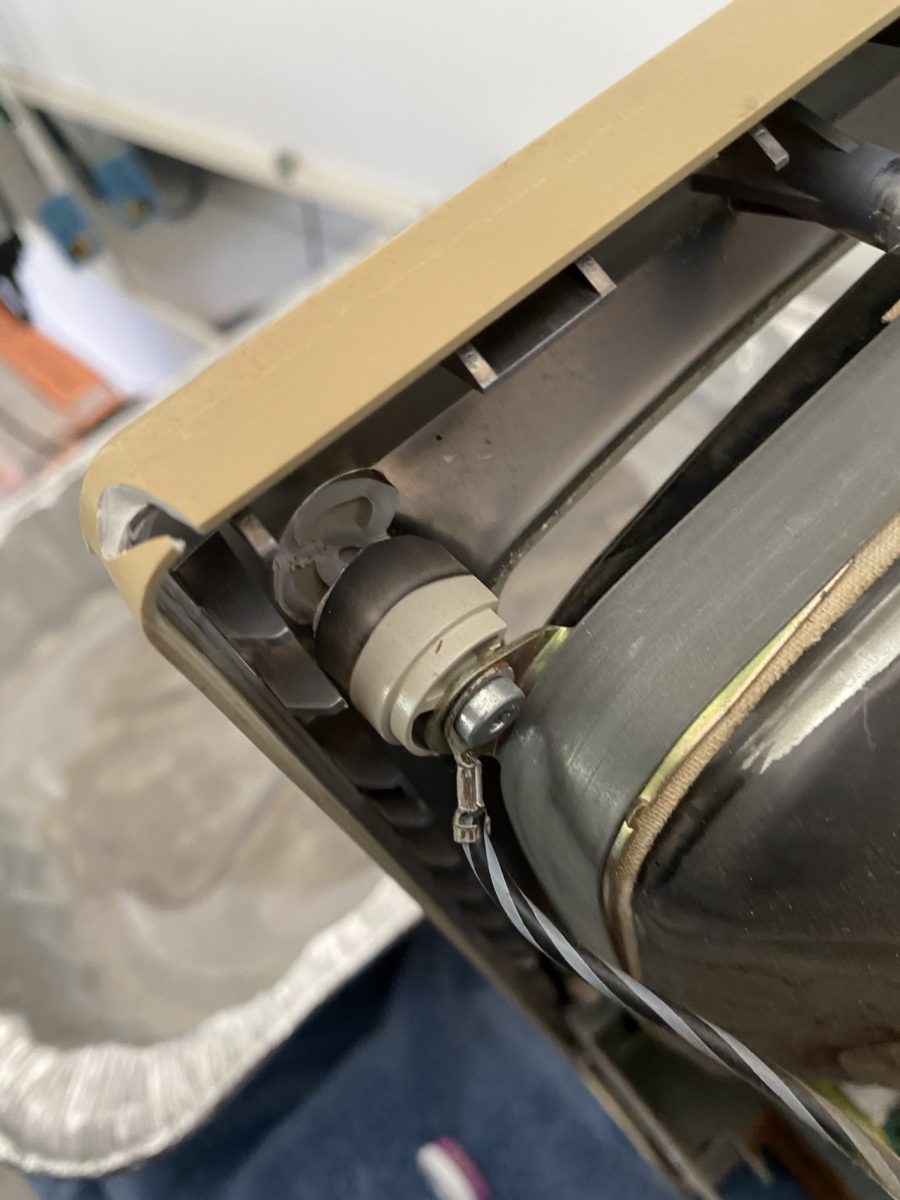
The inside components of the Mac were the big unknown. Straight away, I could see the damage on one of the CRT mounts on the front bezel. The CRT had been pushed in, most likely in transit.
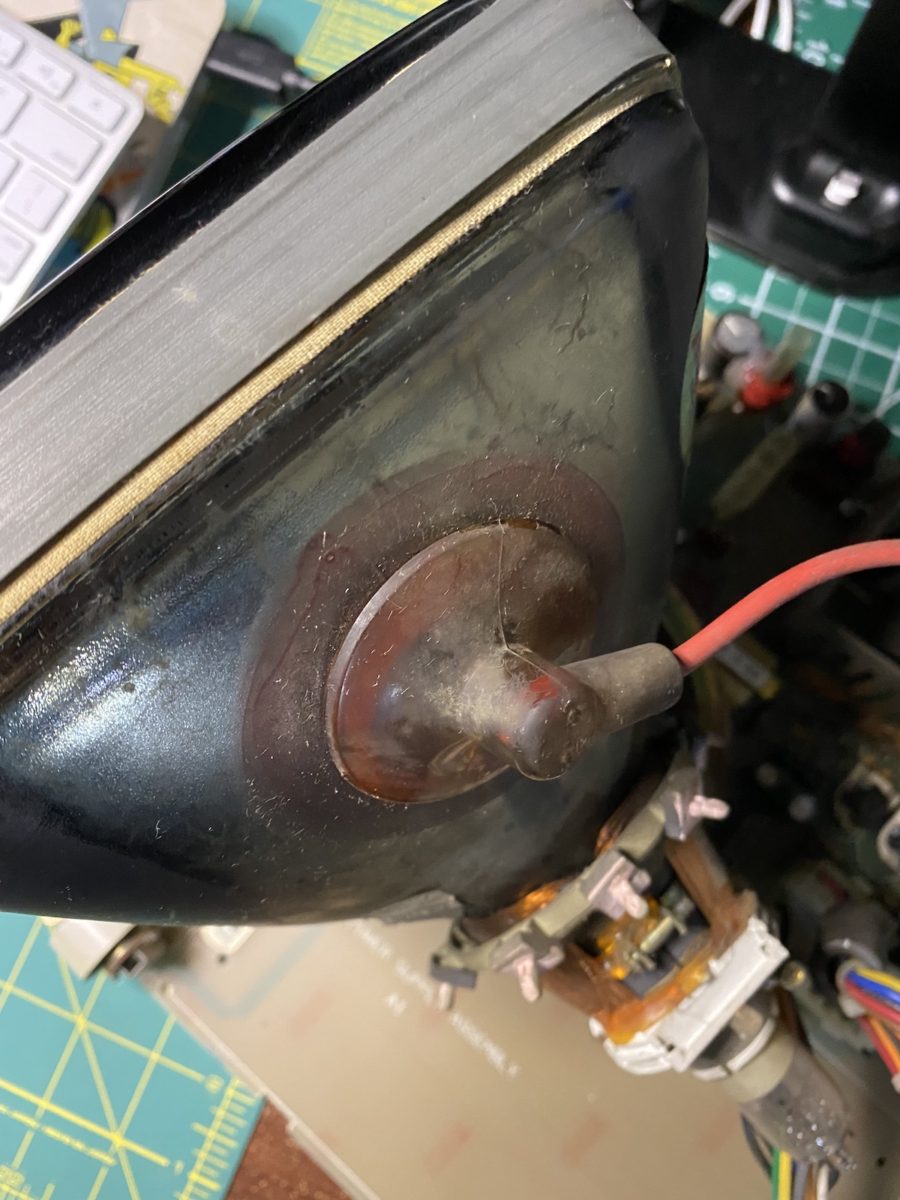
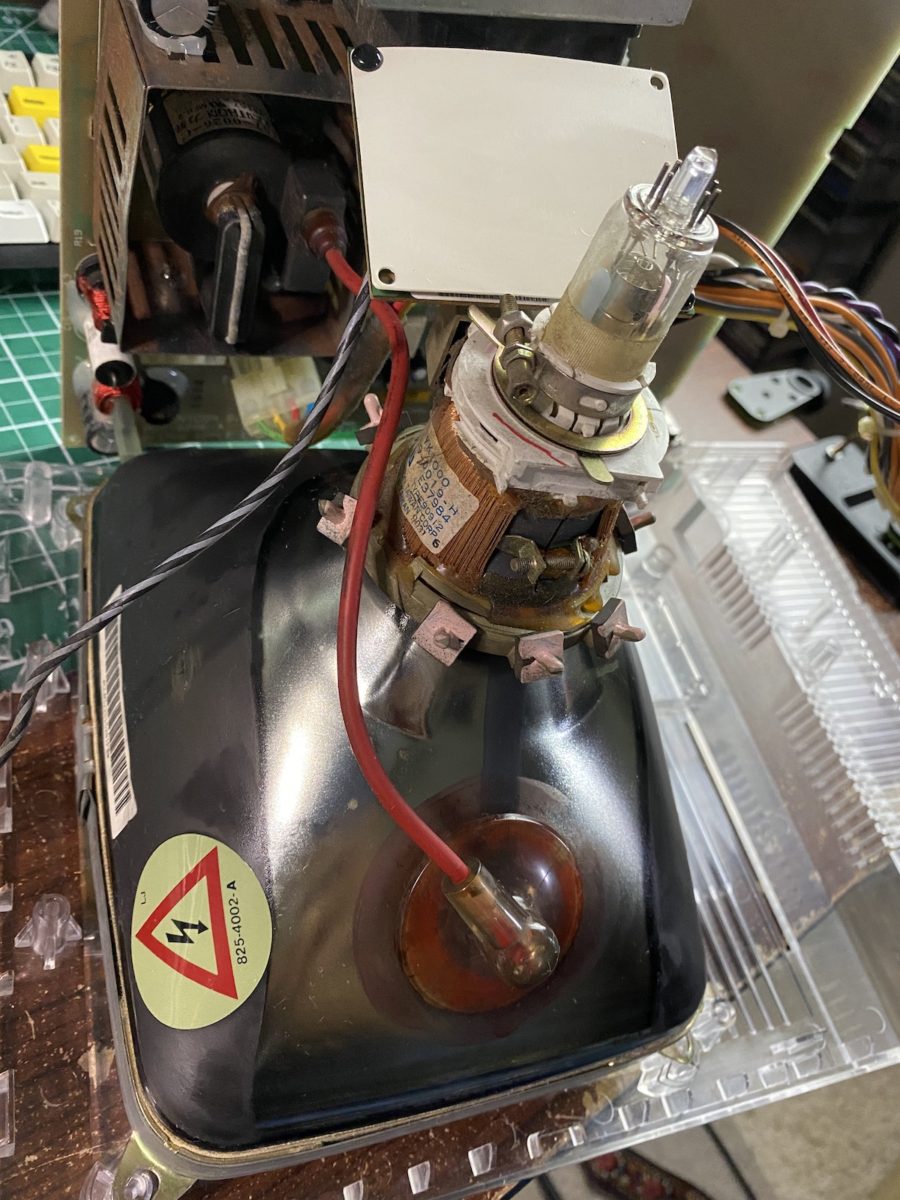
The CRT picture tube itself looked intact, which was a relief. I had no idea if any of the other components worked, but aside from the dust – they seemed ok.
Time to roll up my sleeves and get to work…
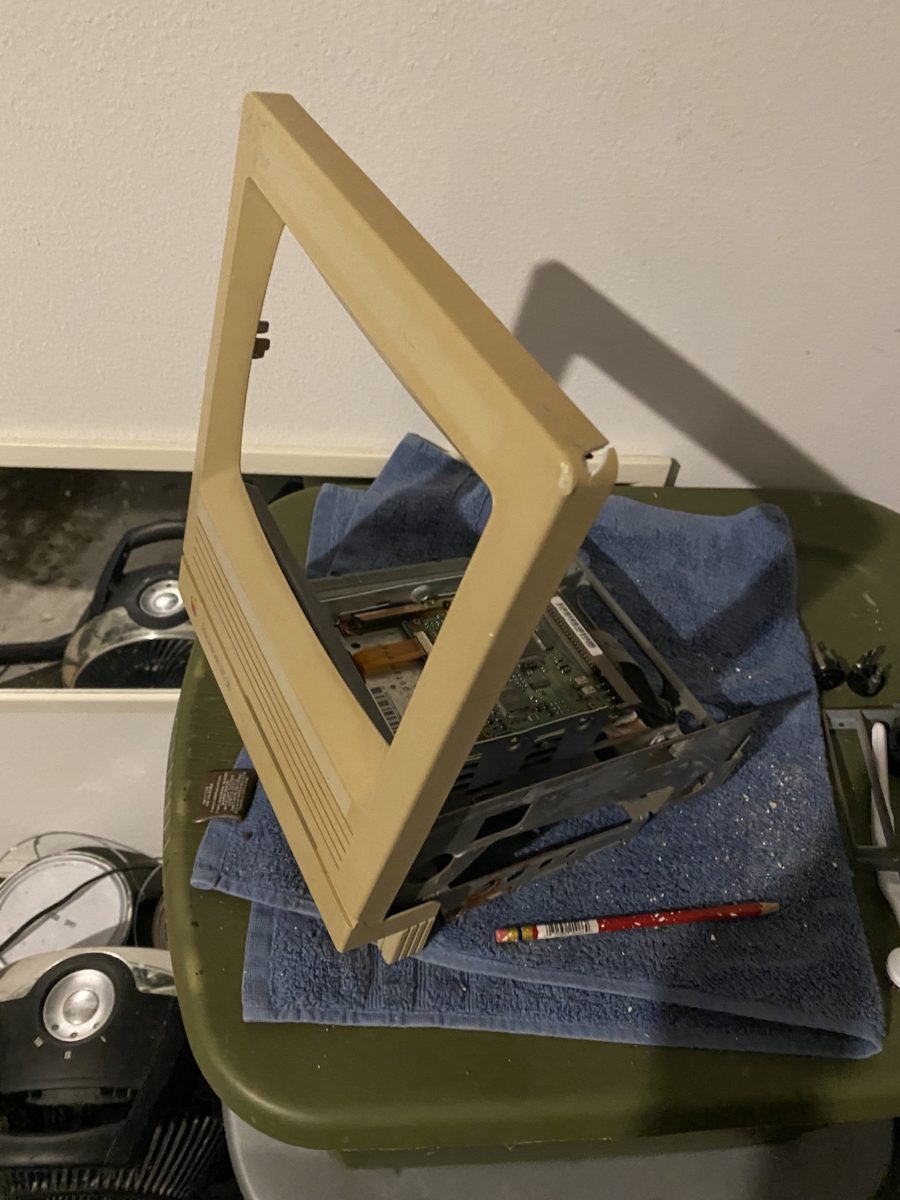
The first order of business was to remove all the components from the chassis.
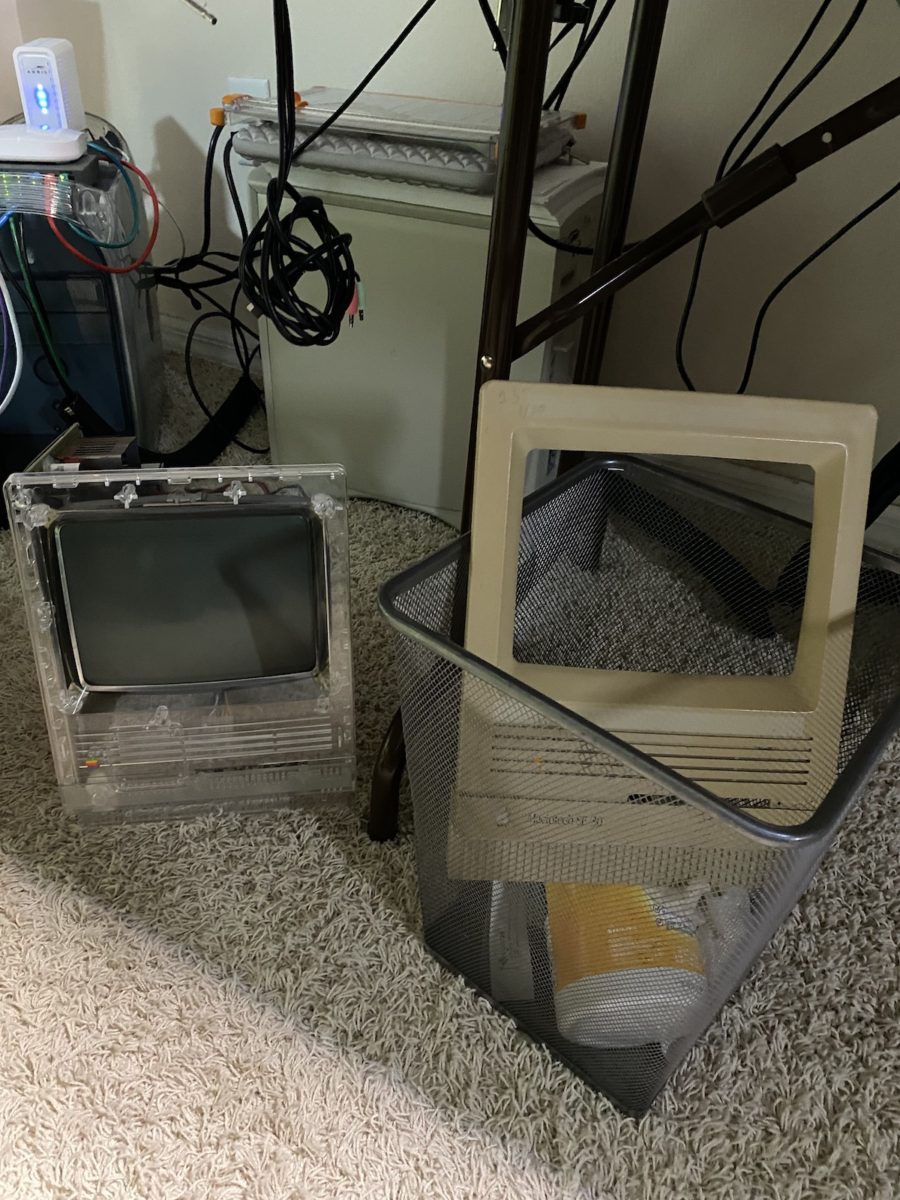
Taking the front bezel off wasn’t too difficult. Sadly, it was too far gone for repair. When removing the CRT – the bezel’s mounts crumbled apart. Before tossing the front bezel out, I extracted the speaker and Apple logo from it. I used an Exacto knife to remove the four small plastic stubs that held the speaker. For the Apple logo, I used a small thin paper clip on the inside of the chassis to pop the Apple logo out.
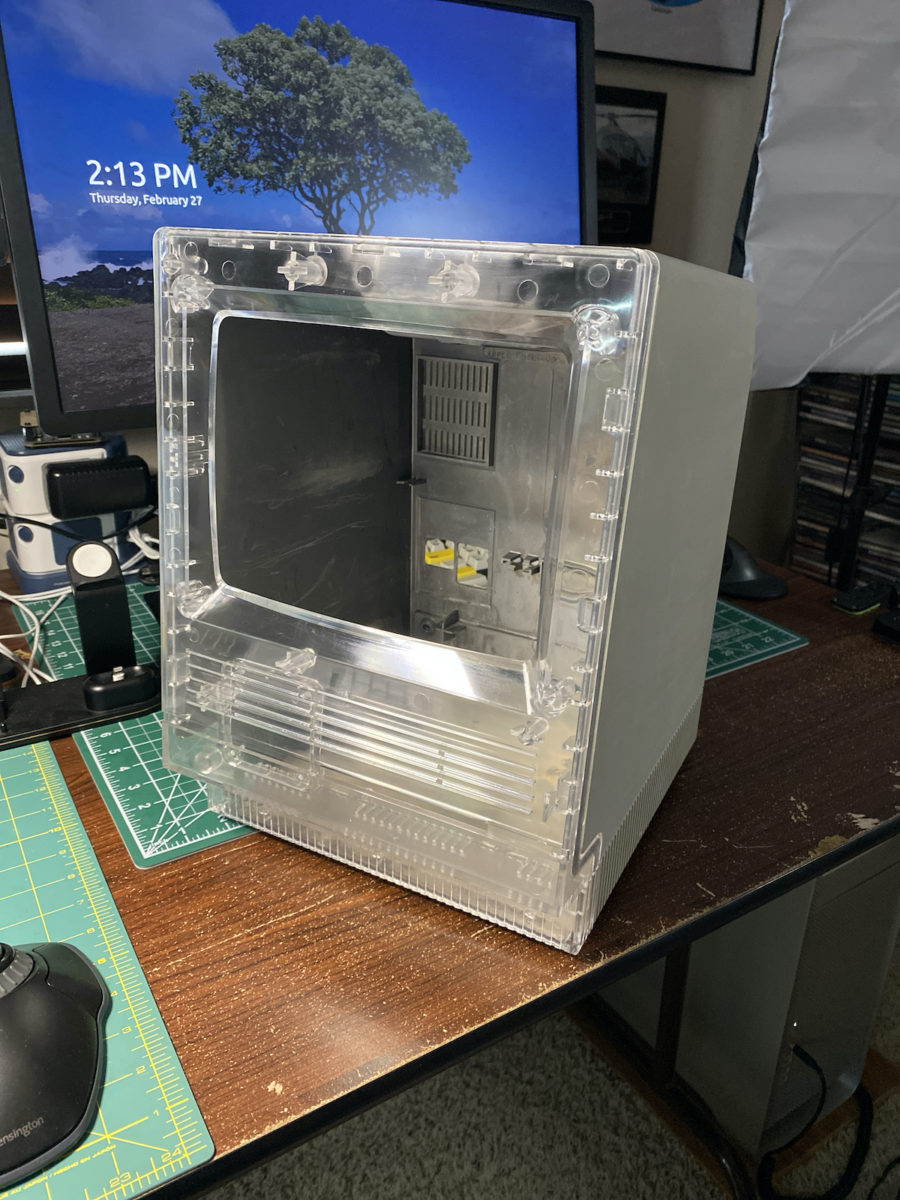
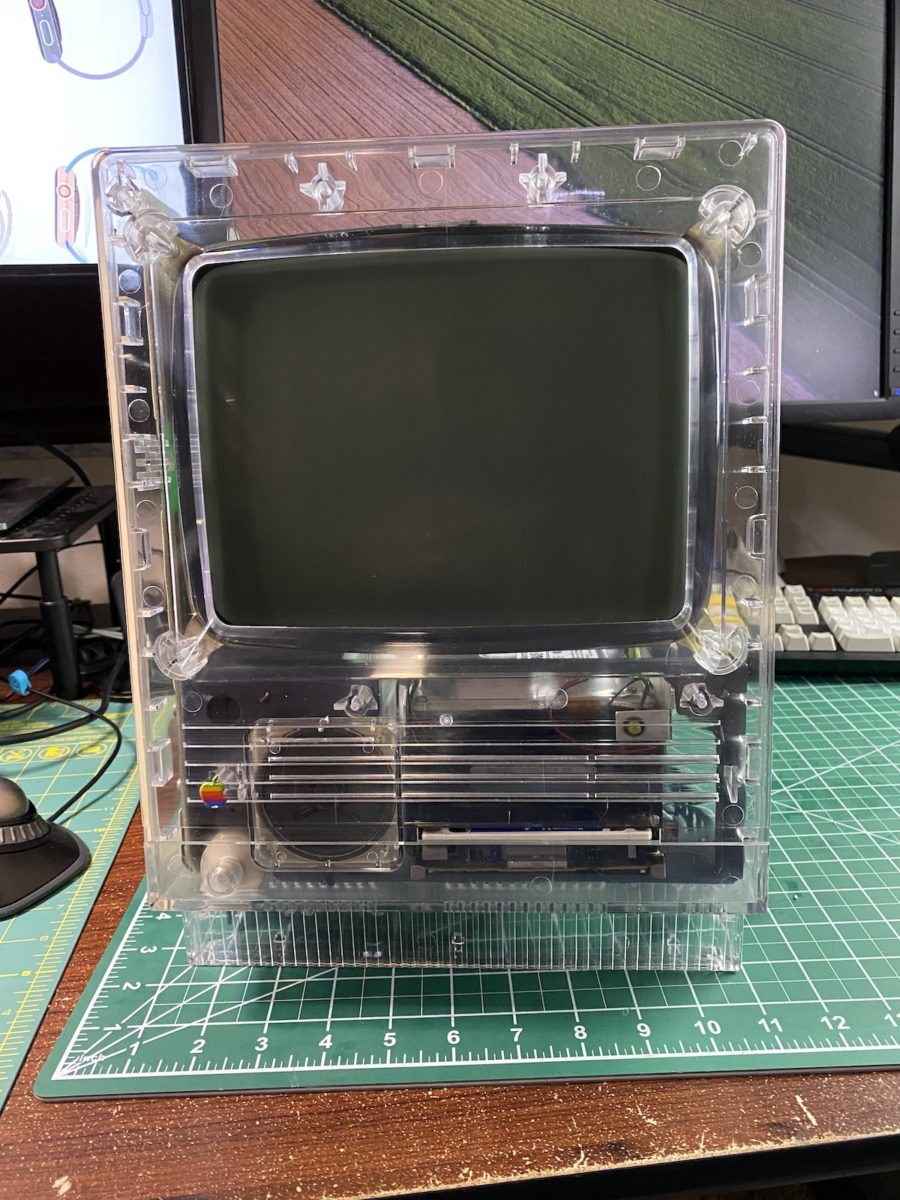
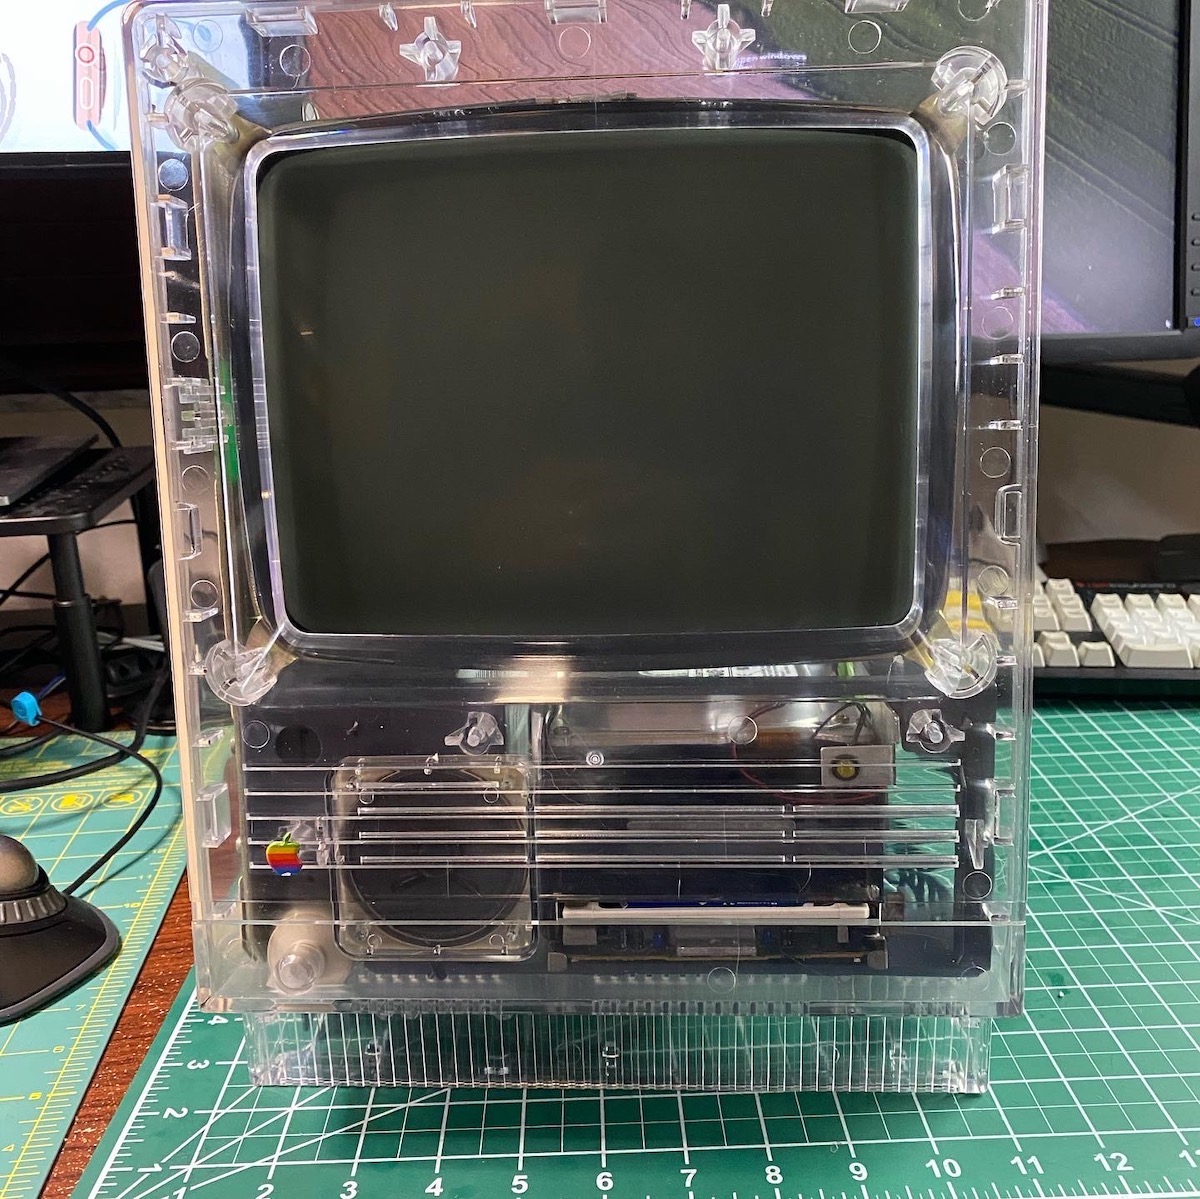
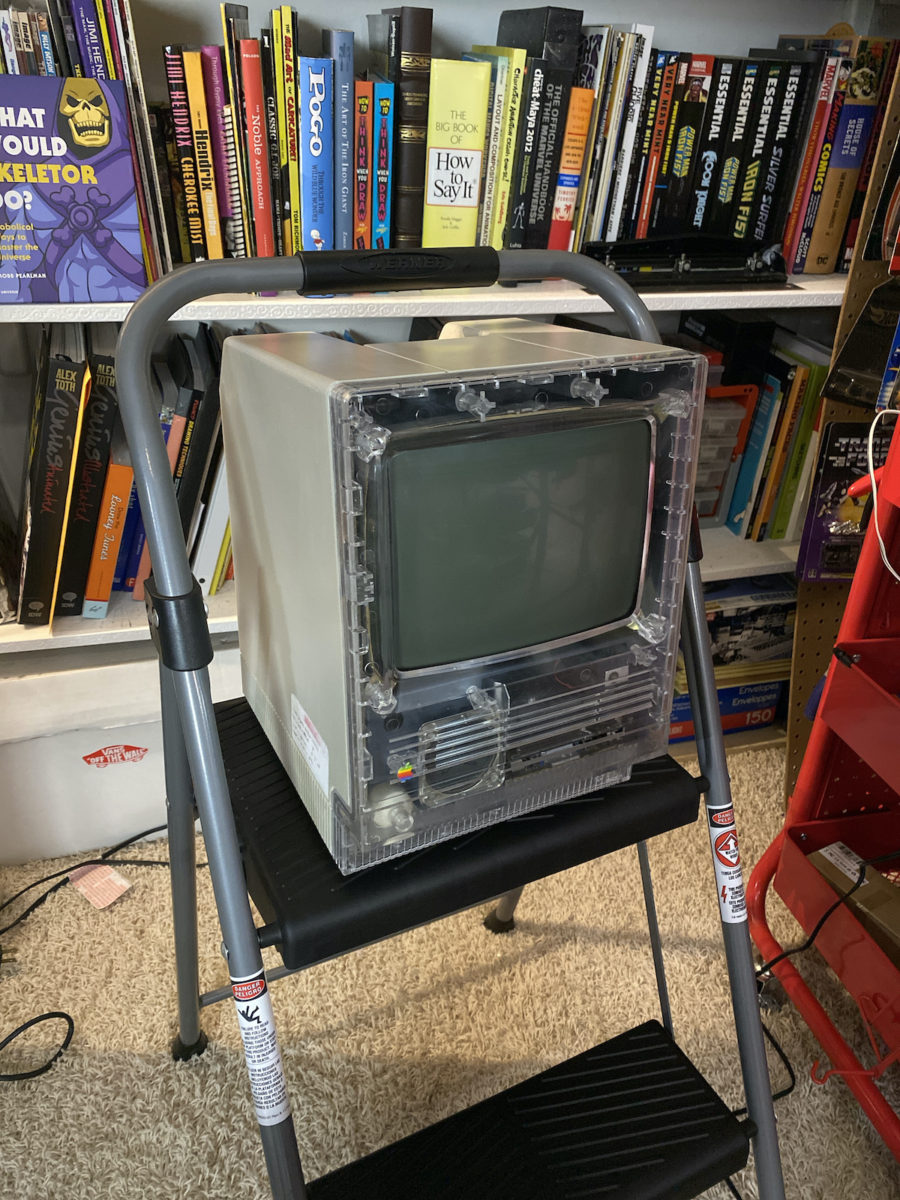
I needed a new front bezel. Instead of hunting online for the possibility of finding a donor Mac, I opted to go with the MacEffect’s clear front bezel. These are in very limited supply, as they were produced for Kickstarter backers last year. I was fortunate that the owner of MacEffects had a spare front bezel for sale, so I scooped it up. Within a few days of ordering it, the new front bezel arrived. The test fit was perfect!
I turned my attention towards de-yellowing the back case. This time around, I wasn’t as successful. The back case displayed some mild streaking, even after 3 rounds of retrobriting. I decided to live with it.
I attempted to repair the logic board (in vain). I replaced some of the logic, diodes and capacitors that were most affected from the corrosion. But there are many traces that were fully eaten away. Sadly, repairing the logic board is beyond my repair skills.
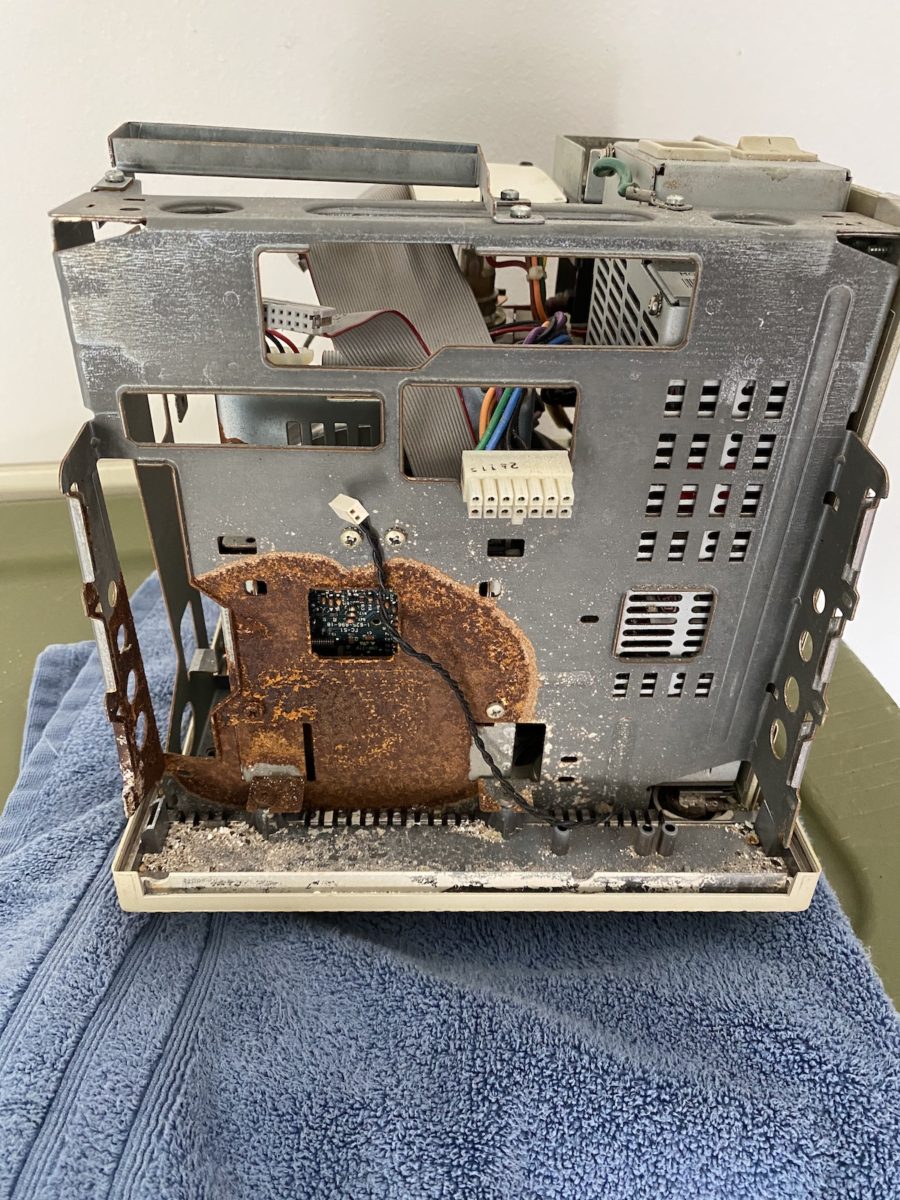
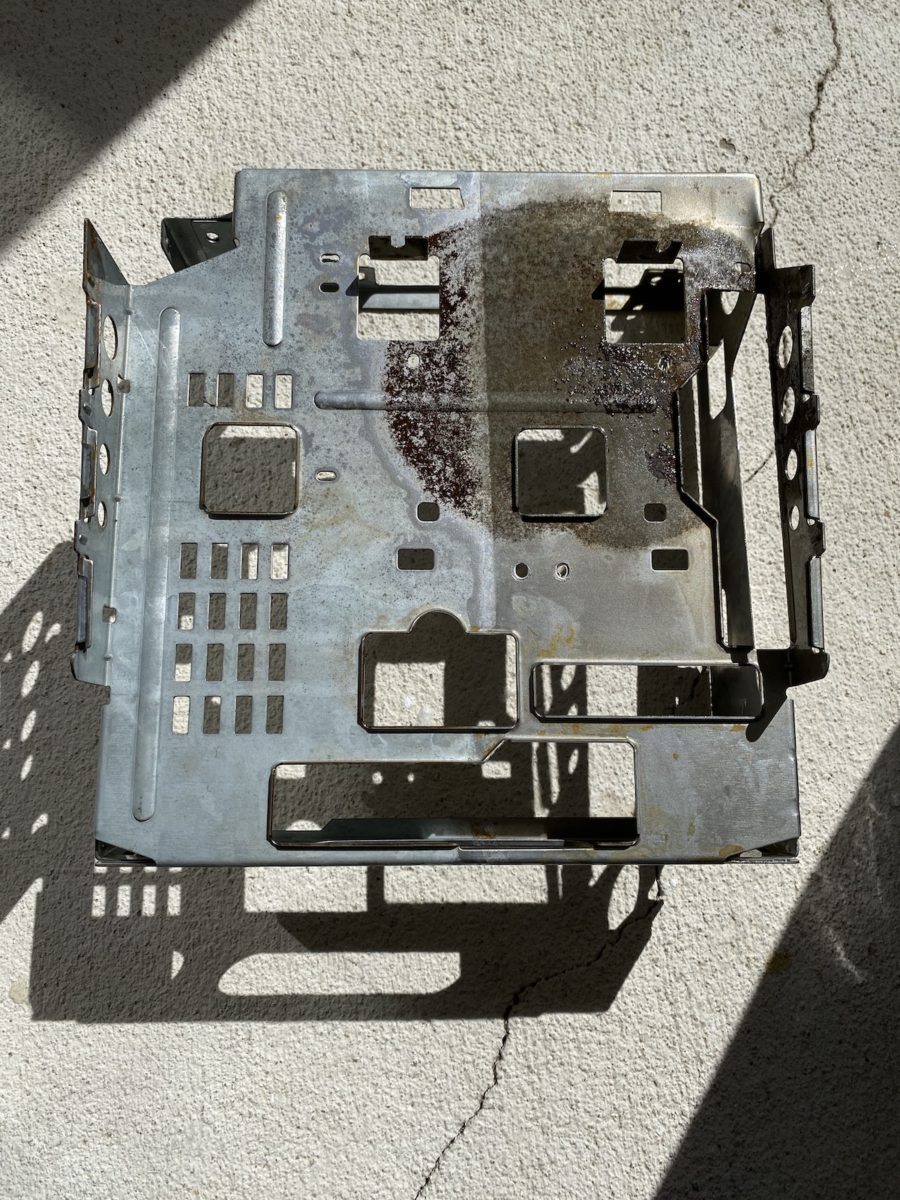
Like the logic board, the chassis was another basket case. Or so I thought…
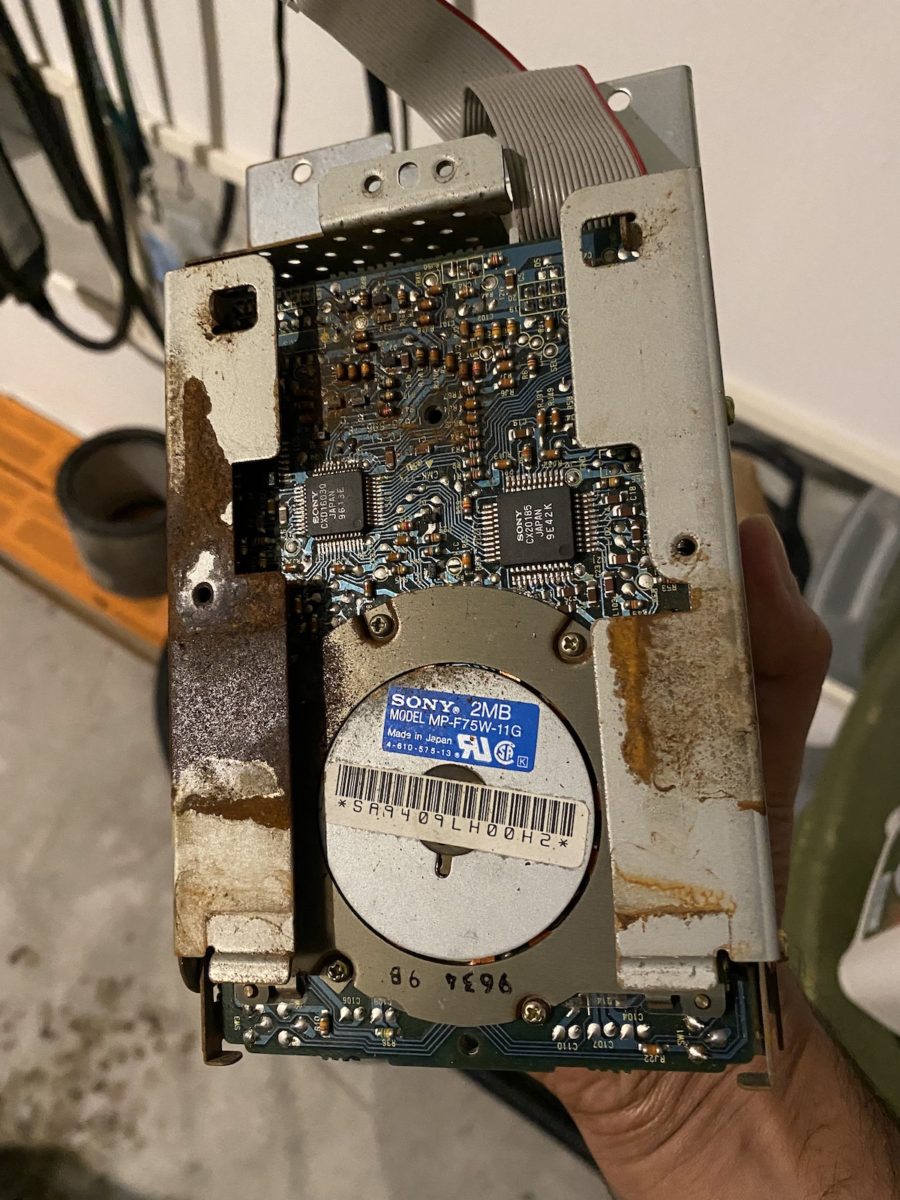
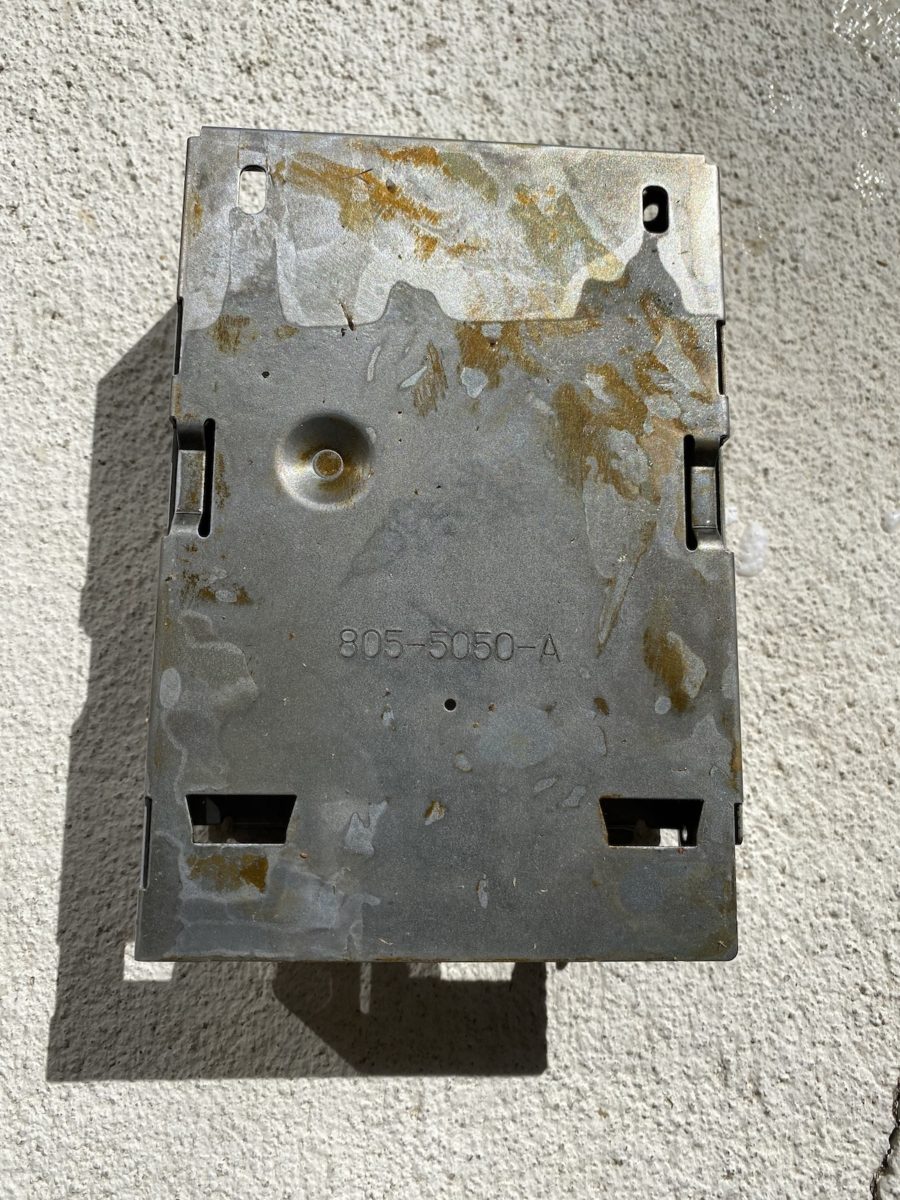
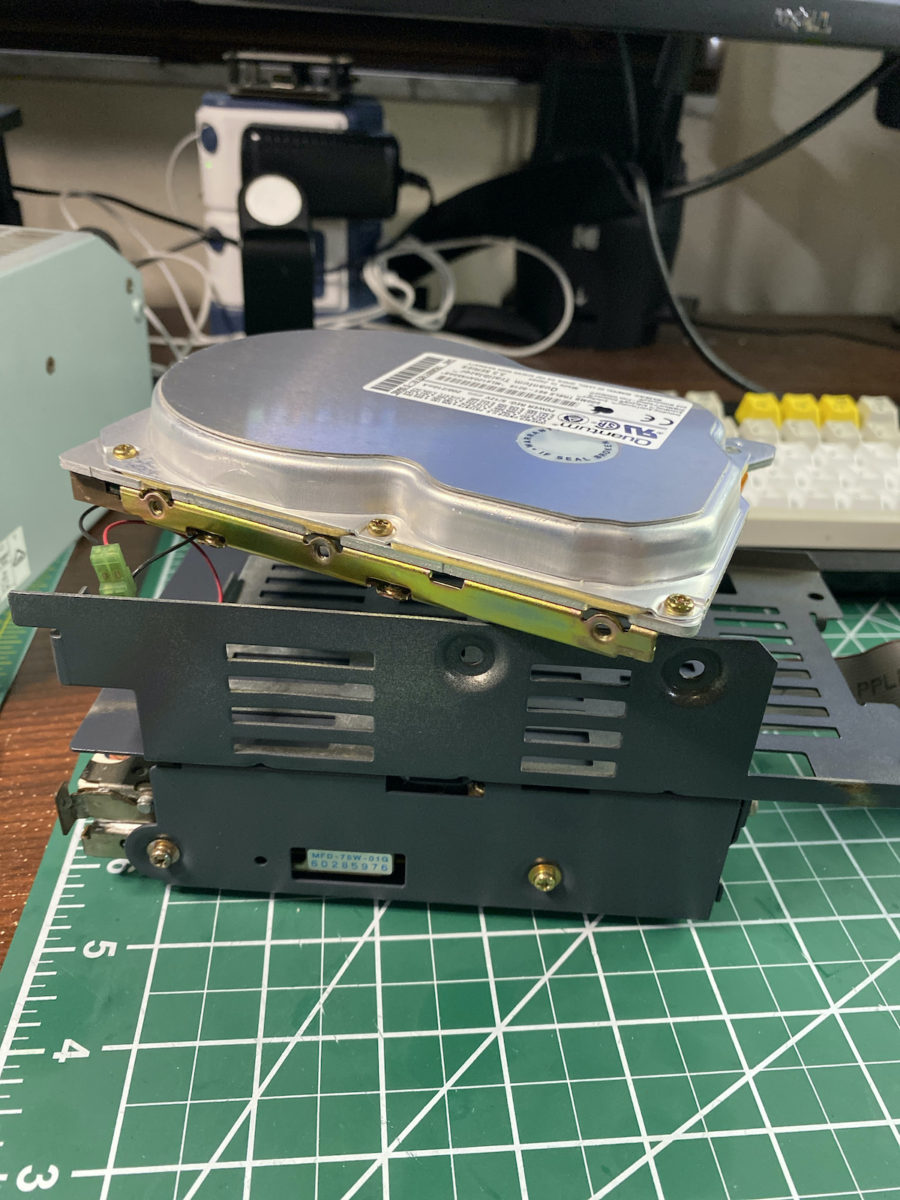
The floppy drive cage was also pretty badly corroded.
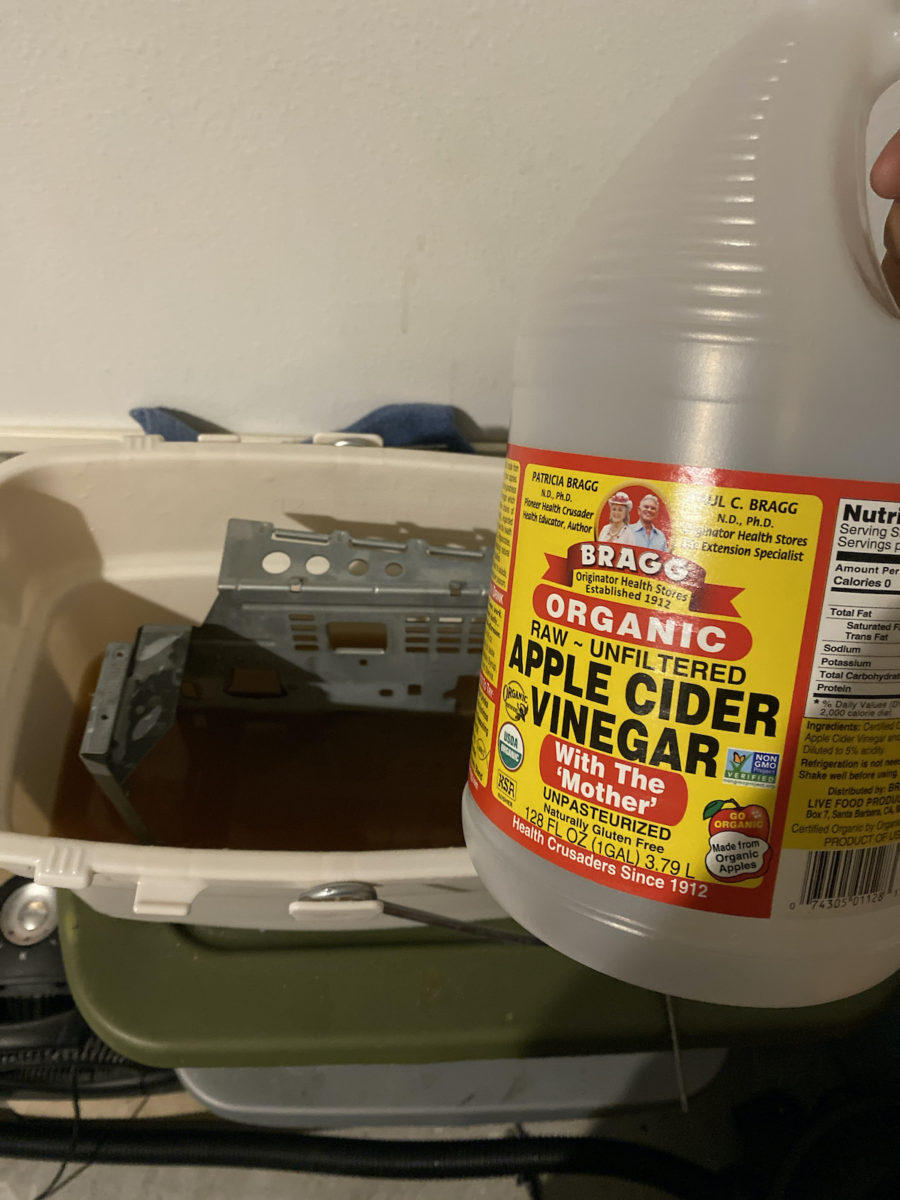
Removing corrosion was actually not too difficult, thanks to Apple Cider vinegar.
I filled up an empty bucket with the vinegar and submerged the floppy drive cage and chassis.
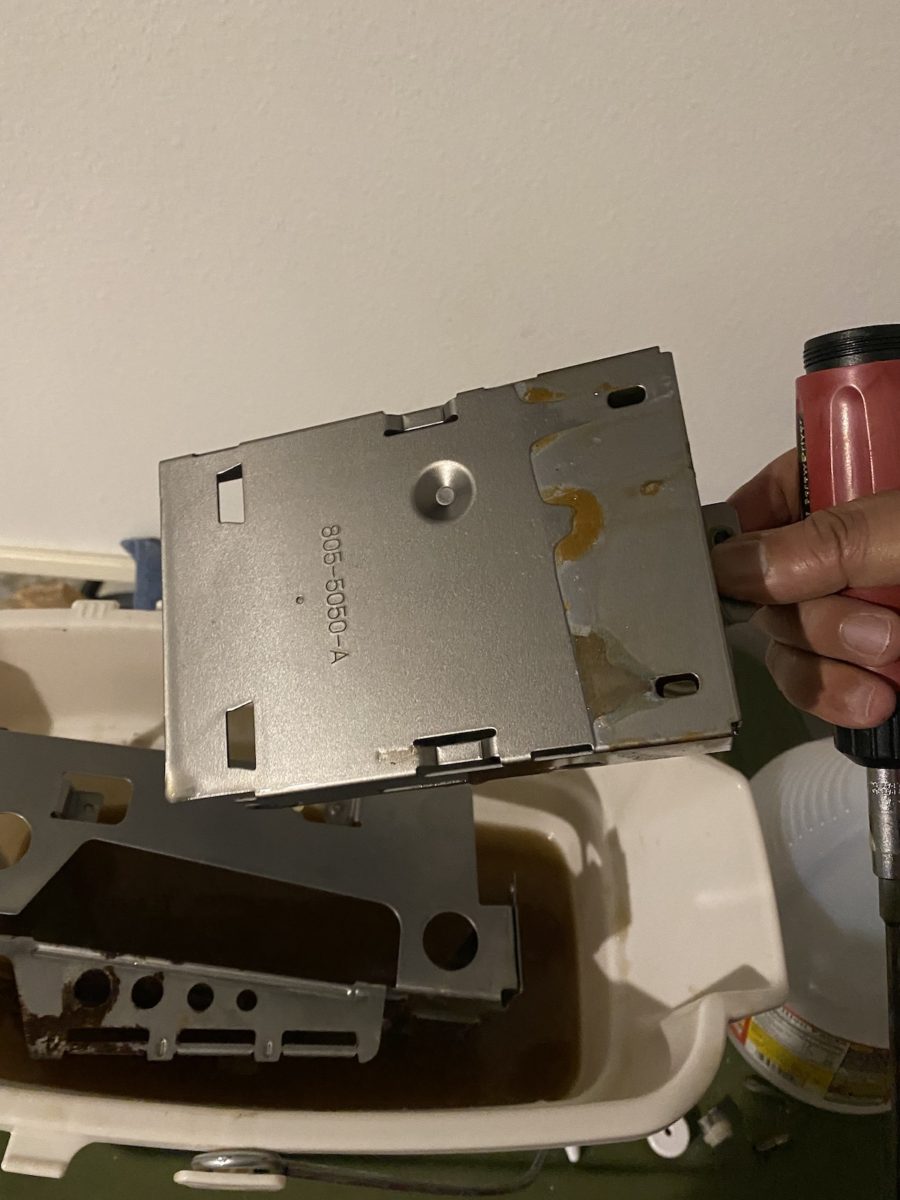
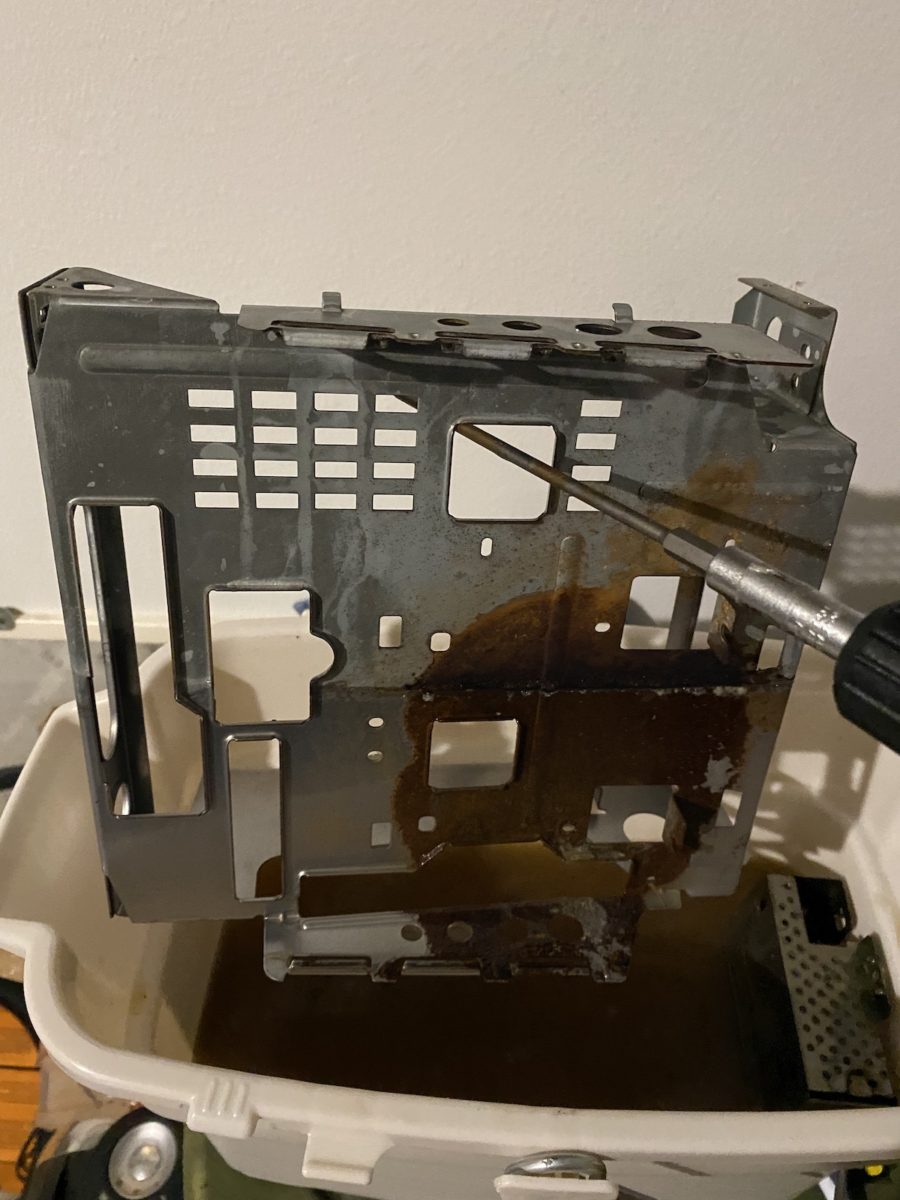
Within 24 hours, a good percentage of the corrosion disappeared.
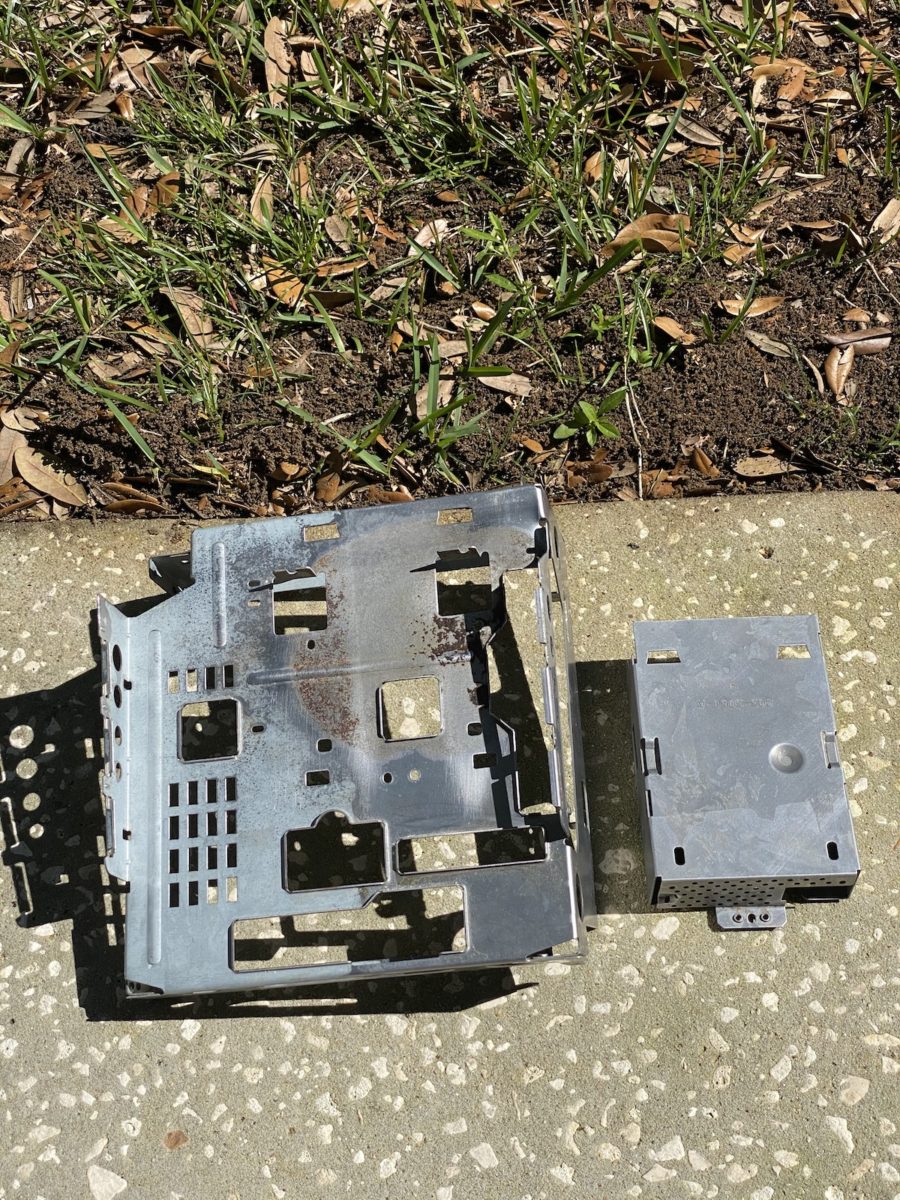
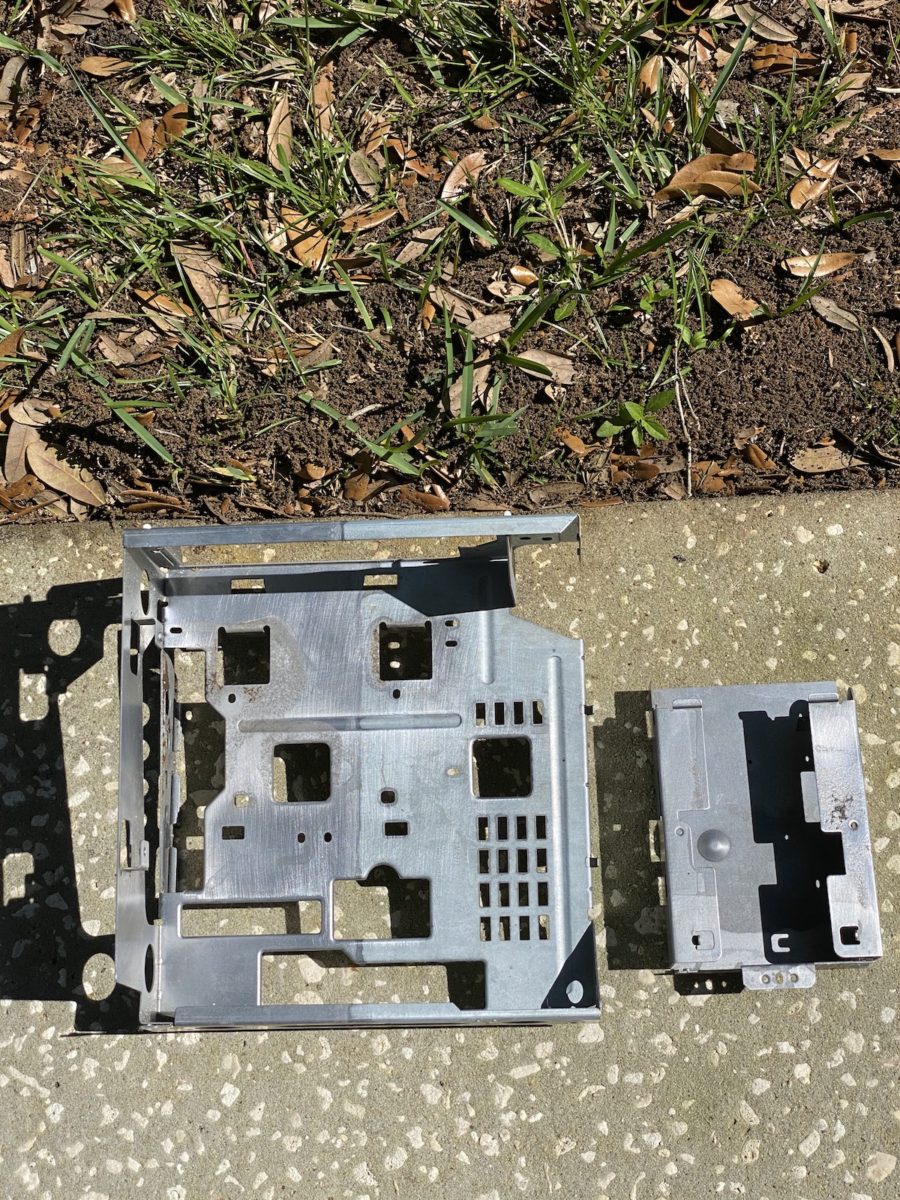
After two treatments of vinegar submersion, the chassis and drive cage were looking significantly better.
Next,I used Barkeep’s Friend to remove the remaining corrosion, by spraying the chemical on the chassis and floppy drive cage. The results were pretty impressive. Pro tip: do this type of work in a well ventilated area (preferably outside). You do not want to breathe in those fumes.
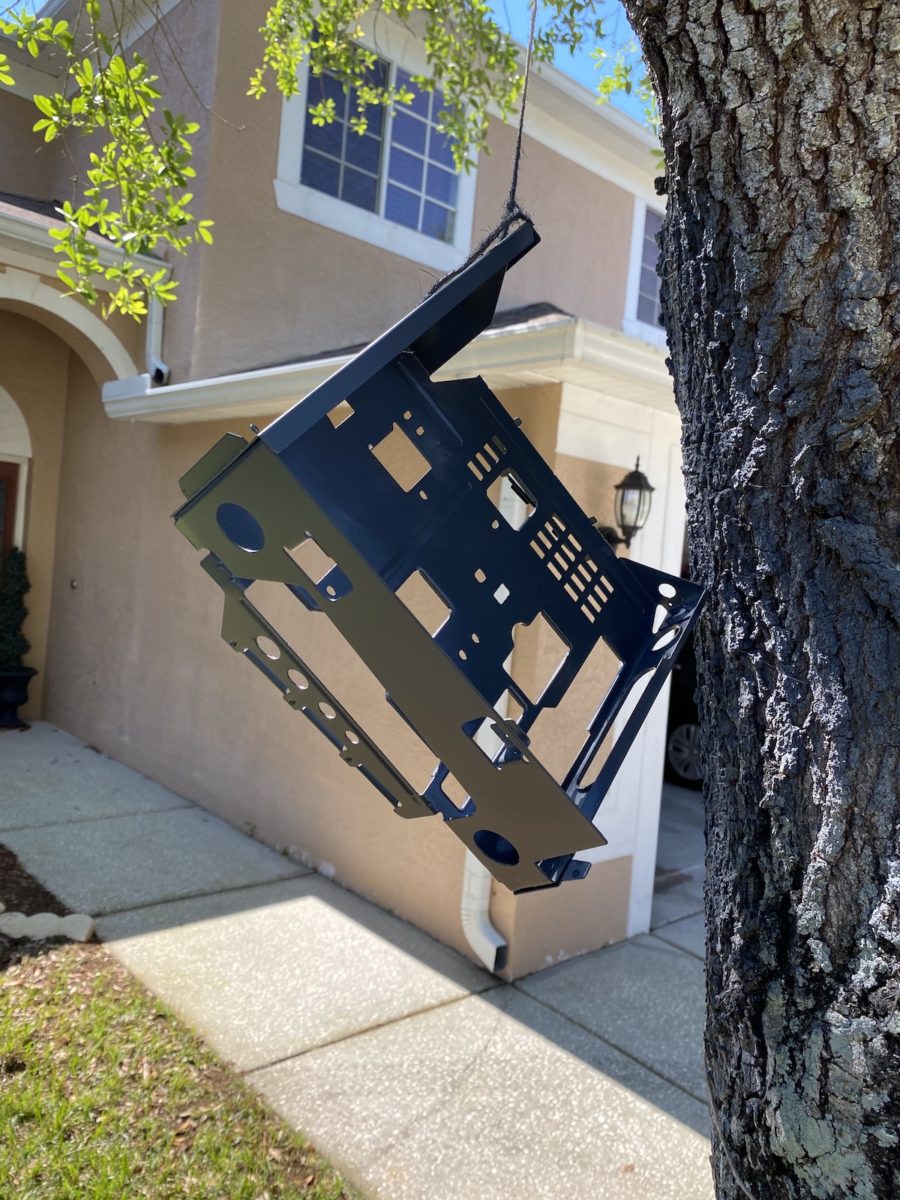
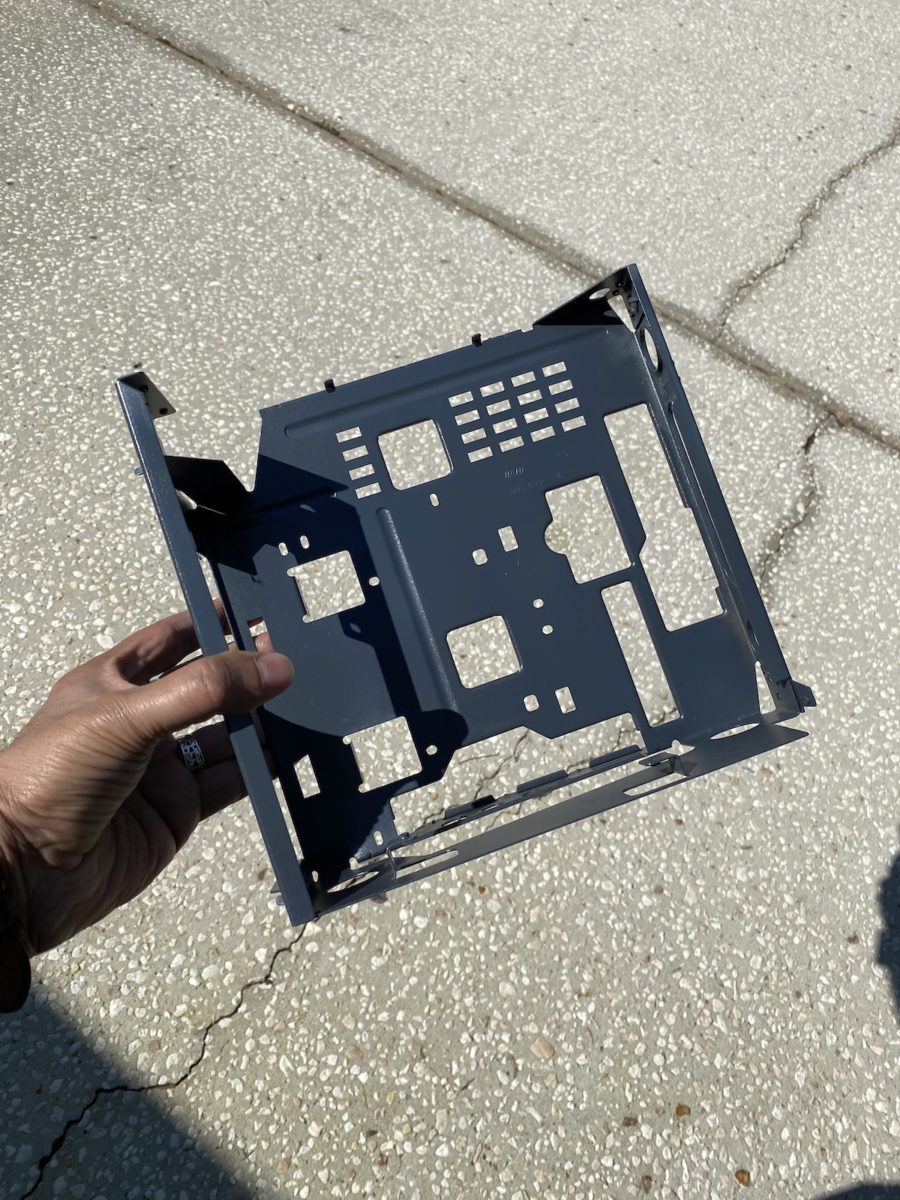
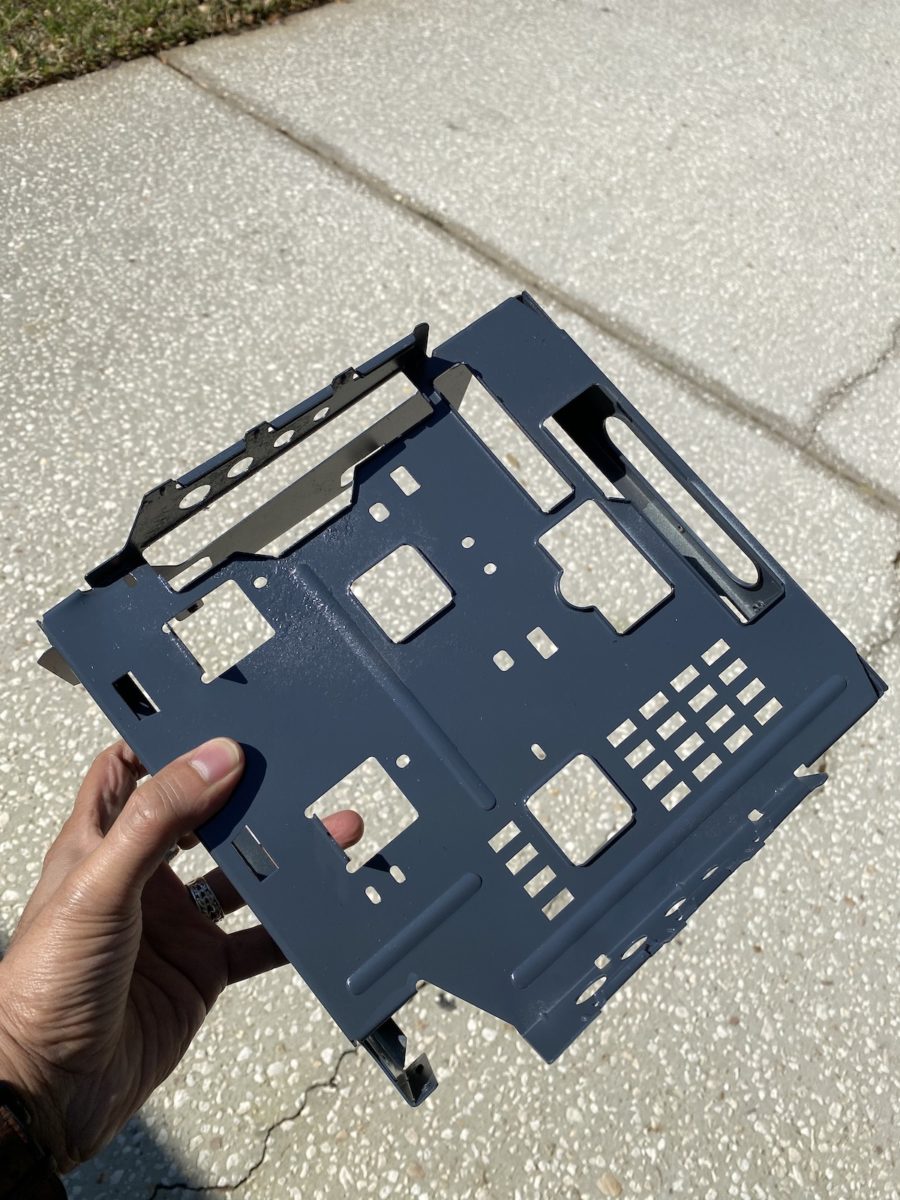
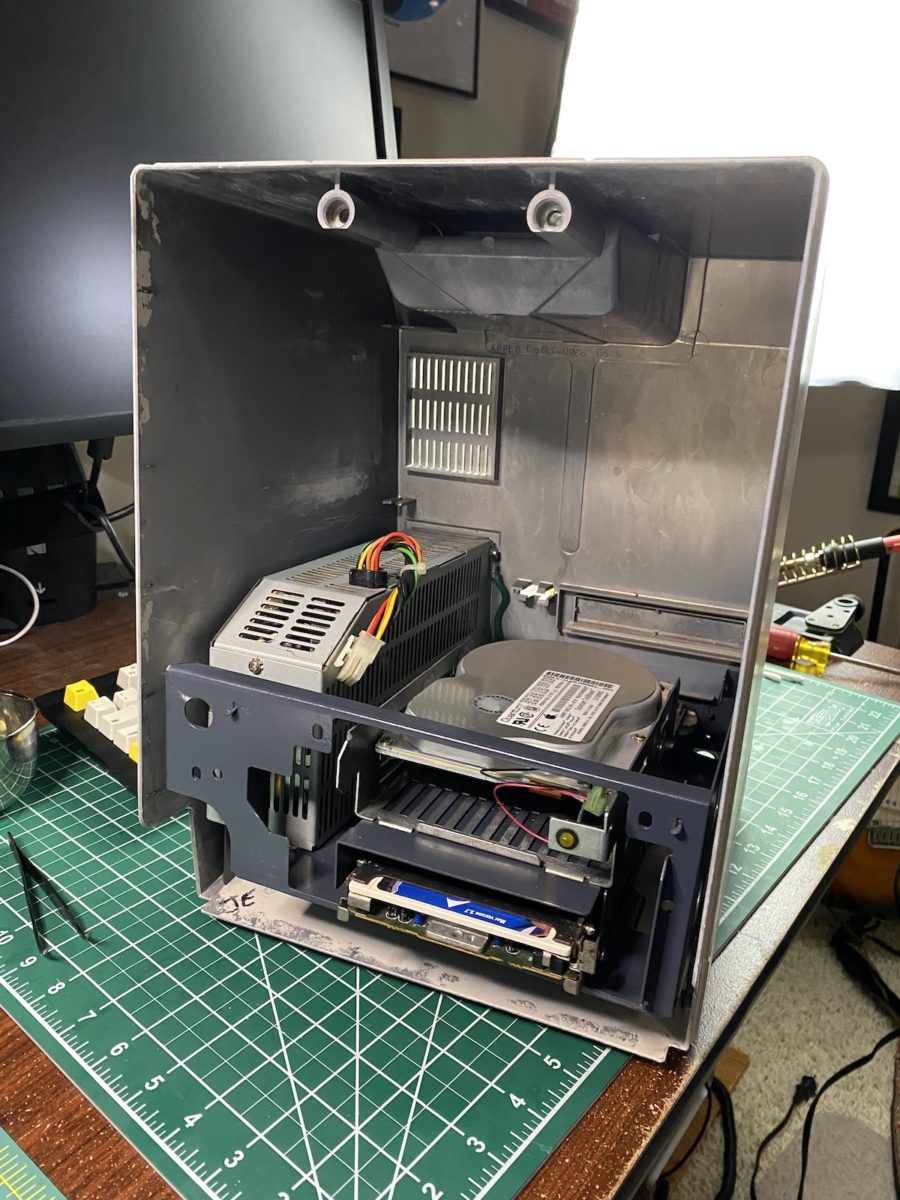
With 97% of the corrosion, it was time to use some Rustoleum gray primer to make the chassis and floppy drive cage more aesthetically pleasing.
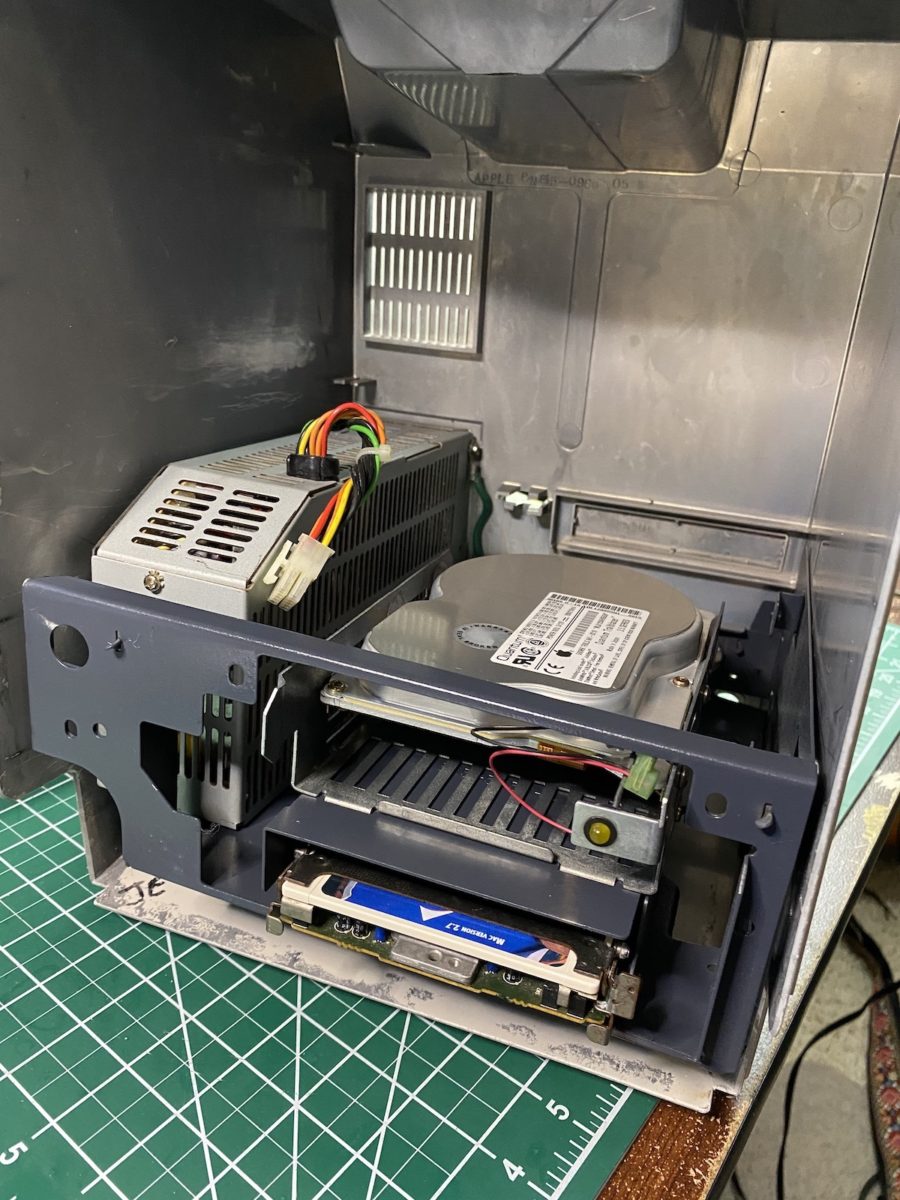
After applying two coats of primer, I used Rustoleum’s Clear Coat to protect the paint from further rust and corrosion. The chassis and drive cage were looking infinitely better now!
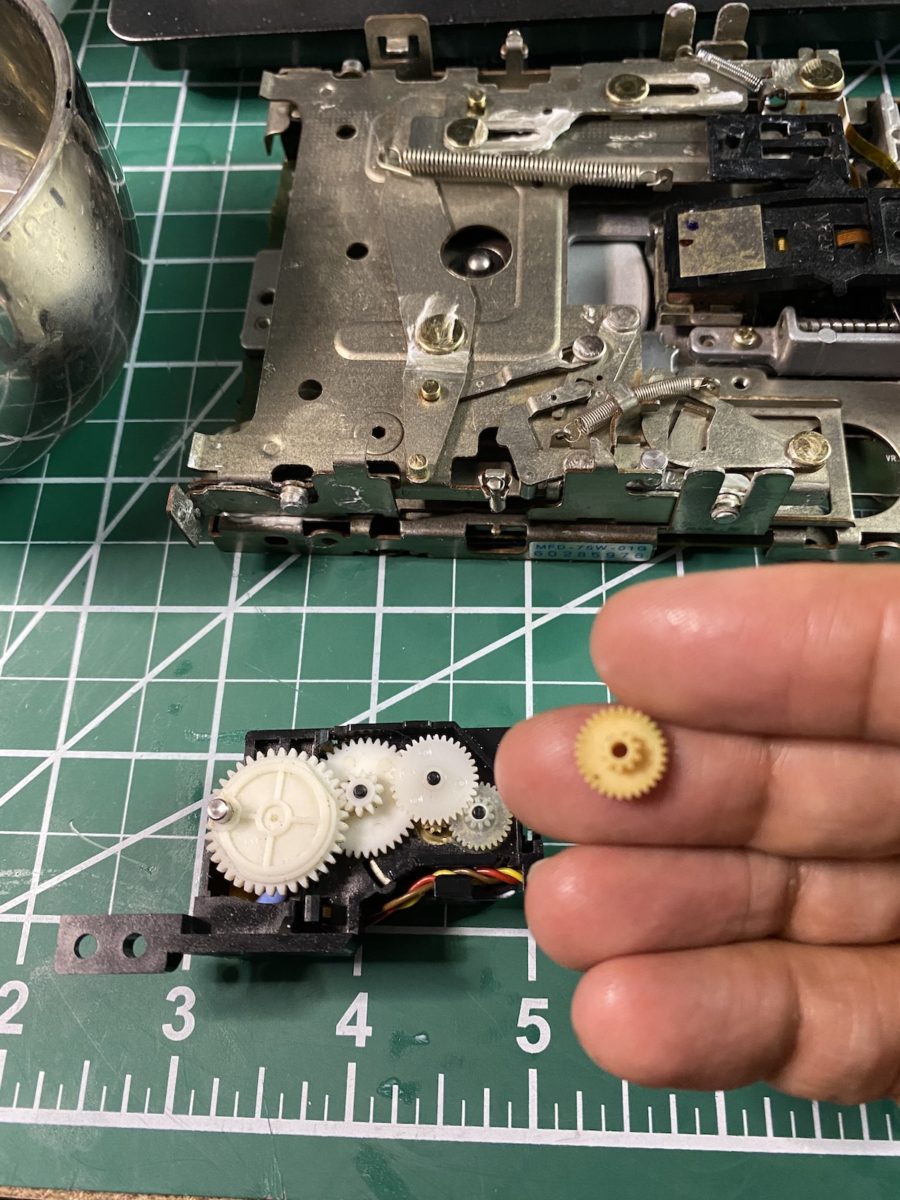
While waiting for the clear coat to dry, I turned my attention towards the high density floppy drive. Unsurprisingly, the unit was caked in dust and non-functional. I took the whole unit apart and thoroughly cleaned and lubricated each component. I also replaced the crusty auto eject gear with a 3D printed replacement.
I also took some time to clean the CRT and CRT yoke, using a combination of Clorox Wipes, 70% isopropyl alcohol and a tooth brush.
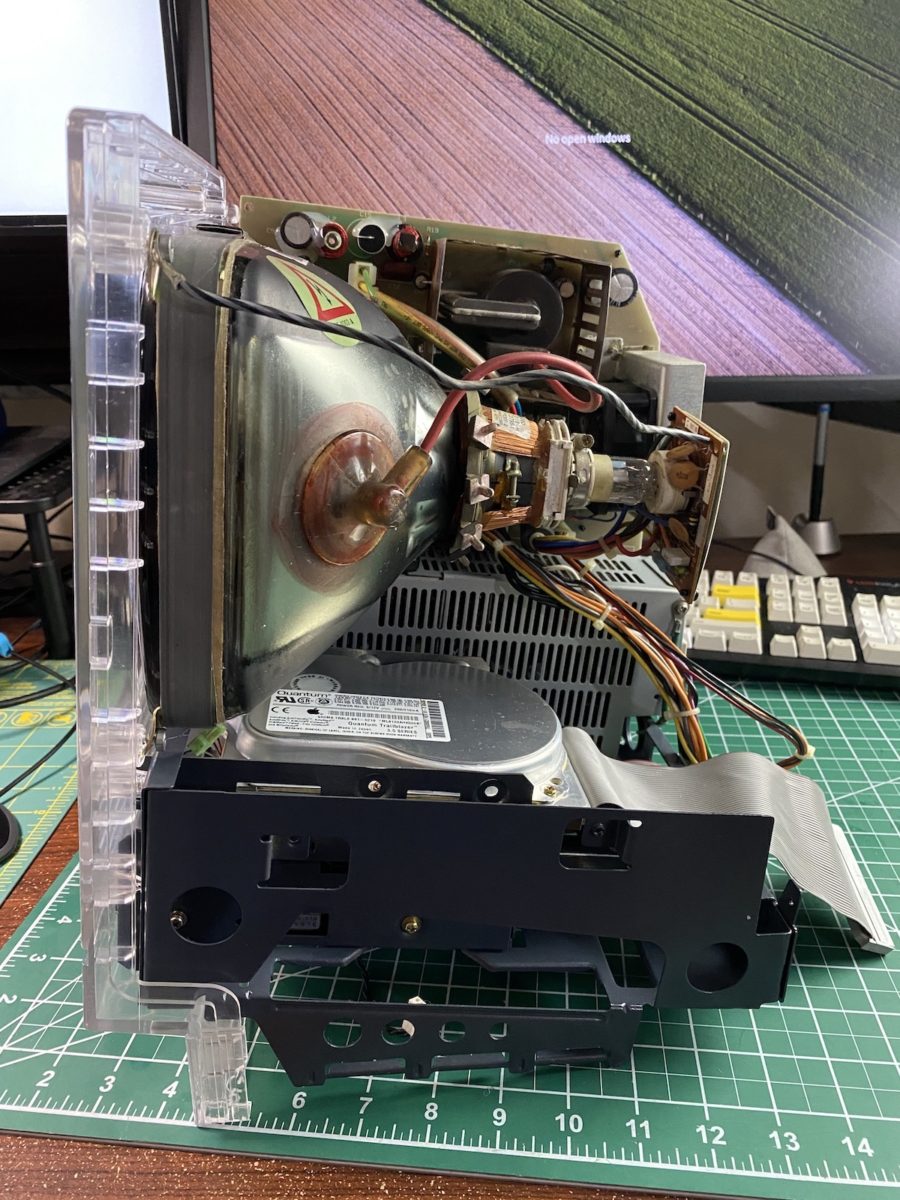
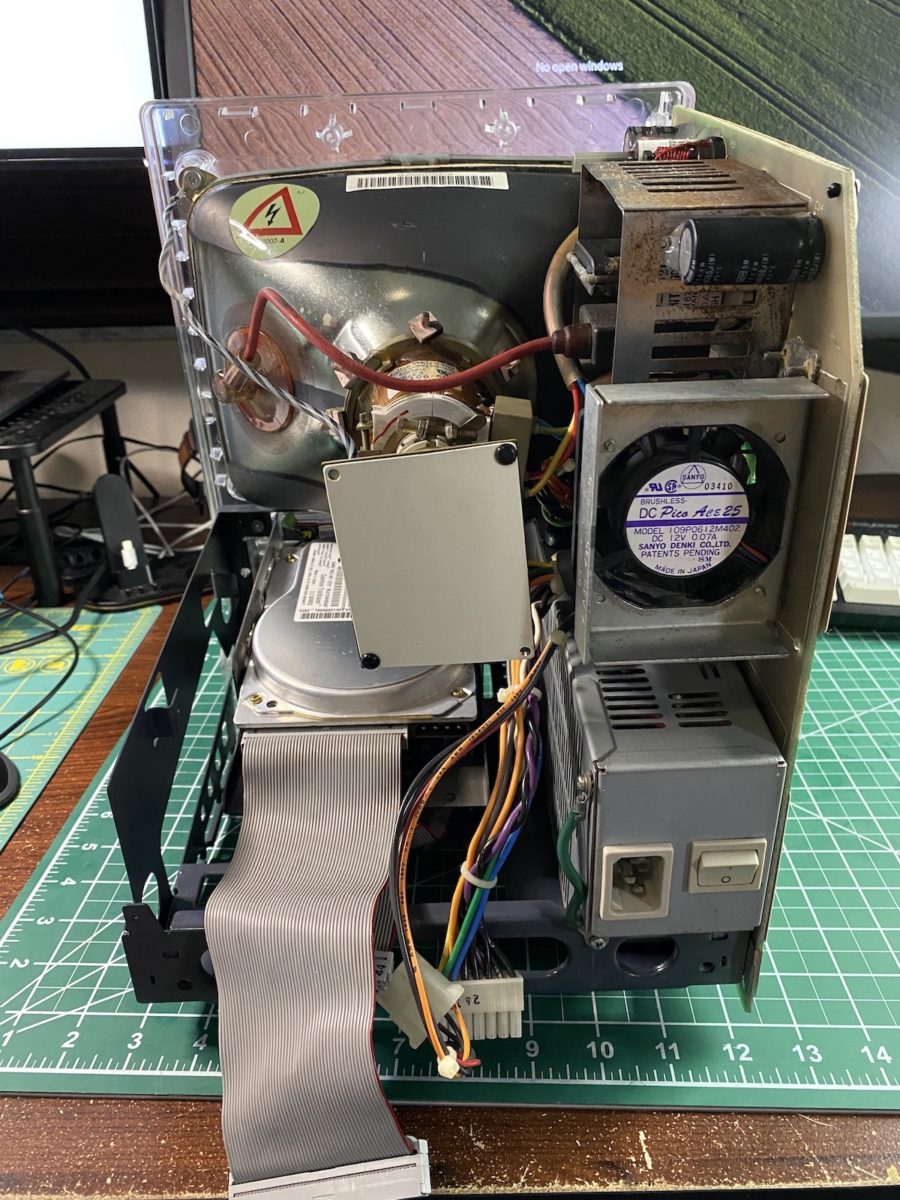
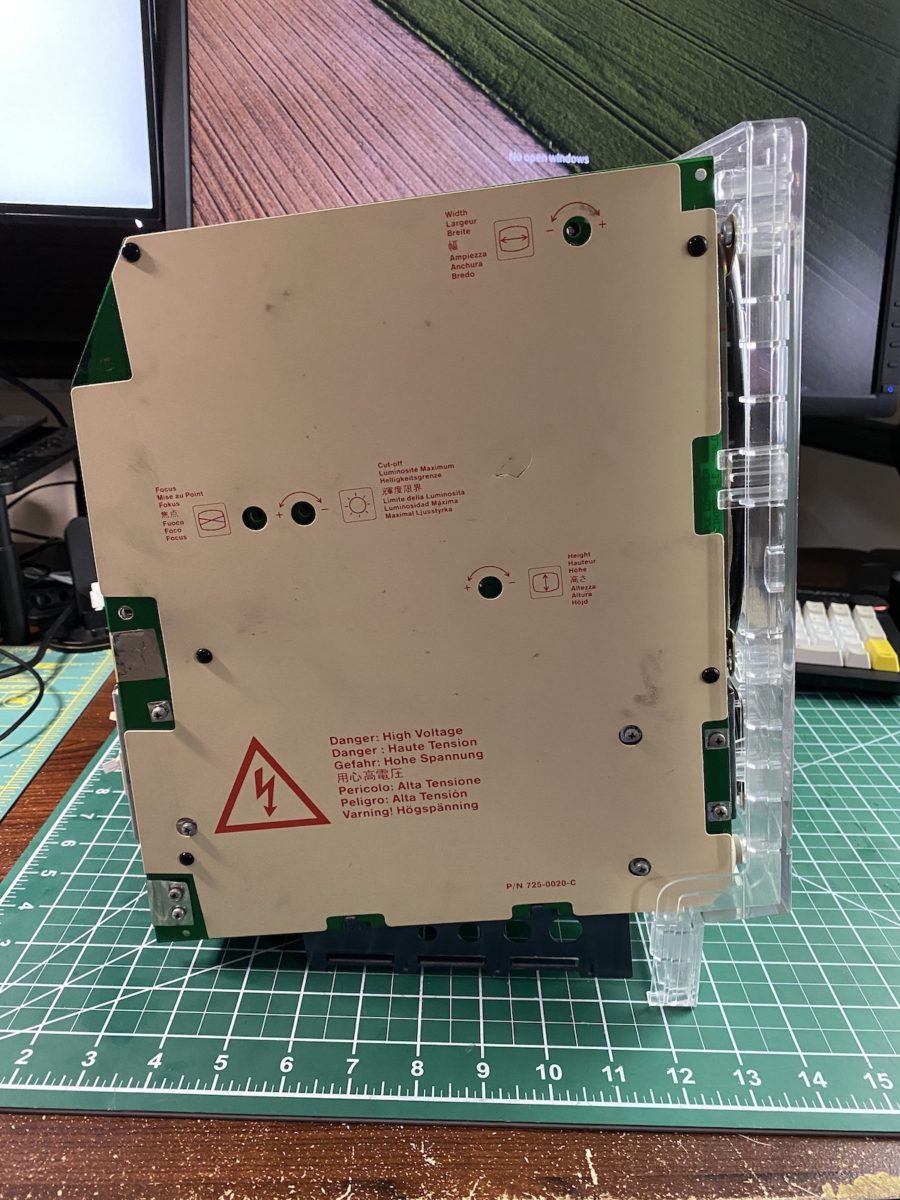
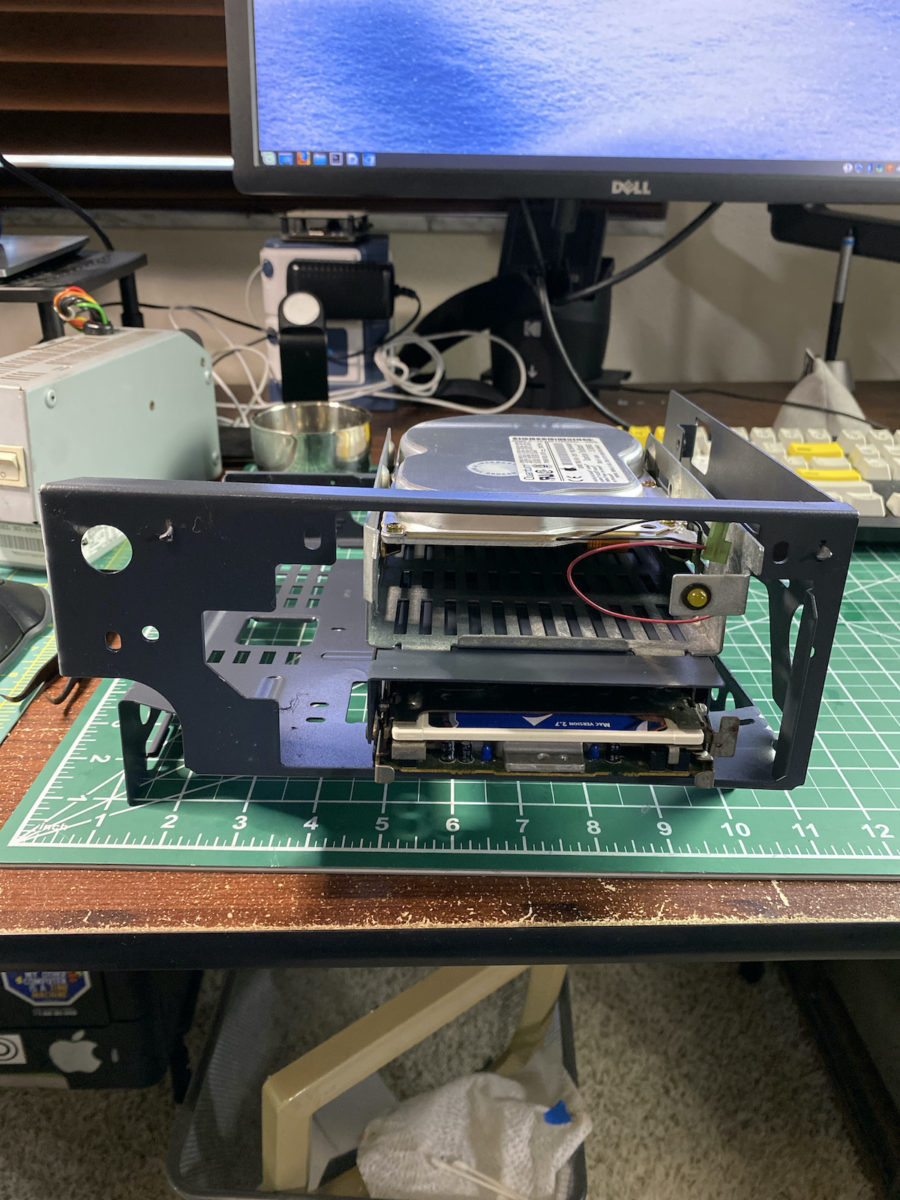
With all the main components cleaned, it was now time to reassemble all the components. I’ll let the photos speak for themselves.
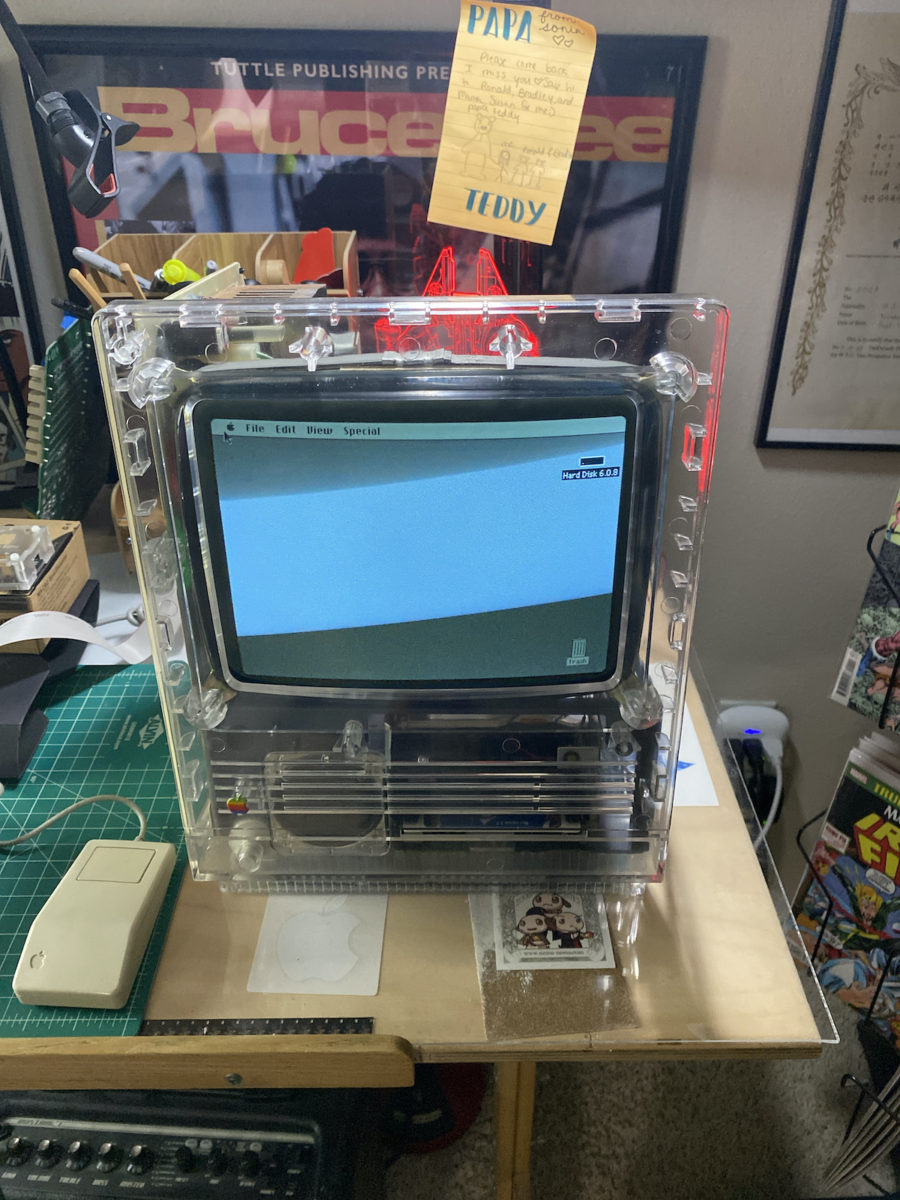
It looks good, but does it work? For that, I employed the service of my Mac SE FDHD’s logic board. SE logic boards work and fit perfectly inside an SE/30. With the logic board in place inside the Mac SE/30 case, I plugged the Mac into the wall and yelled “Fire in the Hole!”.
The Mac greeted me with its familiar chime. But there was no picture! Adjusting the brightness knob brought the familiar gray and white display to life. I’m pleased to report that the power supply, analog board, and CRT all work. There is some minor ghosting on the top of the CRT, but given where I started this project from – I was pleased that it still worked!
The floppy drive took some coaxing. It read and wrote to disks with no issue but struggled when attempting to eject a disk. I gave it the assist using a pair of my tweezers. After a few struggling attempts, the drive’s fresh lubrication took over and it was finally able to eject floppies all by itself.
The main casualties from this project were the logic board, the front bezel and the original Quantum drive that came with the unit. (To be honest, I did not expect the original platter based drive to work and would have been surprised if it did.)
Since this photo was taken, I have procured a replacement RF shield for the dilapidated Mac SE/30 (I’ve named it “Louie”). I’ve returned the SE FDHD logic board back to its original Mac (named Dewey). The only thing Louie needs now is a new logic board.
All in all, it was a very satisfying project.
-Krishna



Matt Strieby
April 10, 2020 at 12:36 pmHi Krishna. Long time no speak- I hope you’re doing well. You certainly have a tremendous amount of patience to work on such a decrepit machine like this. Back in the day, I worked on a Mac SE very like this one. I was working in the “Student Publicity Center” at Southern Oregon State College and we ran Photoshop 1.0 and Aldus Pagemaker.
Krishna
April 13, 2020 at 4:07 pmGood to hear from you Matt! Hope you are staying safe in these crazy times. I’ve taken to repairing old Macs for the satisfaction of working with my hands. It’s given me opportunities to learn new things. The journey has been the reward. :)