Restoring a Mac SE FDHD: Retrobright and Recapping Fun
What a long, strange trip it has been.
For the better part of two months, I’ve been on a journey to resurrect the venerable Mac SE FDHD that I bought on Craigslist for $30. Like any journey, there have been trials and travails, as well as moments of joy and victory. In the process, I’ve not only learned a lot more about classic Macs, but I’ve come away with a newfound love of fixing up vintage computers that I did not expect to have.
Disassembly
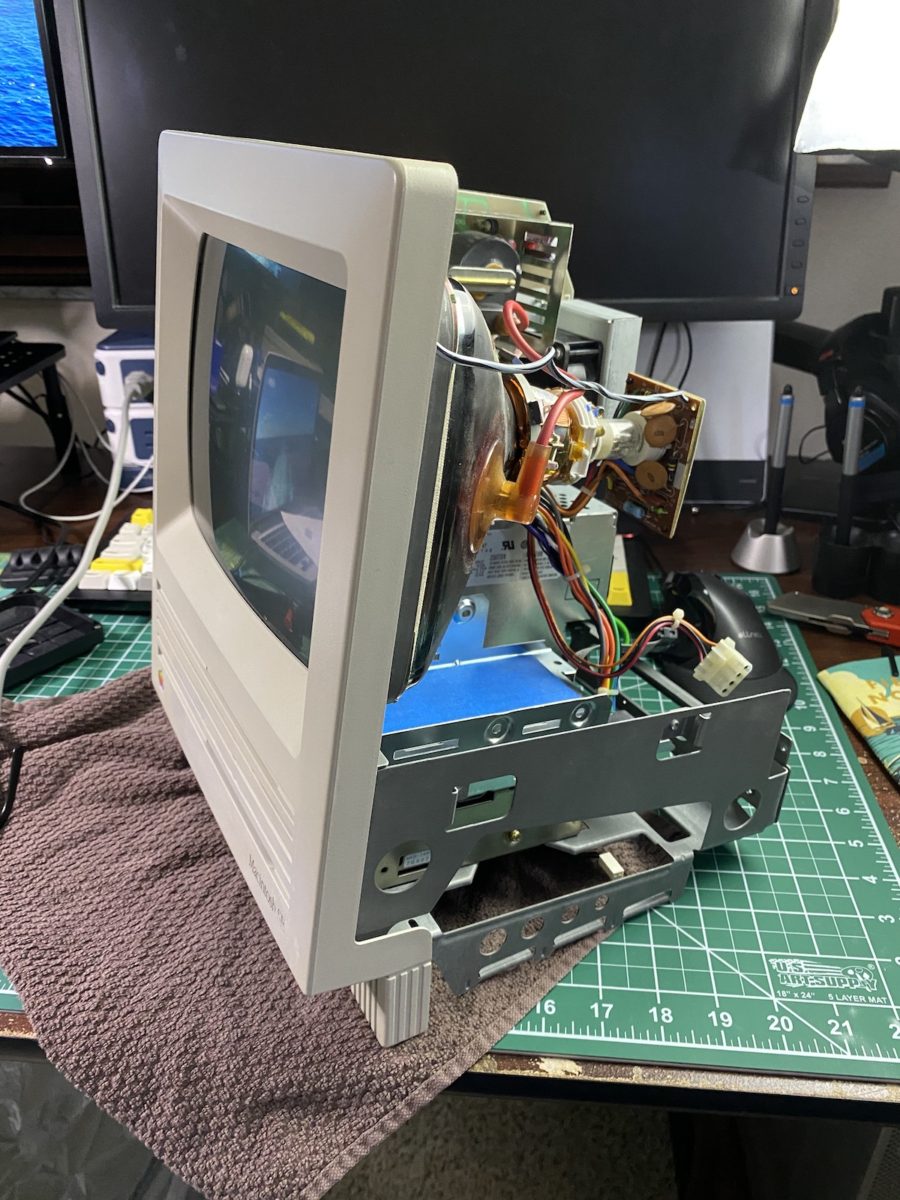
The first order of business was to disassemble the Mac SE. The machine had lay fallow for the better part of 25 years, so I really didn’t know what to expect. During my research, I came across numerous posts featuring tales of exploded batteries and leaking capacitors on other Macs of a similar vintage.
Before taking the Mac apart, I watched the 8-Bit Guy’s video on his Mac SE restoration. It not only included a tear down of the Mac, but it also goes over his Retrobriting process.
Because the screws that hold the Mac SE together are recessed deep inside the top of the case, I needed a long Torx T15 screwdriver to remove them. Torx screws on the back of the case (next to the ports) also had to be taken out. With the screws removed, I put the Mac face down on a towel and gently pried the back case away from the front.
The main components on the Mac SE FDHD are the power supply (PSU), the analog board (which takes power from the PSU and distributes it to various components), the CRT, floppy / hard drives, and the motherboard.
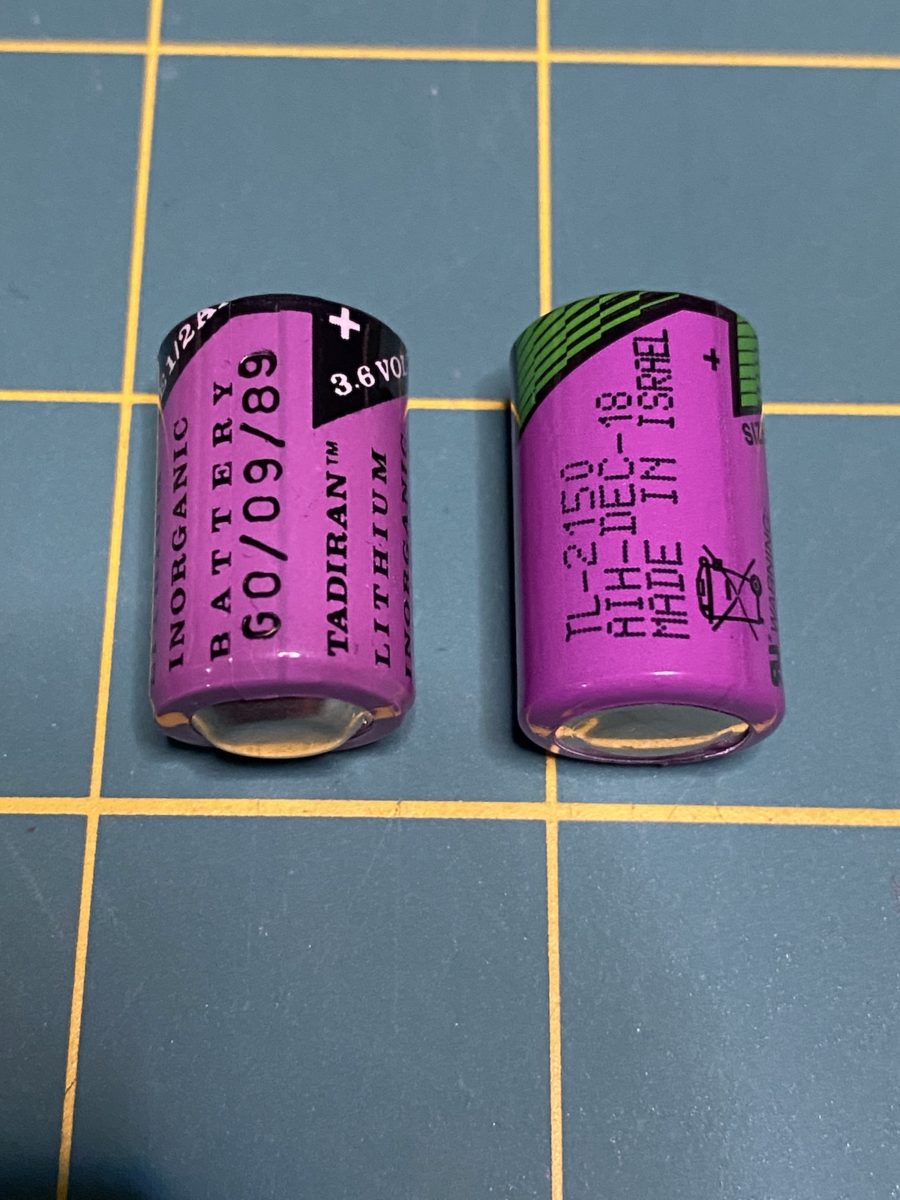
The motherboard seemed to be fine. There were no visibly leaky caps but the original CMOS battery, dated 1989, was in definite need of replacement.
When working inside a Mac SE, the biggest danger is the potential charge housed inside the CRT. In short, there’s enough voltage to potentially kill a person if the CRT isn’t properly discharged. To properly discharge the CRT, I followed the expert advice from Bruce (from Branchus Creations) in the video below.
Recapping
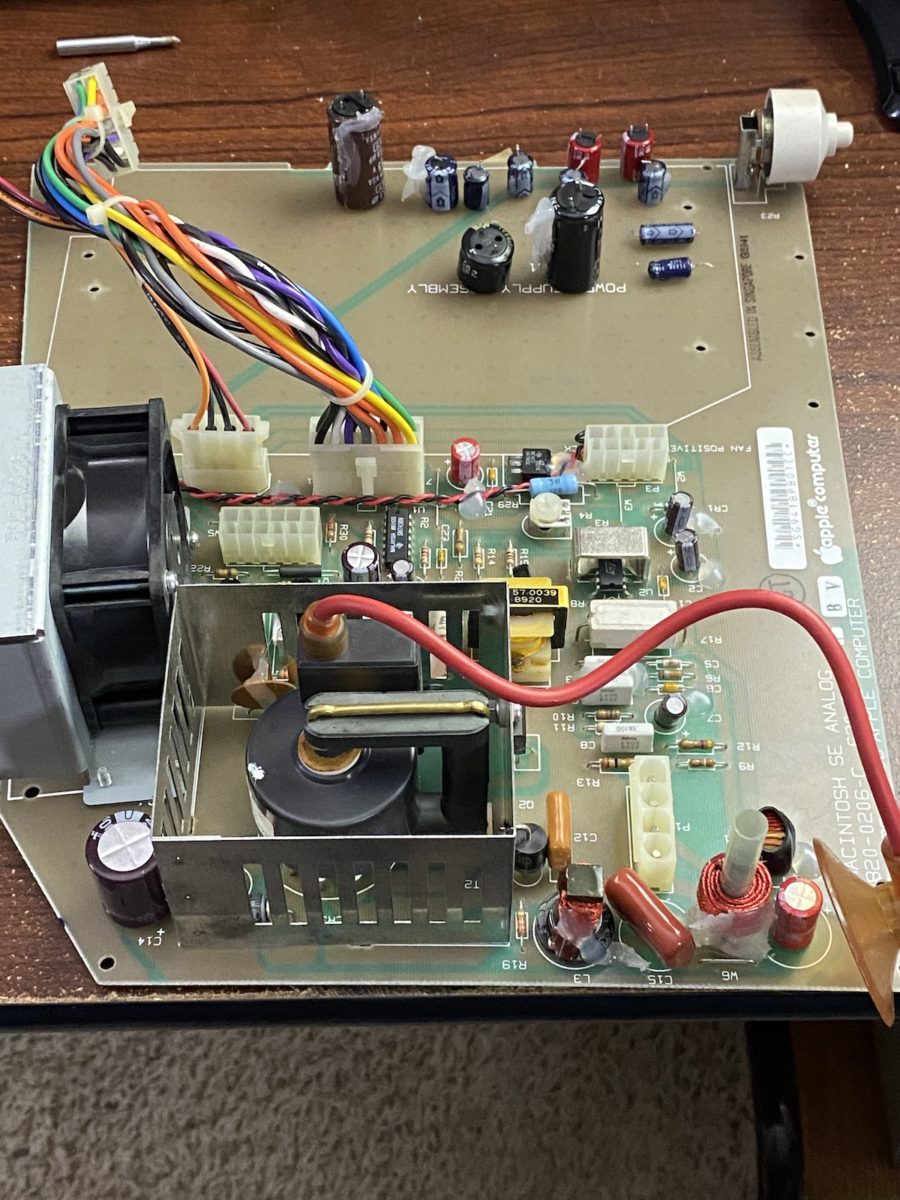
For recapping the analog board and PSU, I followed JDW’s methodical approach, as outlined in the videos below.
While JDW’s videos focus on his Mac SE/30 – both the SE and SE/30 share a nearly identical power supply and analog board. I highly recommend watching both of his videos before you begin the process. They’re lengthy, but very detailed. I gained a lot of confidence after watching him do his thing.
JDW also includes a very useful list of all the capacitors you’ll need for both the PSU and the analog board in the description section under his Youtube videos. I ordered the analog board caps and PSU caps from Mouser.com.
Retrobrite
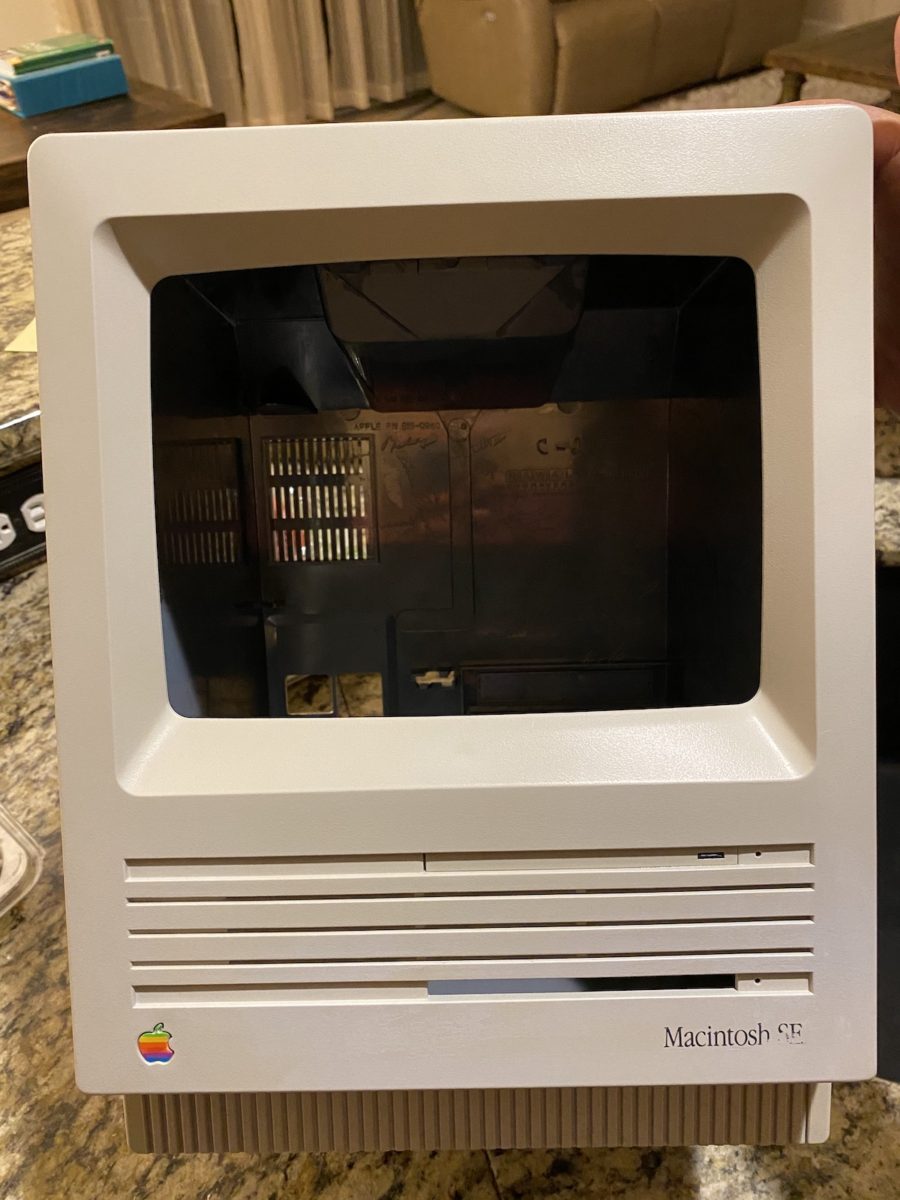
During the period of time while I was waiting for my replacement capacitors to arrive, I took some time to retrobrite the Mac SE’s case.
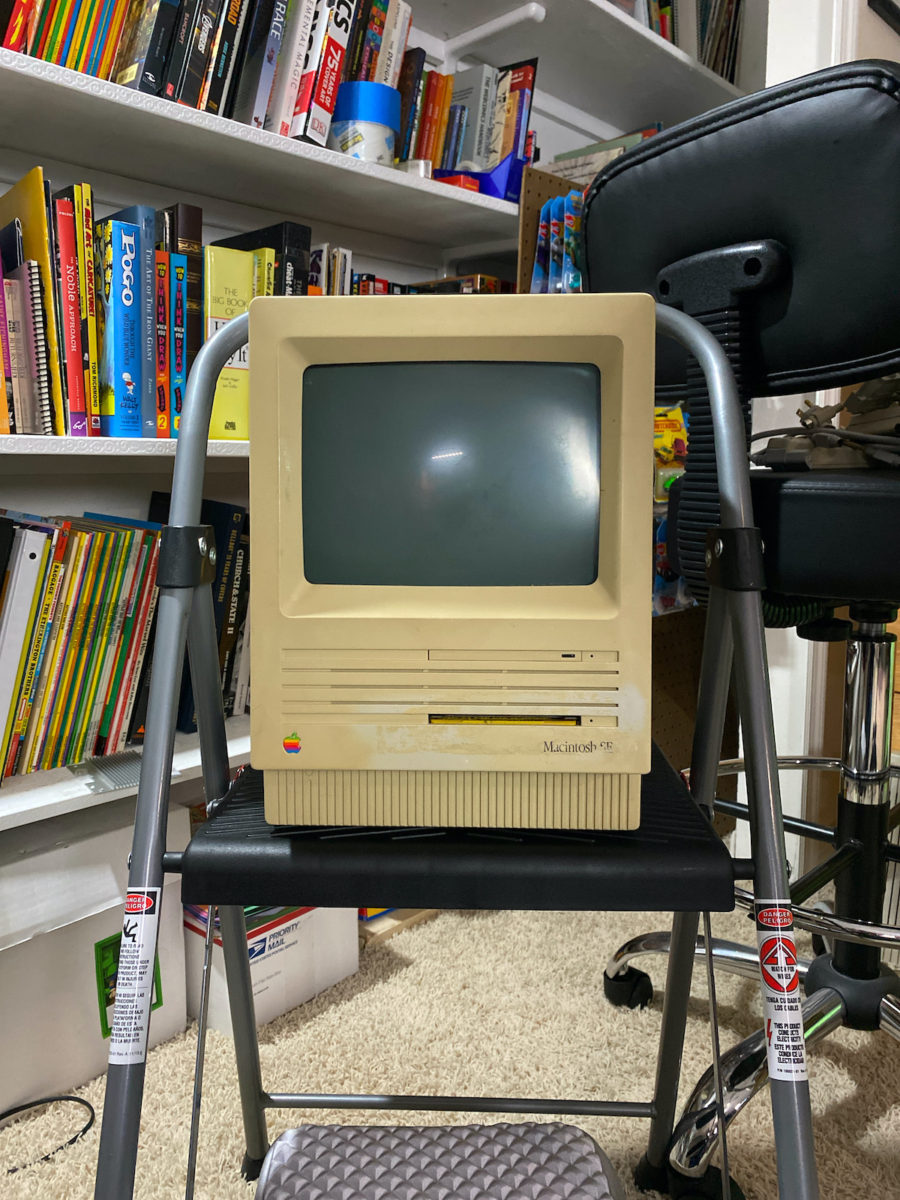
Here’s the “before” picture:
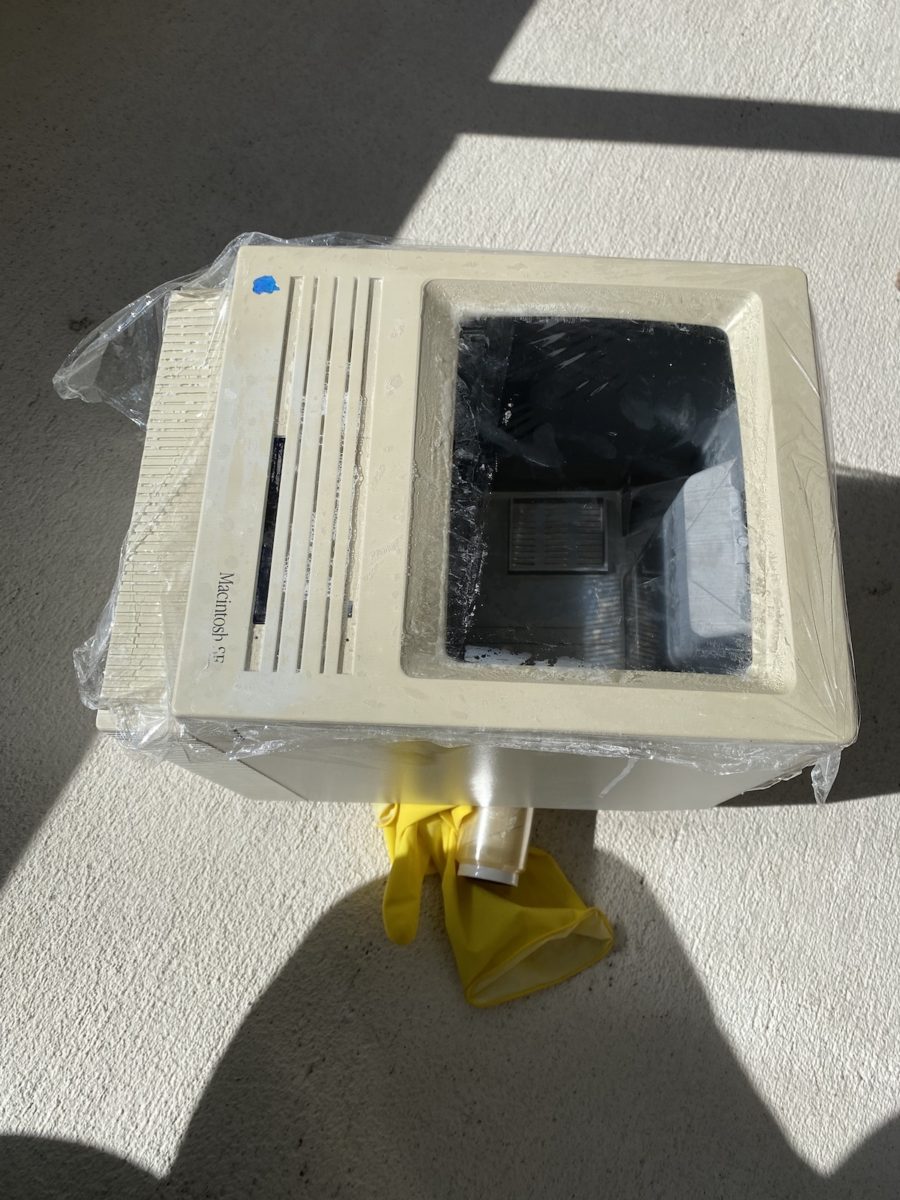
Prep and retrobriting occurred on a sunny Florida afternoon. I covered the Apple logo with blue Painter’s tape to keep the chemicals from wearing away the rainbow logo.
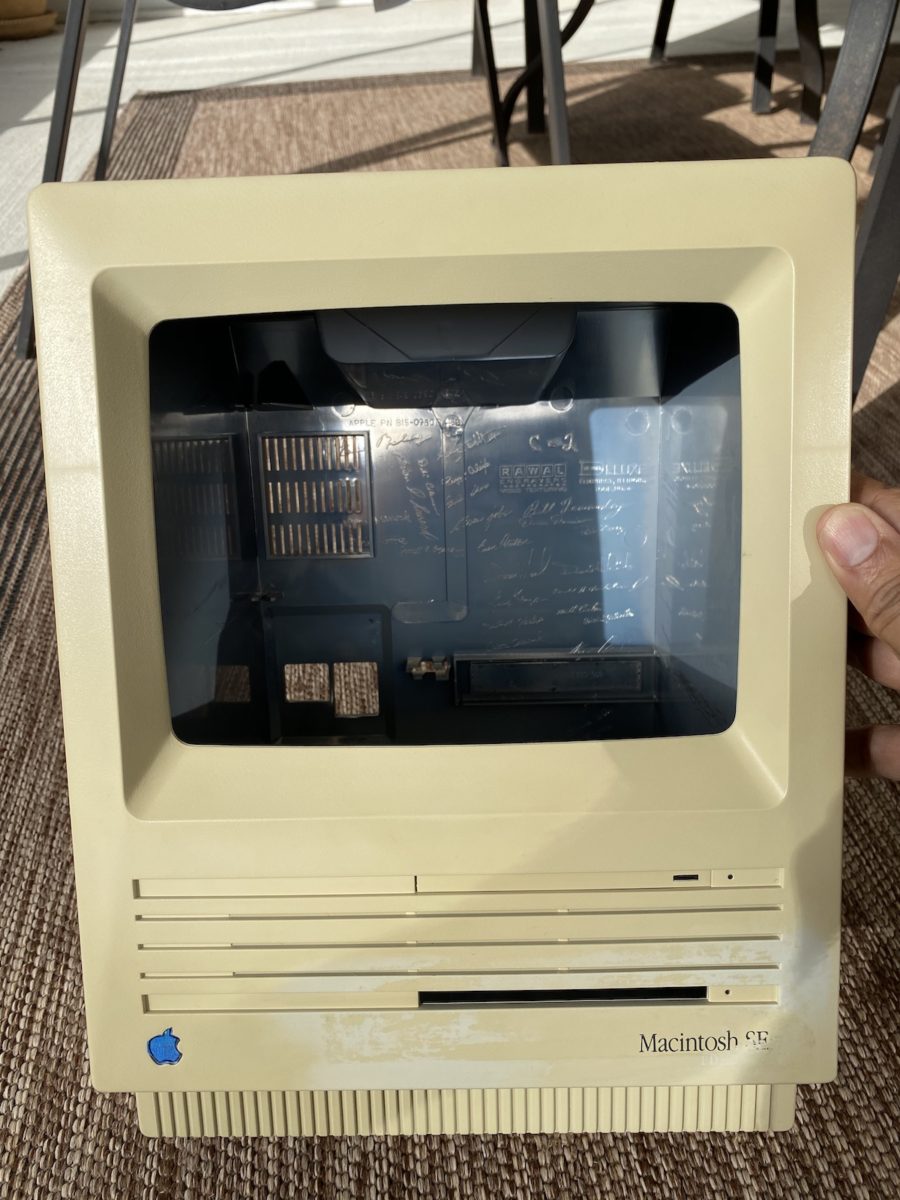
…and here’s the “after” picture of the Mac SE case, after applying two Retrobrite treatments:
The case is visibly more platinum. Unfortunately, there was nothing I could really do about the faded Mac SE FDHD lettering (it was already faded when I bought it).
Problems
I started off by recapping the Mac SE’s analog board. It wasn’t too bad, but my soldering skills were rusty and a few weak solder connections would bite me later on during testing. By the time I got around to recapping the PSU, I was much more comfortable with soldering.
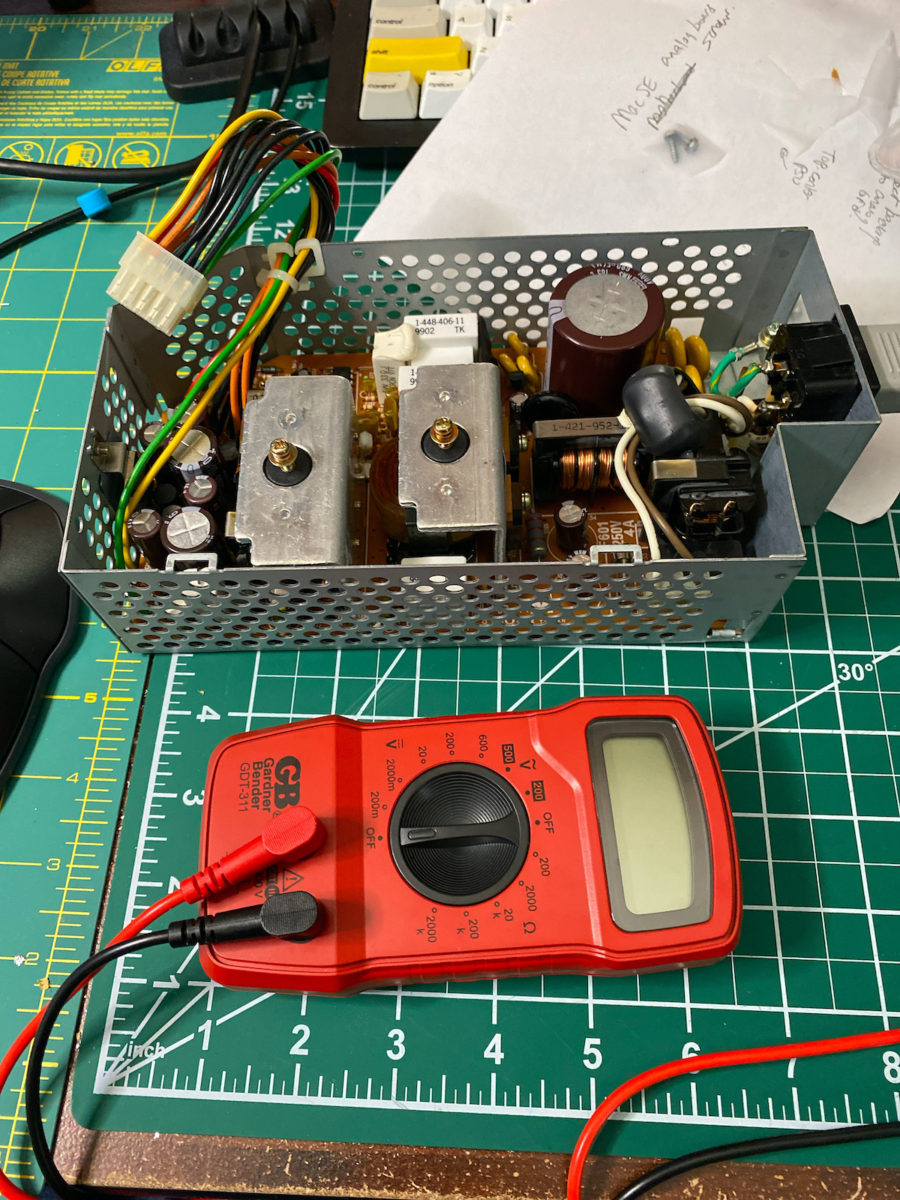
The PSU tested fine, outputting voltages that were in spec with both the 12V and 5V rails. When I plugged the PSU to the analog board, the fan would turn on and it *seemed* like the analog board was okay. After all, the voltage measurements I took from the analog board’s connector (to the motherboard) were all in spec.
The problem arose each and every time I plugged in the recapped motherboard to the analog board. Immediately, after turning on the Mac, the analog board’s fan would cut off. My first instinct was a fried motherboard. Thankfully, that was not the case. The analog board was shutting itself off due to a short circuit somewhere. But where? Was it on the motherboard, the analog board, or the PSU?
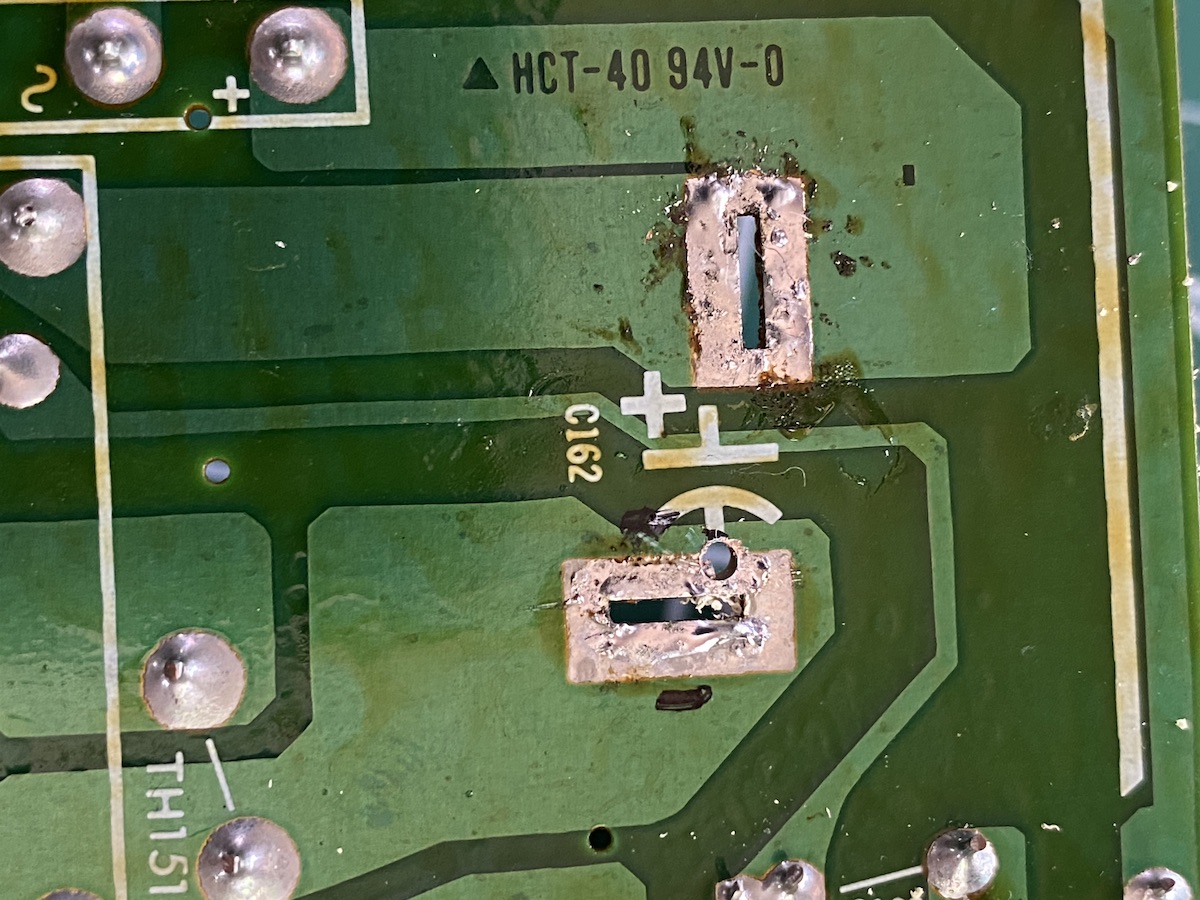
I scrutinized all my soldering on both the PSU and the analog board. I was almost about to give up when I almost nonchalantly took a voltage measurement from the fan’s cage to ground. I was getting 12V – which is definitely something that should not be happening. Eventually, I found the short (traced to a poor soldering job on one of the caps on the analog board). Replugging the analog board to the motherboard now caused the Mac to emit its familiar “boot” chime.
But I wasn’t out of the woods yet… (to be continued)
-Krishna


No comments yet. Be the first!