The Ultimate Resources for Rebuilding an Apple 3.5″ Floppy Disk Drive
As I intimated in my last blog post, I’ve slowly, but surely, embarked on the task of resurrecting my venerable Apple IIgs. Chief on that list was getting the Apple 3.5″ floppy disks to work again. After sitting dormant in a box for 20+ years (in the garage, no less), I had slim expectations of the drives being in a functional state. It was a good thing my expectations were low: the drives were both dead.
When I say dead, what I mean is this: The drive head would not move to read from the 3.5″ floppy disk. Also problematic: the auto eject button would not work. Insert a disk inside and it would stay inside.
At this point, the story could have ended, but I am a persistent individual.
Make no mistake: this article is not a full how-to guide. Rather, it collects a series of useful links to videos and teardowns that will help anyone who wants to tackle repairing one of these devices on their own.
Peppered in with the links are my commentaries on what I had to do to bring my drives back from the dead. So, without further ado…
Tear-down:
Start with iFixit’s excellent Apple 3.5″ Floppy Drive Teardown. Keep the screws organized and separated as you disassemble the unit.
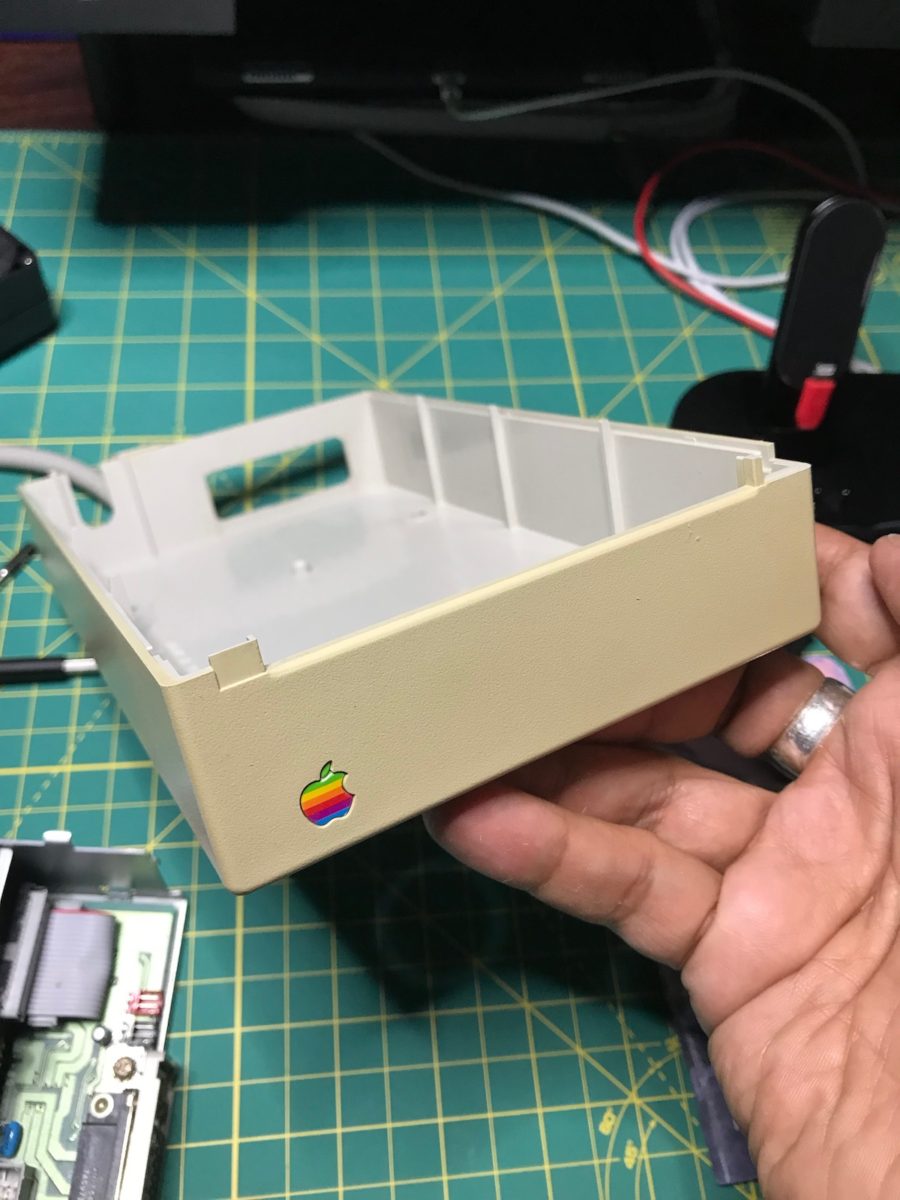
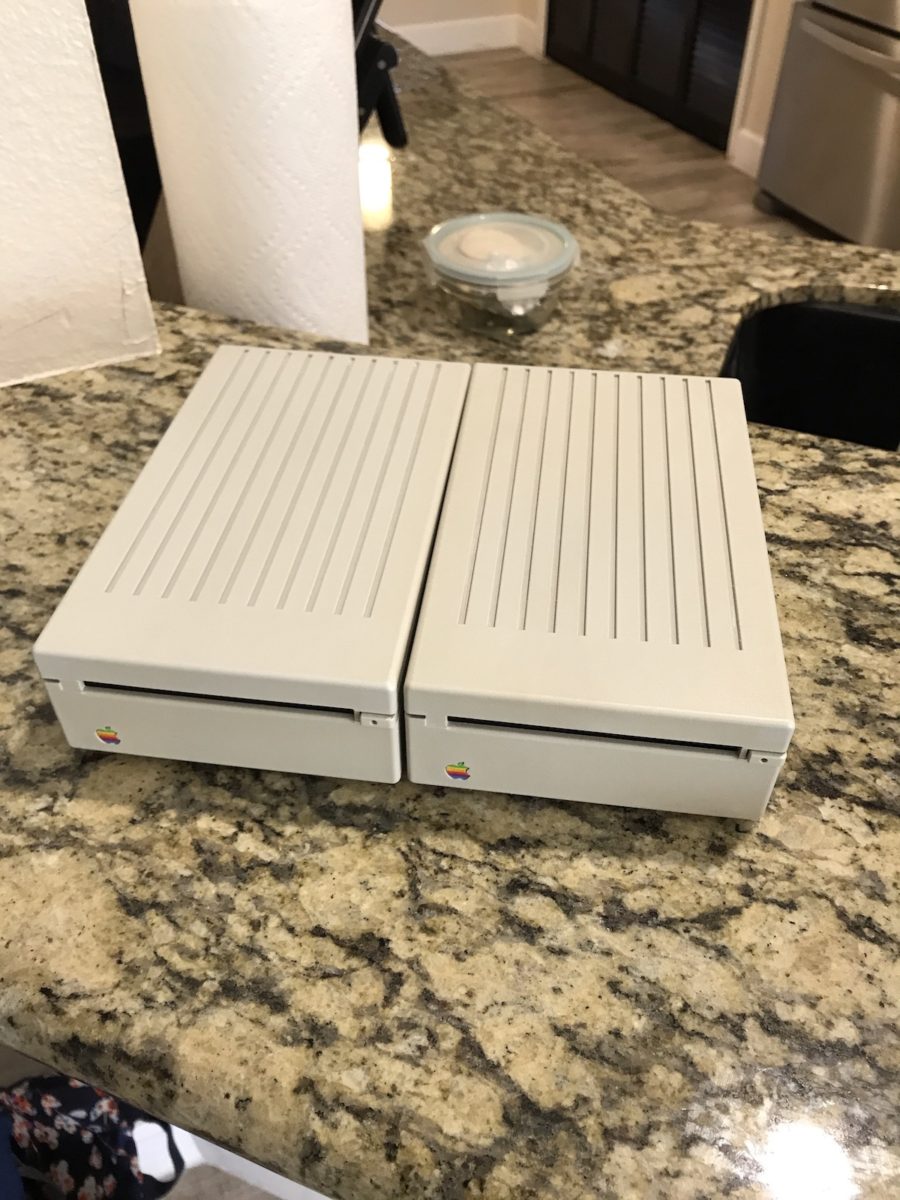
Once the drive was torn down, I proceeded to clean the plastic top and bottom case with some mild soap and water. Then I left the case out to dry. Both drives look significantly yellow.
In addition to cleaning the drives, I used Clorox Wipes to thoroughly clean the drive cables, to remove years of dust and a slightly sticky residue.
Retro-brite:
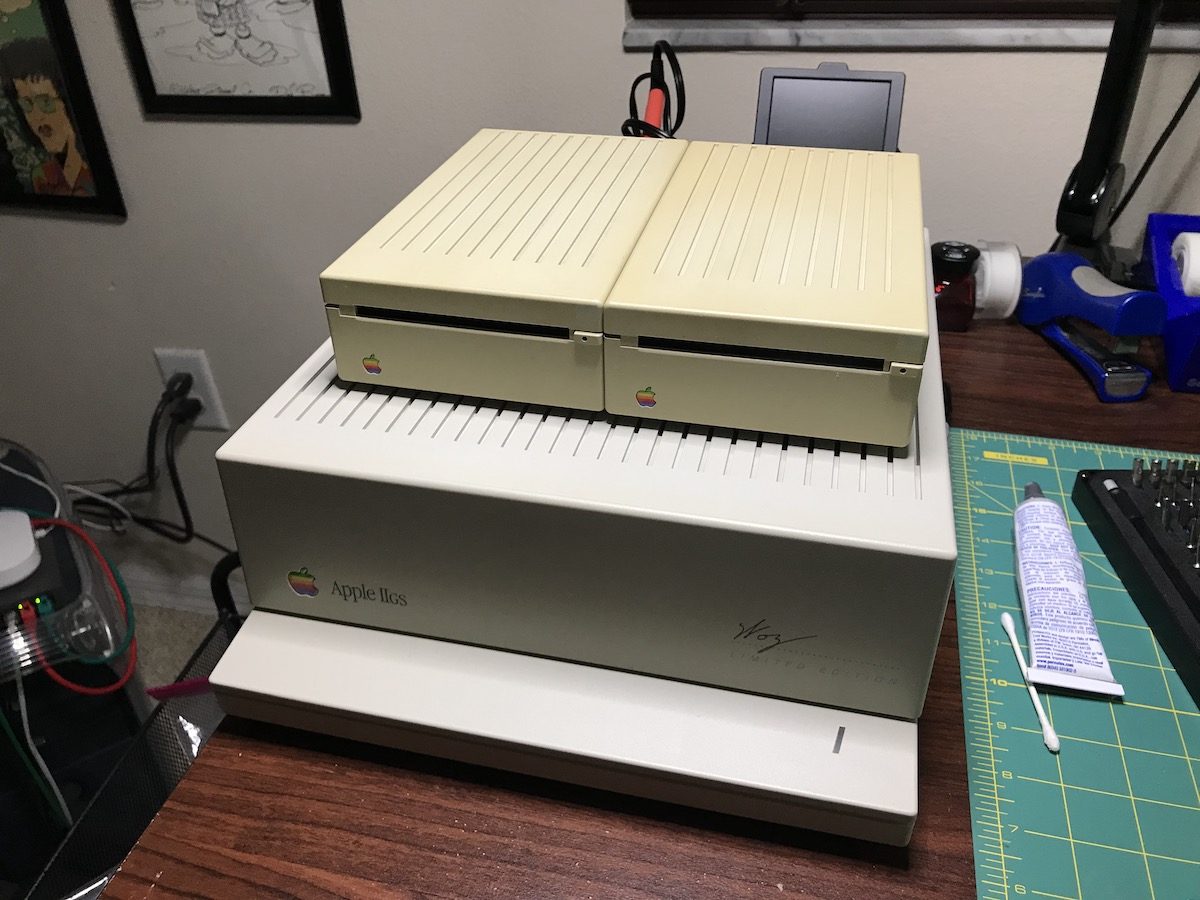
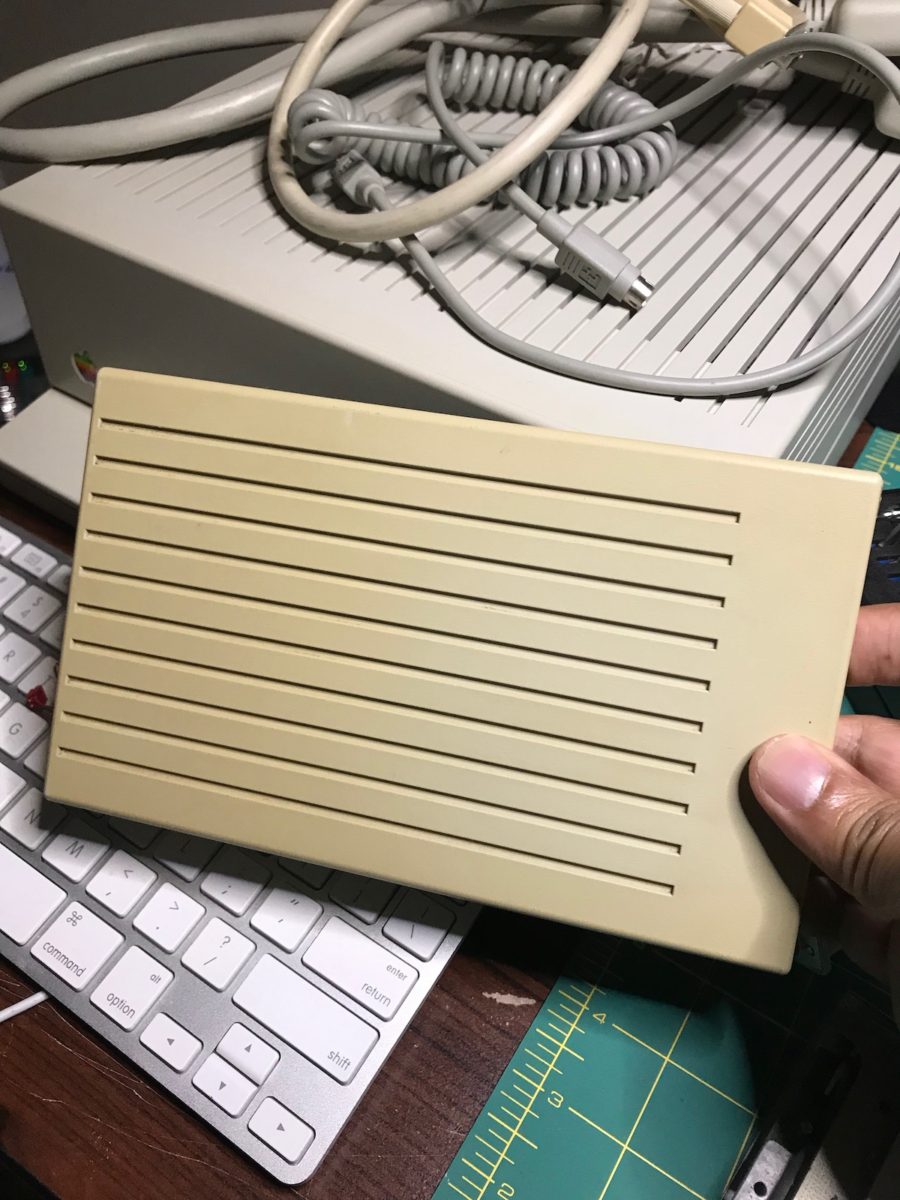
I applied RetroBrite to remove the yellowing off both drives. You can see the results below.
Pro-Tip: Apply the retrobrite solution with a wooden stain applicator. Make sure to use tape to cover the Apple logos on the case, to keep them from flaking. Lastly, put the case in a plastic sealable bag and leave out in the sun for 2-4 hours. You might have to repeat this process two times for best results.
Videos:
I’ve watched nearly every video on fixing an Apple 3.5″ drive. The clearest one, in my opinion, is from Adrian Black:
In the video, Aaron dissassembles the drive, cleans the parts, and adds new lubricant to all the areas that the drive needs. It’s very clear and straightforward. You’ll want to watch the video once to take it all in before attempting the repair. I found myself pausing the video in places to work through it step-by-step.
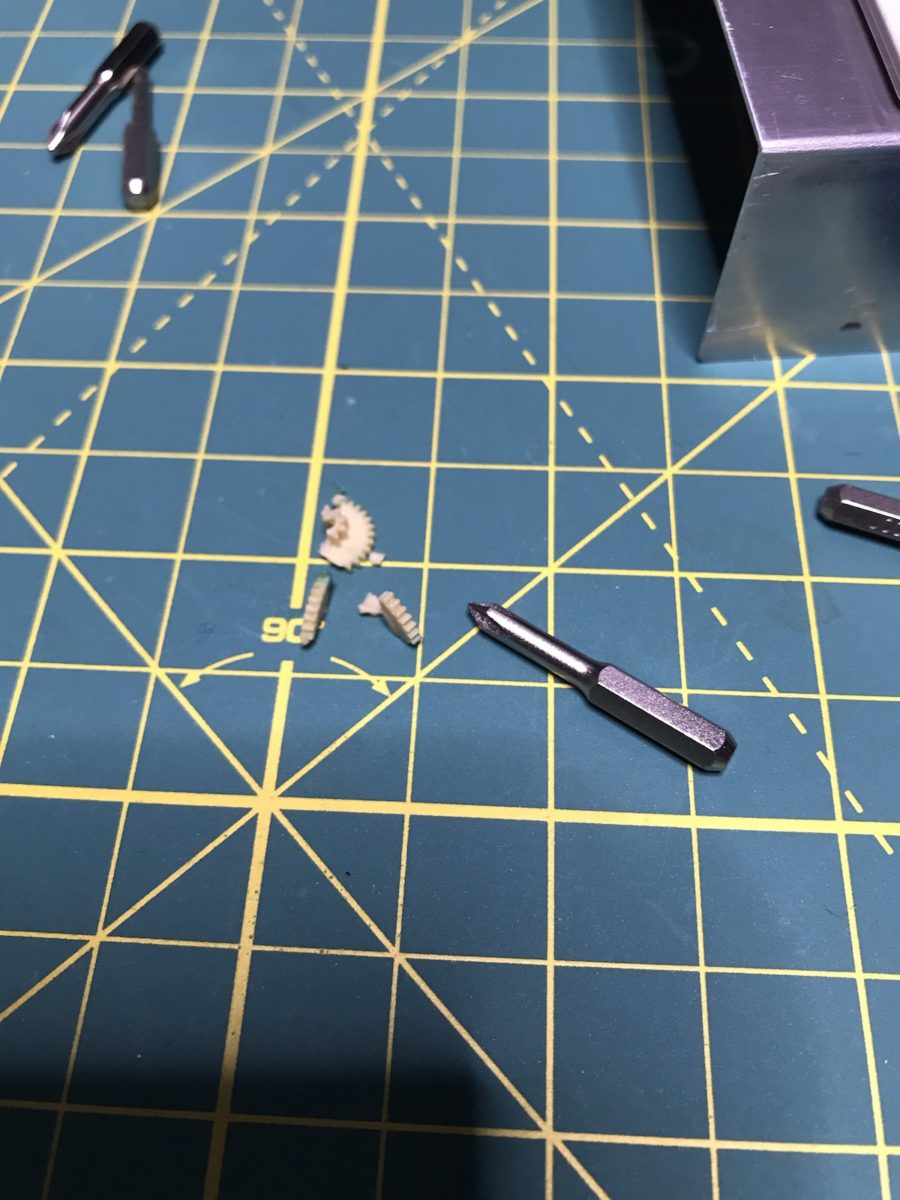
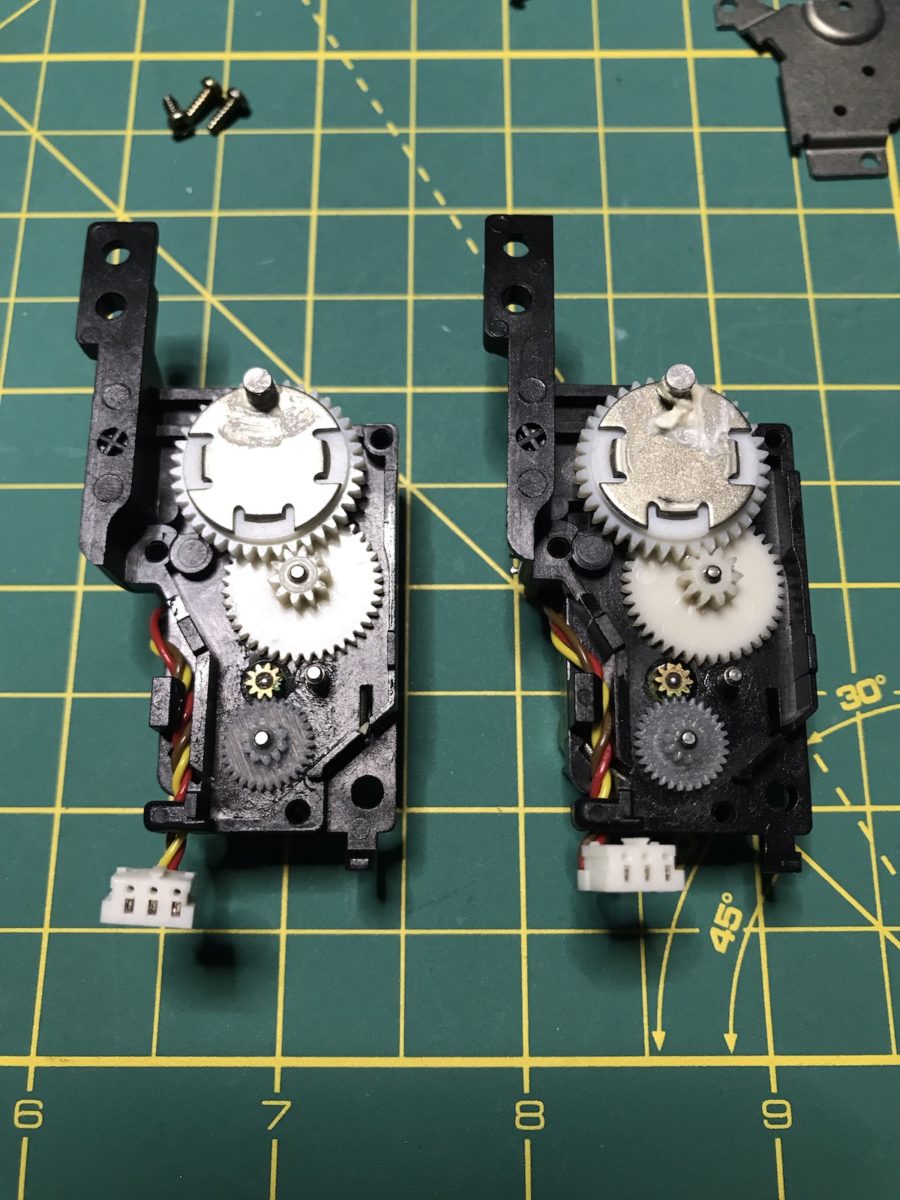
Aaron’s video also covers one of the biggest culprits to non-functioning Apple 3.5″ drives: the dreaded broken auto-eject gear. This happened on BOTH my 3.5″ floppy drives, and I’d wager it will happen to every 30+ year old Apple 3.5″ floppy drive sooner than later.
Aaron offers guidance on where to buy a replacement small gear to get the auto-eject assembly to work again. More on that soon…
Another good video to watch on the subject is mspysu79’s video:
Watching a few videos on the subject, you’re bound to pick up something new that you didn’t already realize. Taking the drive apart is easy, but it requires patience. This is not something I would advise rushing through. Do it right!
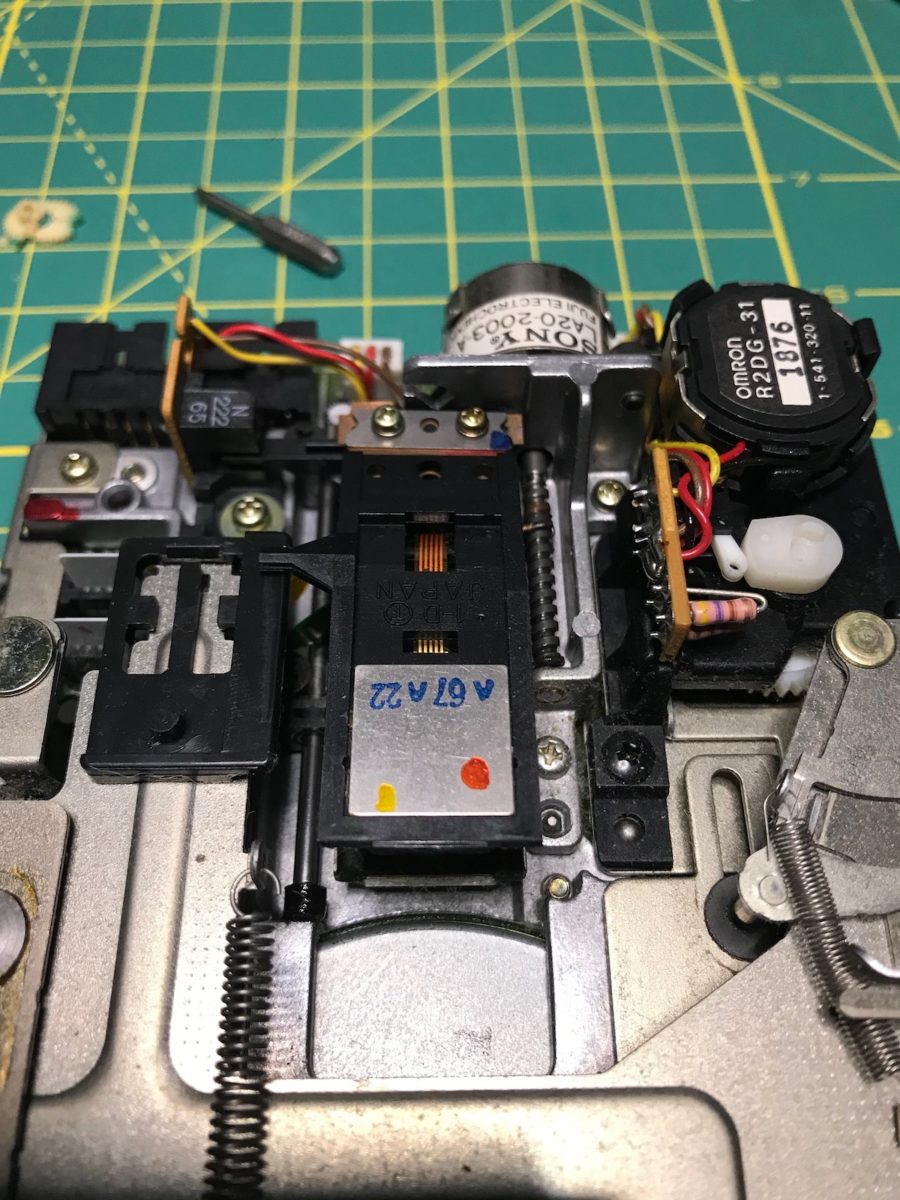
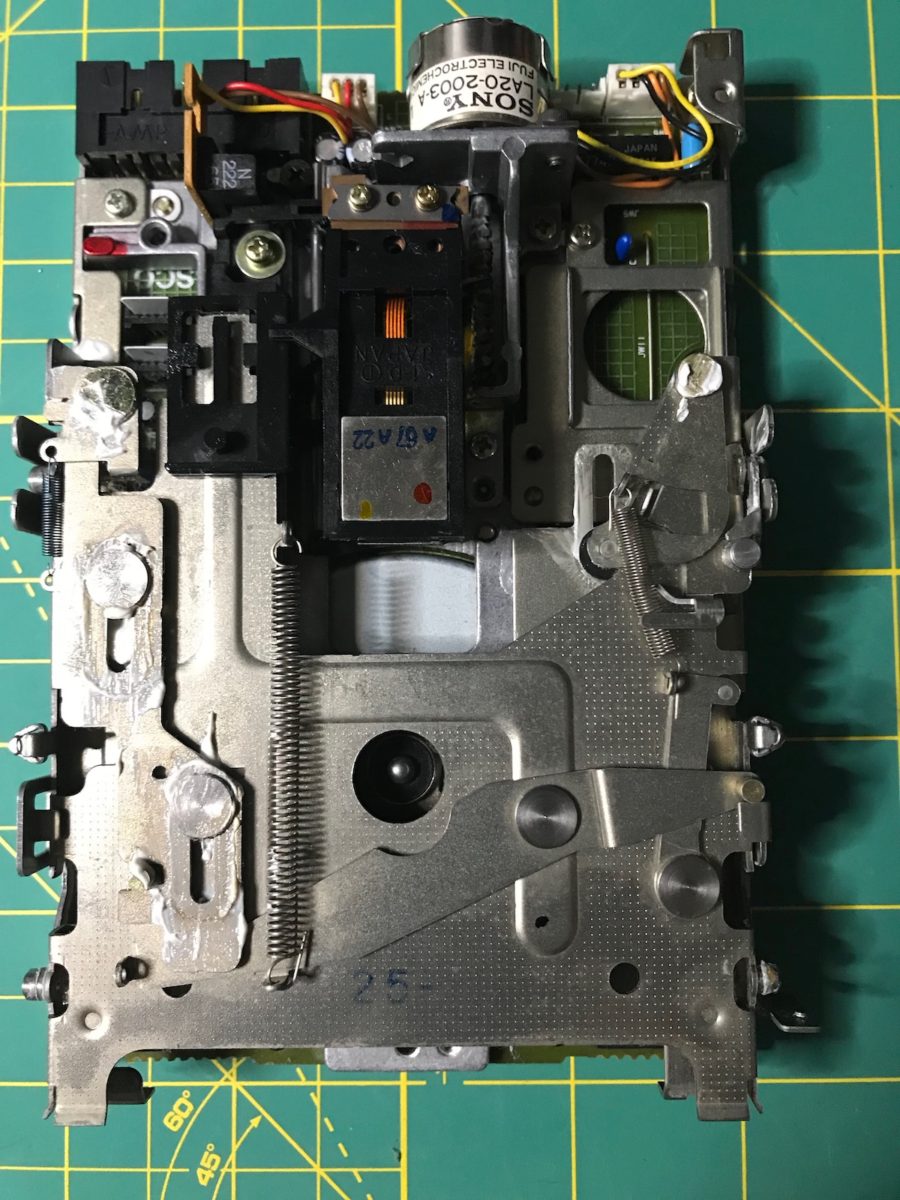
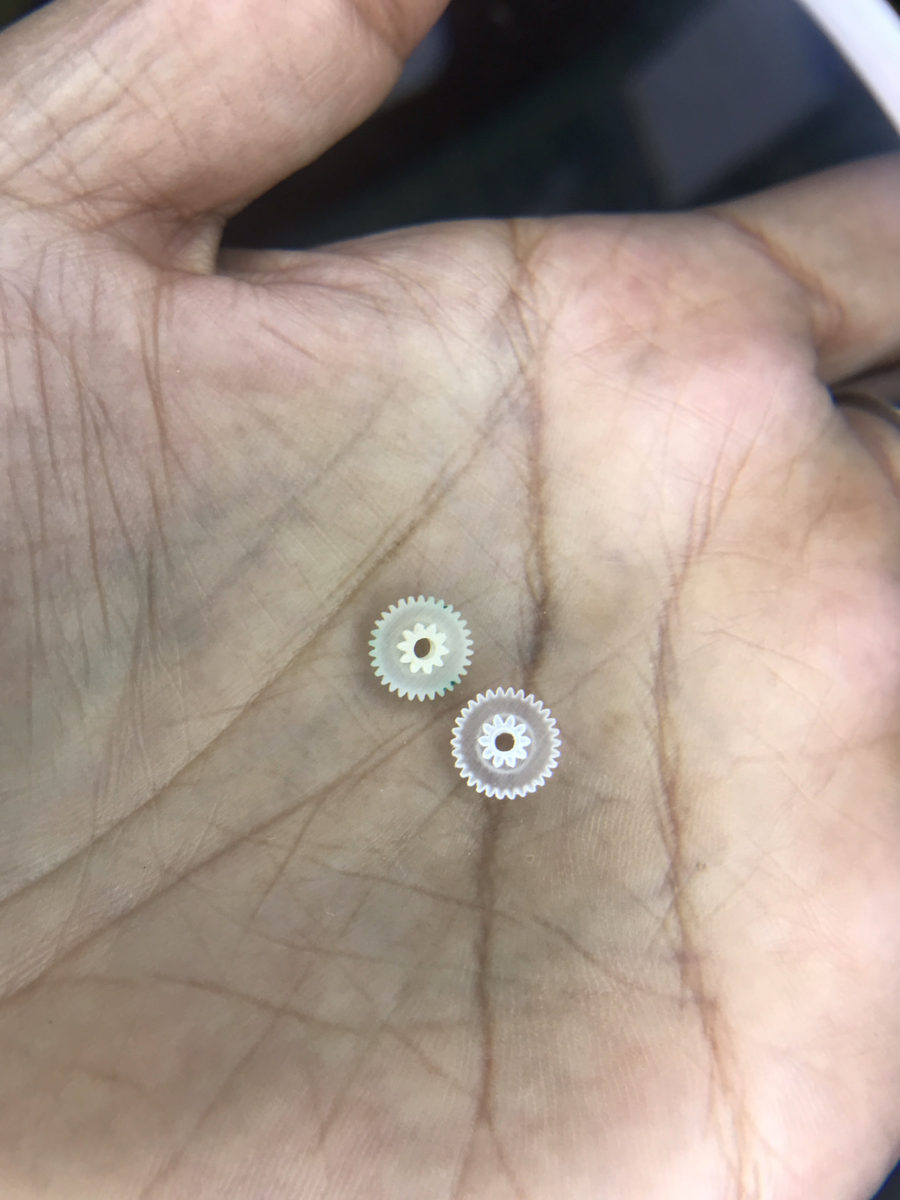
Now about those auto-eject replacement gears… I recommend ordering them directly from Vesperworks and NOT through Shapeways. There is a noticeable difference in quality between the two gears. The Shapeways gears never properly ejected my disks, and in fact – broke only after a few tests. I reached out to the designer at Vesperworks directly and he sent me a new set of gears that appear to be correct. The Shapeways gear is on the left. The Vesperworks gear is on the right. Look at the quality of the teeth on both gears. See for yourself…
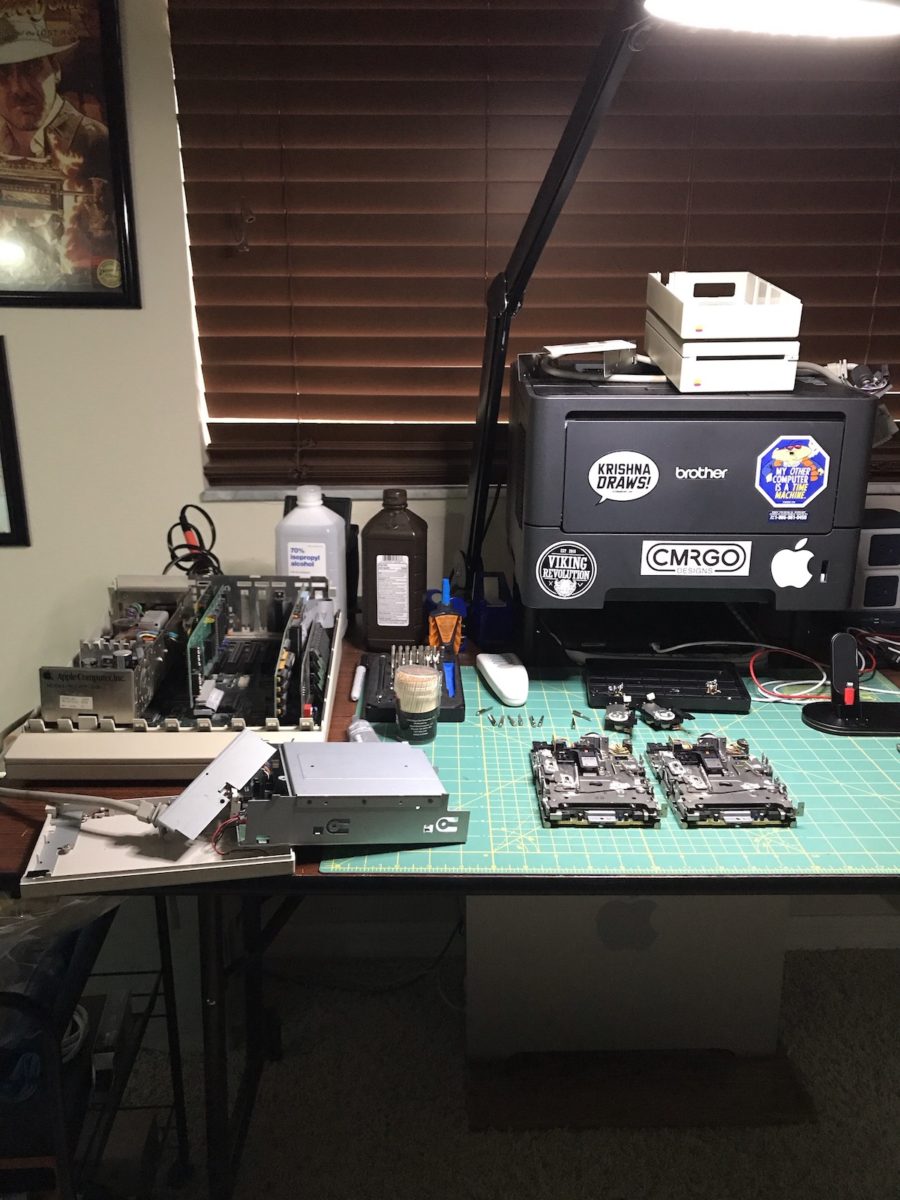
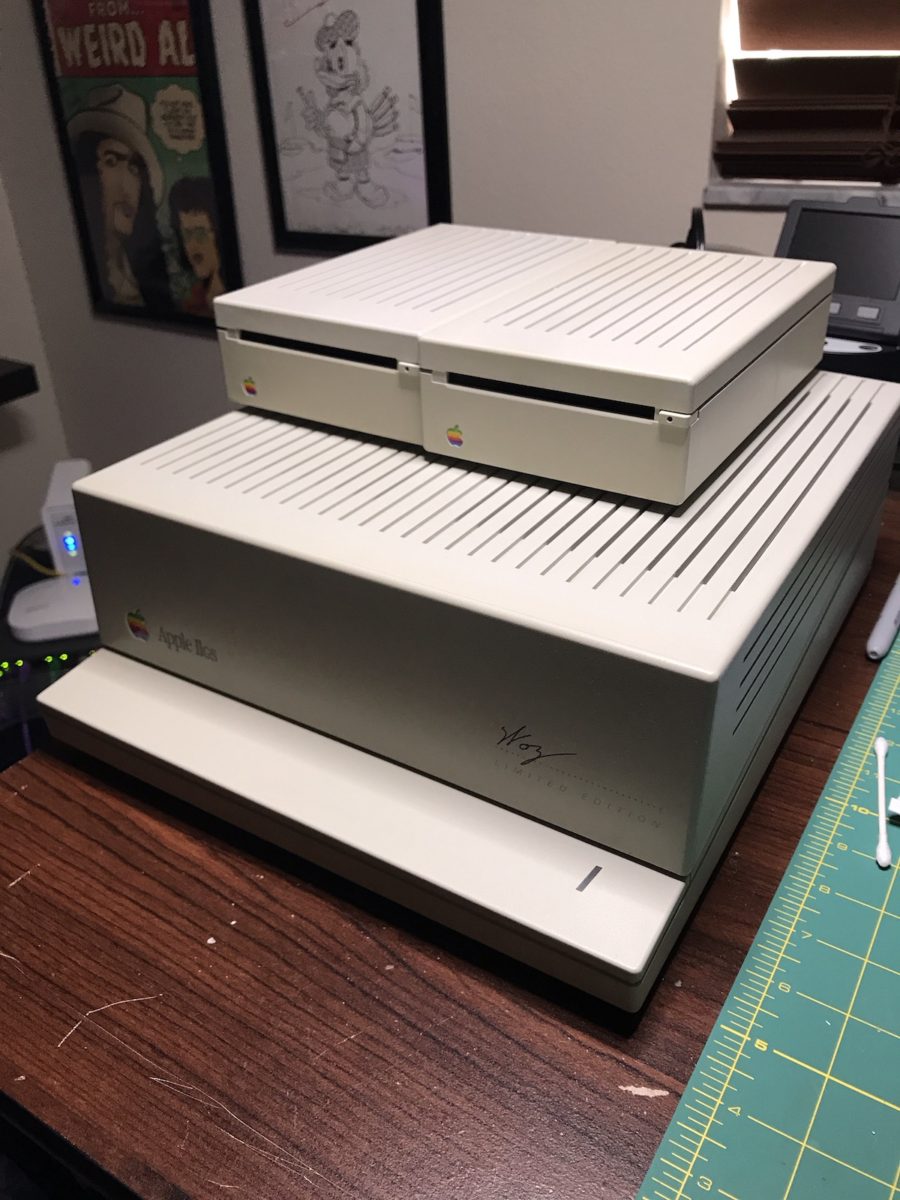
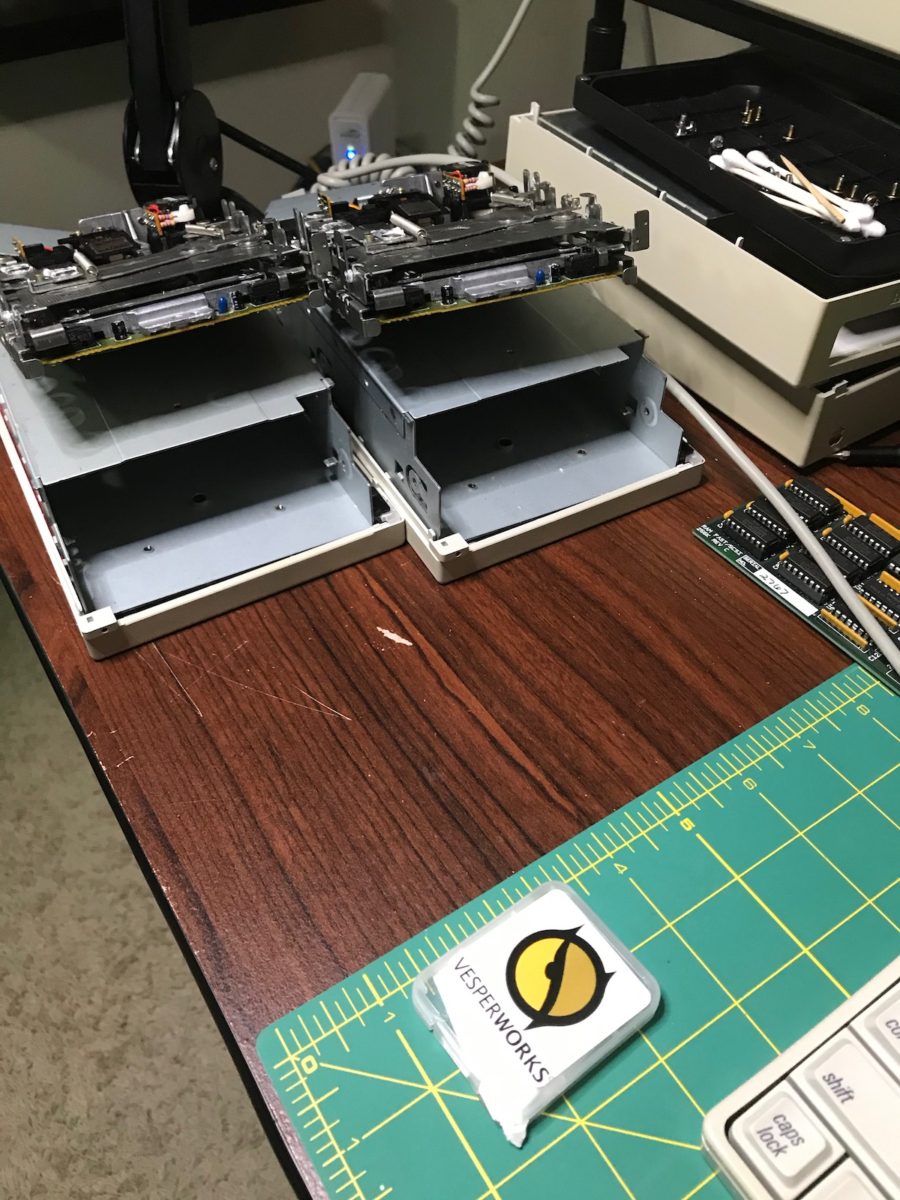
With the Vesperworks gears in place, I was able to test both 3.5″ drives out by plugging them into my Apple IIgs. Both drives not only read and wrote data correctly, but they also ejected each and every time. The gears sound a little louder compared to the ones that came with the original Apple 3.5″ drive, but it’s not too bad. My advice: Test your disk drives thoroughly before you reassemble the drive into its case. Here’s my testing setup:
With the drives repaired, it was time to look into getting video output. Stay tuned…
-Krishna



No comments yet. Be the first!