First Impressions: Sonnet eGPU Breakaway Box Developer Edition
Given the increased cost of the 2018 Mac mini, the integrated Intel U630 GPU remains a concern for many prospective buyers. I, too, was initially disappointed when Apple didn’t include options to configure the Mac mini with discrete graphics processing. While I don’t particularly understand Apple’s decision to go with one of the weakest integrated graphics processing units (GPU) on the market, there are options for those who desire faster graphics performance.
But, I’m getting ahead of myself…
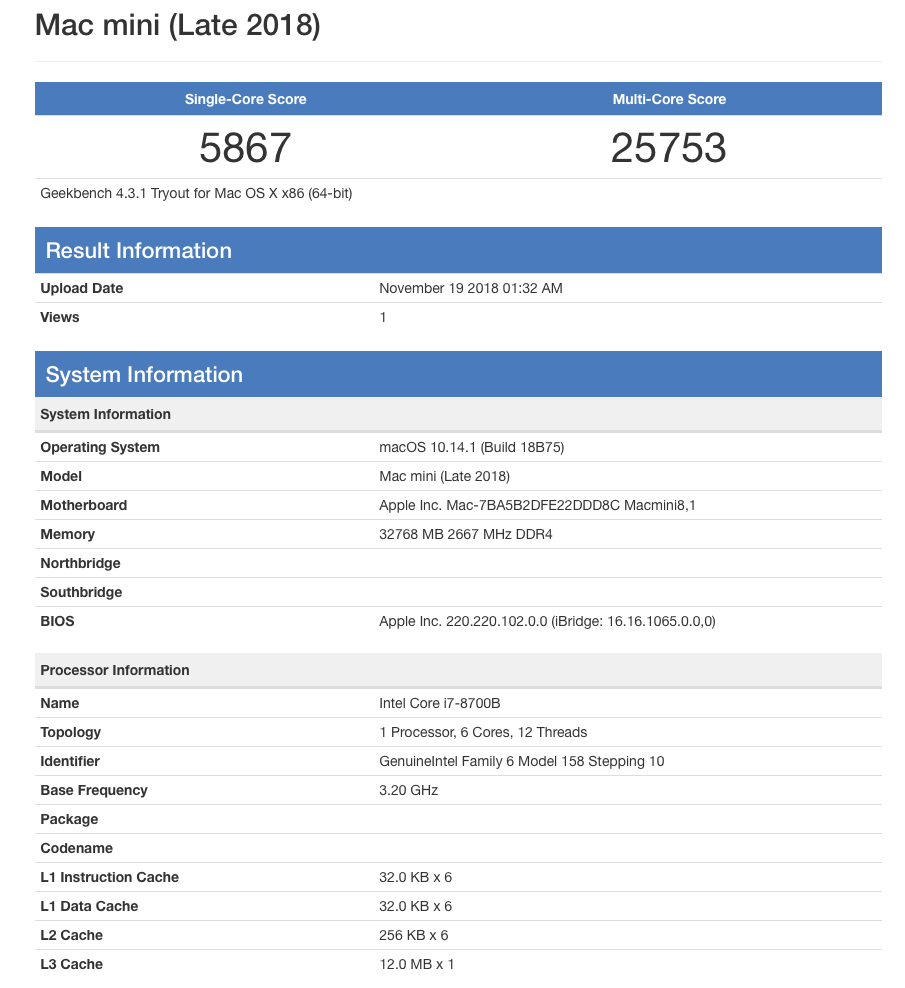
Let’s take a look at some benchmarks. From a CPU perspective, the six core i7 Mac mini does pretty well in both single and multi-core tests, with scores of 5867 and 25753, respectively.
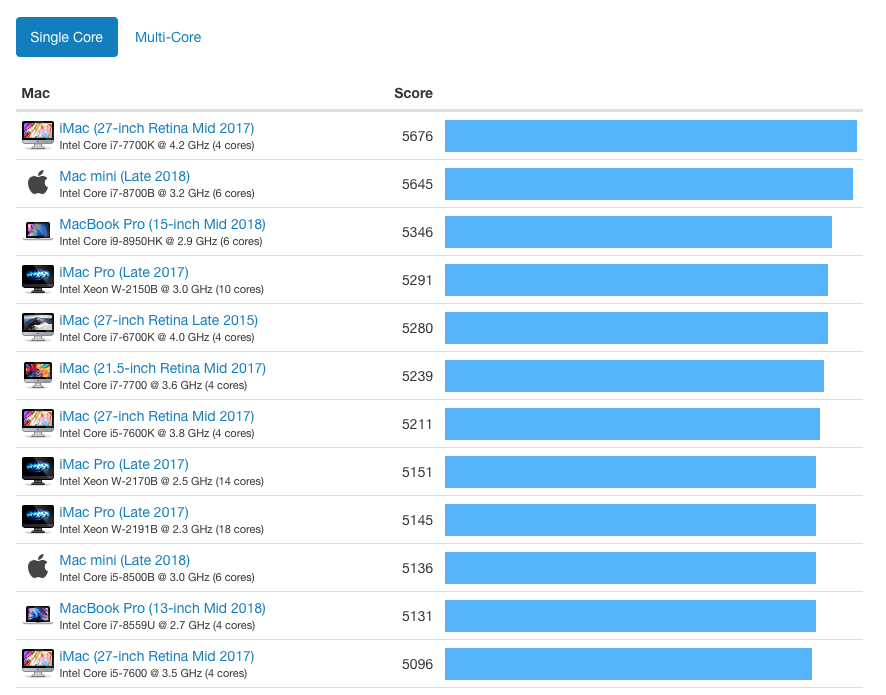
Below is the single core comparison of the 2018 Mac mini versus other Macs.
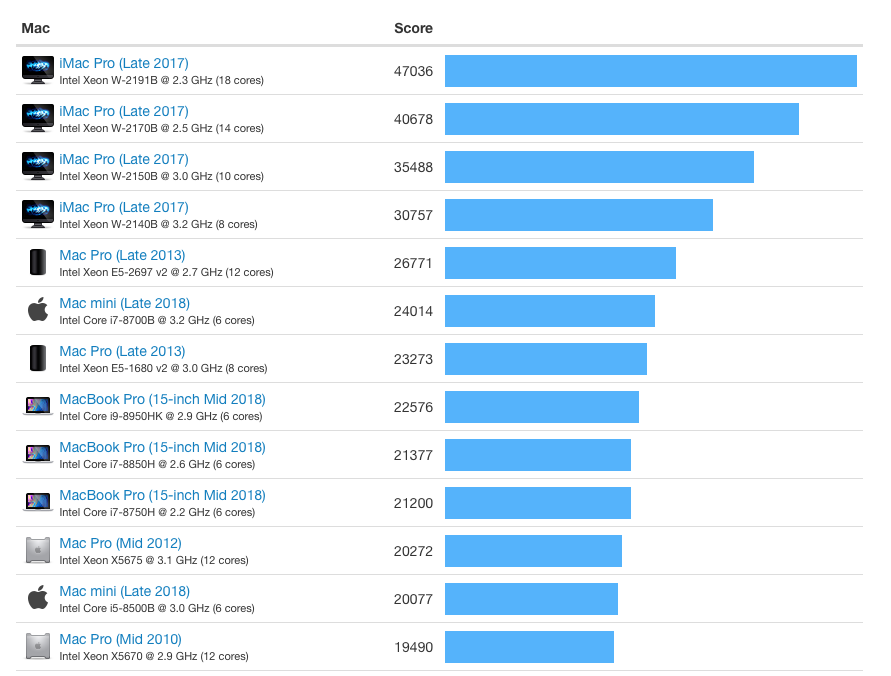
And next we have a comparison of multi-core results, showing the Mac mini versus other Mac models.
The Mac mini holds up pretty well in both single and multi-core tests.
But the Mac mini’s U630 integrated GPU tells another story.
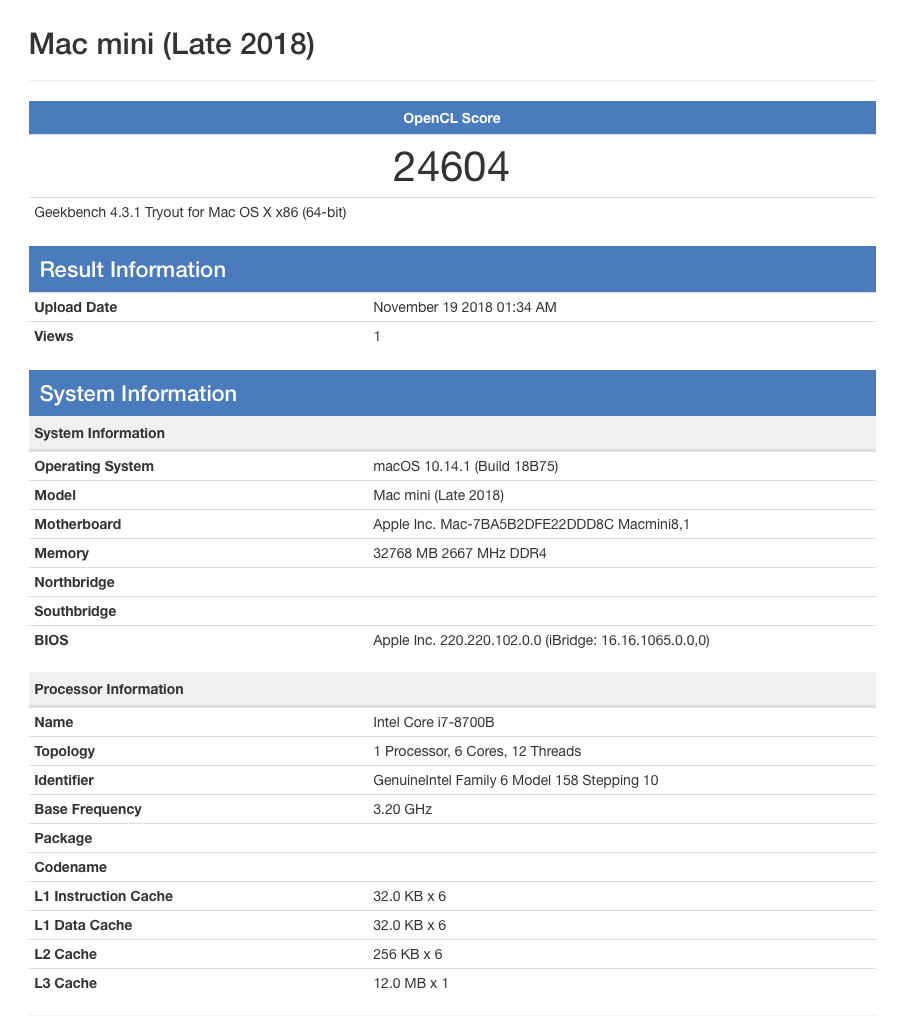
In my Geekbench tests, the Mac mini’s Intel U630 integrated GPU scored a measly 24604 for its openCL score. While the U630 is perfectly serviceable for most day-to-day applications (Word, Excel, Safari, Mail, etc.), its rather anemic when running professional apps like Maya, After Effects, Nuke and the like.
But there is a silver lining for Mac mini users who want beefier graphics capabilities from their machine. Thanks to its four speedy Thunderbolt 3 ports and the availability of external graphics processing units (eGPU), the 2018 Mac mini’s graphics capabilities can be significantly improved upon.
Because I rely on a swath of design tools for my professional and academic work, I knew I would need an eGPU to really leverage the power of my Mac mini. So, within a day of ordering my new computer, I placed an order for the Sonnet BGFX Breakaway Box (Developer’s Edition) eGPU (Amazon price: $439).
What’s in the Box
I ordered the Breakaway Box Developer’s Edition because, for the price, it included everything I would require to give my Mac mini enhanced GPU performance: an 8GB Radeon RX 580 GPU card, a Thunderbolt 3 cable, and the eGPU enclosure. I could have easily opted to purchase the Breakaway box separately and shopped around for other compatible Mac graphics cards if I wished.
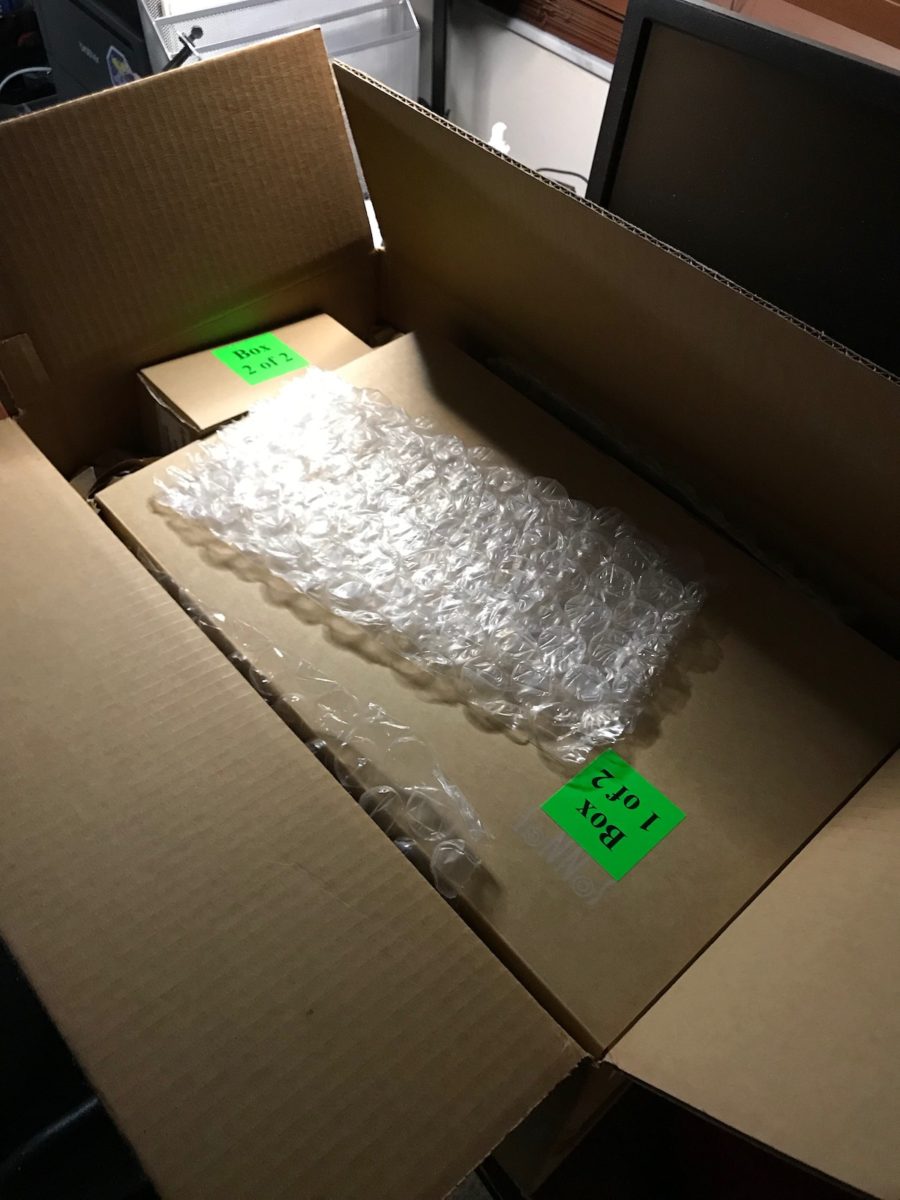
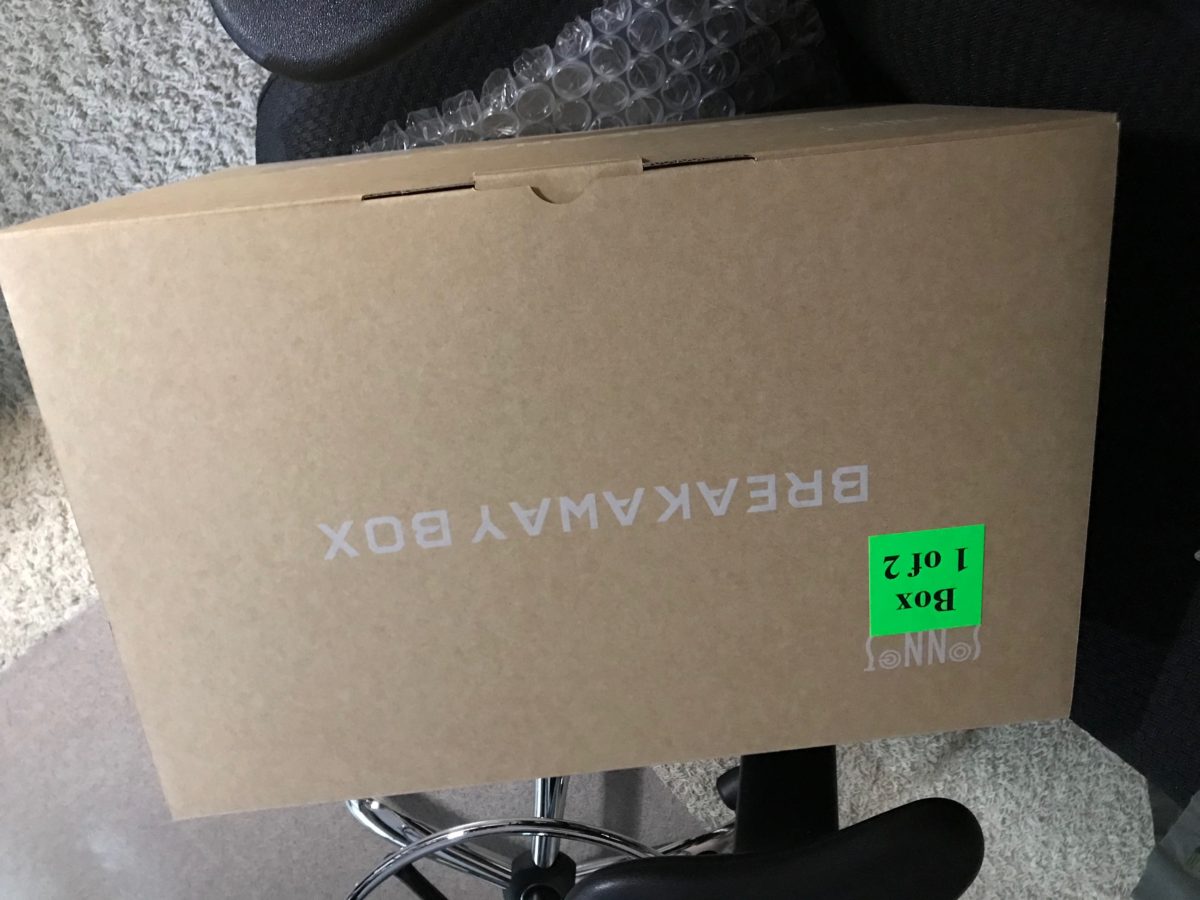
Let’s get into some unboxing goodness. The enclosure and GPU come in separate boxes, within a larger box. My Breakaway box was ordered from Amazon, but shipped from Sonnet.
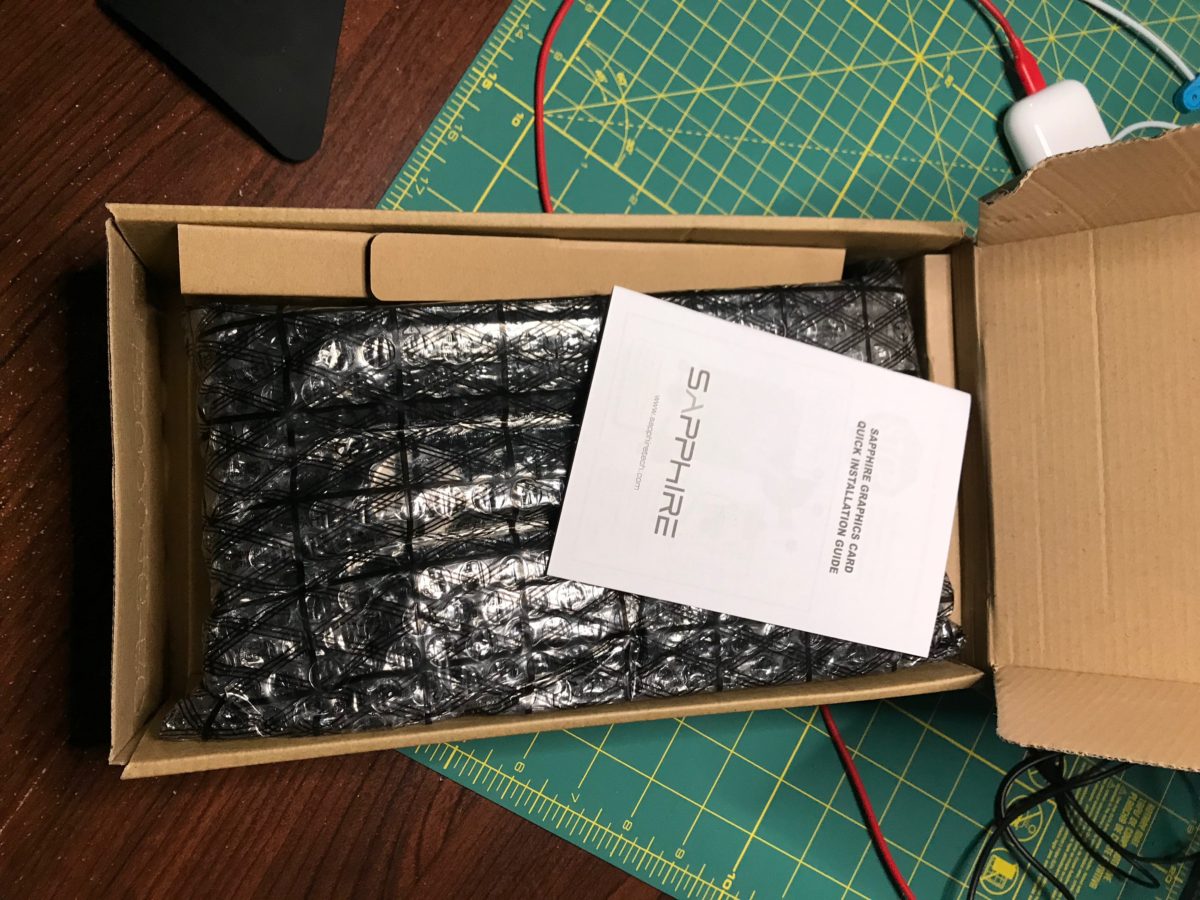
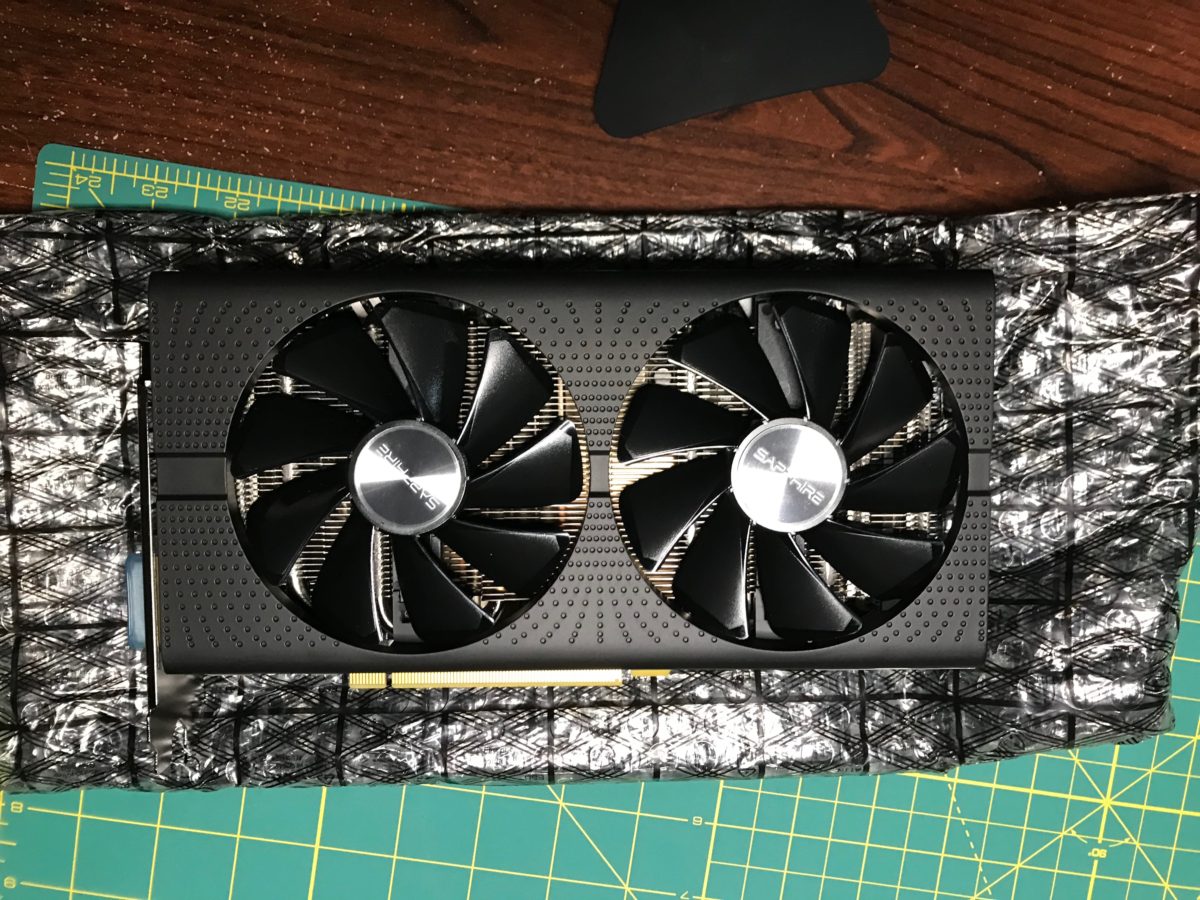
Inside the GPU box is a thoughtfully protected graphics card and accompanying documentation. The card itself is a Radeon RX 580 with 8GB of RAM. It’s not a top of the line card, but for my purposes (and budget) – it should be more than adequate. The card’s documentation is really bare-bones, only emphasizing the point that the graphics card needs power connectors from the power supply, in addition to plugging the GPU into a PCI-E slot. Weaksauce.
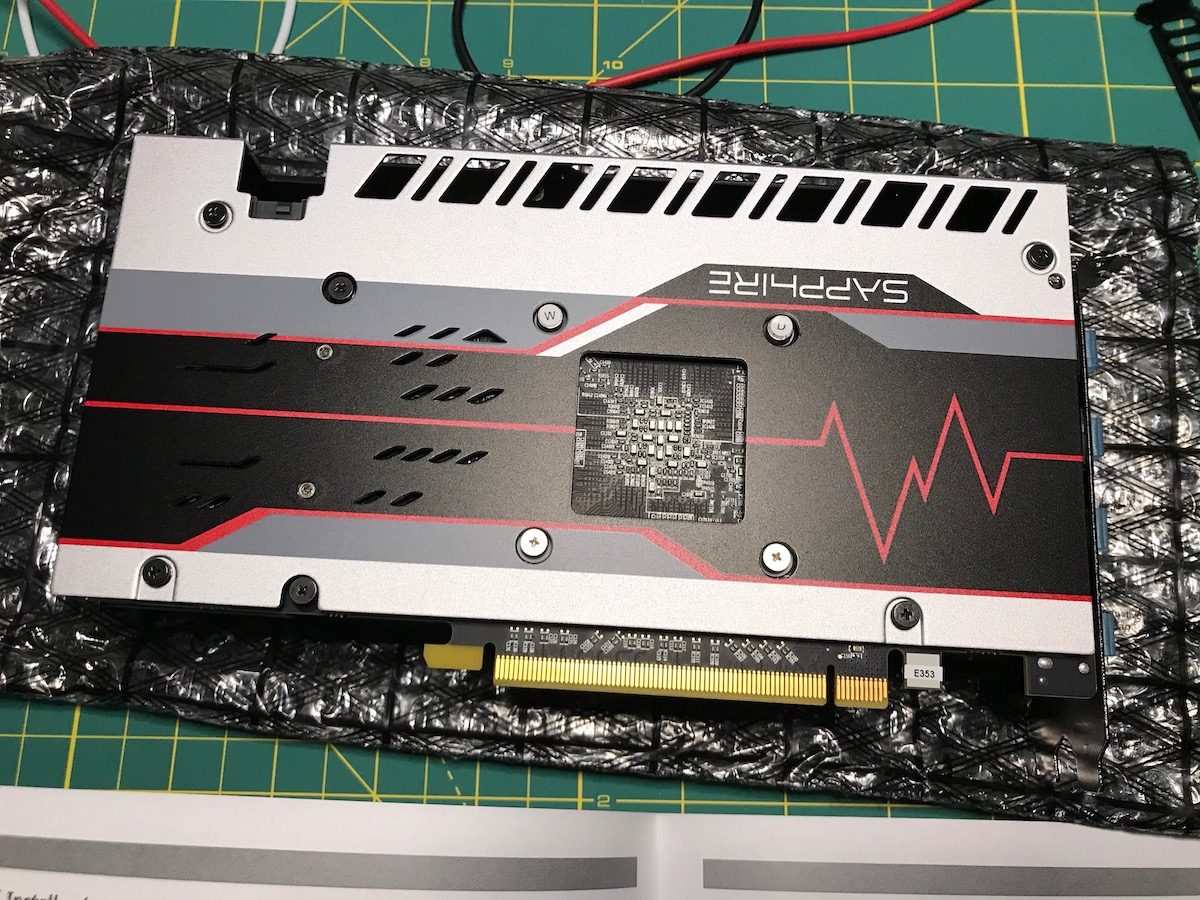
The Sapphire card comes equipped with two large fans. The other side features shielding with some decorative graphics. (Lightning graphics makes anything appear to go twice as fast.)
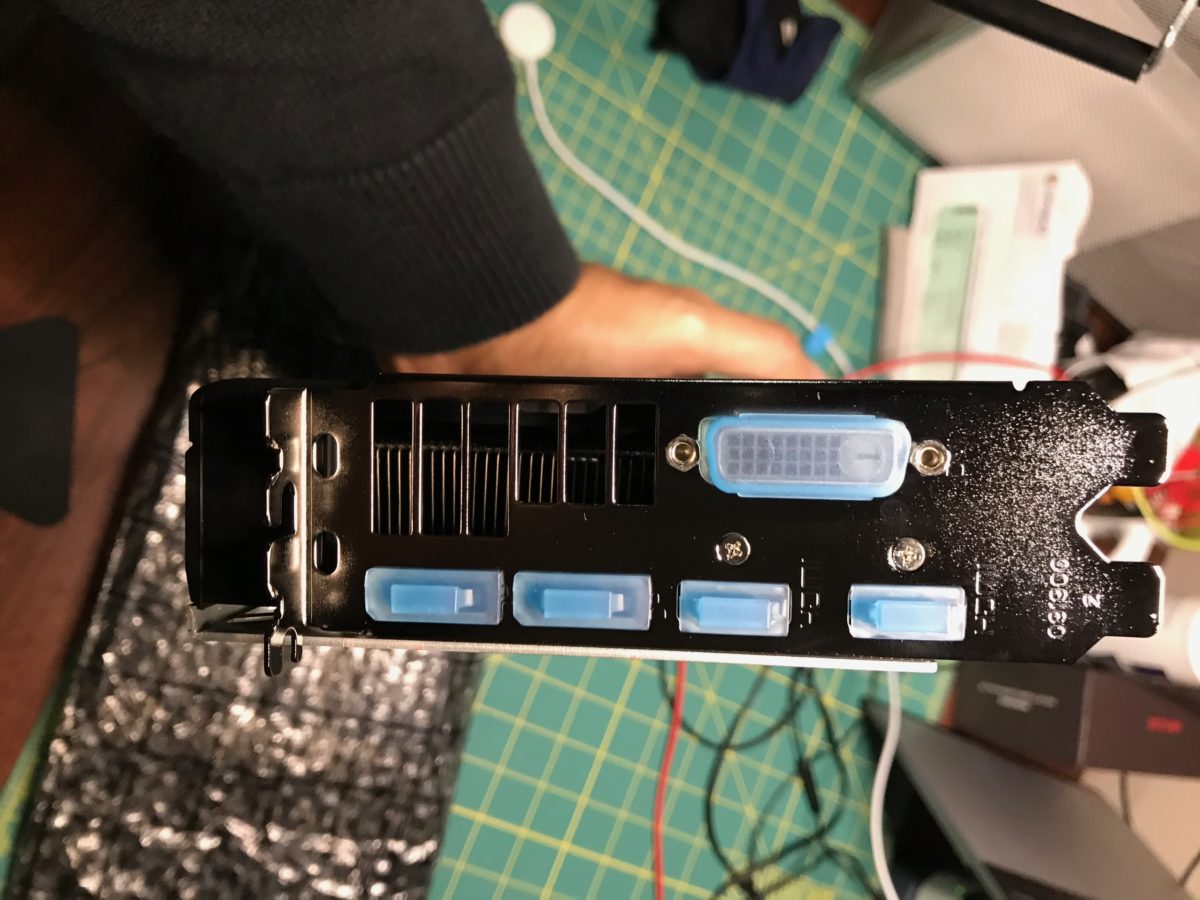
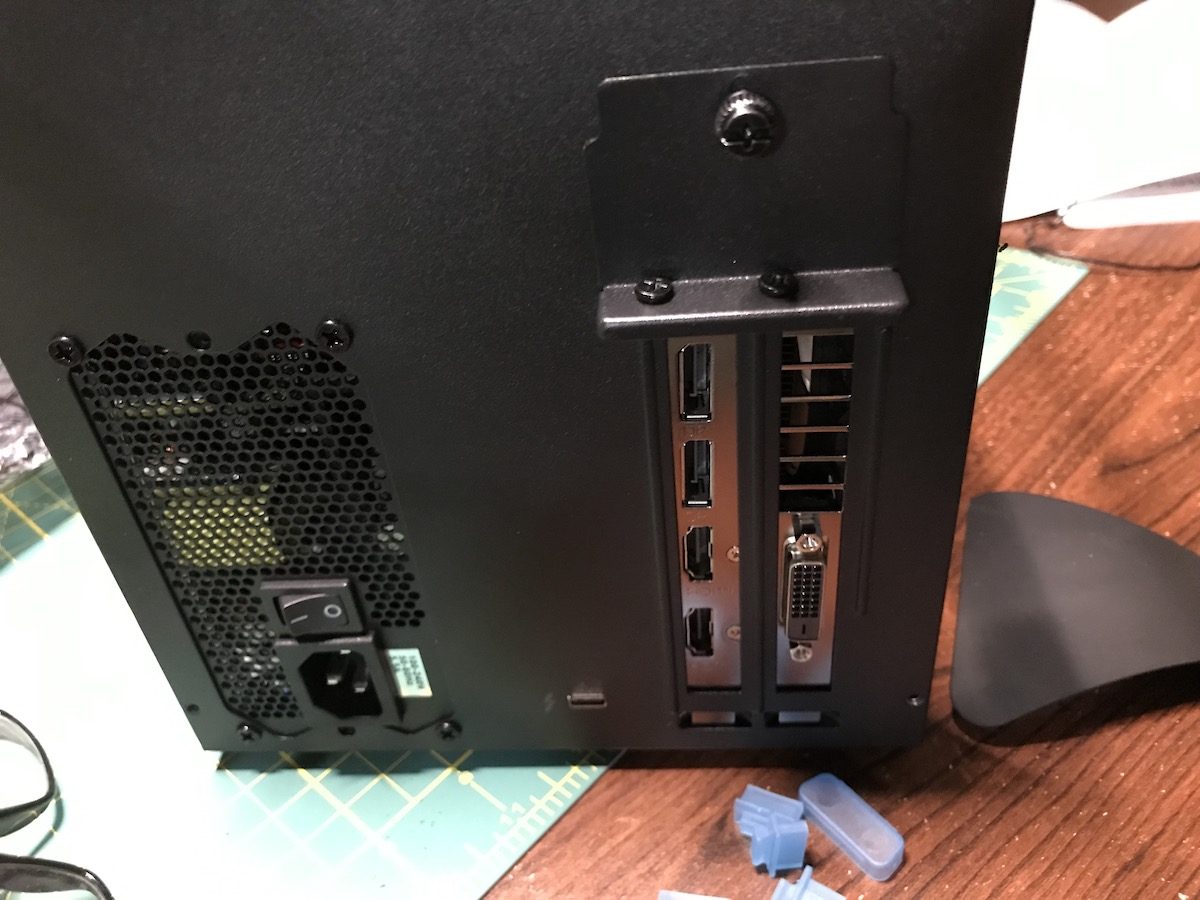
The back of the card includes one DVI port, 2 HDMI ports, and 2 Display Ports. Chances are, if you already have a few modern displays laying around, you’ll be able to use your cables without needing dongles.
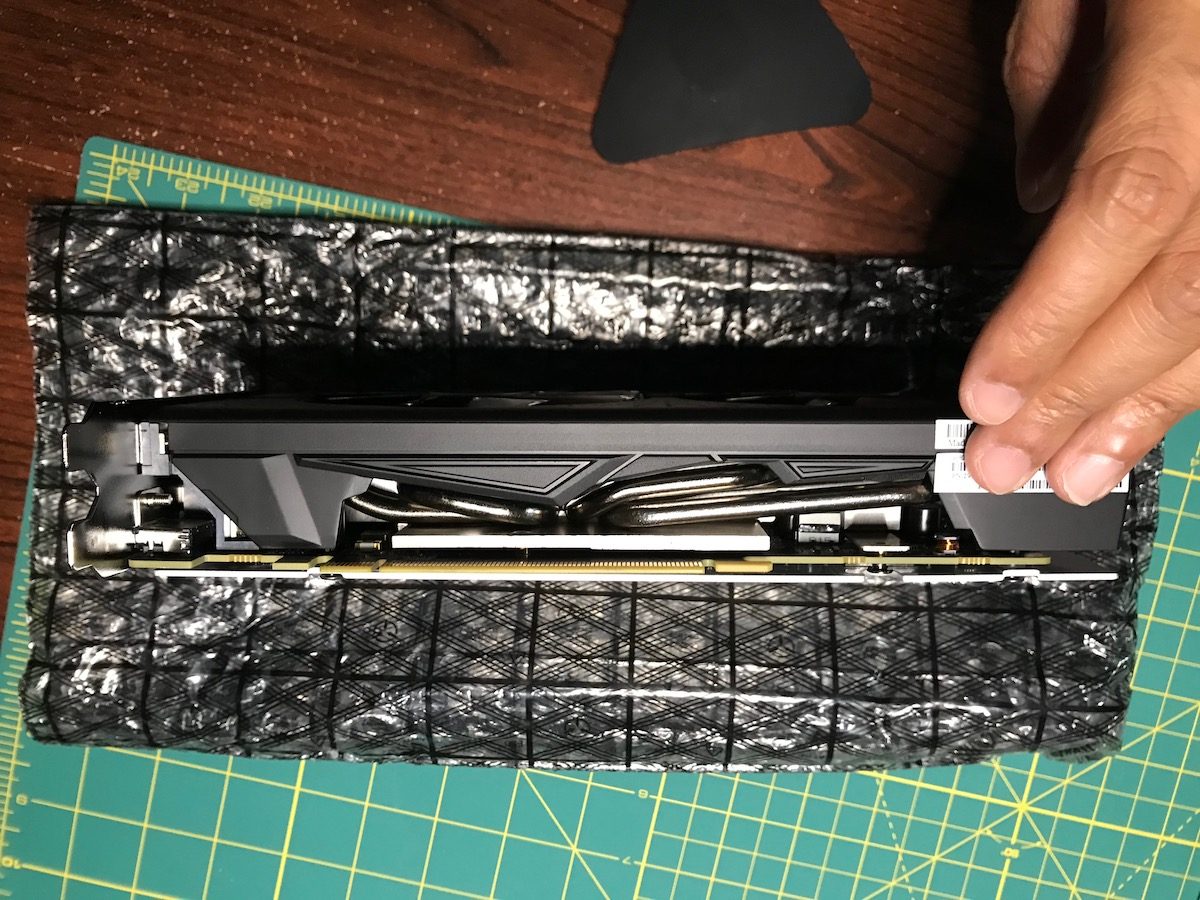
The card itself is rather thick, covering two PCI slots in width.
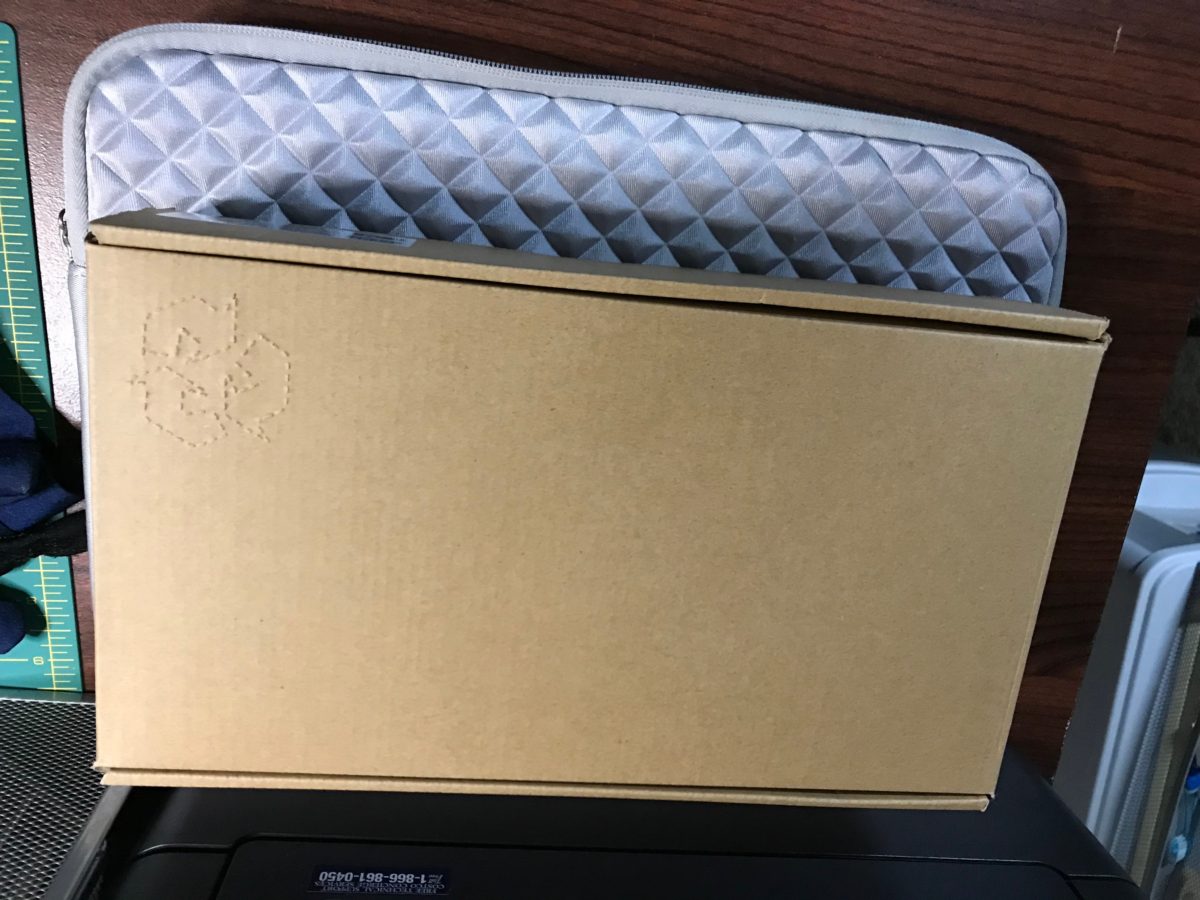
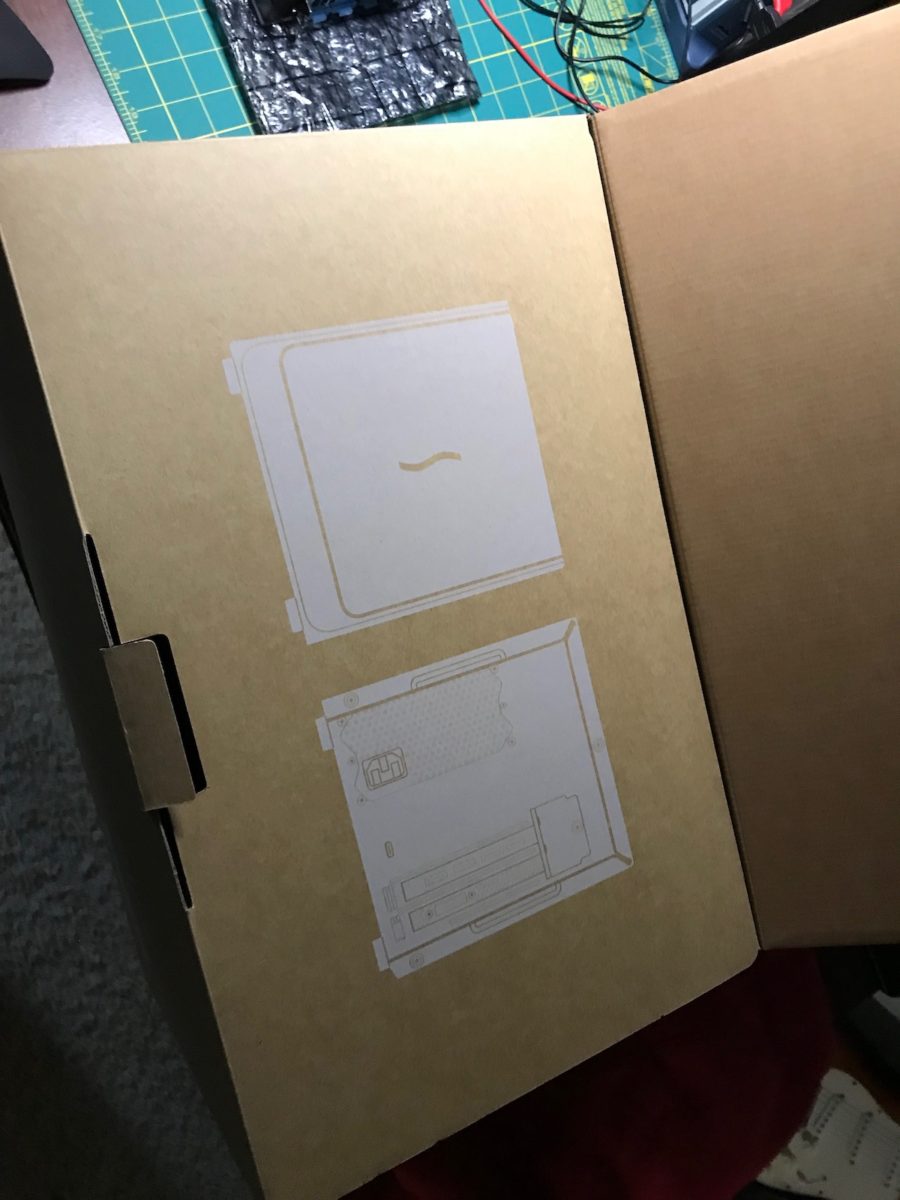
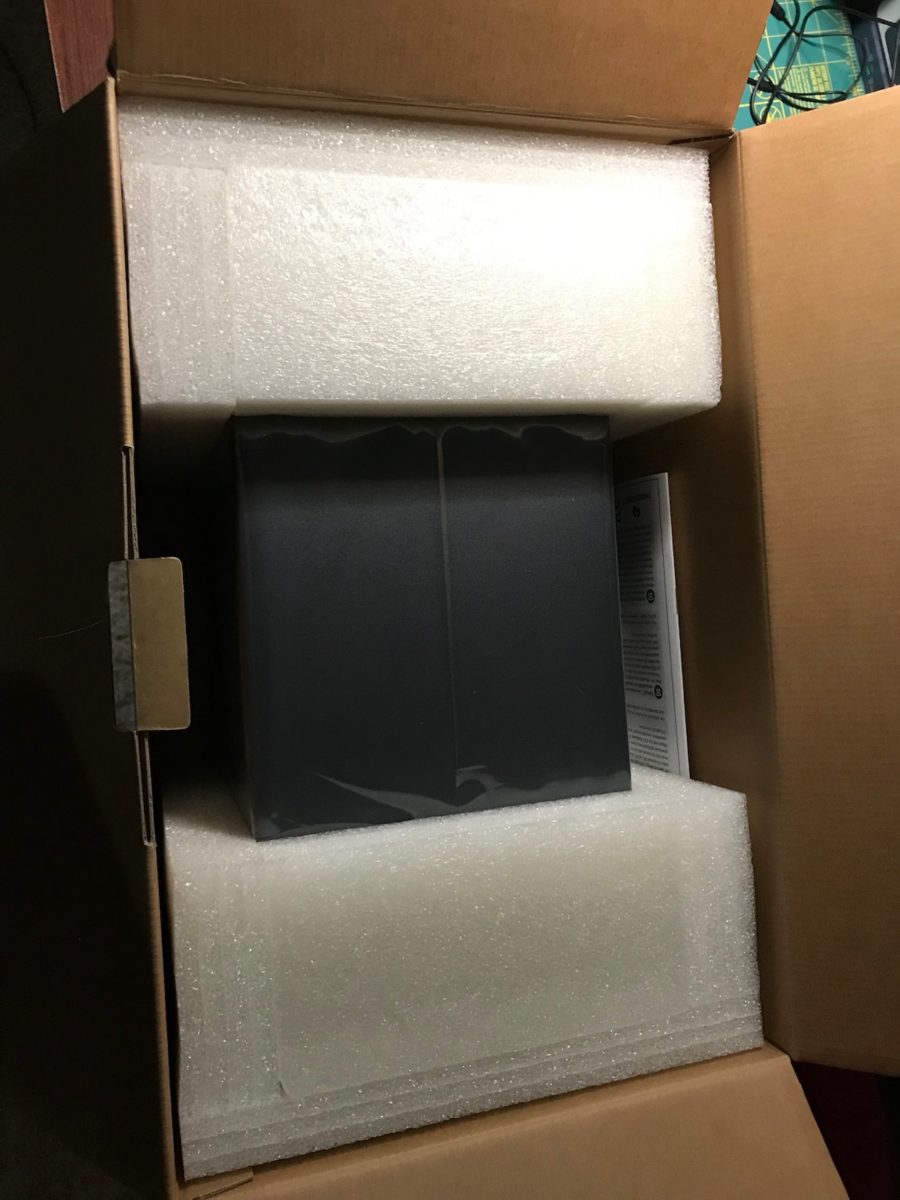
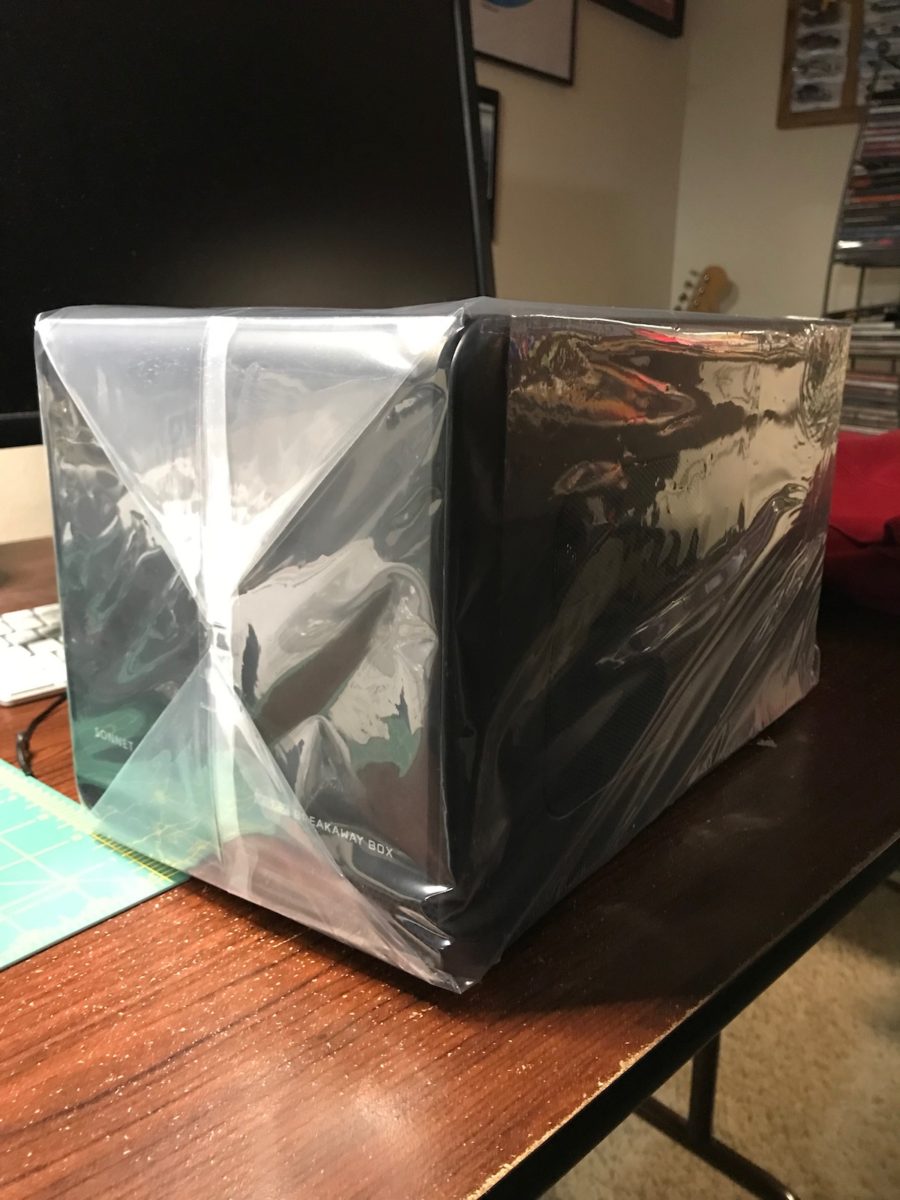
Next up is the eGPU enclosure itself. Like its accompanying graphics card, the enclosure comes well packed, with protective foam and a plastic cover to protect it during transit.
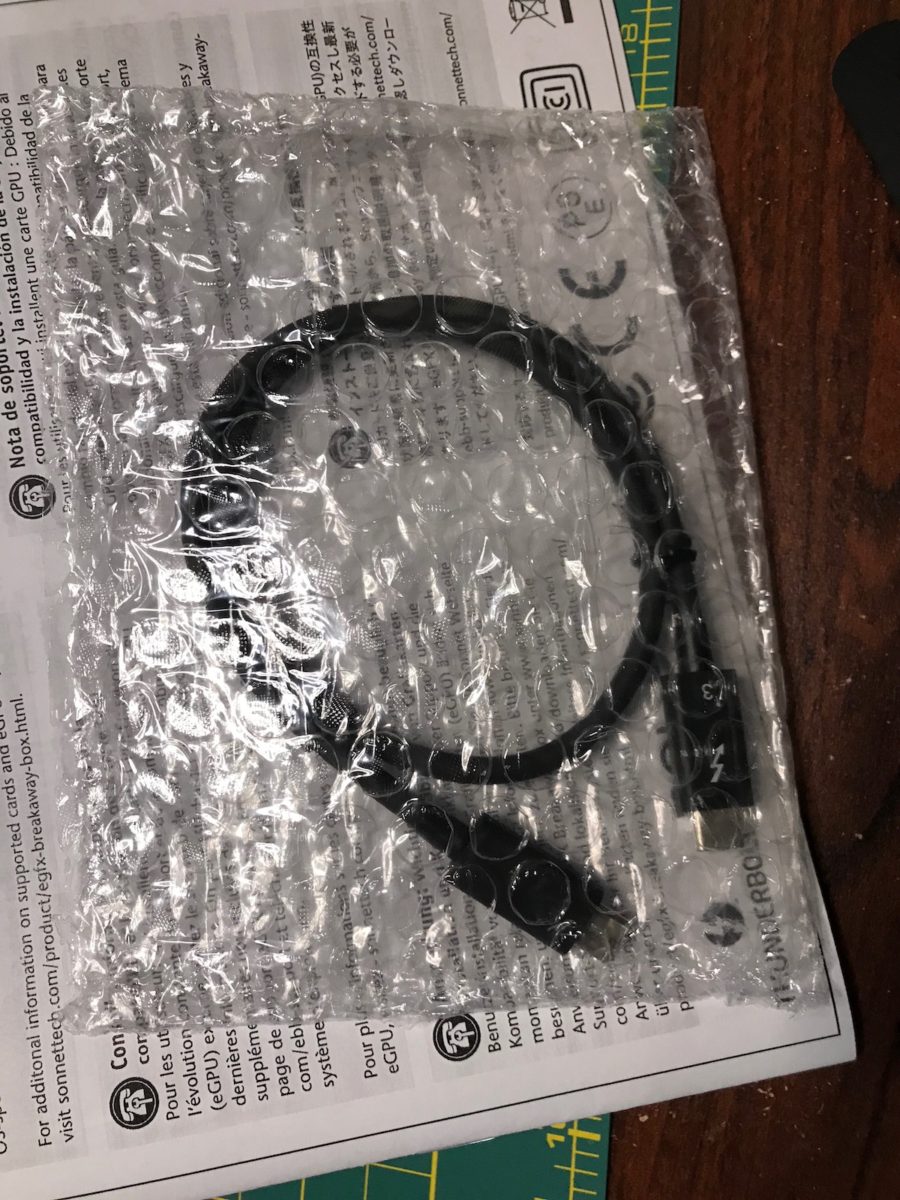
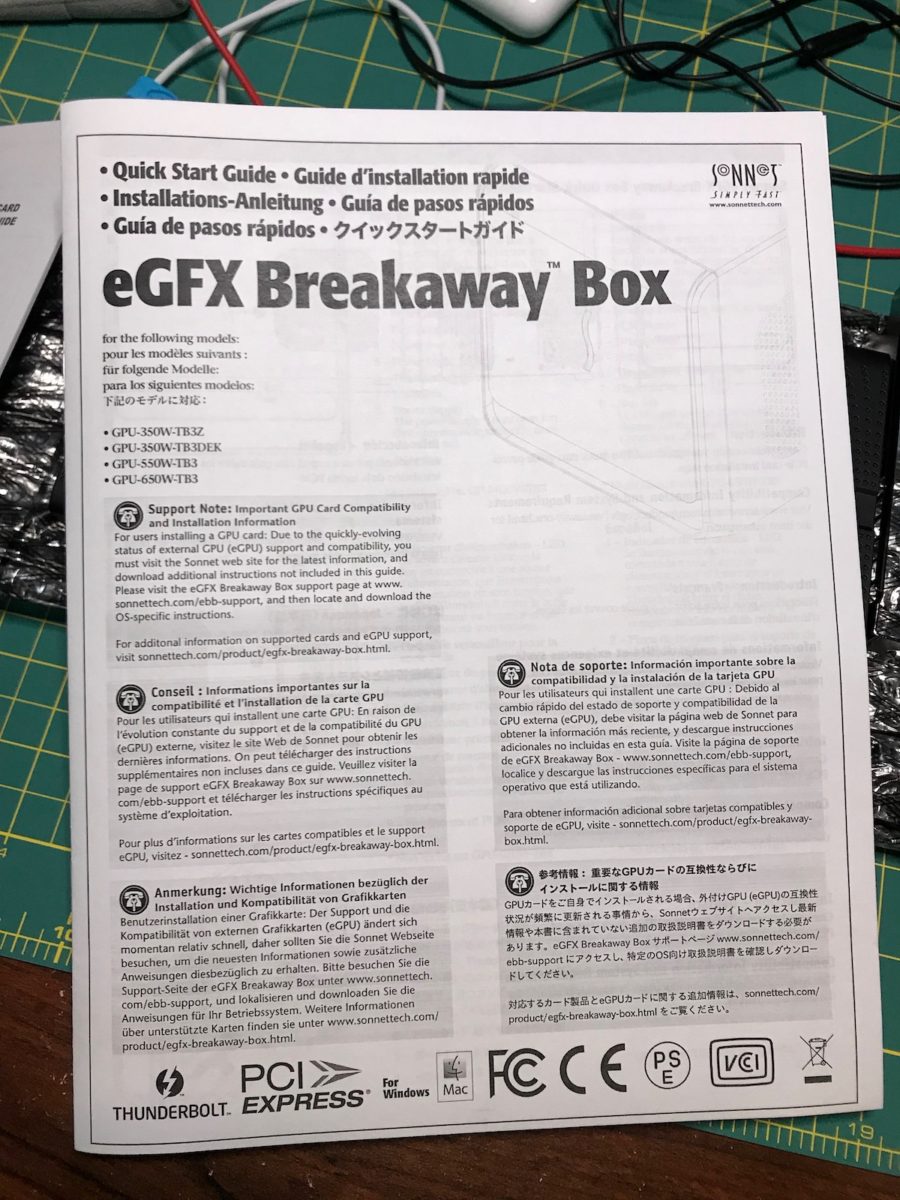
Opening the box reveals the metallic enclosure, a short Thunderbolt 3 cable, and an accompanying install guide.
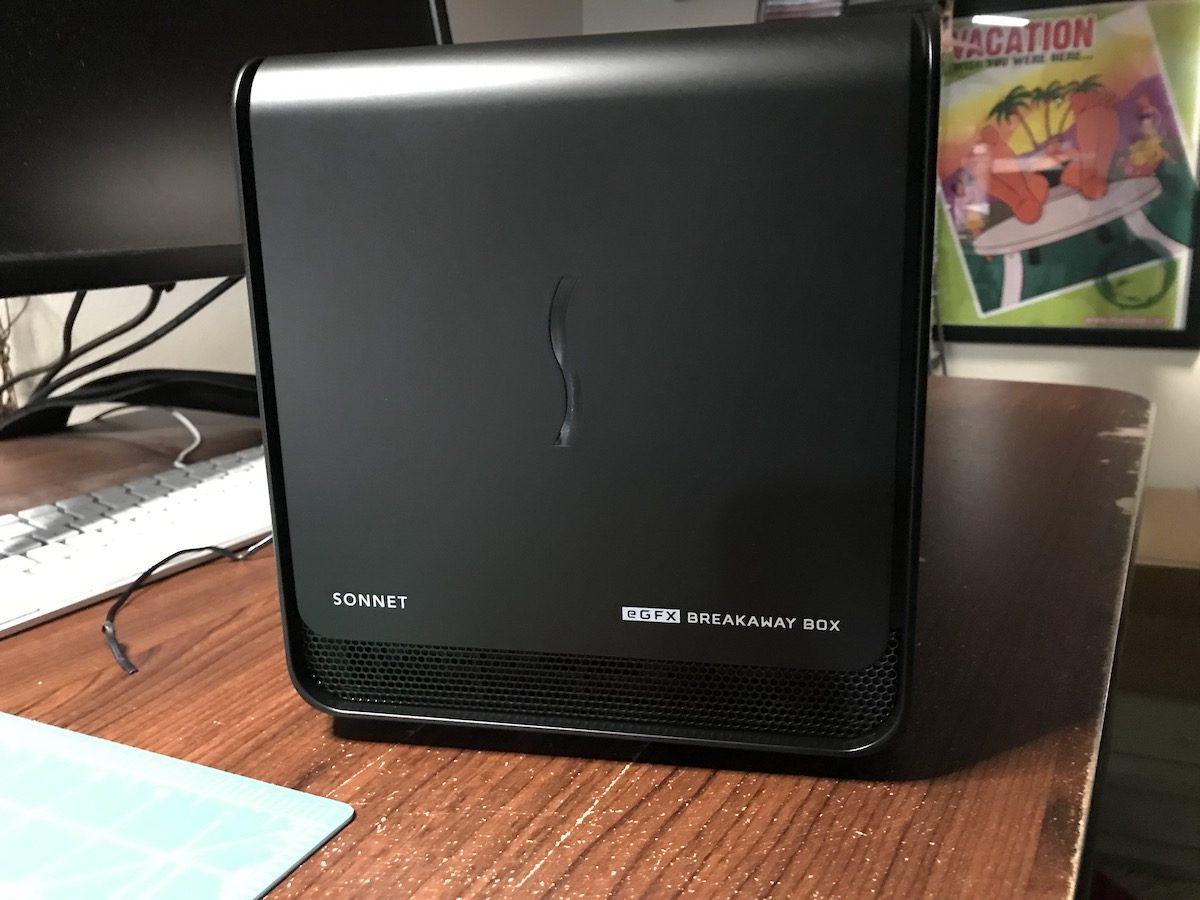
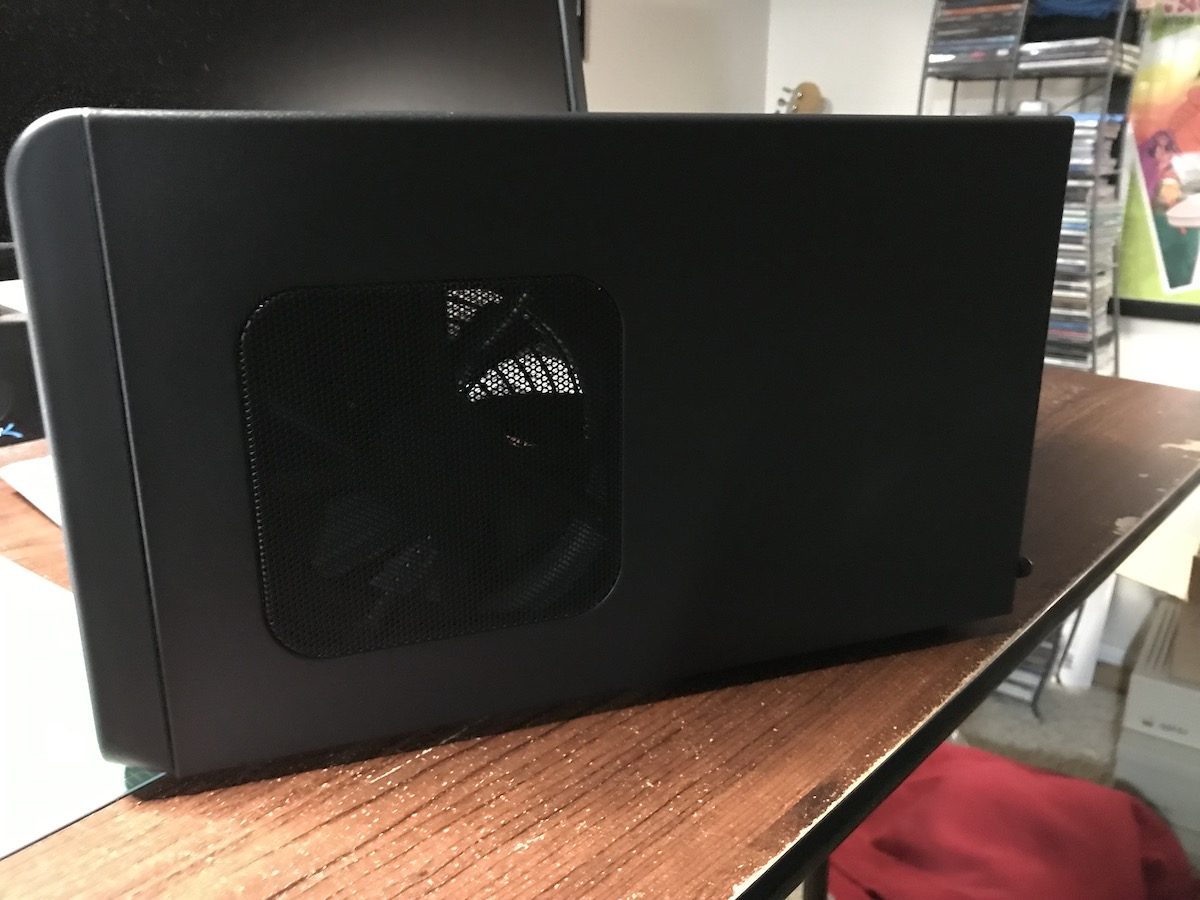
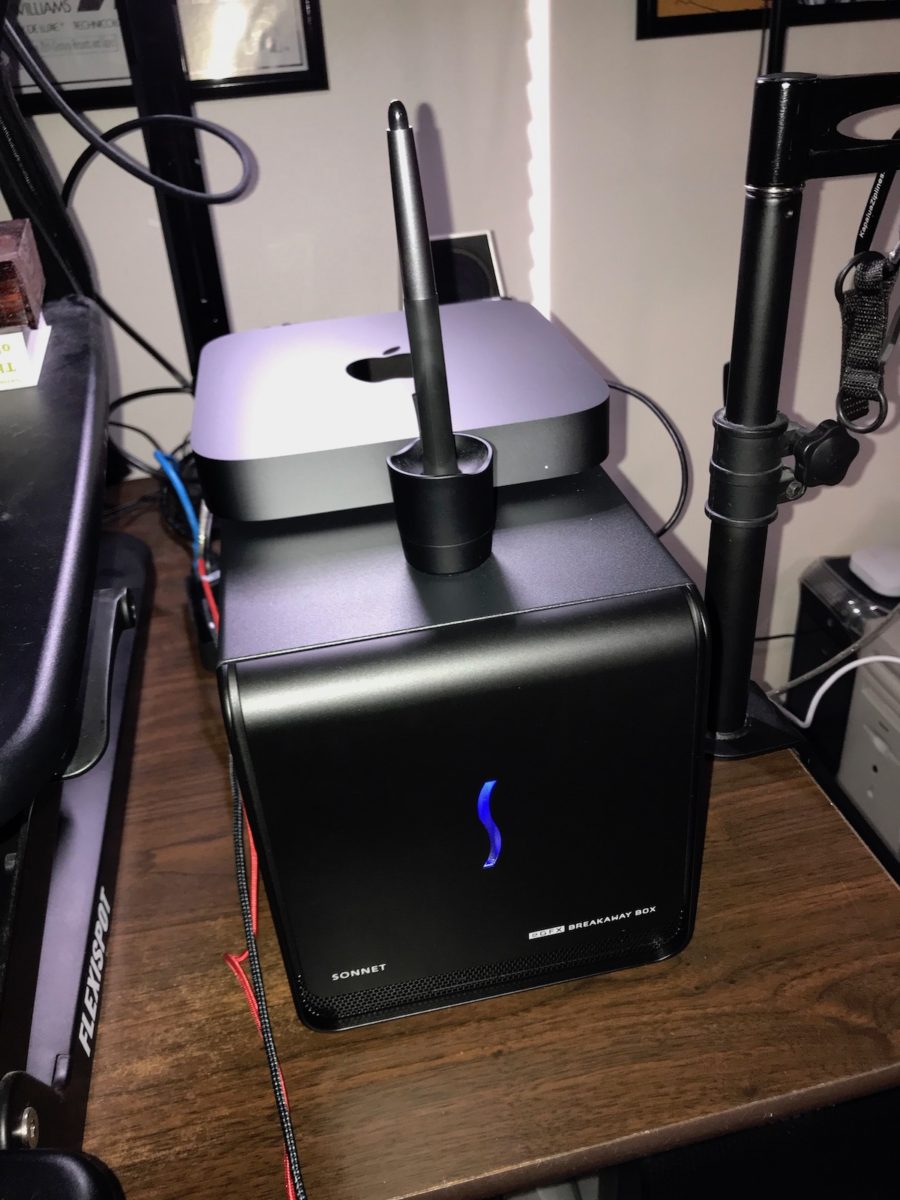
The eGPU enclosure is made of metal (reminiscent of typical PC cases) with a durable plastic front end. It measures 8″ wide by 7.25″ tall and 13″ deep and features ventilation holes on all four sides. Four rubber feet keep the enclosure from scratching your desk surface. The front of the unit has an S logo that glows blue when the eGPU is powered on.
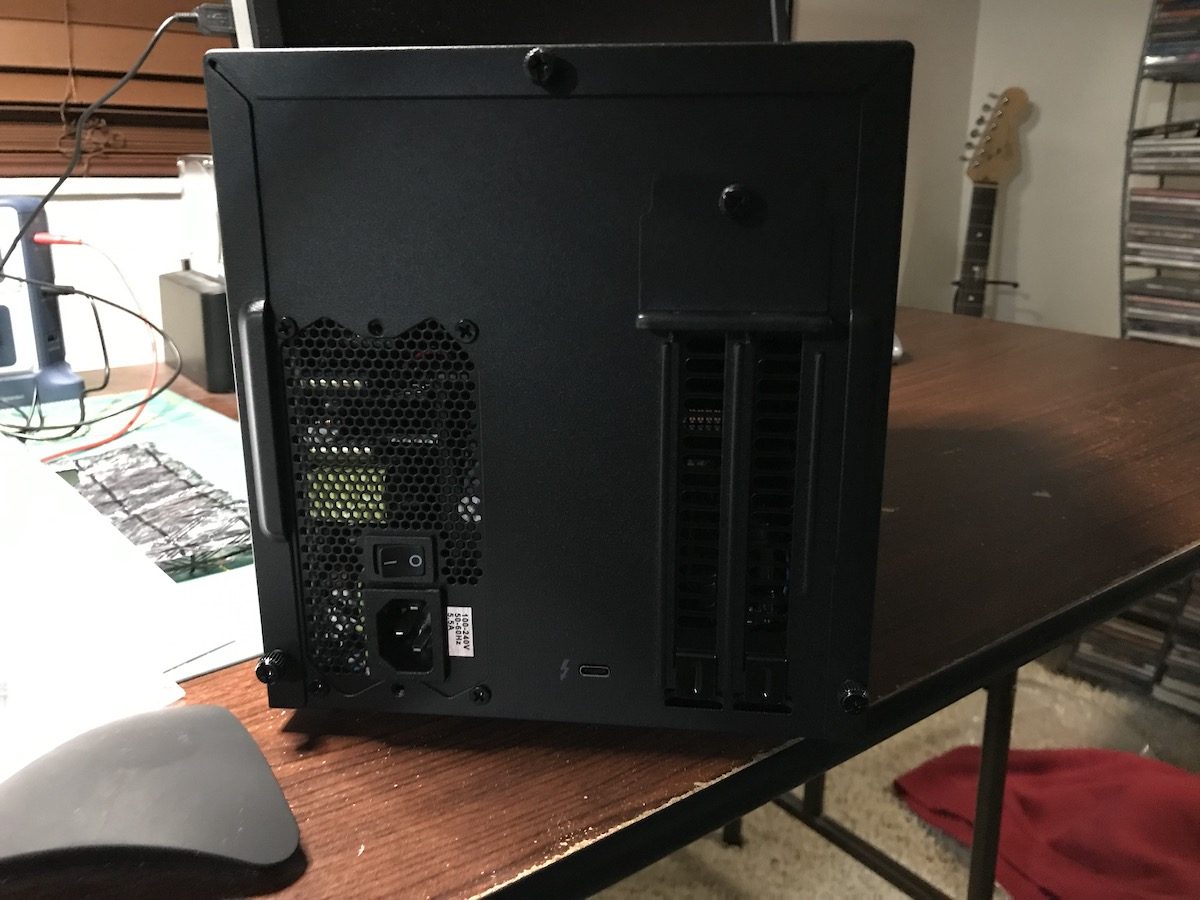
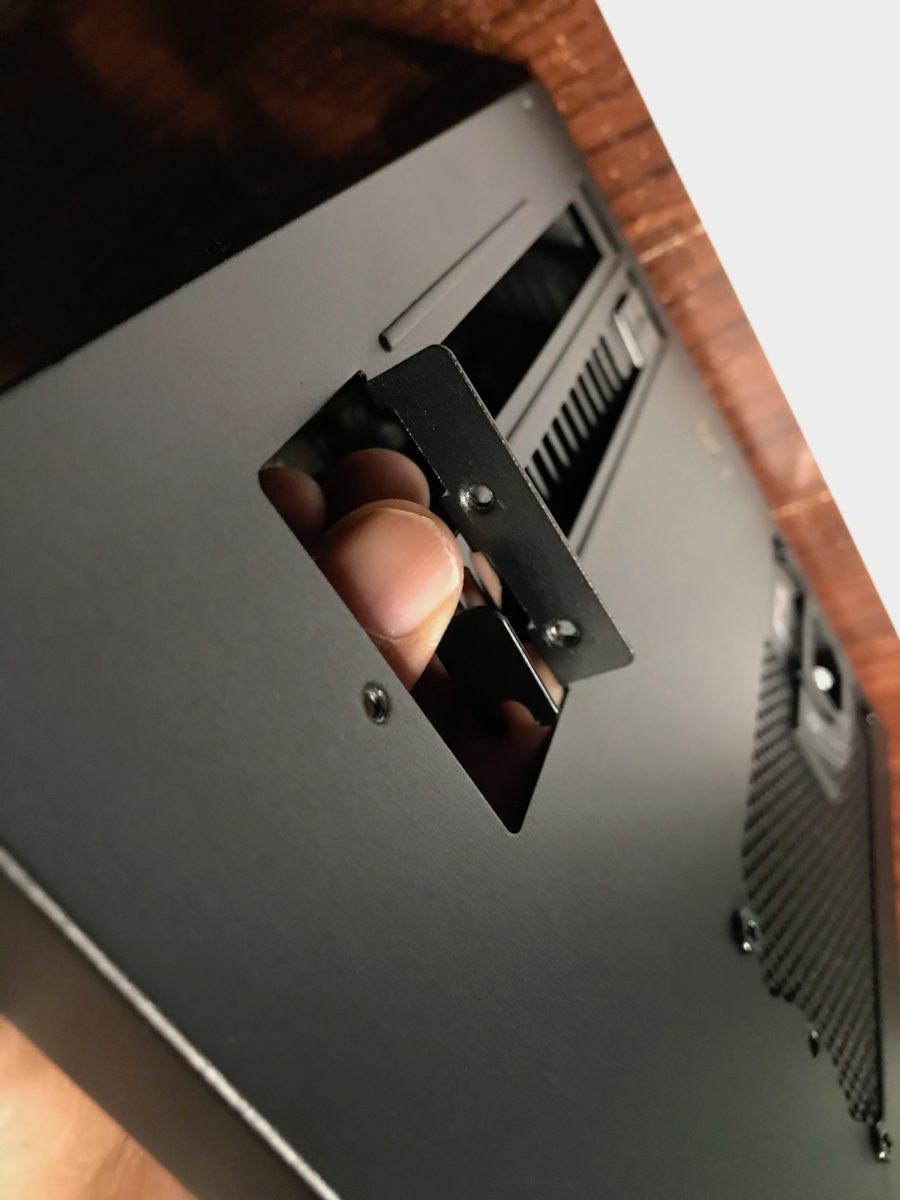
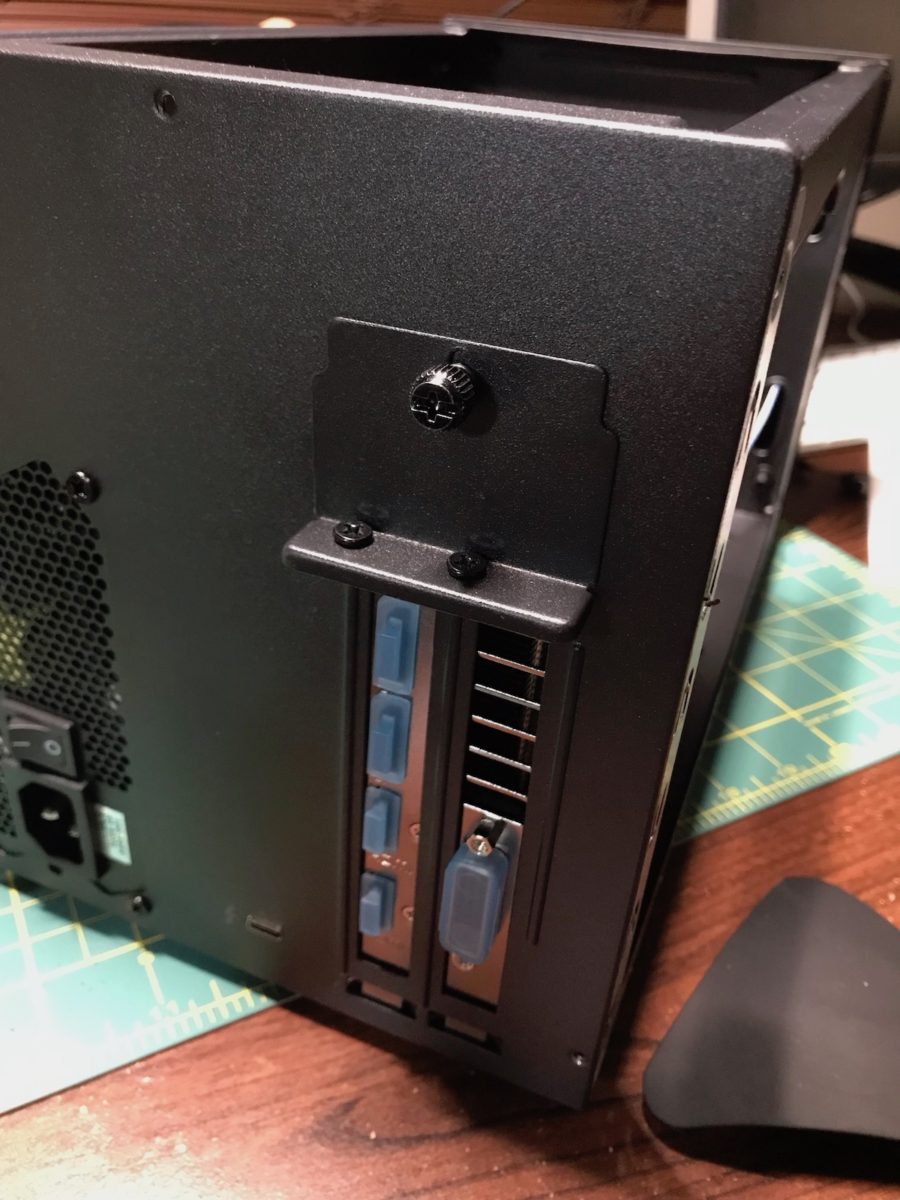
The back of the unit has an ON/OFF switch, power, and a double-wide PCI-e bracket, secured by three screws.
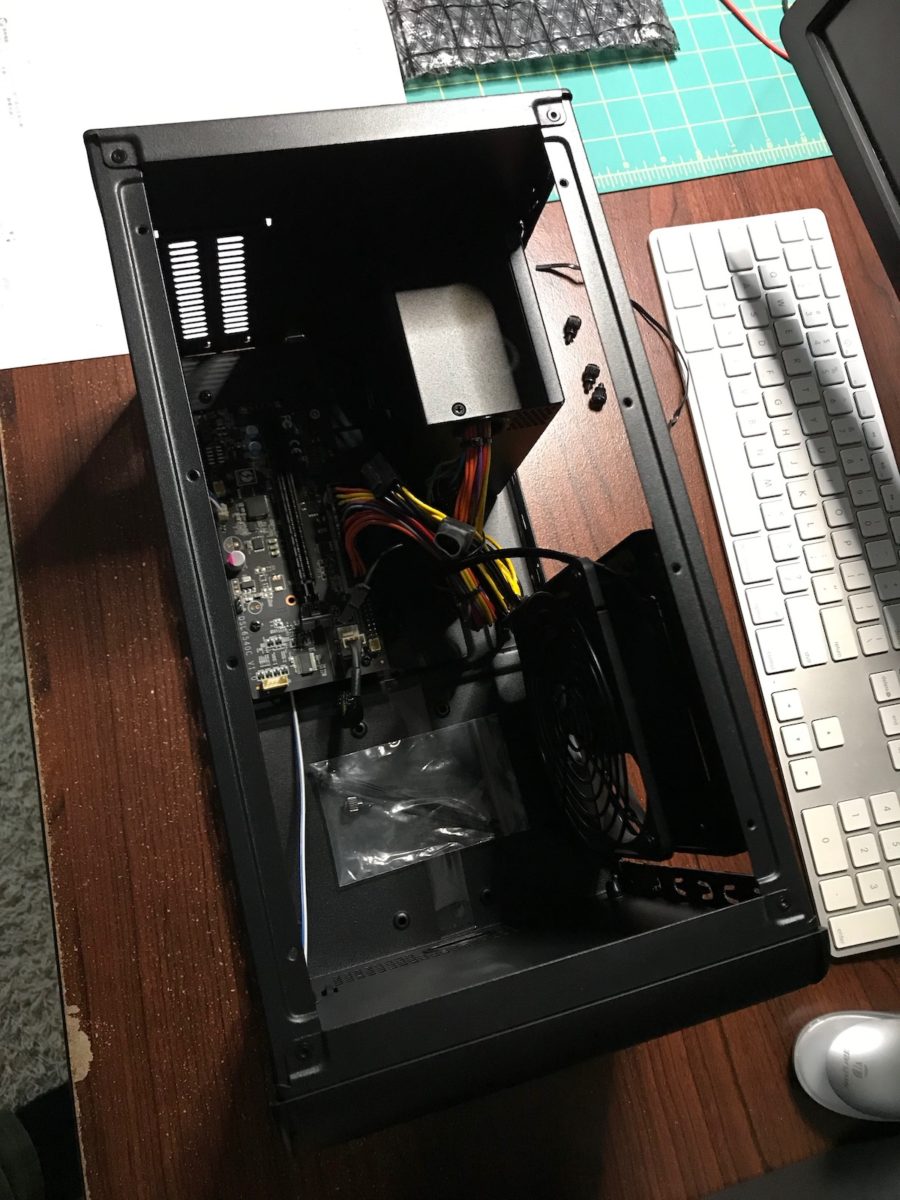
Inside the Sonnet Breakaway Box eGPU enclosure is the motherboard / PCI-e slot, a fan and a 350W power supply.
GPU Installation
To install the card, the top must be opened by way of removing the securing screws on the back of the unit. Popping off the top of the eGPU unit was a little tricky. To remove the top, first slide it back and then lift it up. Expect to fiddle with this part. Side note: Removing the top of the Sonnet eGPU Breakaway Box reminded me of the cumbersome case that came with my custom built 486DX 33 computer that I used more than 25 years ago.
Once the top is off, remove the screws that secure the PCI-e bracket.
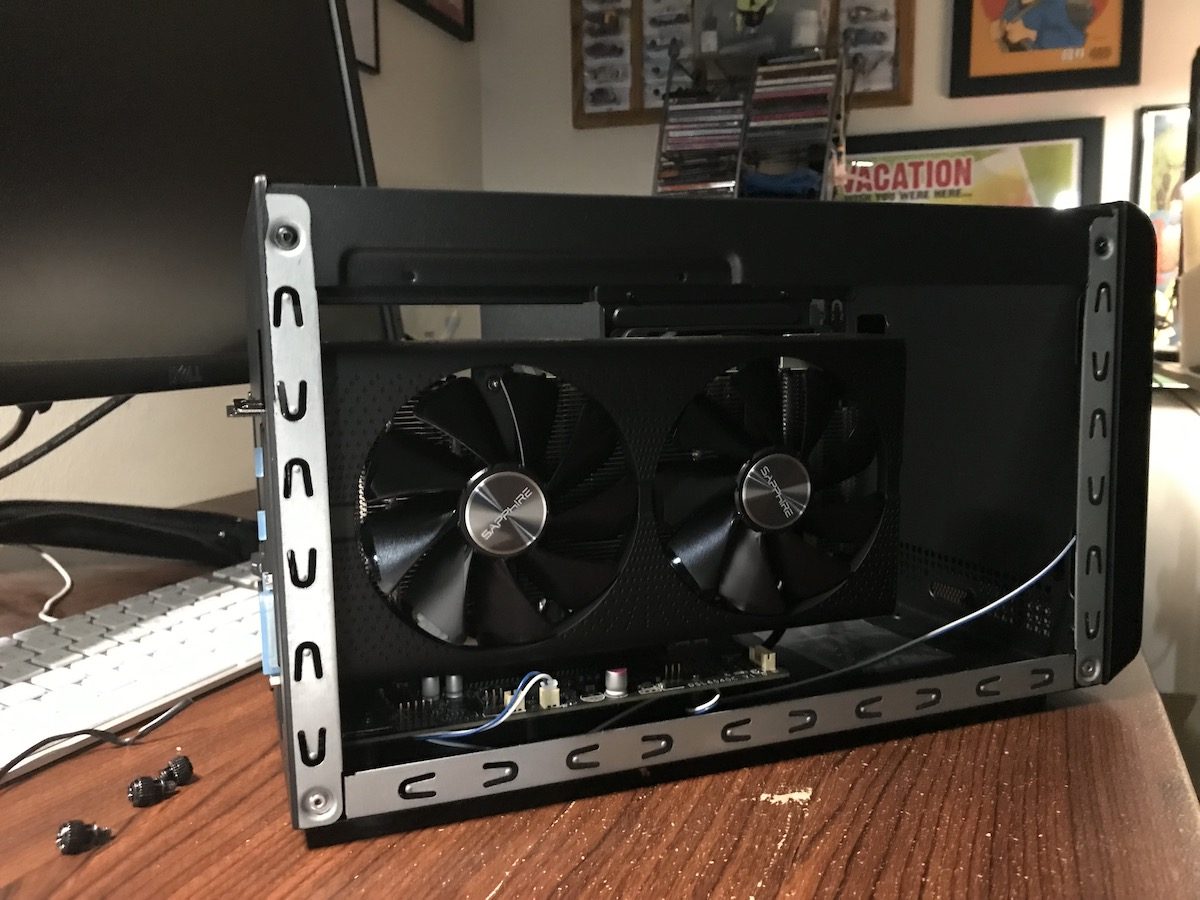
Next, align and insert the graphics card into the PCI-E slot.
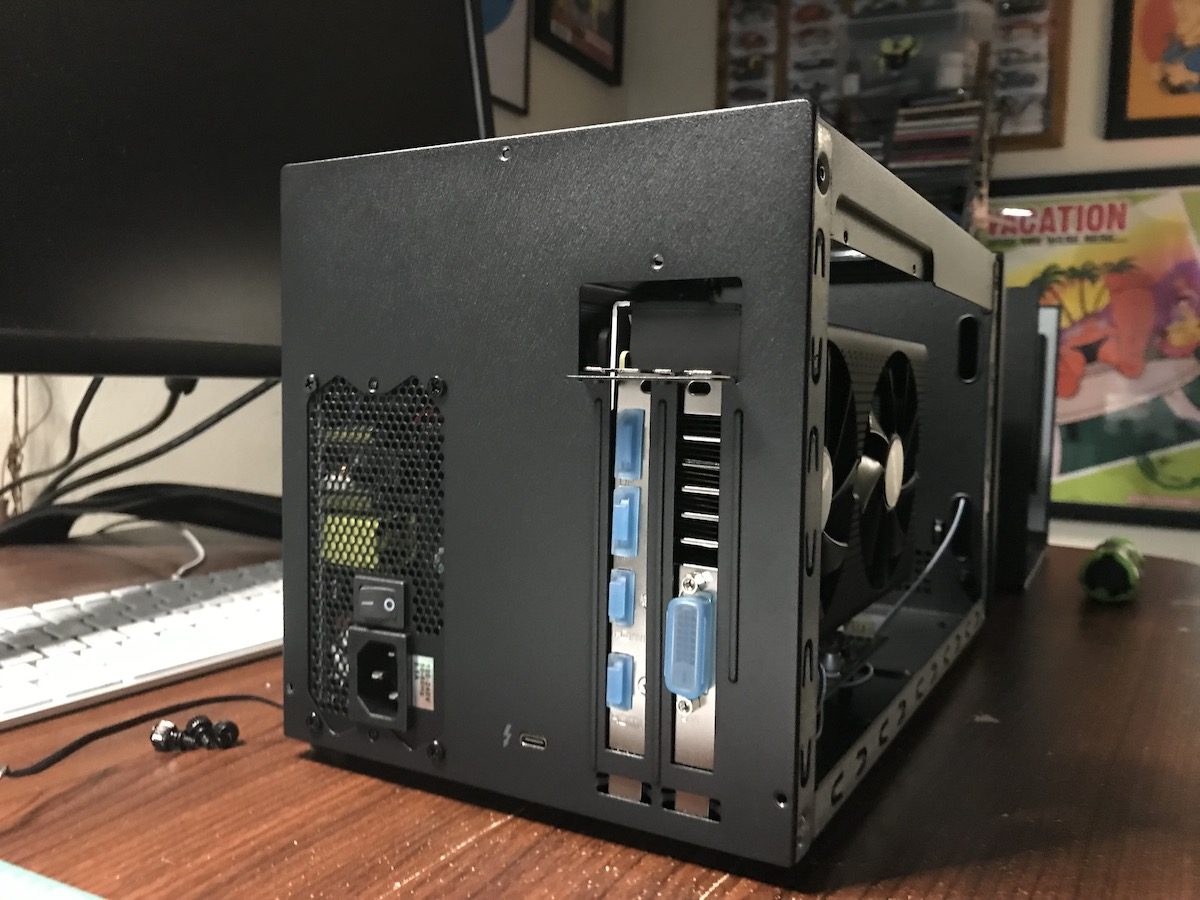
Here’s what the back of the Sonnet eGPU enclosure looks like, after installing the graphics card into the slot.
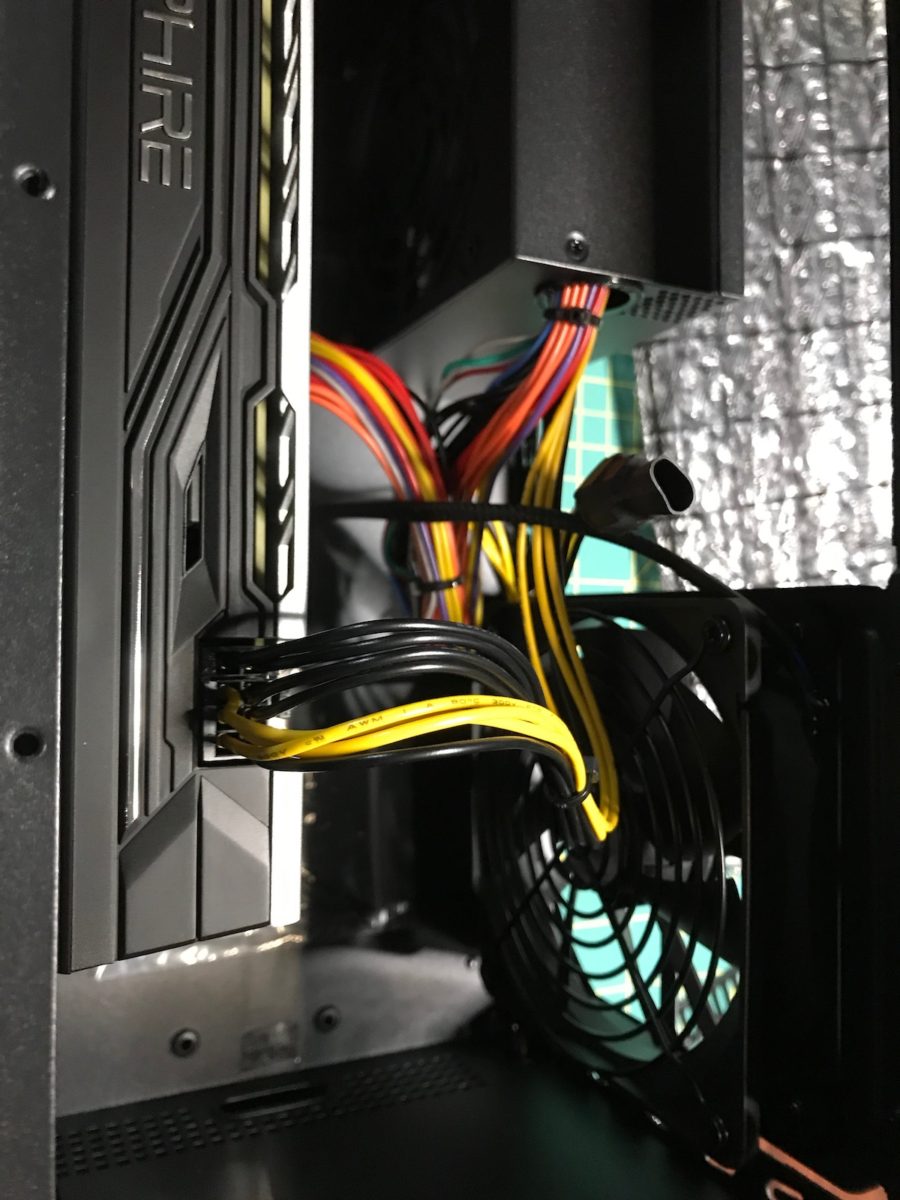
Next, use the supplied power supply cables and plug them into the top of the Sapphire graphics card.
Finally, secure the PCI-e bracket to keep the card from shifting and put the top of the case back on. This process was a little finicky as well. Care must be given to properly align the holes to properly thread the screws.
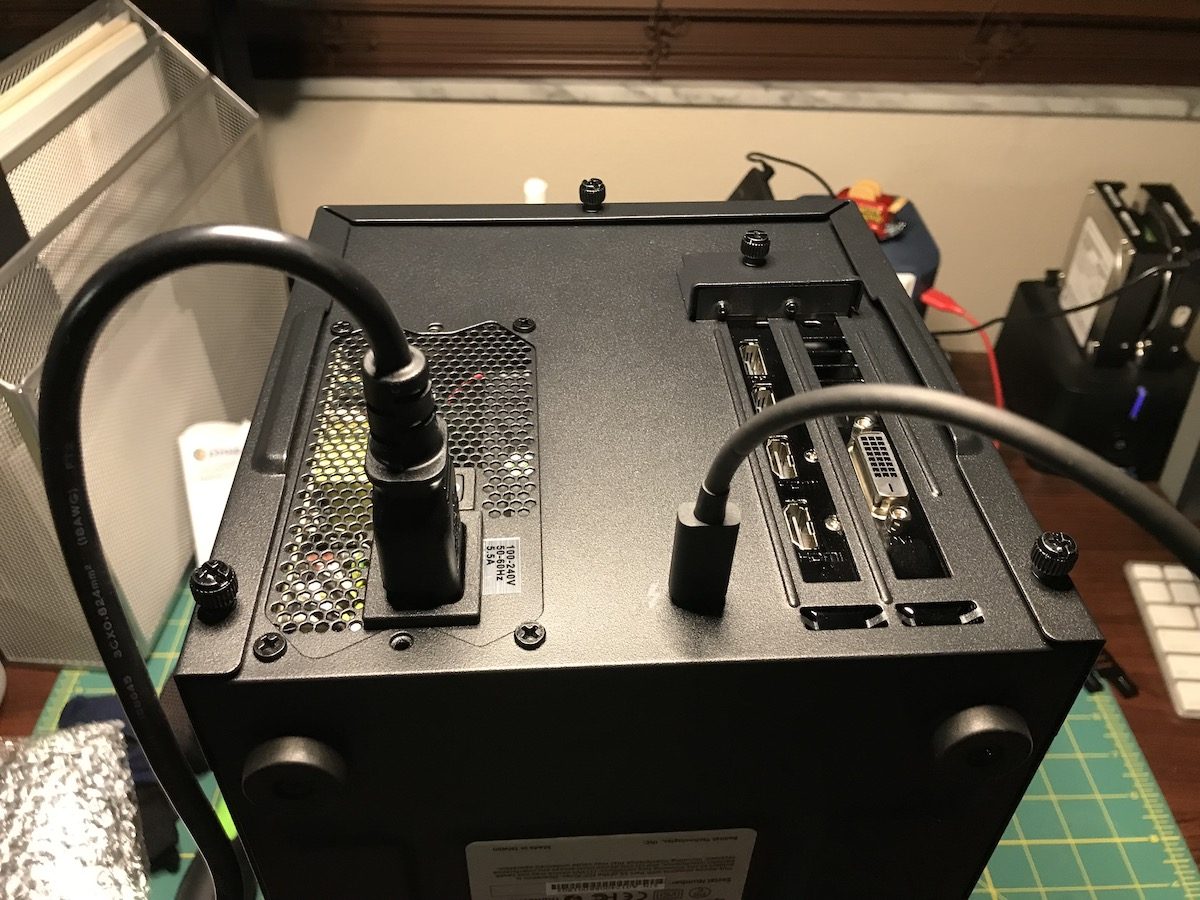
With the Sapphire’s ports uncovered, it was time to add the connections for both my displays. My Dell U2515H display is connected via DisplayPort, while the Wacom Cintiq 27QHD is connected through HDMI. After the eGPU was connected to power, I attached the short Thunderbolt cable between the eGPU and Mac mini. Next was the moment of anticipation. Would it all work?
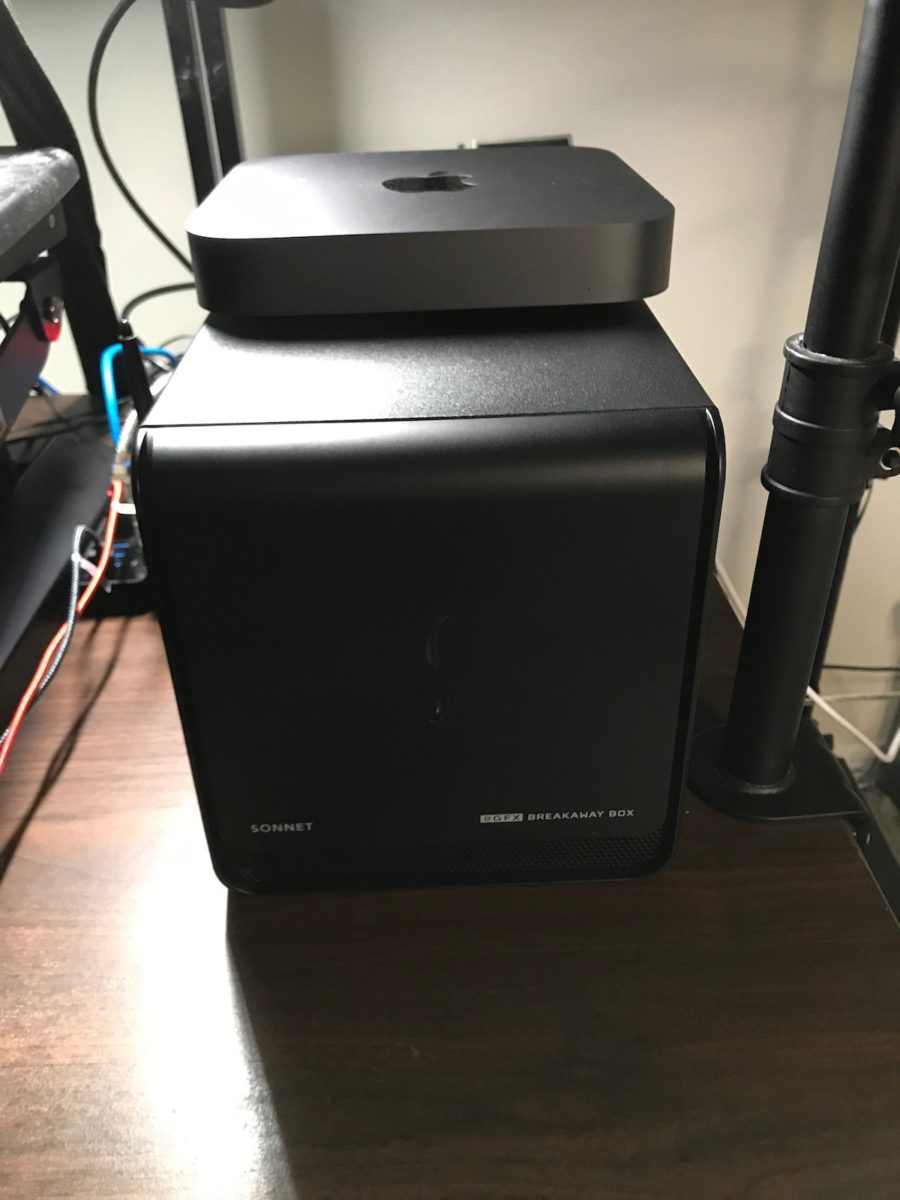
With the eGPU on my desk, the only reasonable place to keep the Mac mini was directly above it.
I gingerly powered on the eGPU, giving a brief pause. Then I powered on the Mac mini…
Using the eGPU
After a speedy boot up, I verified that the Mac mini was, in fact, using the eGPU. (This can be checked by going to Apple Menu > About this Mac.) Under Mojave, the Sonnet Breakaway Box eGPU was automatically recognized. There was no need to install drivers or add patches to the OS. In true Apple form, everything just worked.
While I have not had a chance to extensively evaluate the card’s performance with programs like Maya or Photoshop, I can say that they launch blazing fast and there are no hiccups when moving through or working with a Maya scene file.
Next, because curiosity got the best of me, I ran Geekbench’s GPU test after installing the eGPU.
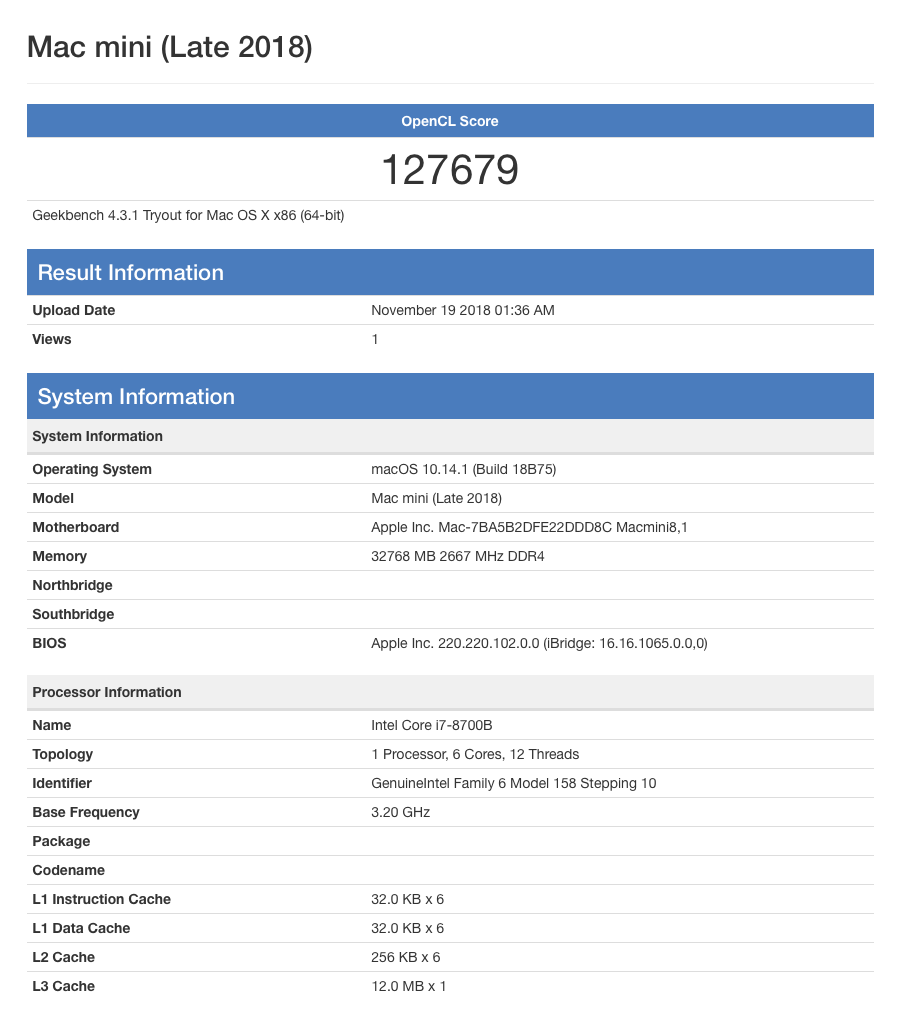
The numbers were expectedly much better, with an openCL score of 127,679 – a significant improvement over the U630’s score of 24,604.
All said and done, my Mac mini setup with eGPU cost me $2500. For that price, I now have an i7 6-core monster CPU, 32GB of RAM, 256GB storage and an 8GB graphics card, all running quiet and cool on my desk. I have no regrets on buying this model over something like a MacBook Pro. And unlike the iMac, the displays and video cards can be upgraded over time. Whether an eGPU is worth getting really depends on the programs you regularly use. For my use case, I feel like I made the right decision.
Questions? Comments? Let me know in the comments below.
Krishna


CavalierDigital
November 29, 2018 at 4:28 amHey Krishna, What a fantastic write up. I’m really torn here my first thoughts are:
Mac Mini with 32gb,Sonnet Breakaway 550 with Radeon WXPro 7100 or Vega 64 (advised by Apple) or ditching for new PC as for the price there is behemoth 3D machine waiting. My regular software is Adobe CC (after effects mainly), Maya and Nuke plus in 2019 Cinema4D. I’m not even sure if any of my software supports eGPU so any help here would be great.
Regards
Carl
Twitter @Tomahawk_Kid
Ajay Karat
November 30, 2018 at 1:07 amI have been considering one of these machines for some 3D render works and have been passively shopping
Very curious for a cinebench or a render engine test
https://www.maxon.net/en/products/cinebench/
thanks!
Krishna
December 9, 2018 at 10:10 pmThanks Ajay! I’ve added a new post with my Cinebench scores using the eGPU.