How to Digitize Your Artist Signature
For the past twenty years or so, I never really thought much about how I signed my professional work. As a result, my signature has varied over the years. Nearly all of my digital artwork up to this point has been “signed” using a custom font based on my handwriting. But replicating that exact look by hand wasn’t easy, so I decided to make a brand new signature.
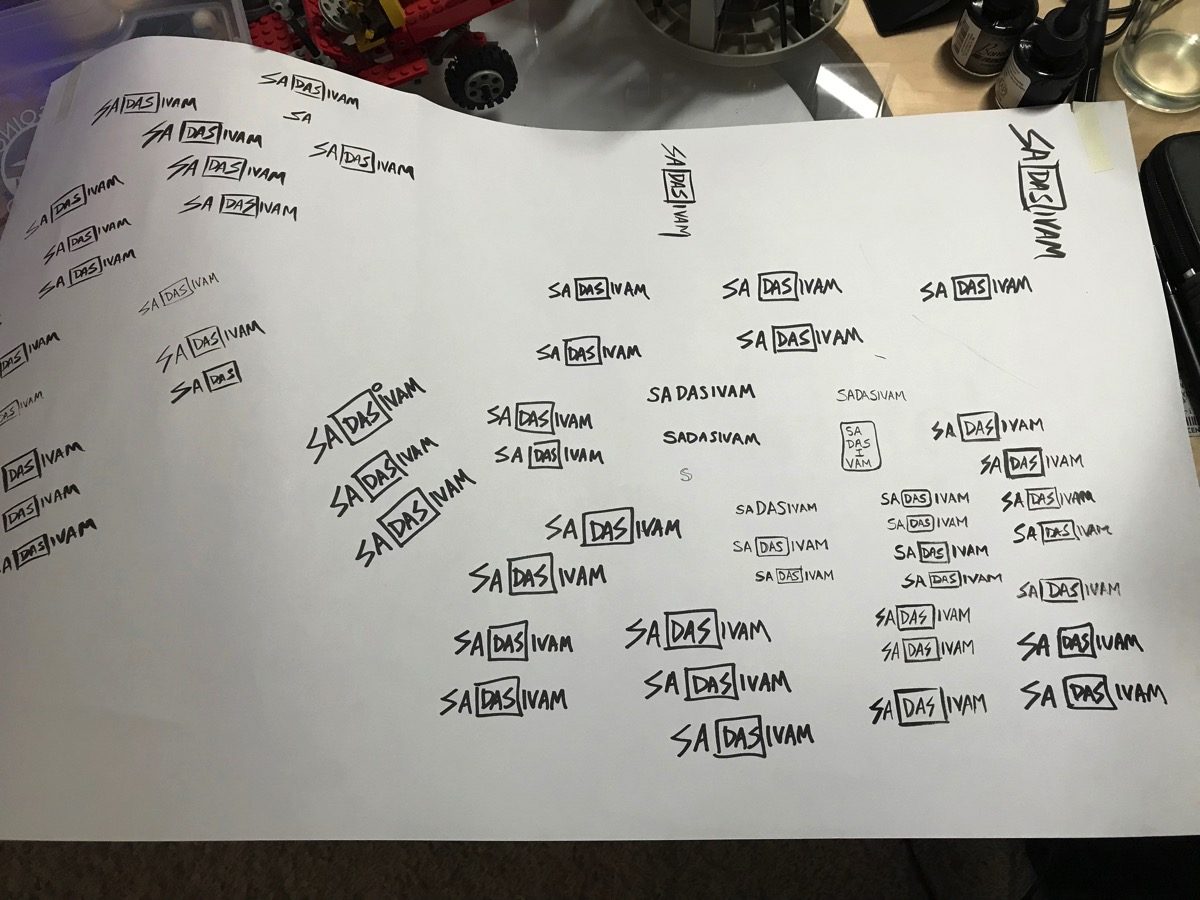
I started out with a wide sheet of butcher paper. It’s cheap and gives me enough room to practice my signature repeatedly. In my opinion, there is nothing more liberating than a large, blank canvas for exploring ideas.
Because so many people struggle with pronouncing my last name correctly, the goal of my new signature was to help people out. I drew a box around the second syllable of my last name (to emphasize the accent on DAS).
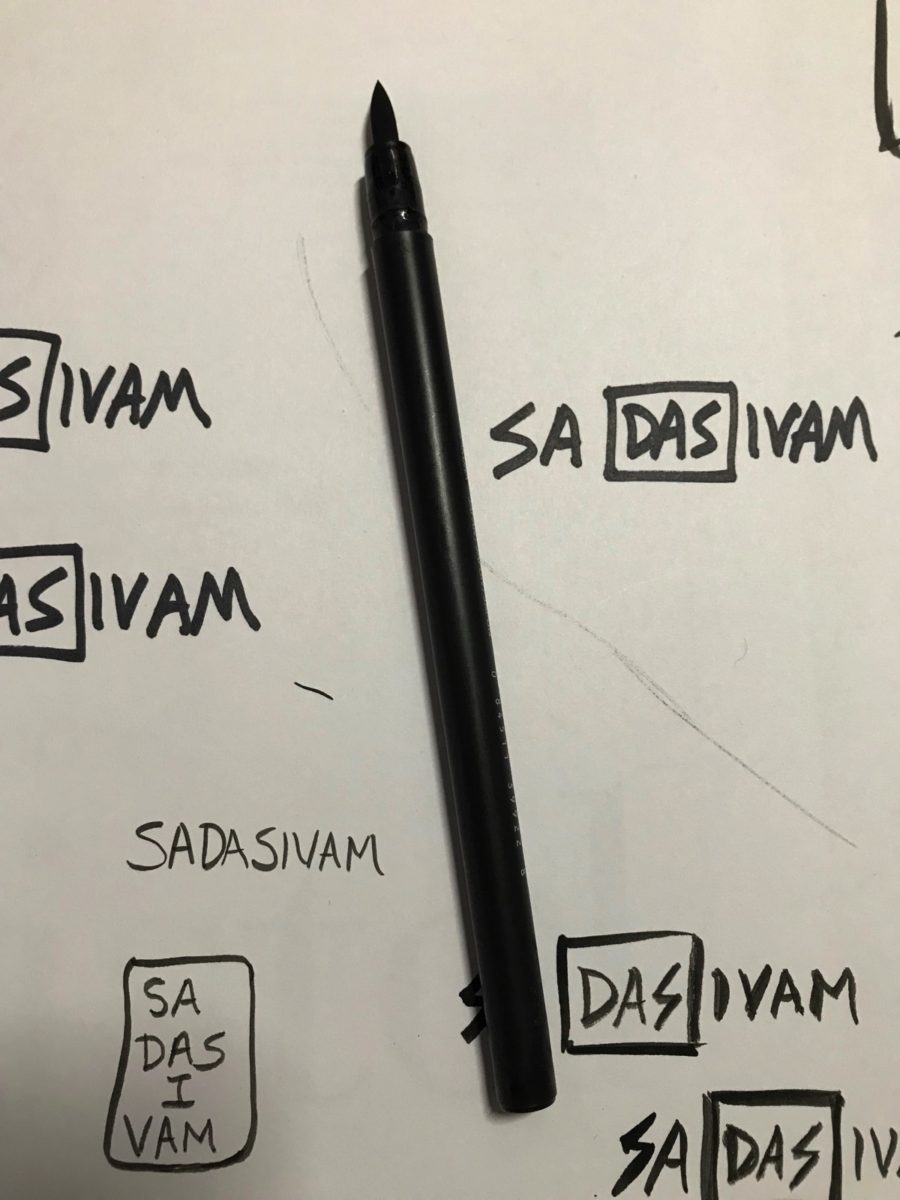
I started my exploration using a Sharpie pen but midway through switched over to a Pigma Brush Pen.
I felt that the brush pen had a more organic look by giving more line variation to the strokes. After multiple iterations, I found a rendition I really liked.
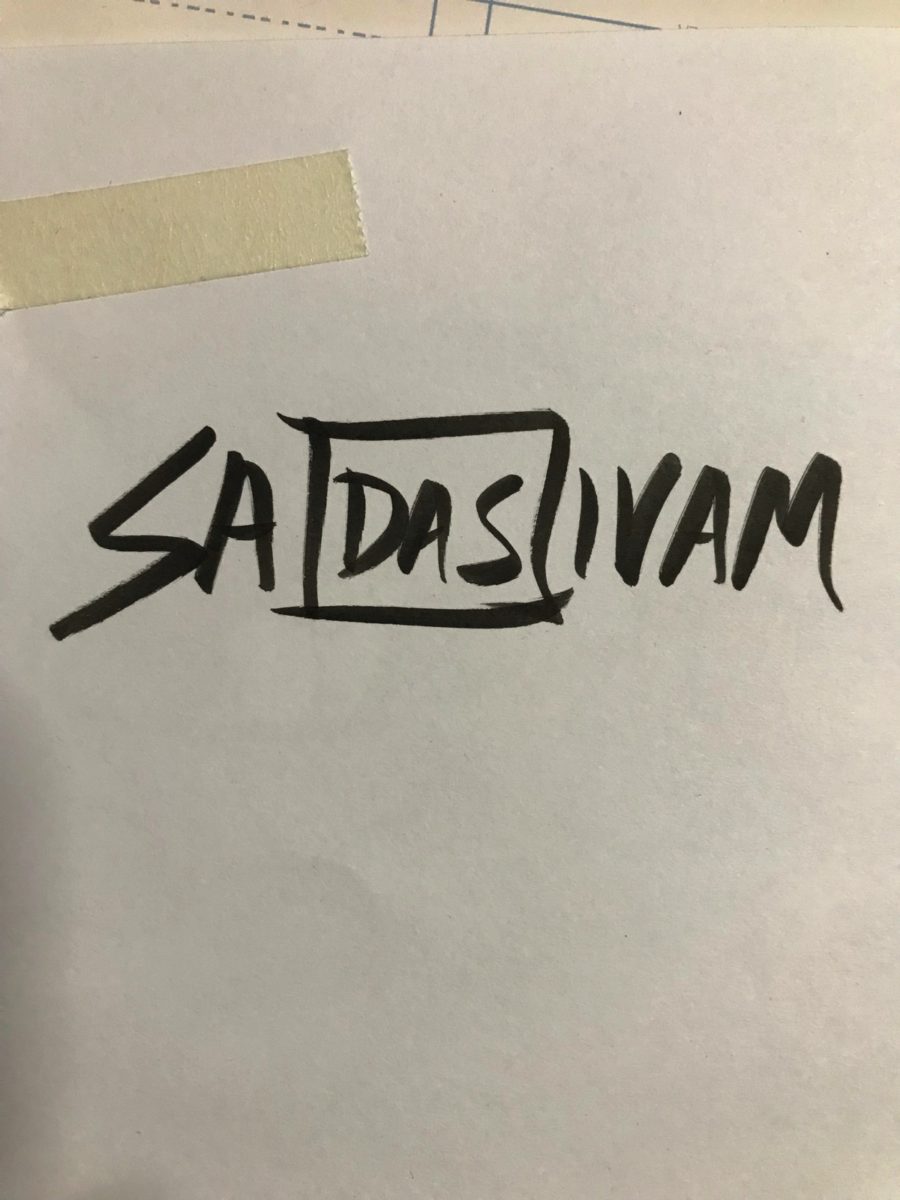
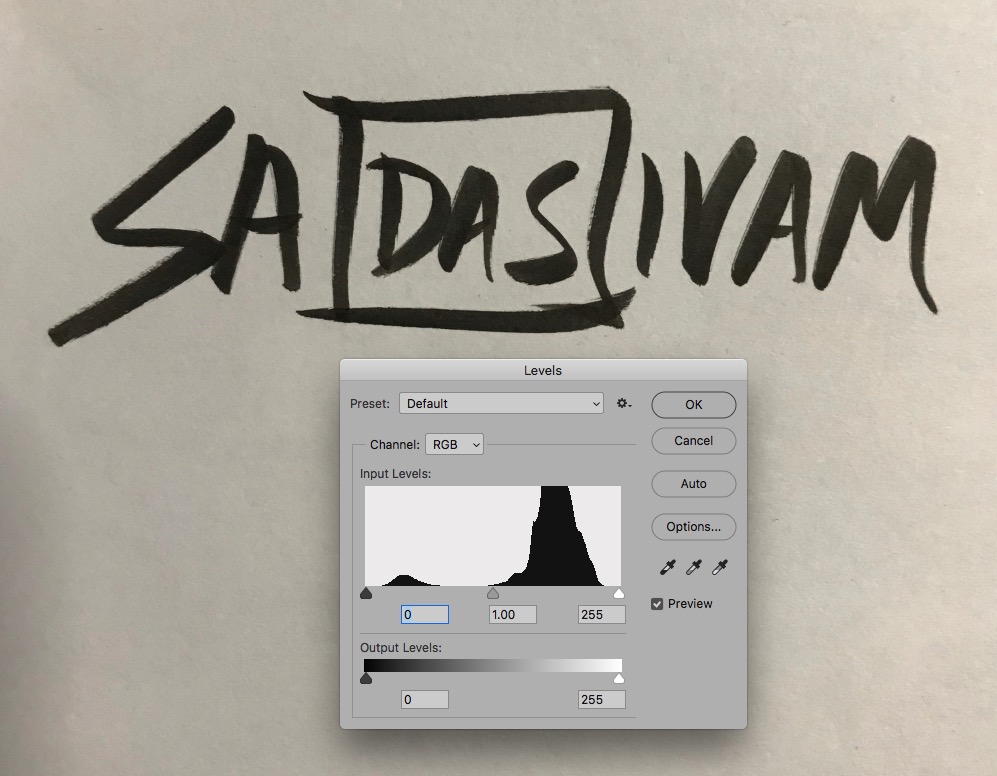
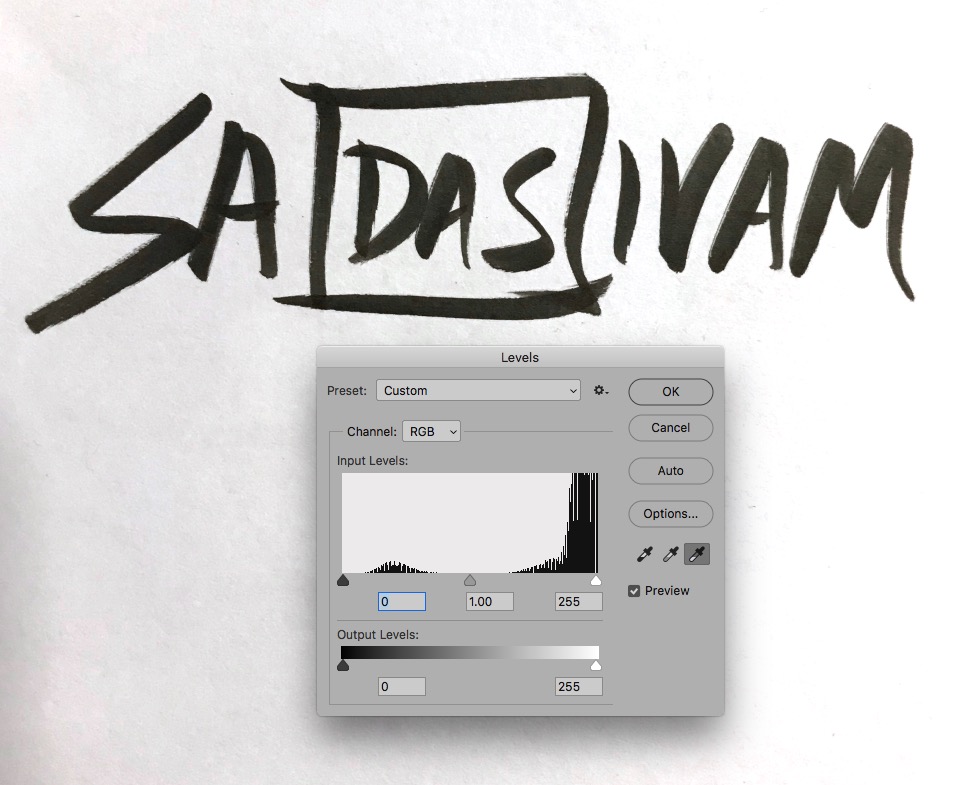
To bring the signature into the computer, I first took a picture of it with my iPhone. Next, using Photoshop, I level adjusted the image to increase contrast, and subsequently cropped the image.
Here is the image before level adjustment.
And here is the image after level adjustment.
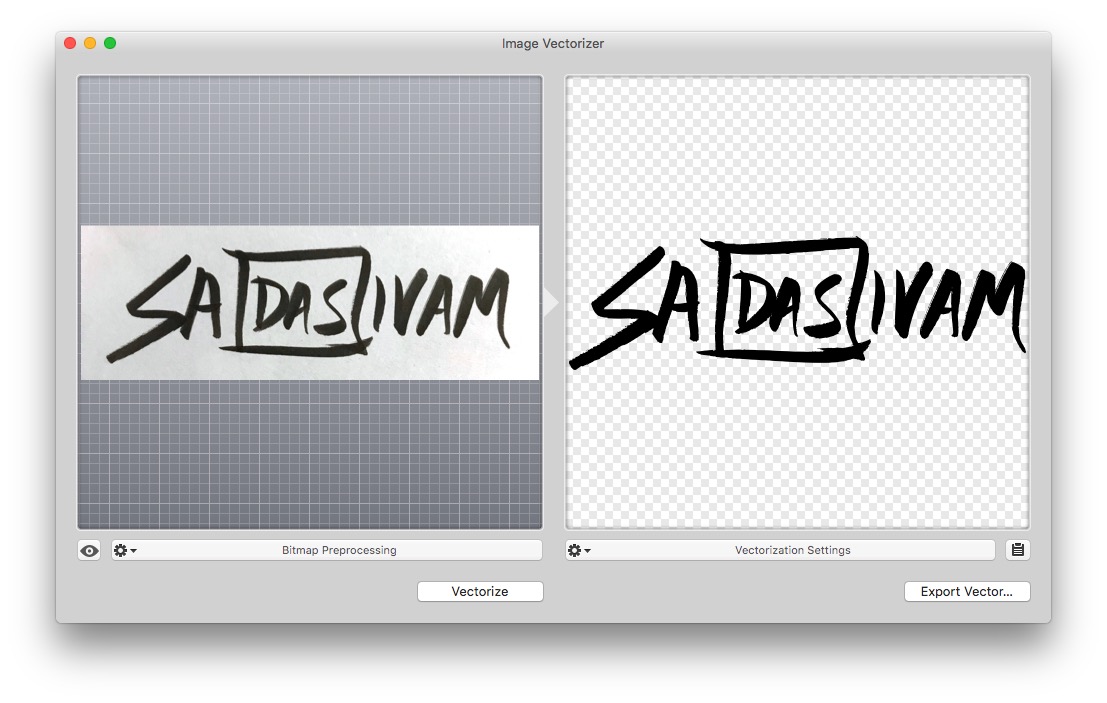
Having good contrast between the paper and the signature is important for the next step, which is vectorizing the signature. For this task, I used Image Vectorizer (reviewed earlier) to convert the raster image to a vector EPS file. Next, I saved the EPS file on my Dropbox, for quick and easy access between my two computers.
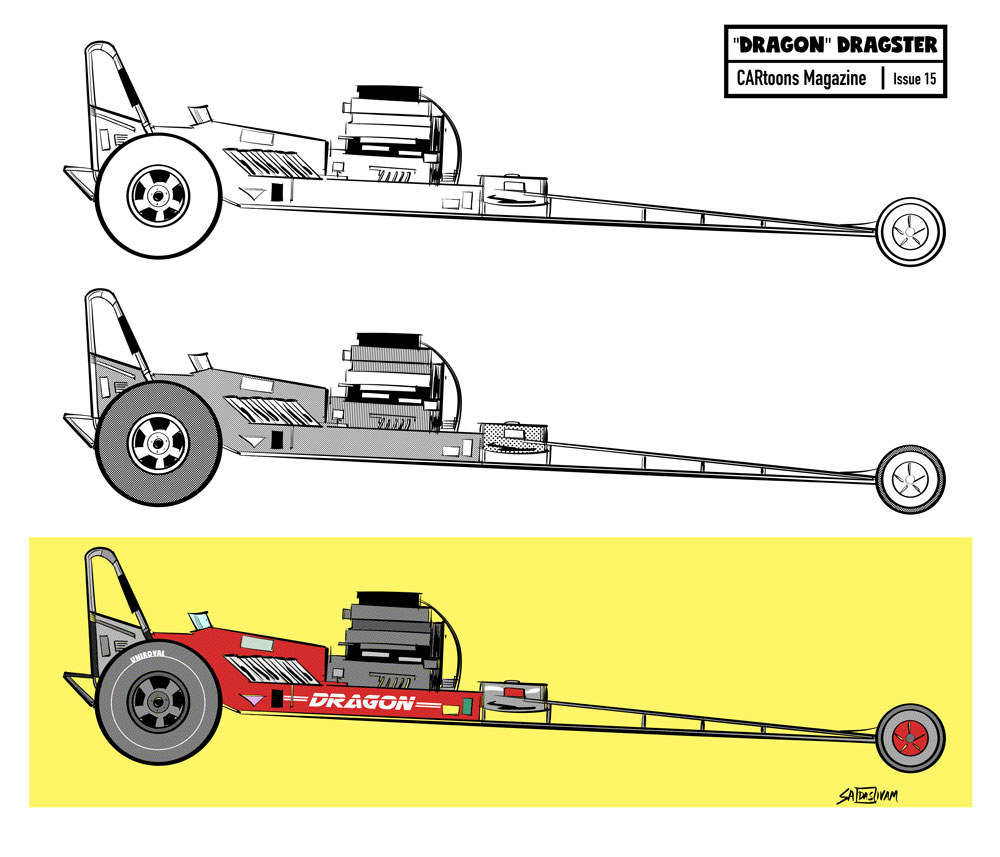
At this point, all that was left was to record a Photoshop Action to open the EPS file, scale it down, and place it within my finalized illustration file. With the action saved, I can easily play it back for any illustration I need to sign.
Actions are a powerful way to automate repetitive tasks in Photoshop, and I highly recommend intermediate users to learn more about them.
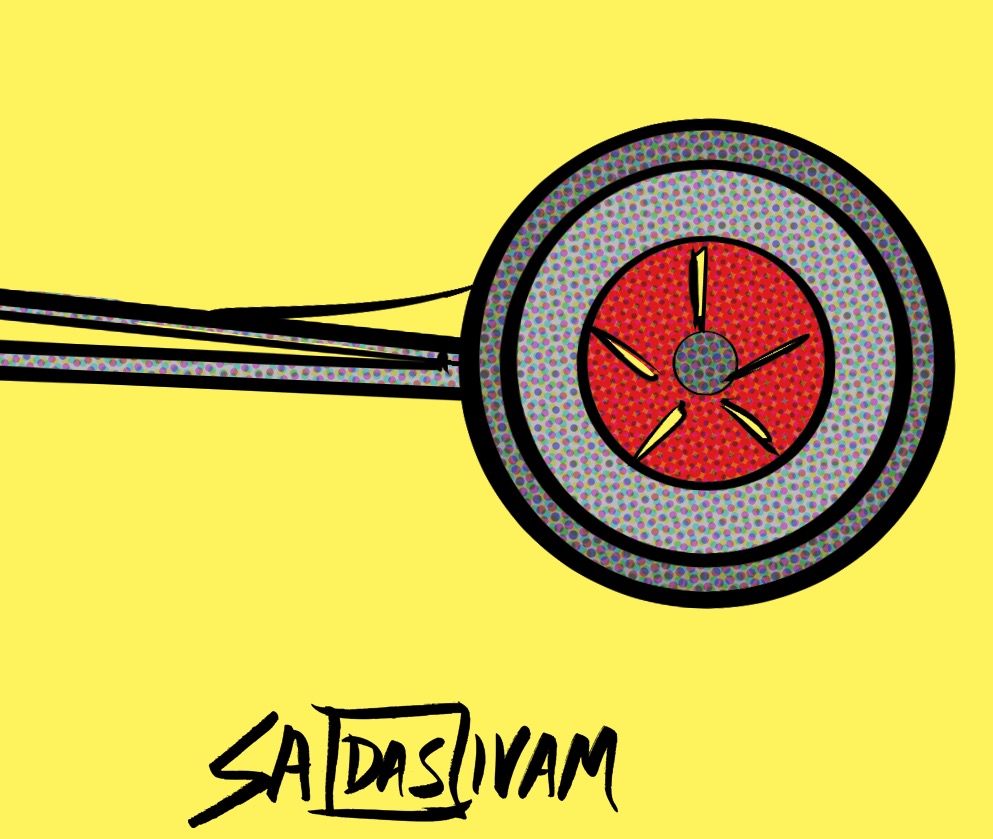
Here’s a close-up of my digitized signature.
And that’s all there is to it! Questions? Feedback? Hit me up in the comments below.
-Krishna


Ben Rosenthal
March 25, 2018 at 4:52 pmCompared to all the work you did to digitize, did you try using Preview to capture the signature? You could then sign a blank page to create a vector file version you can place elsewhere.
Krishna
March 25, 2018 at 5:54 pmThe only big problem with Preview, in my experience, is that the quality of the signature is lacking. Drawing a signature using the trackpad (which I don’t have) renders a signature with no variance in line quality. I use a simple signature for PDF documents, etc. but for signing artwork, I wanted something that had better quality.
Auto Clicker Mac
March 26, 2018 at 12:12 pmThe signature looks bad ass anyway the program works perfectly but without a good graphics tablet it will not look too similar.