How to Make a Venus Gaming Mouse Work with OS X
Mac users have often been treated as second or third class citizens when it comes to input devices. Nowhere is this more evident than in the category of gaming mice.
Vendors of these input devices almost exclusively target Windows users.
While I am not a gamer, I can see tremendous value in having an input device with multiple programmable buttons. With such a device, I could assign commonly used keyboard shortcuts for quick and easy access.
When UtechSmart approached me to write a review on their Venus Laser MMO Gaming Mouse, which does not include Mac support, I took it as a challenge. I wanted to see whether or not such a device would be useful to me as a Mac productivity junkie.
But I’m getting ahead of myself. Let’s look at the hardware first.
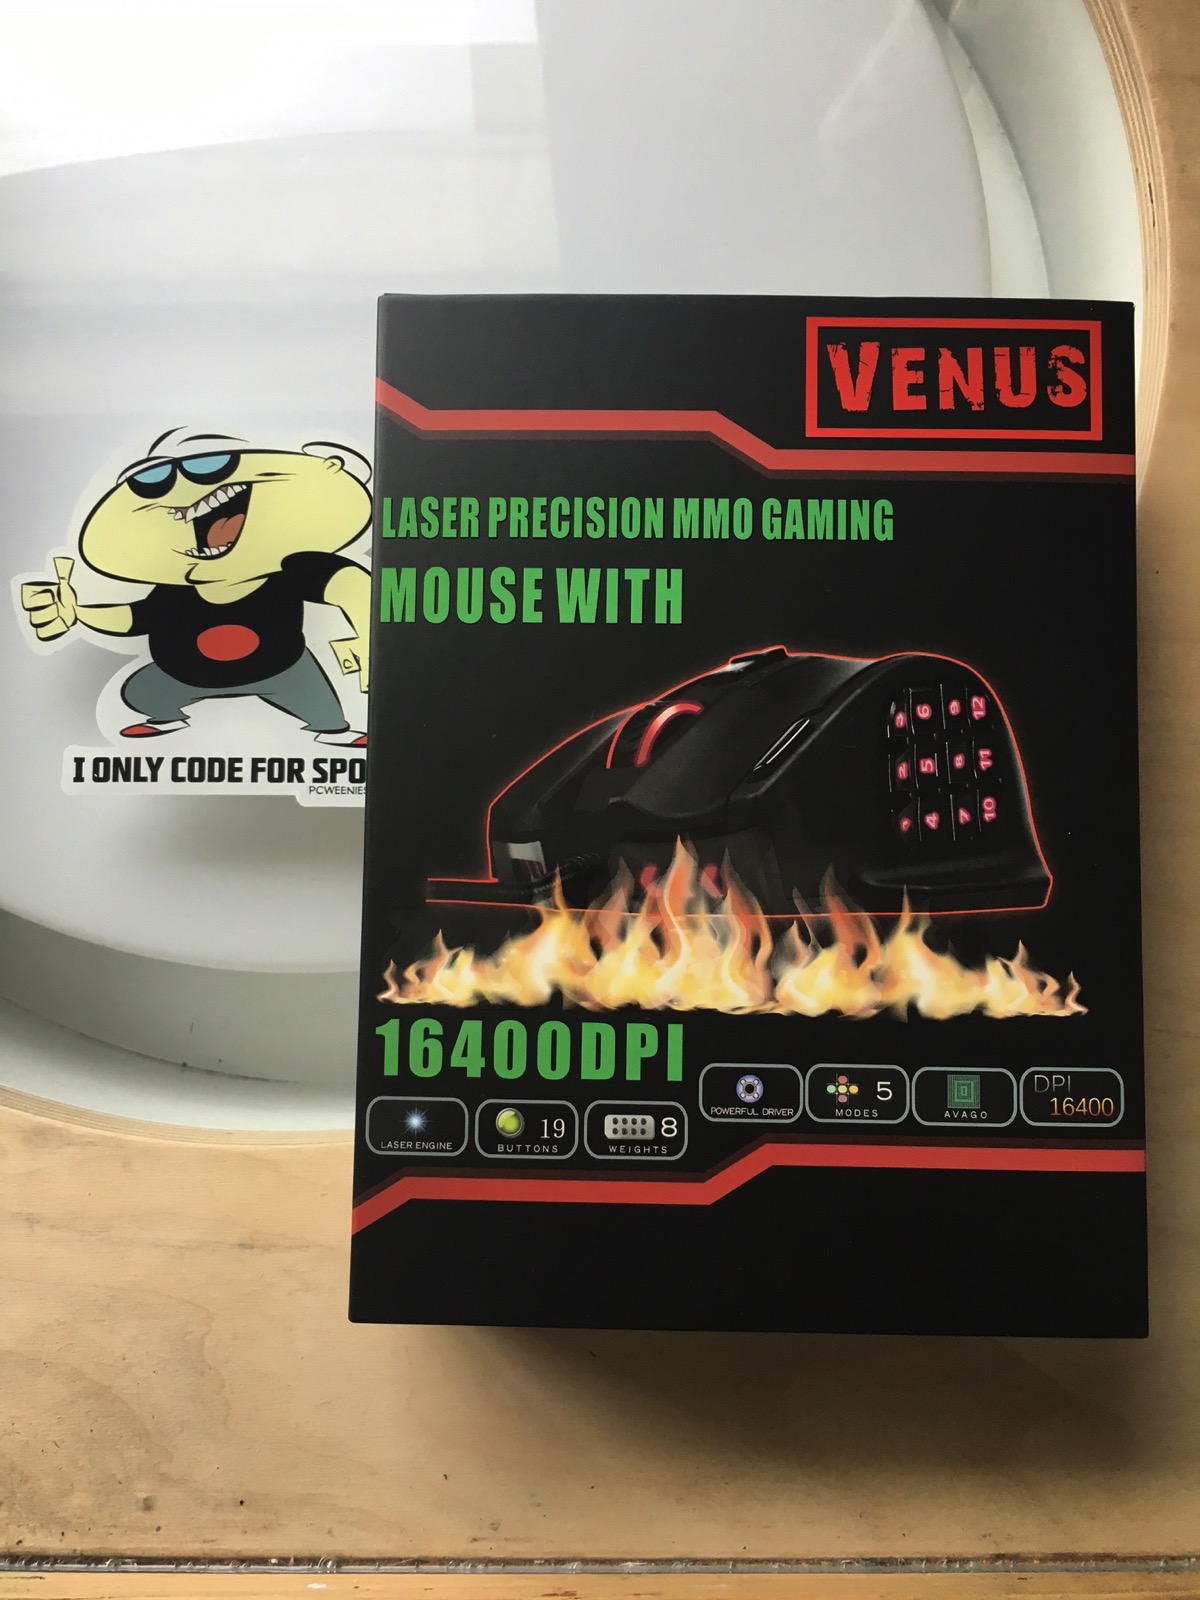
The box, shown above holds its contents well and is easy to open, but painfully amateurish in design. (Why is there fire under the mouse?) Inside the box is the mouse itself, a small questionnaire, some adhesive padding, a mini disc with Windows drivers, a weight holder and a quick start users manual. The unit comes with an 18 month warranty from the date of purchase.
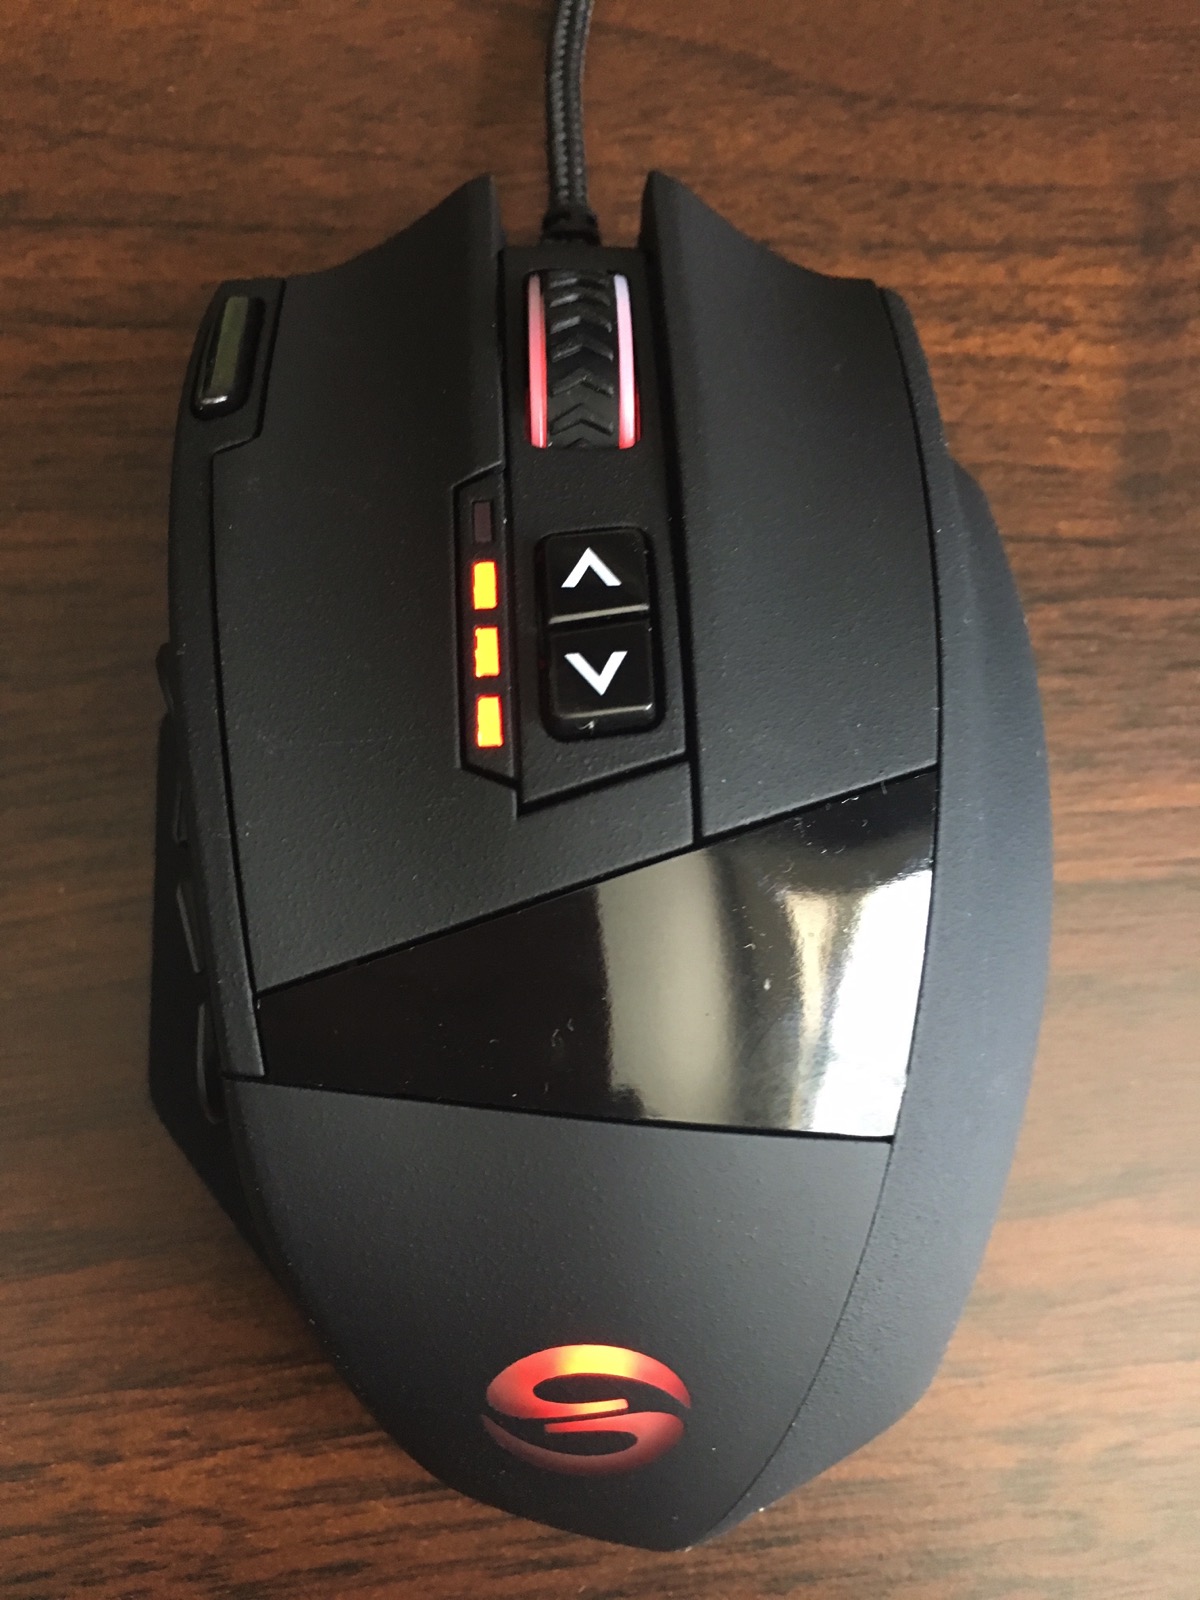
The mouse includes a generous length of cable for connecting to your computer. The device itself is comfortable to grip, and made with texturized high quality plastic. It has some heft to it (more on that in a sec) and sports a sleek look.
The top of the unit features left and right buttons, with a scroll / click wheel in the center. There is a fourth button located on the far left of the unit. The up and down arrows control the sensitivity and precision of the cursor movement. There are five DPI settings: 1000, 2000, 4000, 8200 and 16400. When all four LEDs next to the up / down arrows are lit, the mouse operates at 16400 dpi. When plugged into your computer, the Venus mouse illuminates.
The left side of the Venus mouse features a 9-button keypad. On Windows devices, these keys can be assigned to various keystrokes / commands using the supplied driver software. These keys felt a little soft for my taste; I would have preferred a more tactile click response.
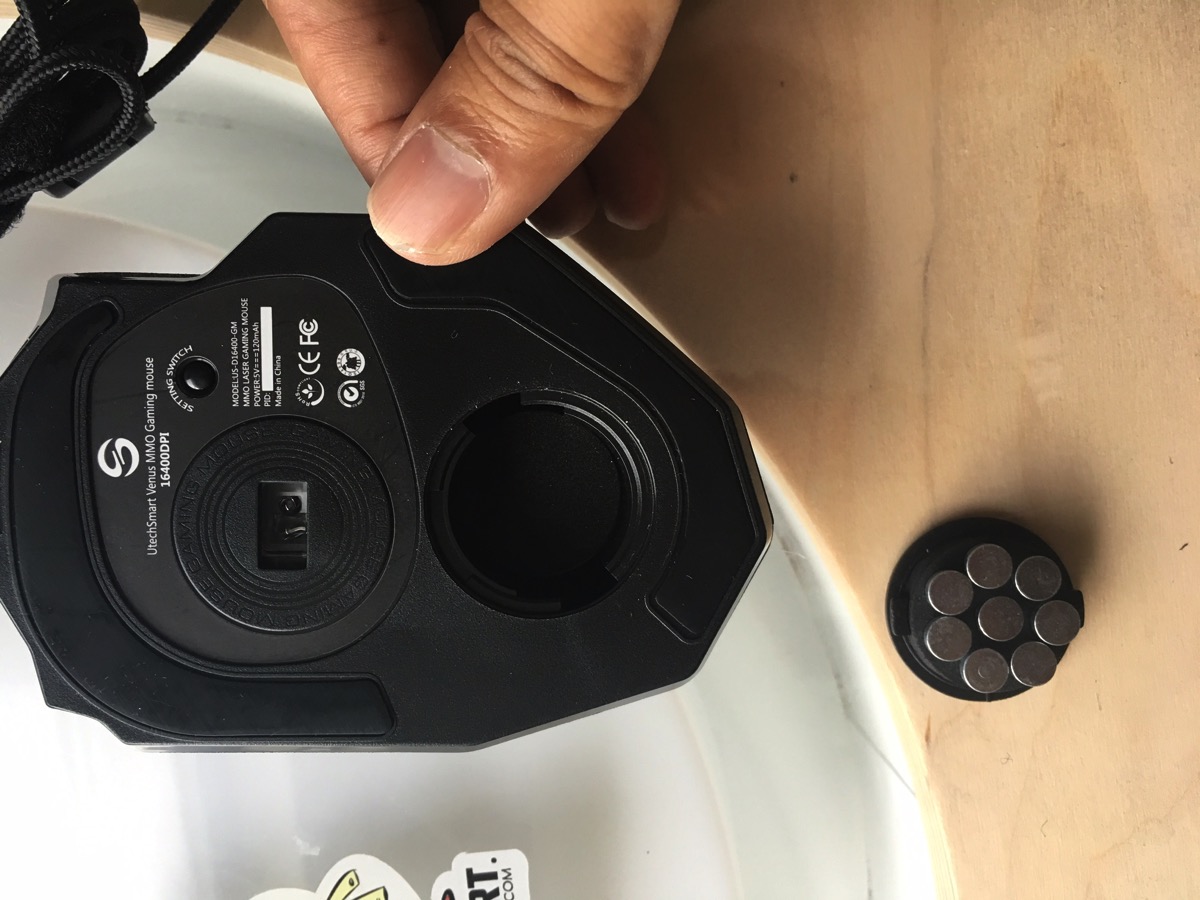
The bottom side of the mouse has color mode control, to the right of the laser. Below the laser is a weight compartment.
The weight compartment lets you adjust the heaviness of the Venus mouse. When removing weights, you can place them into the included weight holder (which resembles a hockey puck).
When removing weights, you can place them into the included weight holder (which resembles a hockey puck).
The Venus mouse features several LEDs. Here we see a few on the front of the unit.
Users can toggle between five different color modes, including Yellow, Green, Blue, Purple and Red. You can see a few of the color modes in the photos below.
Making the Venus Mouse work with a Mac
Out of the box, the basic left, right buttons and scroll wheel work on the Mac with no additional drivers needed. But in its default state, the 12 button keypad will only act as numeric keys on the Mac.
If you really want to take advantage all of the mouse’s capabilities, including the programmable 9 button keypad, you’ll need to factor in a few additional software items.
- Karabiner by PQRS.org (free)
- The UtechSmart Profile XML file (free)
- BetterTouchTool ($6.50)
After downloading all the software items above, follow the steps below to make the Venus MMO mouse work with OS X.
- Install Karabiner. Karabiner is a powerful keyboard customizer in OSX.
- In Karabiner, move to the Misc & Uninstall tab. Click on the button labeled “Open private.xml” under the Custom Setting category.

- Copy the UtechSmart private.xml file you downloaded from GitHub and replace the existing private.xml inside the Karabiner folder.

- In Karabiner, go to the first tab, labeled Change Key, and check the box called “THE FIRE ALBUM”. Click the Reload XML button.

- Launch BetterTouchTool. Move to the Keyboard section. Click the Add a New Shortcut button. In the Keyboard Shortcut text field at the bottom of the BTT screen, press 1 from your Venus mouse. In the Trigger Other Keyboard Shortcut textfield, assign your shortcut key (Command S, for example).

- Repeat the last two steps to assign functionality to other Venus number pad buttons.
That’s it!
I have a Mac, should I buy a Venus mouse?
Yes, if you have need of extra programmability within your mouse. As stated earlier, the build quality of the Venus mouse is excellent. It’s comfortable to hold for long periods of time, with its ergonomic design. And the cursor precision blows away my existing Kensington trackball.
While it doesn’t come with Mac drivers, it will work with OS X easily enough. For under $50, and with a little effort, I now have a programmable multi-button mouse that’s fully functional in OS X. For me, it was worth it.
The Venus mouse earns a 4.5 out of 5 Bob Weiners.

-Krishna


qka
April 20, 2016 at 10:58 pmYou say it’s a 9 key keypad, but your photos show 12 keys.
Krishna
April 21, 2016 at 6:23 amOops. Good catch. You’re right, QKA! I’ll fix it.
Jessica
December 11, 2016 at 10:34 pmHow do you change the color of the numbers and the scroll wheel?
Krishna
December 11, 2016 at 10:58 pmHit the setting switch on the bottom of the mouse. That should do the trick, Jessica.
Jessica
December 11, 2016 at 11:05 pmTHANK YOU!!!!!
Austin Katzer
January 17, 2017 at 4:56 pmHey, do you know if it’s possible to change what keys the mouse buttons trigger before the signal hits BetterTouchTool. It seems the shortcuts I programmed to 1 and 2 on the mouse are not triggering the F key shortcuts I’ve set up for Pro Tools. the 3 button works fine, so I’m thinking it’s an issue with the macros that the buttons are defaulted to.
Thanks for the article by the way. Concise and easy to Follow!
Krishna
January 18, 2017 at 6:23 amGood question, Austin. I’m not sure. Have you tried re-assigning the shortcuts to another number (7 or 8) on the mouse? Thanks for the feedback!