First Impressions of Using Krita from a Photoshop Digital Artist
I have Adobe to thank for introducing me to the free, open-source, multi-platform digital art program called Krita. If it weren’t for their recent onerous actions, I would have never ventured forth beyond the confines of the Creative Cloud.
This post is not meant to be a review of Krita. That’s impossible without spending a considerable amount of time with the application. Rather, this post is meant to capture my day one impression of Krita, with the idea of using it as a potential Adobe Photoshop replacement.
As I alluded to earlier, Krita works on Linux, Windows, and Mac systems. I have been aware of Krita for many years now, but never considered trying it until today. (Krita has been around for 25 years.)
I’m using Krita with a 2021 14″ MacBook Pro with 32GB of RAM and a Wacom Cintiq 27QHD tablet monitor. Unlike Photoshop, Krita has modest hardware and software requirements, requiring a minimum of 4GB of RAM (16GB is preferred) and a tablet or tablet monitor.
I have built a lot of muscle memory with Photoshop, so my first concern going into Krita was the learning curve.
Krita’s layout is very similar to that of Photoshop. On the left is the tool box, in the center is the work area (canvas), and on the right are Properties and Layers panels. Even the menu bar items seem familiar. (File, Edit, View, Image, etc.). So far, so good.
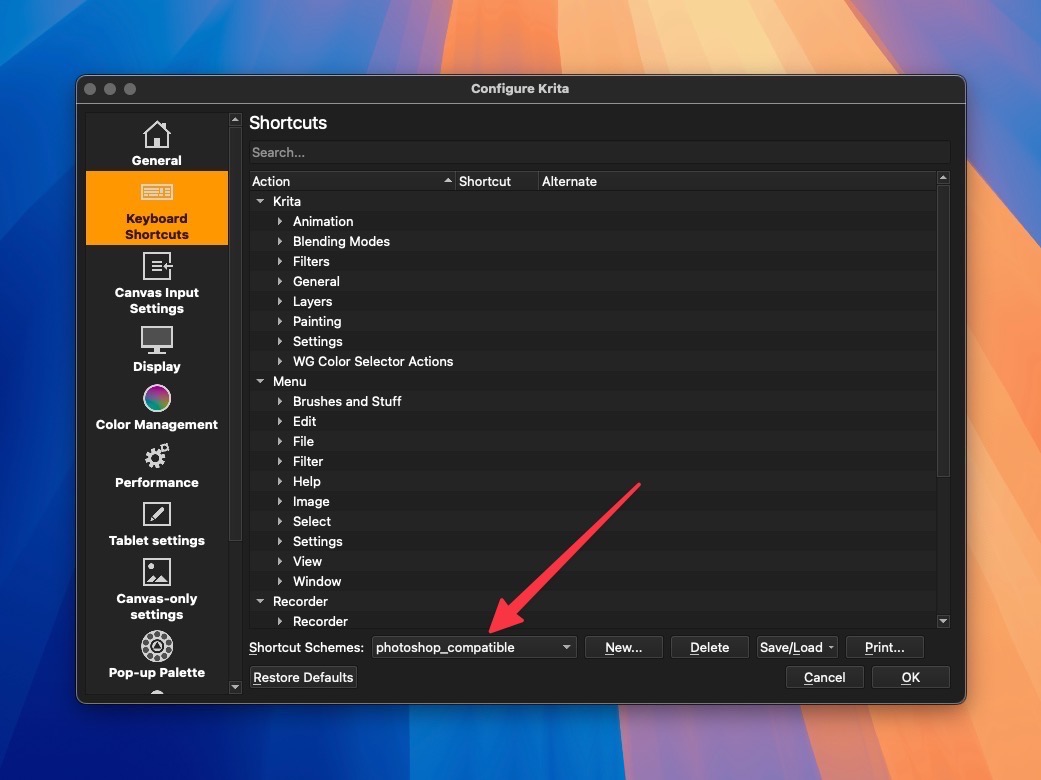
To help ex-Adobe Photoshop users, Krita includes an option to use PS based keyboard shortcuts.
I use a *lot* of keyboard shortcuts in Photoshop. They’re baked into my muscle memory at this point. I wasn’t sure how Krita would match up. Thankfully, Krita includes an option in its Preferences to map its keyboard shortcut scheme to match Photoshop. It’s not a perfect 1-to-1 correspondence, but it’s about 80% there. Krita does not support adding a Shift-modifier to switch between related sub-tools in the tool bar. For example, in Photoshop, one can easily toggle between the regular lasso tool, poly lasso tool and magnetic lasso tool by repeatedly hitting Shift-L.
Keyboard shortcuts can be modified and reassigned in Krita’s Preferences. I remapped several of my most commonly used keyboard shortcuts. Some of my Photoshop keyboard shortcuts had to be split up, like Duplicate Layer/ Selection feature. To achieve the same thing in Krita, I reassigned Command J to Duplicate a selection and Option J to Duplicate a Layer. (Command J in Photoshop would do both of the above.)
Once I had my most commonly used keyboard shortcuts sorted, I was ready to start drawing. I’ve created my own custom penciling and inking brushes in Photoshop, and I was pleased to discover that I was able to import them into Krita without any issues.
I spent a great deal of time with adjusting the pressure curves of my brushes. I prefer a firm or hard pressure curve when drawing. I initially used my Wacom tablet’s settings with my brushes, but quickly realized that the pressure curve settings were still a bit too soft for my liking.
Krita includes an option to further adjust the pressure settings of your brush within the application itself. After some trial and error, I was able to dial in my brush pressure curves to better match what I was used to in Photoshop. I’ve included my pressure curve settings for your convenience. (Bear in mind, what I use for my pressure curve settings may not be a great fit for you.)
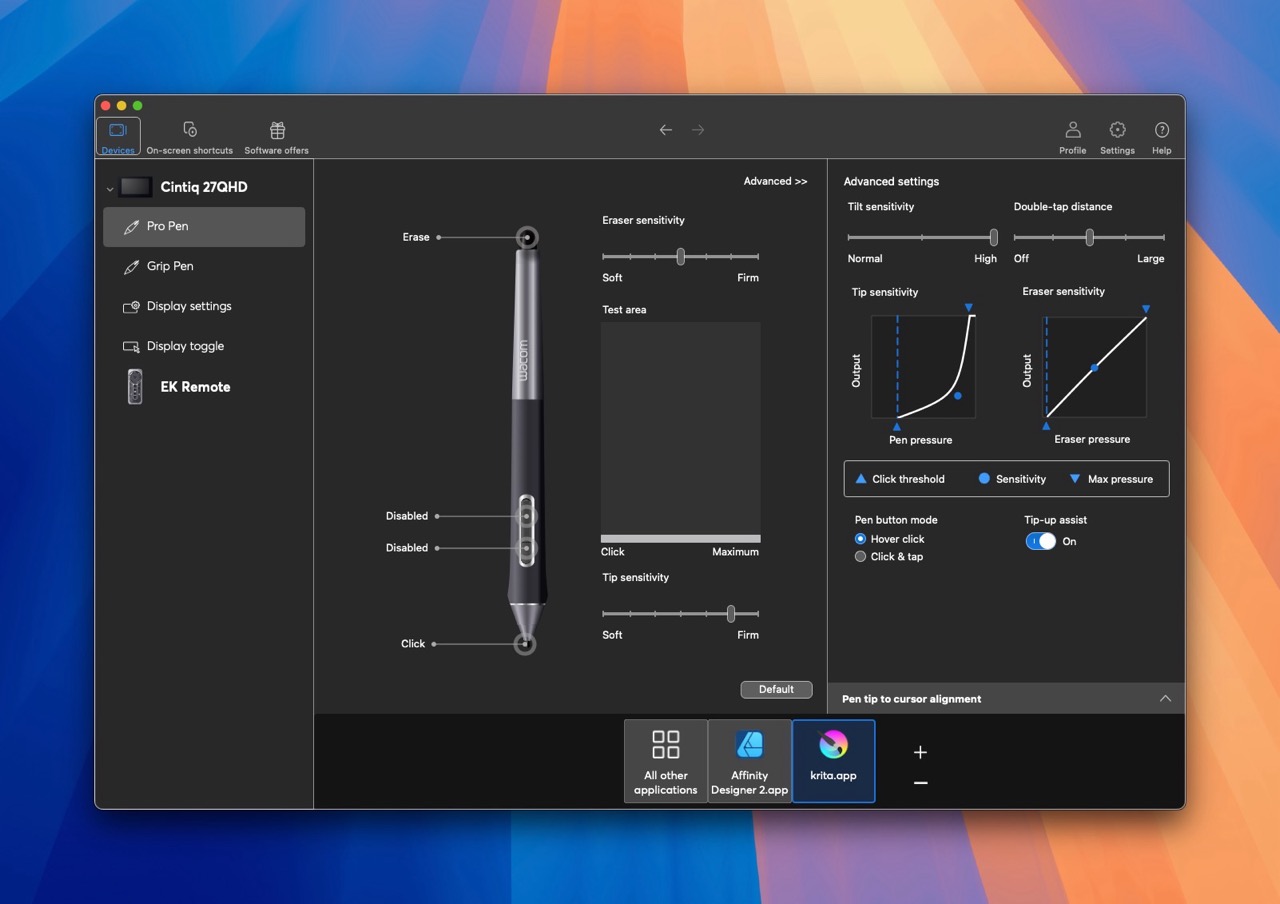
My Wacom Cintiq 27QHD pressure settings for Krita.
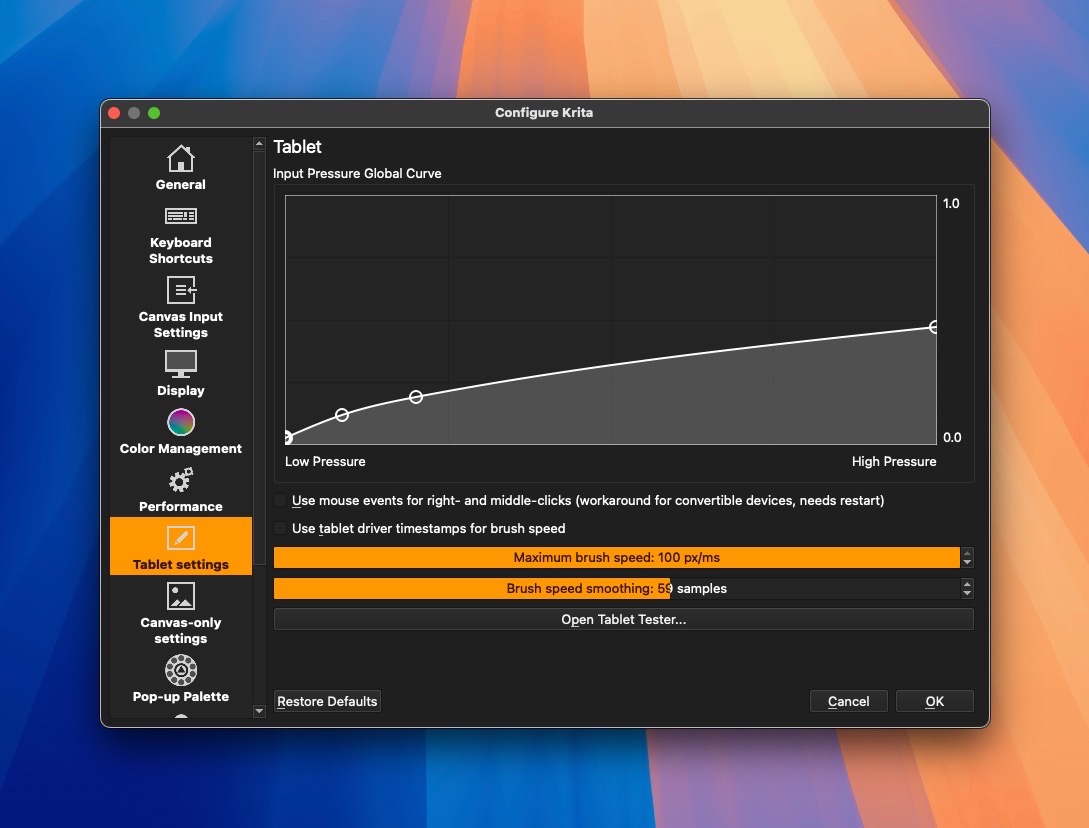
My Krita pressure curve settings. (Your mileage may vary.)
Krita saves files in its own native format, but it also lets you save to Photoshop’s PSD format.
Below are a few other points of friction I encountered:
- Making straight lines with the Shift key held down is not possible in Krita. Holding Shift with the Brush tool active will interactively adjust your brush size to be larger or smaller. (You can, however, make straight lines using the Line tool.)
- I understand the concept of tagging brushes (to group brushes into a set), but after performing that task on a few of my custom brushes in Krita, they would not appear in the Brush Presets panel. (I still haven’t fully grasped how brushes and tagging are supposed to work, but they aren’t working the way I expect them to.)
- The Type tool does not seem to do anything. Krita includes different layer types, and I haven’t read the docs yet to see what I’m doing wrong here. (I’m using only Paint Layers at the moment.)
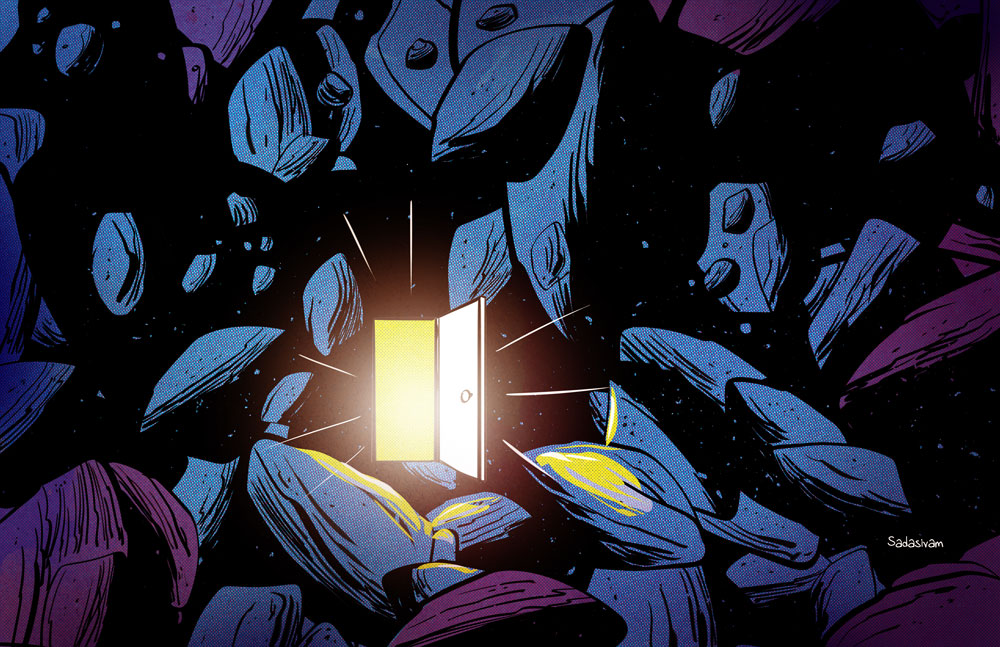
Here’s what I drew in Krita, for my first go-around with the program.
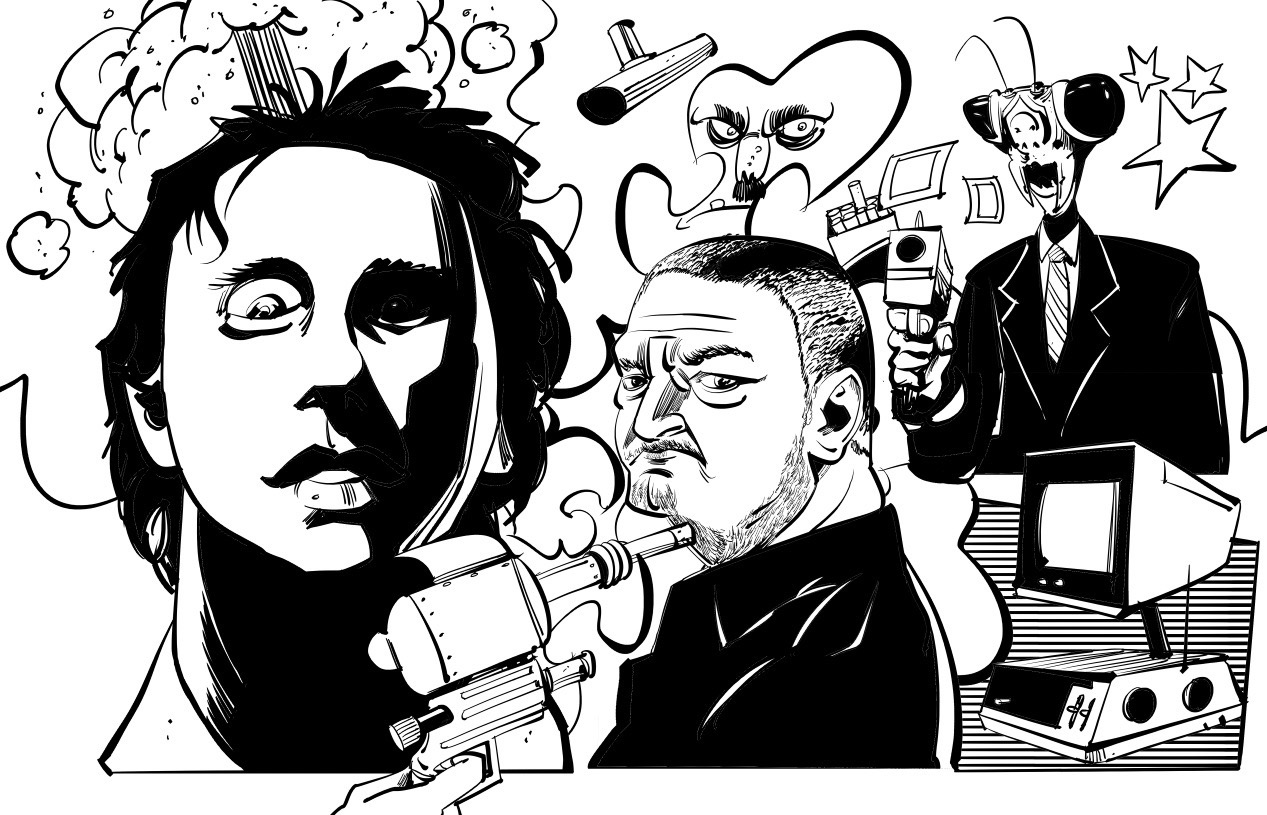
My first illustration using Krita. I haven’t explored coloring yet.
All in all, though, I was able to get up to speed with Krita faster than expected. I’ve only briefly dabbled with basic coloring in Krita, so I’m excited to see how that part of my workflow will sus out. In the meantime, if you’re a Krita user who’s jumped from Photoshop, I’d love to hear from you. How did the switch go? What were your pain points?
-Krishna
No comments yet. Be the first!