Nest Thermostat: 1st Impressions
Thermostats have always been so utilitarian in my world, I’ve never given them much thought. They’re largely invisible devices that only bring attention to themselves when the temperature levels become noticeably uncomfortable inside the home.
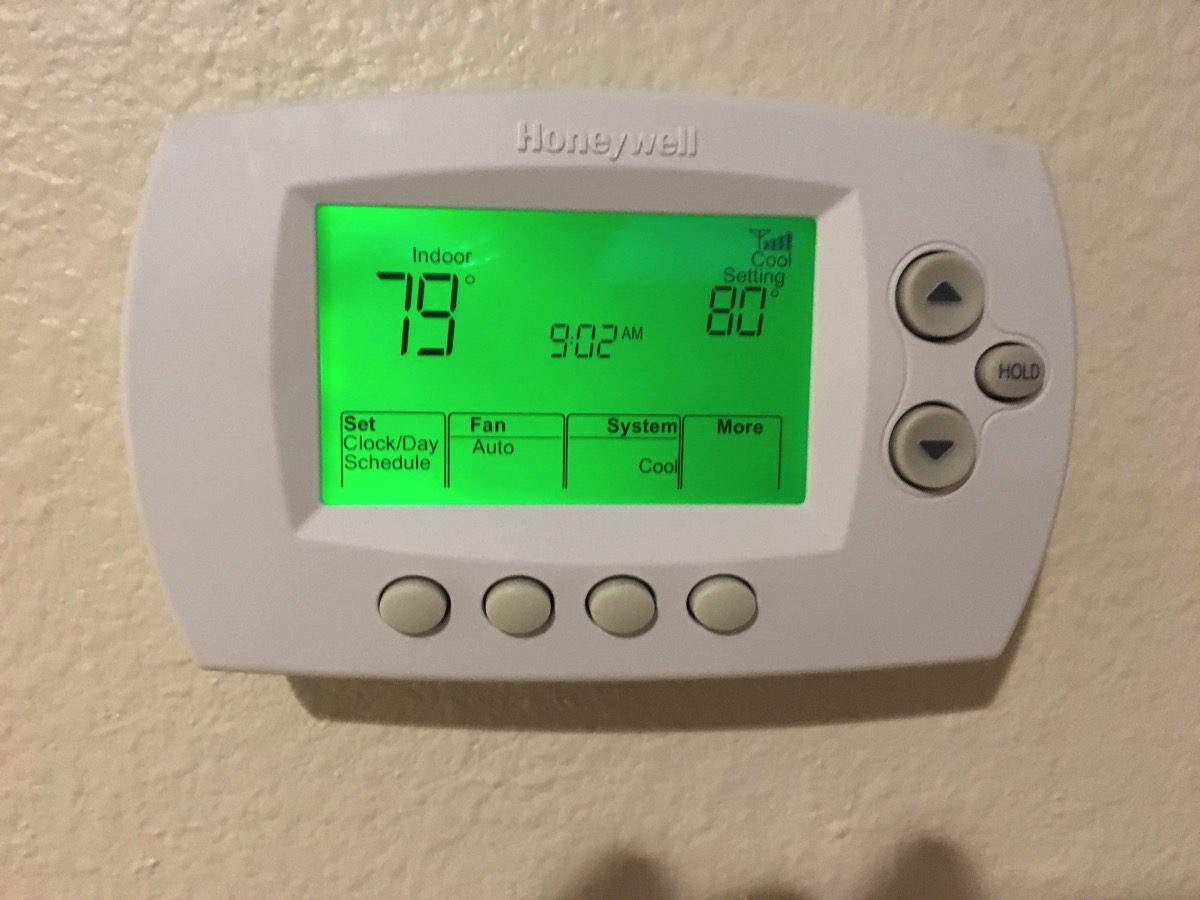
When we first moved into our house years ago, we had a fairly generic analog thermostat. After our air conditioning unit died (unceremoniously, during the peak of an excruciating Florida summer, go figure.), our AC repairman replaced our AC / furnace system. He also swapped out our old thermostat for a Honeywell wi-fi model.
There’s nothing special about this unit. In the looks department, it’s fairly utilitarian. With its green background behind a thin, black LCD text, the Honeywell thermostat looks like nearly every other thermostat I’ve seen for the past 20 years. Unlike some of those old thermostats, the Honeywell unit offers the ability to change your home’s temperature via smartphone. Though it’s never given us any problem, the unit’s console interface seems clunky and dated, particularly when configuring a heating / cooling schedule. Hitting a button repeatedly to toggle modes, while using another button to adjust settings in 2016 seems so primitive. In many ways, it reminds me of the early days of programming our family’s VCR, which was no easy feat.
Likewise, the Honeywell iOS app is functional, but otherwise pedestrian. With it, you can configure the thermostat’s setting and run schedule. That’s pretty much all it does.
As a geek, I was aware of smart thermostats like the Nest unit. Despite my interest in the Nest, initial reviews of the generation 1 and generation 2 models were mixed, so I held off. In that time, a new competitor entered the space, by the name of Ecobee. But again, due to mixed reviews, I stayed away.
But when the third generation Nest model came out to largely favorable reviews, my interest revived.
At a retail price of $249, I would have been very reluctant to pull the trigger on a Nest. But through a confluence of events, including the arrival of one unexpected holiday gift card, I talked myself into ordering one.
This post focuses on setup and my first impressions of the Nest thermostat. It’s by no means a review. I need to live with the device for at least 6 months before evaluating its claims, particularly the notion that it can help me save money on my monthly utility bill.
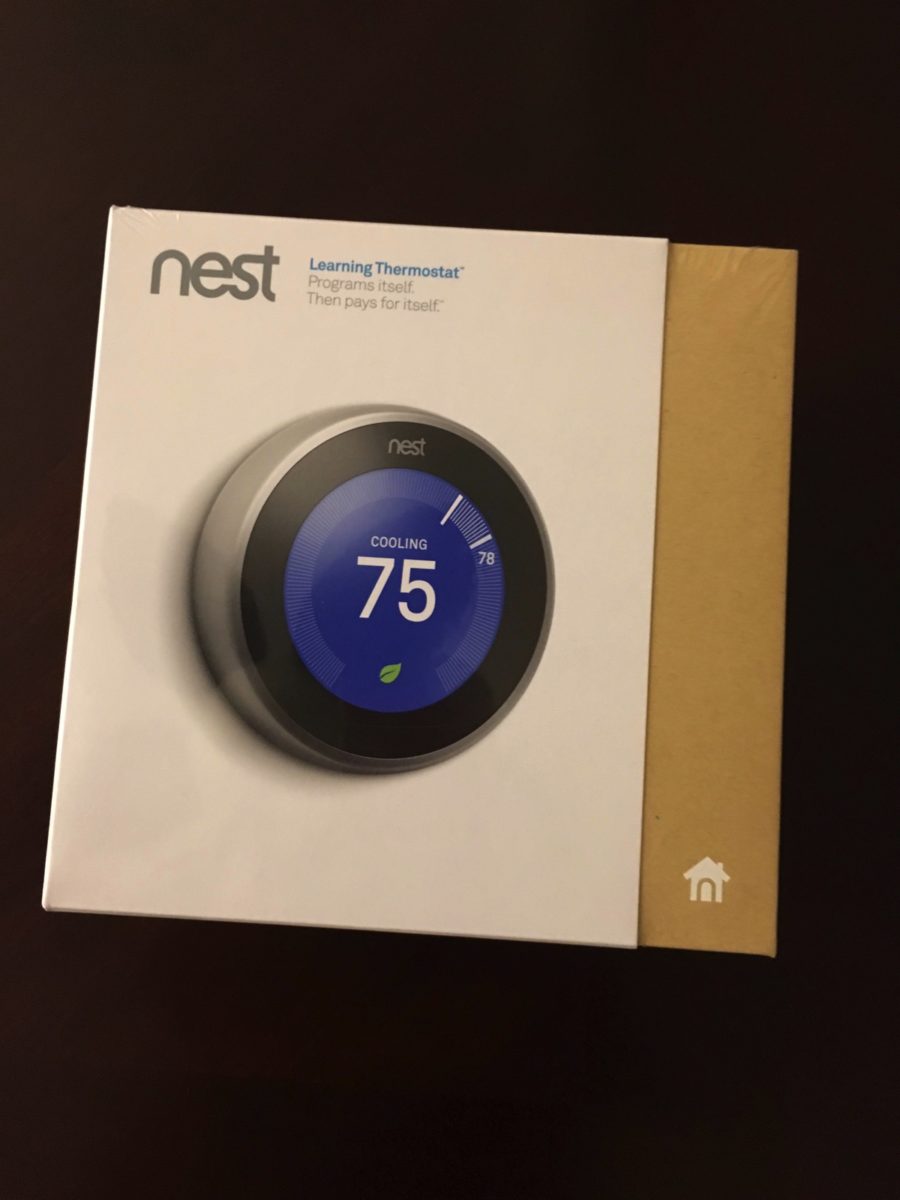
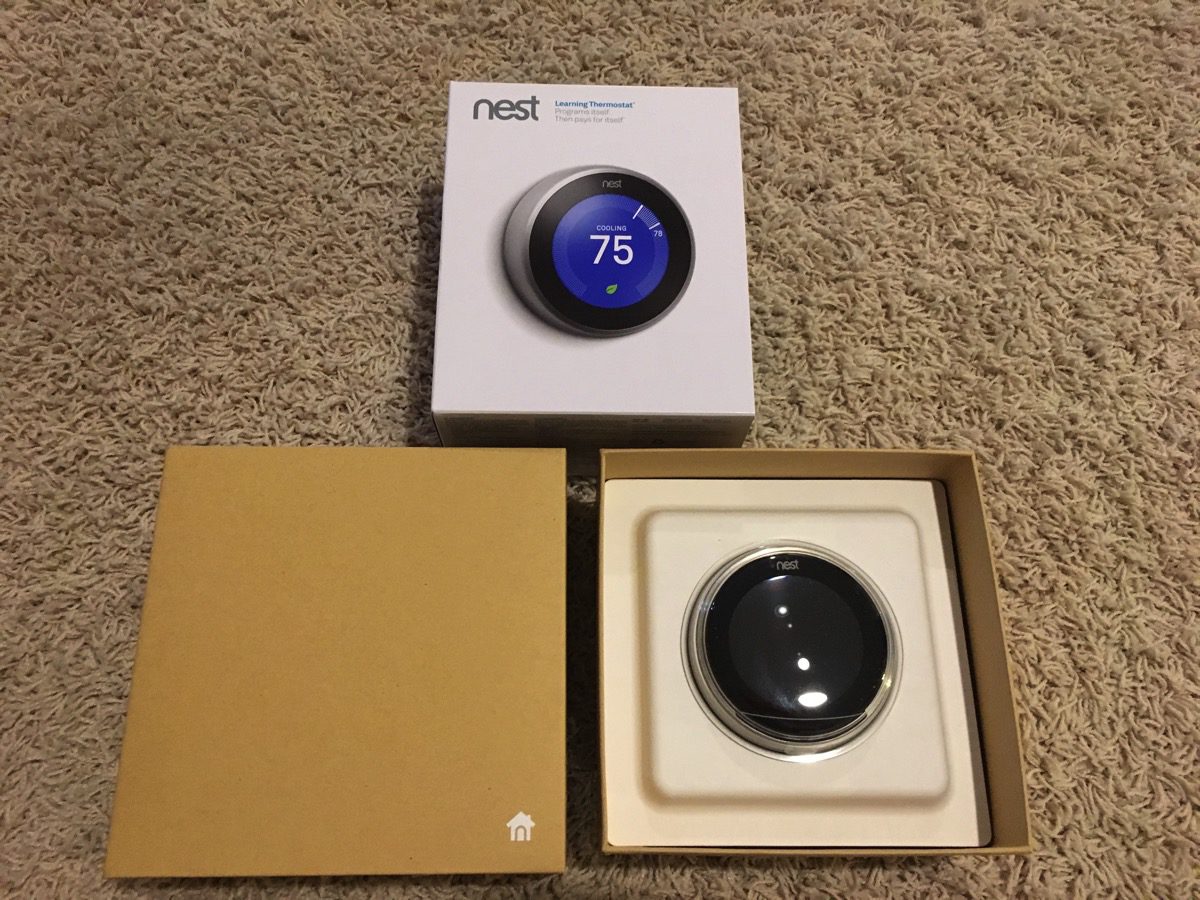
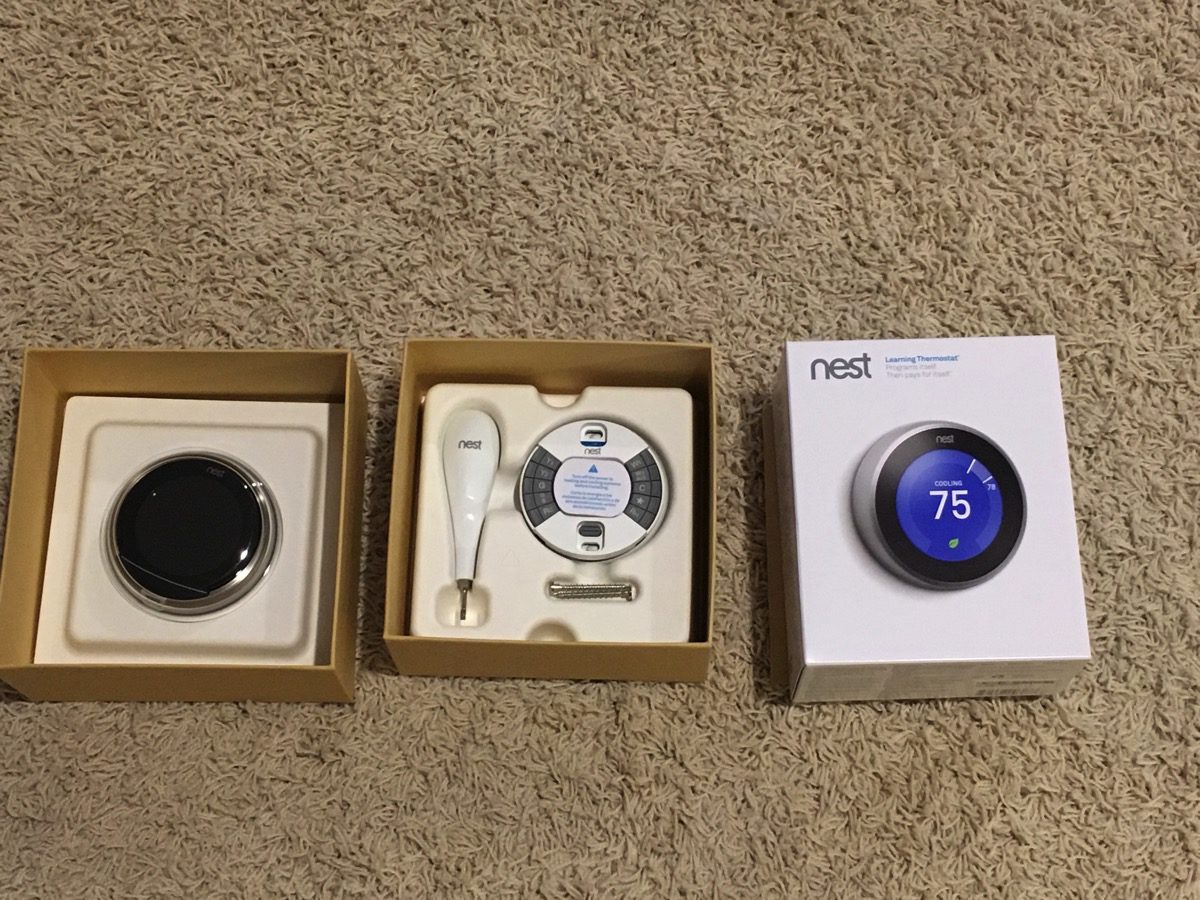
Within a few days of placing my order at B & H, my third generation Nest Thermostat with the stainless steel trim arrived. Below are a few photos of the unboxing. There is a very strong Apple influence in terms of the packaging. From the design of the box to the way the contents were neatly packed inside, it’s evident that a lot of care went into making sure that the user’s out of box experience is a good one.
The Nest box comes with the thermostat, a small flathead screwdriver, an installation pamphlet in English and Spanish, a user guide, a wall mount plate and a junction box plate. The thermostat itself is a polished object of art. At 7.25 ounces, it has some weight to it. In my hands, it felt solid and well built. It features a 24-bit color LCD with a 480×480 ppi resolution and measures 5.3 cm (2.8 in) in diameter (roughly a little larger than a hockey puck).
Setup
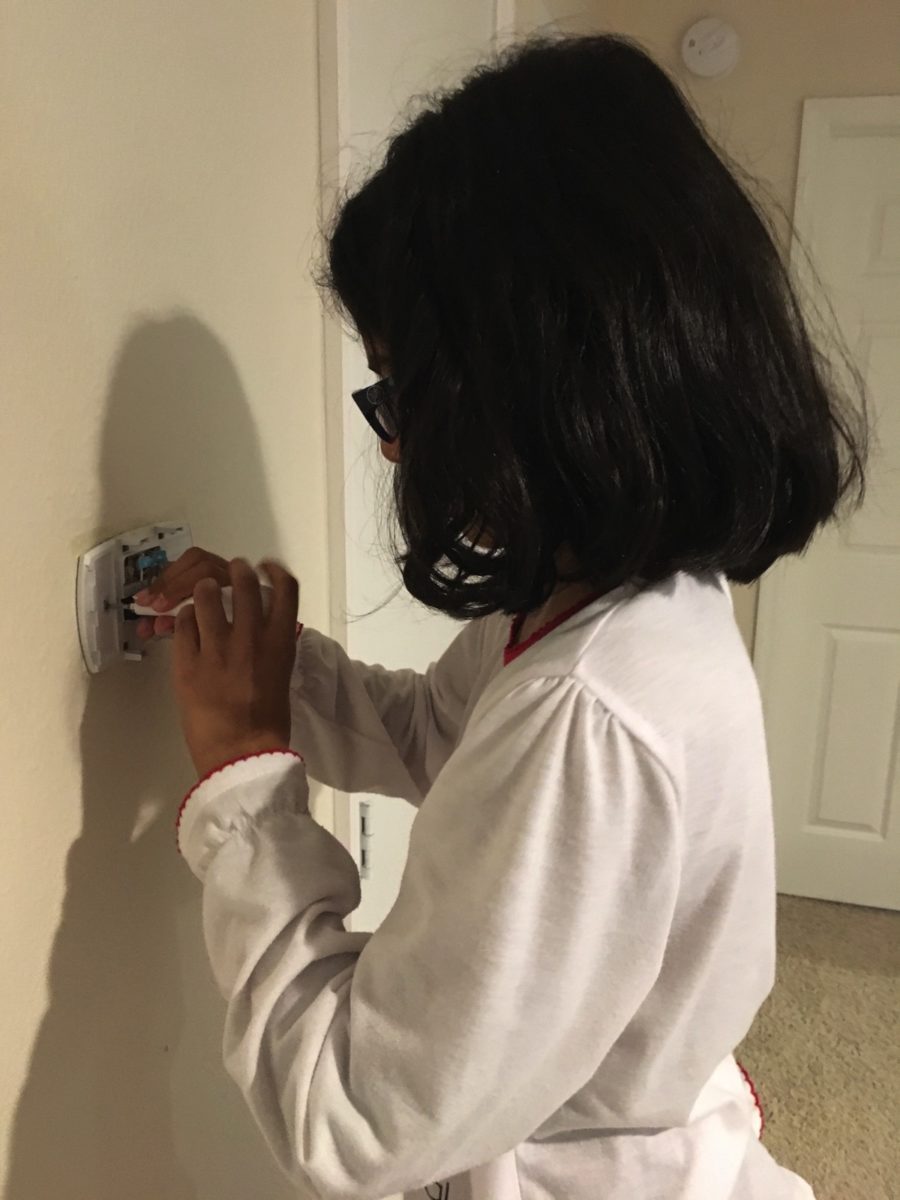
For this task, I roped my daughter Sonia to help me out. Side note: I think it’s important for kids to learn how to use tools.
After we unboxed the unit, we opened a browser to Nest’s website to watch the installation video. Ironically, this is where we also ran across Nest’s compatibility checker, which lets you determine whether the Nest will work with your heating / cooling setup by looking at the wires that connect to your existing thermostat.
Thankfully, our configuration was compatible with the Nest. (Whew!) Based on your configuration, the website will generate a wiring diagram that you can use to configure your Nest. More on that in a bit.
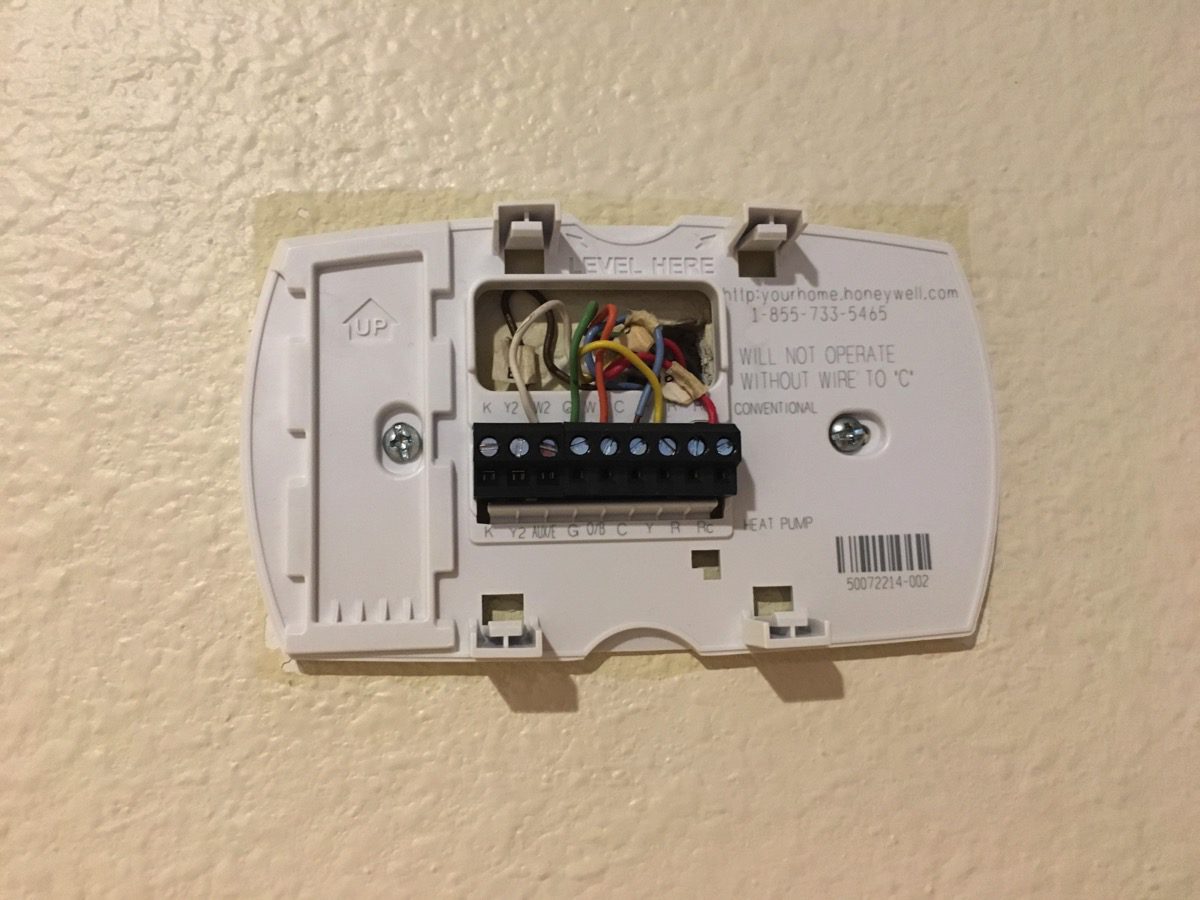
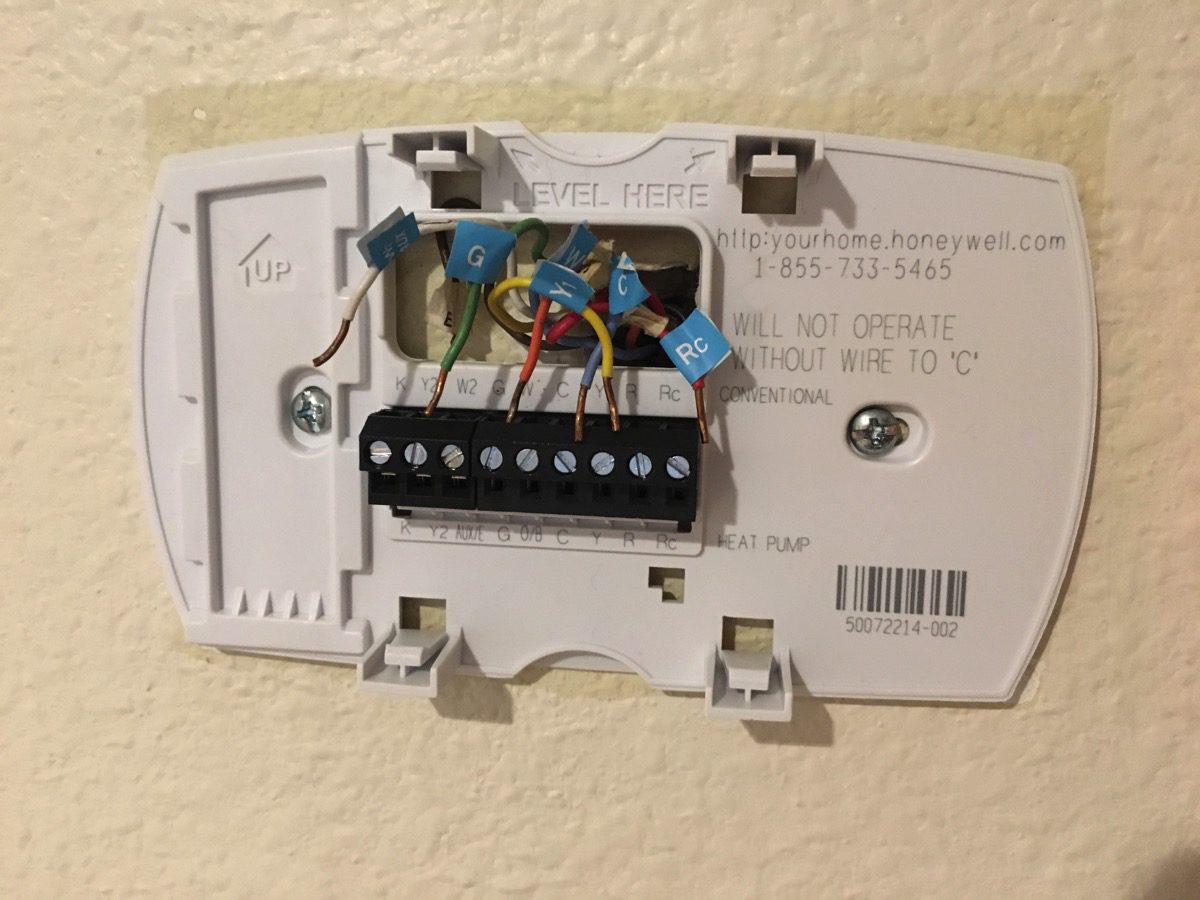
After taking a photo of the original wiring setup (which the manual recommends!), we turned off the power to the AC/Heating unit from the main breaker. Next, Sonia labeled all the wires with stickers that were provided within the Nest install documentation.
Severing the connection between the wires and the old Honeywell thermostat, we removed the old thermostat and wall plate and installed the new Nest wall mount. In my experience, the supplied screwdriver was not adequate to bore the wall screws in, so I wound up using one of my own. The Nest unit comes with a built in Level to insure that you are anchoring the unit properly to the wall. This was a neat touch.
Following the wiring diagram, we connected the Nest unit up and secured it by way of a “snap” to the mount plate. Connecting the wires to the Nest was easy, by way of a simple snap system.
Power Up
I have to admit I was a little nervous when I turned the AC/Heat breakers back on. But that nervousness immediately subsided when I saw the Nest going through its power up sequence. Setup involved rotating the stainless steel ring and making selections. Pressing the ring towards the wall registers as a click. Within minutes, my Nest was up and running.
I tested the unit by adjusting the temperature to trigger the AC. Doing so turns the display blue. But instead of cool air, the furnace was kicking out hot air. Similarly, turning the Nest to trigger the heater (which turns the display red), caused the furnace to blow cool air.
I followed the wiring diagram to a tee, but clearly something was up. After a little googling, I discovered that the orange wire that I connected to the W1 terminal should have been connected to the OB terminal instead. Making the wiring switch fixed the issue completely. It’s a bit odd that the wiring diagram generated from Nest’s website would contain such a glaring goof.
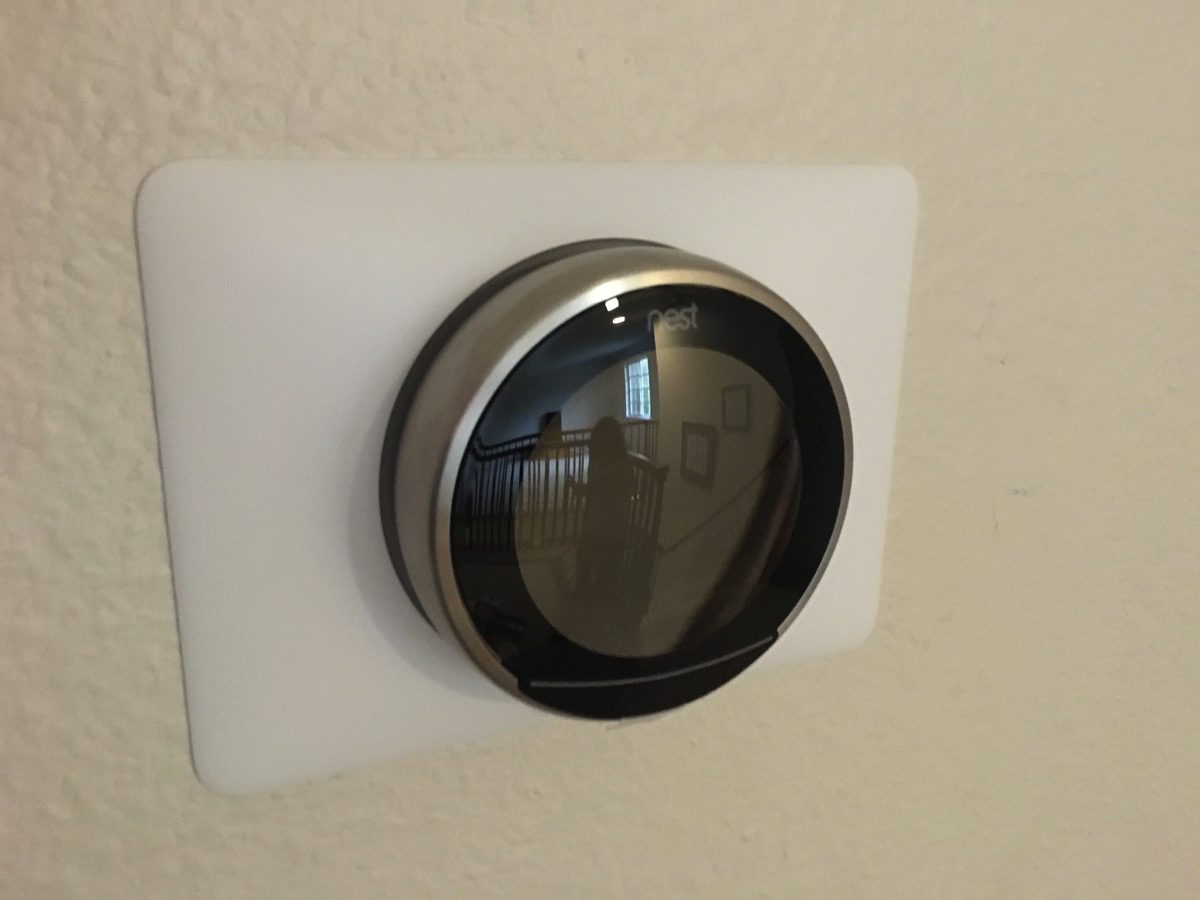
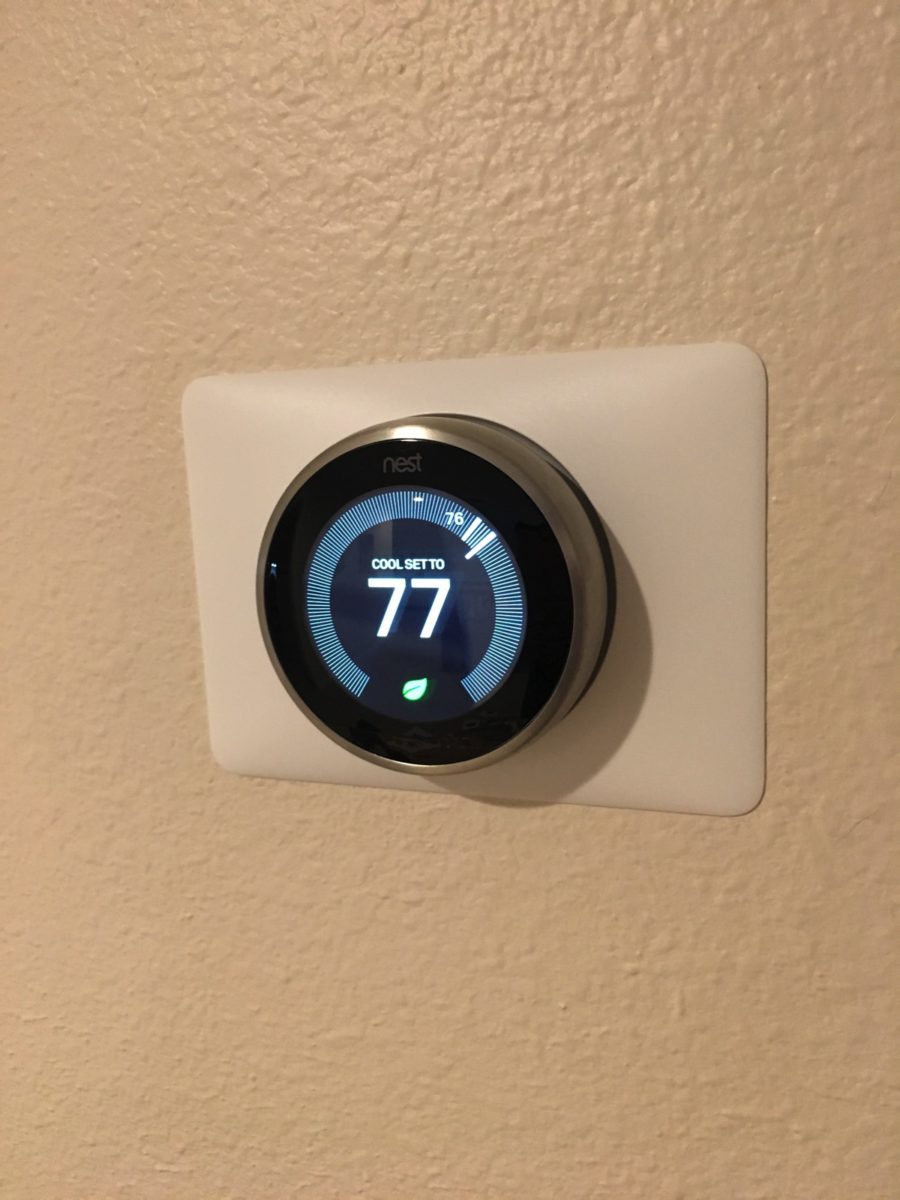
Visually, the Nest is stunning with its bright, easy to read display. The screen activates as you walk up to the thermostat, showing the temperature setting (the large number) and the current temperature (the small number) in bright, easy to read type. Display settings can be adjusted to Fahrenheit or Celsius. Rotating the ring of the thermostat provides additional information, like outside temperature and humidity using data it pulls from the location settings you’ve already provided.
The App
Once the Nest unit was up and running, I downloaded the Nest app from the iOS store and quickly configured the unit to join my Wi-Fi network. The Nest app presents you with the same “ring” interface to adjust your thermostat’s temperature. With the app, you can configure a max and min temperature for the times you are away. There’s no scheduling options because the Nest thermostat learns your preferred temperature settings over a period of time. The Schedule label on the app simply tracks the temperature settings each day so you can see the max and min values. I’m still in this phase of the process of training the Nest unit, so I can’t really comment on its efficacy.
The Beginning?
Outside of the wiring hiccup, I’m impressed with the Nest thermostat. Its modern look and temperature monitoring and tracking tools are the big highlights for me. If it saves me money on my electricity bill, I’ll consider it to be a slam dunk purchase. Right now, it’s winning in both the looks and functionality department.
Looking forward, I plan to integrate the Nest thermostat with an Alexa dot unit so I can make temperature settings by voice command. I also want to leverage the power of IFTTT (If This Than That) to provide even more flexibility in controlling my Nest based on a series of rules. With the Nest thermostat, I feel like our home has stepped into the future. For the first time, I’m excited about the possibilities that the smart home and home automation will bring. And it’s all because of a thermostat. Who would have thought?
-Krishna



Amy f
January 9, 2017 at 7:49 amCool review. I’m impressed with your daughter! I can’t understand wiring. Hope it works well for you!
Krishna
January 10, 2017 at 8:08 amThanks, Amy!
Andrew Glaeser
January 9, 2017 at 12:40 pmDon’t forget you can integrate with the AppleTV too
Krishna
January 10, 2017 at 8:09 amCool! Does it work with the older (non-App) model? I have the 2013 edition Apple TV.